fwismoker
Master of the Pit
When I first started cooking ribs I was reading every article, forum and rib post. Anything I could find to guide me to making the best pork ribs. Keep in mind I knew NOTHING about how to cook them. What kind of seasonings do I use, How long do I cook them, How do i know when they're done etc....? At the time the most common method I'd run into was the 3-2-1 where you cook spare ribs 3 hours in the open- 2 hours in foil and 1 hour back in the open. Ended up with some success and also some failures along the way. I was cooking some too long and some not long enough. I messed around with some tasty recipes like where you put brown sugar, spray with Parkay etc... and had some pretty good results. The next evolution was just cooking ribs "nekkid" where you just cook them direct or indirect with no foiling. From cooking baby backs and spare ribs both ways I was finding myself leaning towards simplicity and just cooking them on the cook grate with no foil until they were done and tender. This of course is personal preference but this is what was working the best for me and my family but this method was giving very good and consistent results.
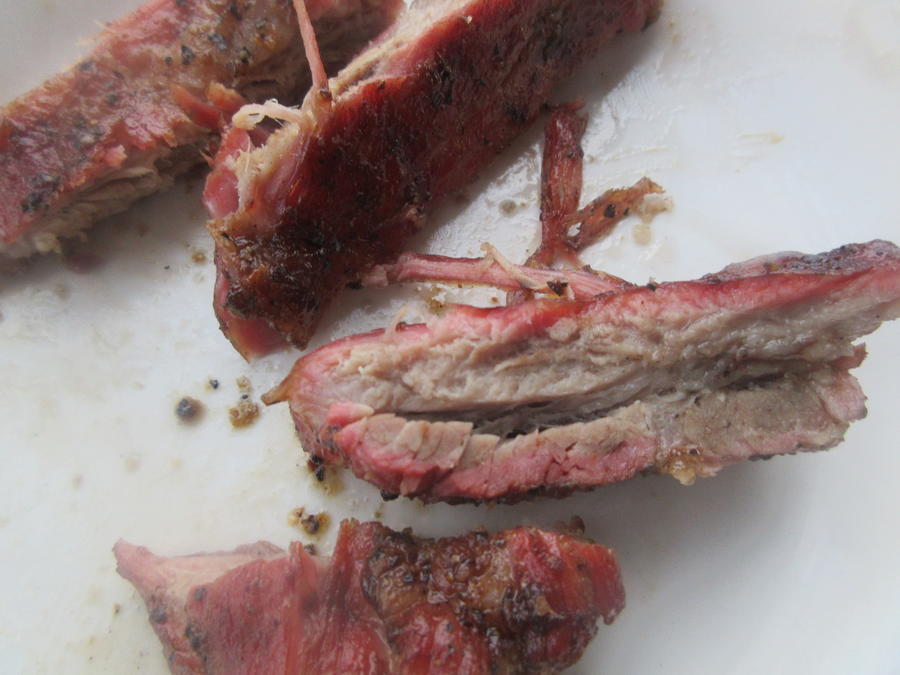
The next thing I struggled with was figuring out the perfect time to pull them when they're done. Did I go by temperature, bend test or toothpick test? Well didn't take long to realize temp wasn't a good indicator of doneness and the the bend test wasn't very reliable especially when the ribs were cooked with direct heat. The toothpic test never failed me and that's what I still use today. It's when you use either a toothpick or something skinny like a thermapen probe to probe in between the bones. When the probe goes in with very little resistance (like a knife through warm butter) I pull them.
Now I'm cooking better ribs than when I was doing the 3-2-1 or 2-2-1 and nekkid grate cooked...Hands down. The only catch to this method is you need a rotisserie and you're limited to a few racks of ribs depending on the size of your grill.
I started experimenting with putting the ribs on the spit rod where you weave the rack onto a spit rod. You can use this method directly over a heat source or indirect. It was making for some pretty tasty results! The outside would develop a little more texture (very tasty outside) and the inside would be so juicy. Cooking ribs this way of course there was no way to do the bend test even if you wanted to, The only way to check for doneness is to use the toothpick method. The down side to cooking ribs this way is being limited to 1 rack of ribs because that's all that would fit on the spit rod...bummer

Ok so I started thinking of ways to fit more racks of ribs on the spit rod and long story short this is where I'm at. I'm using OctoForks rotisserie forks and now I can fit several whole racks onto my UDS rotisserie spit or quite a few half racks of ribs on my kettle grill rotisserie or mini Weber Smokey Mountain. Besides fitting more ribs on the rotisserie there was a lot of other side benefits. My ribs were getting continuously self basted where the juices would constantly baste over the entire rib surface creating this tasty glaze! The ribs were staying much more moist spinning/ self basting vertically than they were horizontally. I could also cook much hotter if I wanted and wasn't getting burned. They're cooking much faster for me this way too. If you want to cook ribs for dinner I've done them as fast as 60 minutes with baby back ribs or about 90 minutes with spare ribs.
The only steps it takes to these fool proof ribs:
1) Score the ribs membrane or remove it
2) Coat with olive oil and rub
3) Place either 1/2 rack or full rack on the OctoForks (depending on your grill size)
4) Rotisserie until tender- Cook as slow or fast as you want with indirect or even direct heat. I've cooked them 225-250* and also 400-450* and both ways come out amazing!
It's as simple as that. You will have 1st class ribs each and every time! Here's some pictures of using different cookers doing ribs this way. When I want them sauced or glazed I'll brush it on while they're spinning the last half hour of the cook.
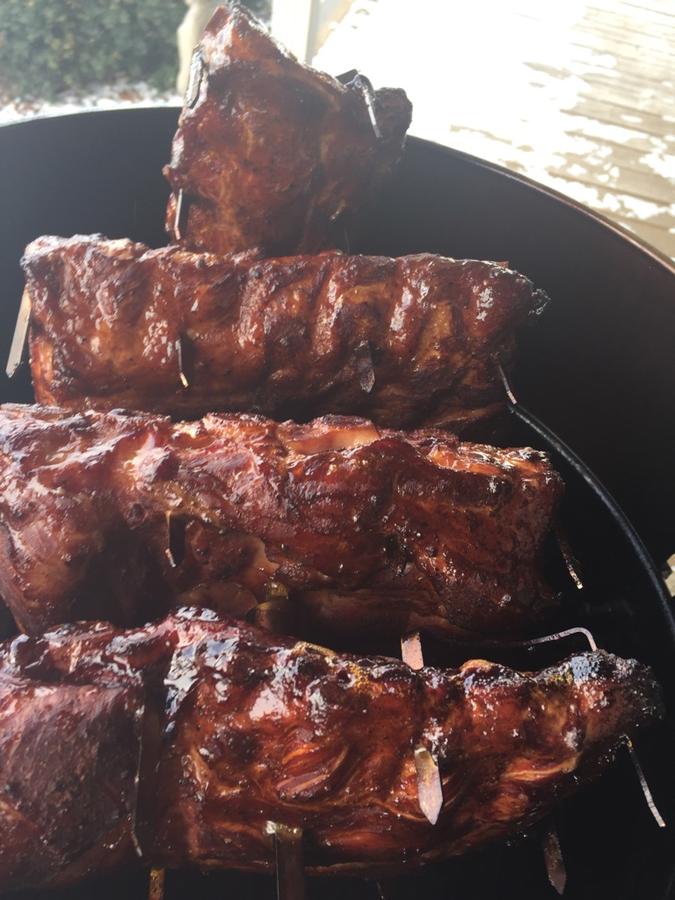
In my little 18.5" mini WSM I could fit 3 racks of ribs on the spit. This cook was four 1/2 racks.
Half racks of St Louis Style on the Weber Kettle
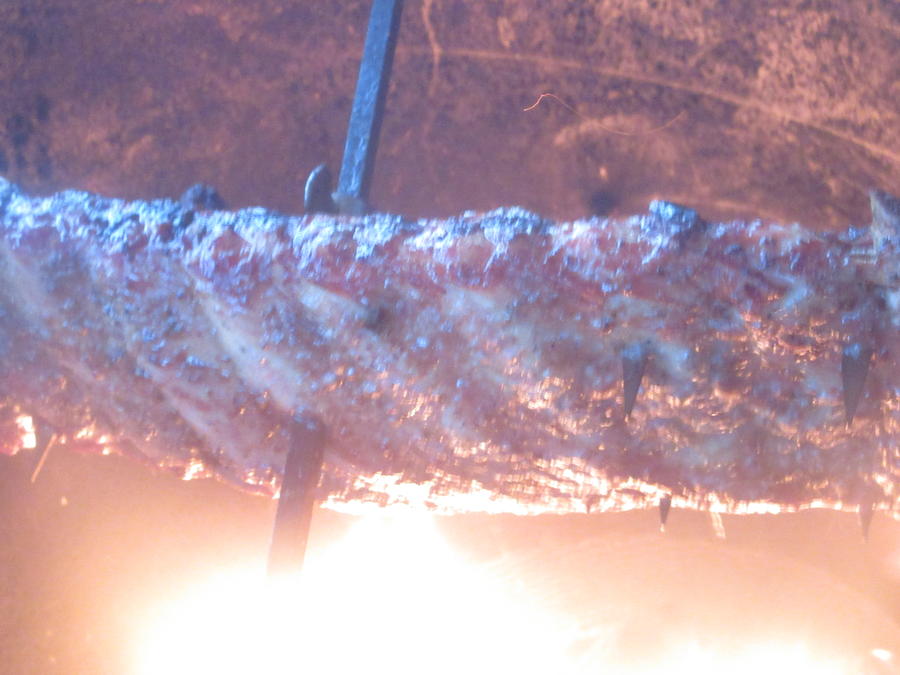
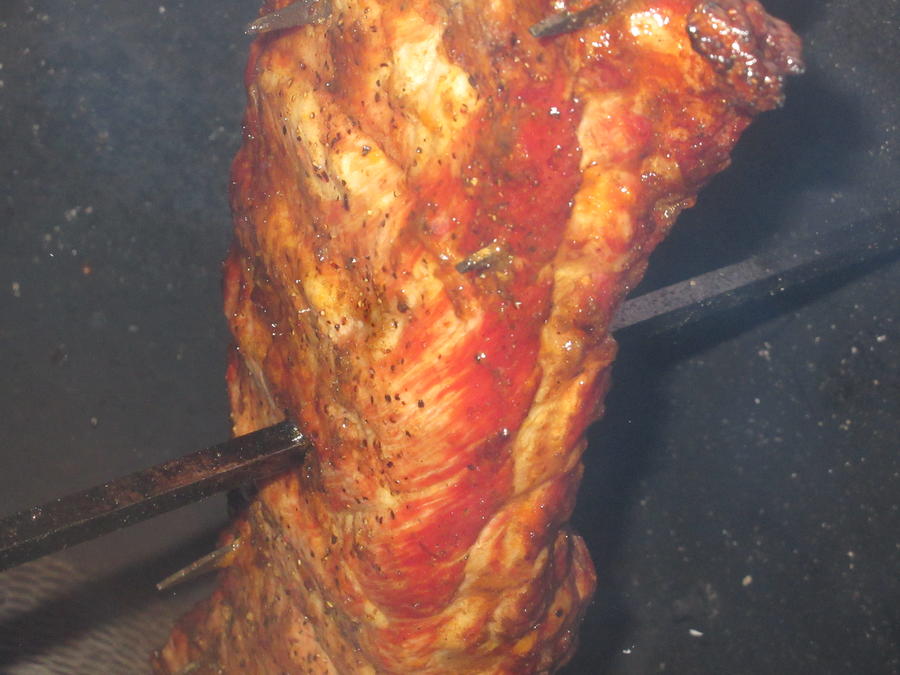
Full Rack St Louis on the UDS rotisserie (direct fire)
I hope this little rib story will be of benefit for those that are new to ribs or just want to make better ribs! Like I said there's just one catch and that is you need a rotisserie...It's a great way to BBQ!
The next thing I struggled with was figuring out the perfect time to pull them when they're done. Did I go by temperature, bend test or toothpick test? Well didn't take long to realize temp wasn't a good indicator of doneness and the the bend test wasn't very reliable especially when the ribs were cooked with direct heat. The toothpic test never failed me and that's what I still use today. It's when you use either a toothpick or something skinny like a thermapen probe to probe in between the bones. When the probe goes in with very little resistance (like a knife through warm butter) I pull them.
Now I'm cooking better ribs than when I was doing the 3-2-1 or 2-2-1 and nekkid grate cooked...Hands down. The only catch to this method is you need a rotisserie and you're limited to a few racks of ribs depending on the size of your grill.
I started experimenting with putting the ribs on the spit rod where you weave the rack onto a spit rod. You can use this method directly over a heat source or indirect. It was making for some pretty tasty results! The outside would develop a little more texture (very tasty outside) and the inside would be so juicy. Cooking ribs this way of course there was no way to do the bend test even if you wanted to, The only way to check for doneness is to use the toothpick method. The down side to cooking ribs this way is being limited to 1 rack of ribs because that's all that would fit on the spit rod...bummer
Ok so I started thinking of ways to fit more racks of ribs on the spit rod and long story short this is where I'm at. I'm using OctoForks rotisserie forks and now I can fit several whole racks onto my UDS rotisserie spit or quite a few half racks of ribs on my kettle grill rotisserie or mini Weber Smokey Mountain. Besides fitting more ribs on the rotisserie there was a lot of other side benefits. My ribs were getting continuously self basted where the juices would constantly baste over the entire rib surface creating this tasty glaze! The ribs were staying much more moist spinning/ self basting vertically than they were horizontally. I could also cook much hotter if I wanted and wasn't getting burned. They're cooking much faster for me this way too. If you want to cook ribs for dinner I've done them as fast as 60 minutes with baby back ribs or about 90 minutes with spare ribs.
The only steps it takes to these fool proof ribs:
1) Score the ribs membrane or remove it
2) Coat with olive oil and rub
3) Place either 1/2 rack or full rack on the OctoForks (depending on your grill size)
4) Rotisserie until tender- Cook as slow or fast as you want with indirect or even direct heat. I've cooked them 225-250* and also 400-450* and both ways come out amazing!
It's as simple as that. You will have 1st class ribs each and every time! Here's some pictures of using different cookers doing ribs this way. When I want them sauced or glazed I'll brush it on while they're spinning the last half hour of the cook.
In my little 18.5" mini WSM I could fit 3 racks of ribs on the spit. This cook was four 1/2 racks.
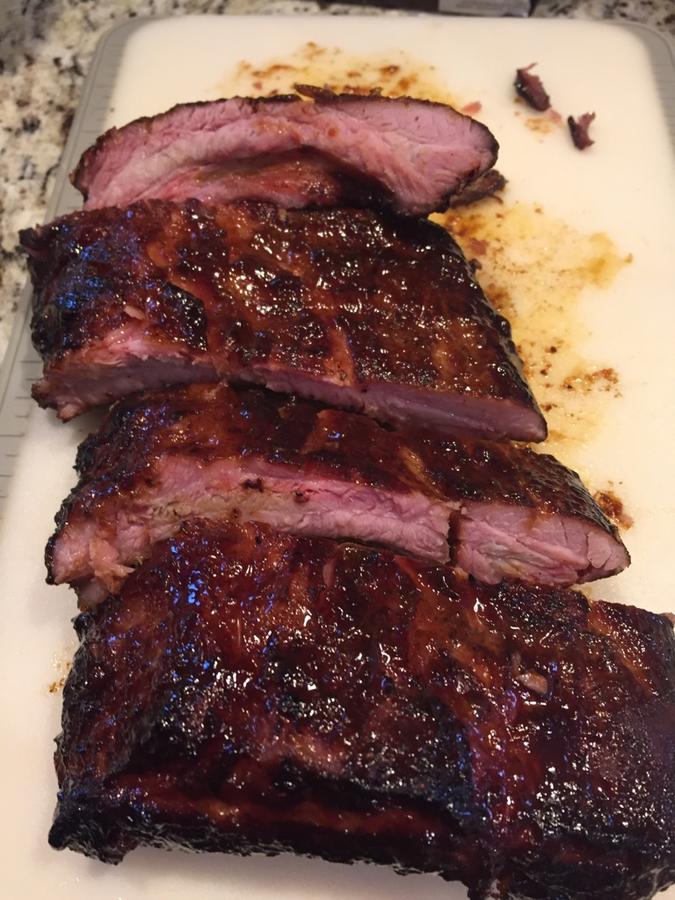
Half racks of St Louis Style on the Weber Kettle

Full Rack St Louis on the UDS rotisserie (direct fire)
I hope this little rib story will be of benefit for those that are new to ribs or just want to make better ribs! Like I said there's just one catch and that is you need a rotisserie...It's a great way to BBQ!


