• Some of the links on this forum allow SMF, at no cost to you, to earn a small commission when you click through and make a purchase. Let me know if you have any questions about this.
SMF is reader-supported. When you buy through links on our site, we may earn an affiliate commission.

swirvin2000

Newbie
Original poster
Apr 19, 2019
11
8
I wanted to share with everyone the new smoker I built. I couldn't find very little online in the way of offset brick smokers so I thought my experience might help someone in the future. A few things to consider
- I'm in no way a brick mason, this was my first attempt at any masonry, in the end it turned out better than I could have hoped for, but there was a lot of slow work
- I do have some experience welding and fabricating, which helped a great deal
-I have an engineering background, so like all other engineers who think about things for a long time.... some of this is 100% overthought, over done, and overbuilt.
-please ask any questions you want, I'm on the forum and will try to respond.

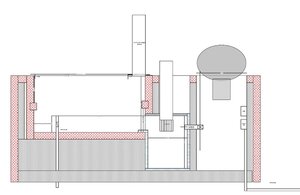
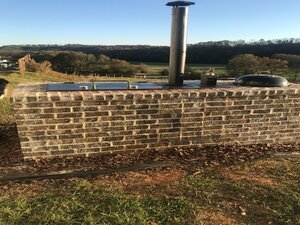
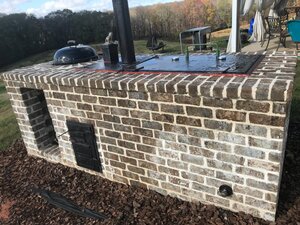
My plan was to build an brick, offset smoker, with the ability to have some gravity fed ability, but also burn with a normal firebox. here is the initial design I made in Visio, and the final product, Design.jpg Final.jpg
 
  • Love
Reactions: Deeez
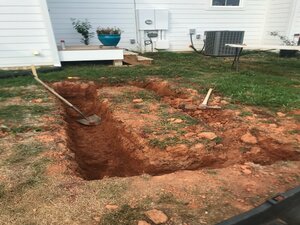
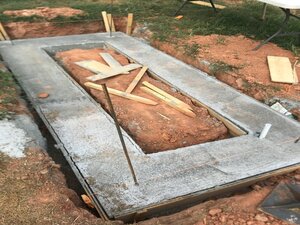
The foundation was probably a little to much, I would recommend getting a cheap cement mixer from harbor freight or tractor supply it was a life saver. The frost line in north Georgia I believe is 8 inches, but that would be a rare occurrence for a freeze that bad. I did do some extra digging just to keep things level due to the slope of the hill.

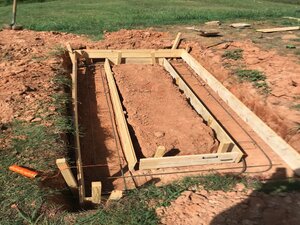
I would say spending extra time to make 100% sure that the forms were level paid off huge in the end, it made leveling the initial courses of blocks and bricks much easier. I could also trust that measurements made around the footer were all the same.

I think I ended up with about 45 bags of Quickcrete in the footer. ... so just in case there is a bomb, we are also good to go.

I would recommend adding the rebar, I'm not an expert, but in the end its cheap, and easy to put in place. I also added some rebar at the corners to give some strength to the walls. This may not be necessary, but why risk it.

start.jpg frame.jpg footer.jpg
 
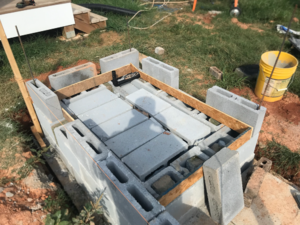
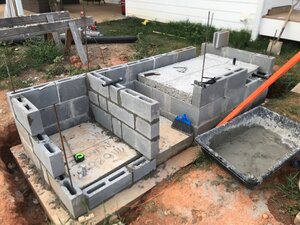
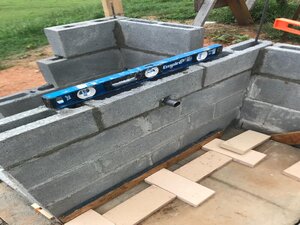
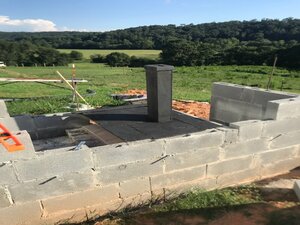
So, then came the actually masonry work that I knew nothing about. I would just say that if your interested in doing something like this, don't be worried about the masonry. Its hard, and its tidious, but you can pull it off with patience. The difference is that a real mason can do it in probably 1/8th the time. its not impossible, but its pretty damn hard to do fast. Its very important to lay everything out prior to starting, just so you know how it fits.

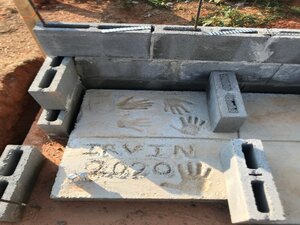
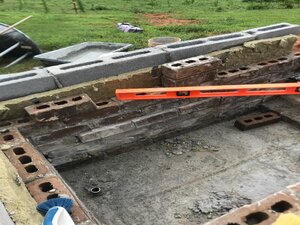
As I built the walls in cinder block I also poured the floor under the bricks for the cook chamber, once again take your time with the forms, they are the key to the final outcome, not the concrete.

And how can you mix concrete and not put the family hand prints in it.

firstCourse.jpg CC_floor.png CinderBlocks.jpg HandPrints.jpg
 
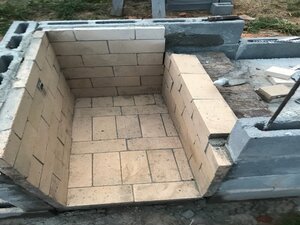
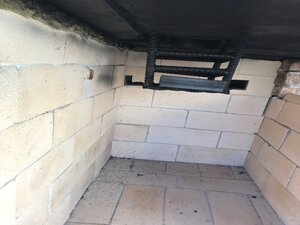
next step was the firebox and top of the firebox. I used firebrick to line the firebox, I didn't insulate behind it which may have been a mistake, we will find out in about 5 to 10 years I assume.

the firebrick needs about a 1/4 in. gap for expansion on the edges, keep that in mind when your laying it.

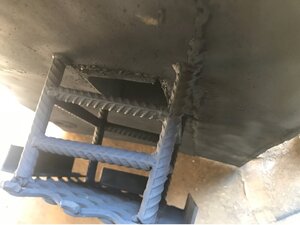
The lid is a welded piece of 3/4 in thick steel from the belly plate on a John Deere Logging Skidder. In that I put a shoot for the charcoal gravity feed and under it a grate for the charcoal. I sat the plate on rockwool rather than directly on the cinder blocks, hopefully providing some protection to the cinder blocks and allowing the plate to float, not expanding and cracking the cinder blocks.

I also included a 1 in pipe inlet for a blower directly across from the charcoal shoot.

FB.jpg FB2.jpg FB_Top.jpg FanExaust .jpg FB_Final.jpg feed grate .jpg
 
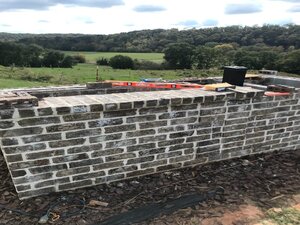
That was probably the most technical part of the build all that remained was all the brick work. About 700 or so... once again, a mortar mixer was very handy.

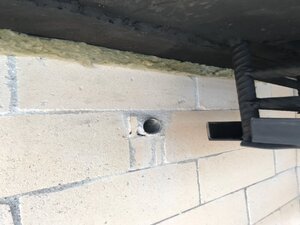
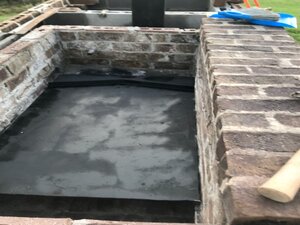
In the cook chamber I insulated behind the bricks with rockwool, using masonry ties to link the walls.

I also built the diffuser plate out of 3/16 inch steel making sure to add a drain hole.

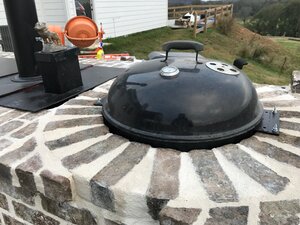
I included on the far side a spot for my Weber. My rational was I can't build a better grill than weber, so I should make a spot for it.

I had intended to hold the grates with concrete anchors but decided against that due to the possible thermal expansion. So I made a stand out of the 3/8 steel rods that hold the grates, also made from 3/8 steel rods.

The lid is 3/16 which has turned out to be much heavier than I anticipated, At some point I may cut the lid in half and make two lids. The hinges are pretty easy just using the same 3/16 rod and 3/16 tubing.

I've got more pictures if anyone has any questions, I just wanted to keep this initial post reasonable.

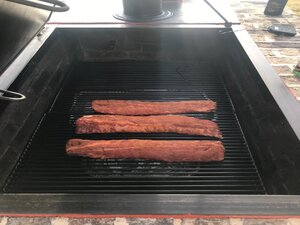
Difuser_Ledge.jpg Diffuser_plate.jpg Finishing.jpg Final2.jpg First test.jpg weber.jpg
 
Wow!
That is some fine work there!
Looking forward to seeing some of the stuff you smoke with it.
And see it in action!
Al
 
SmokingMeatForums.com is reader supported and as an Amazon Associate, we may earn commissions from qualifying purchases.

Latest posts

Hot Threads

Clicky