It's time to do a ham for Easter! My dad was famous for his Fassett's Hams;
this year I have the means to try and recreate these for my family, what with the smoker and the right equipment.
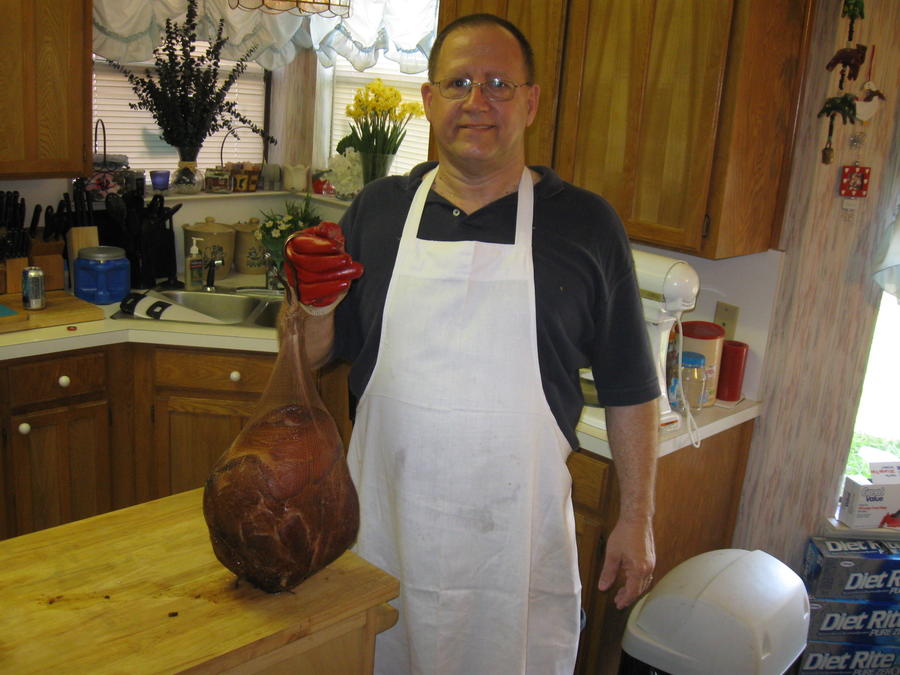
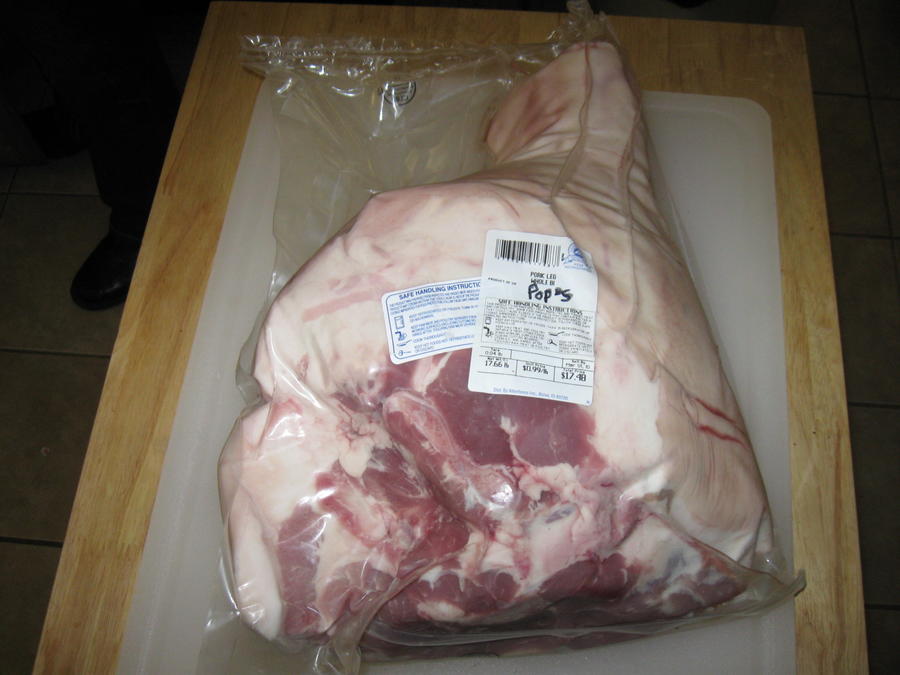
I ordered a hog leg from my meat manager friend David Morgan at Green Oaks Albertson's in Fort Worth; it came in at about 17 lbs. with the hock attached, the foot off:
It was 99¢ lb. I had both my sons come over to the house to watch me process it so they could learn what and how to do it.
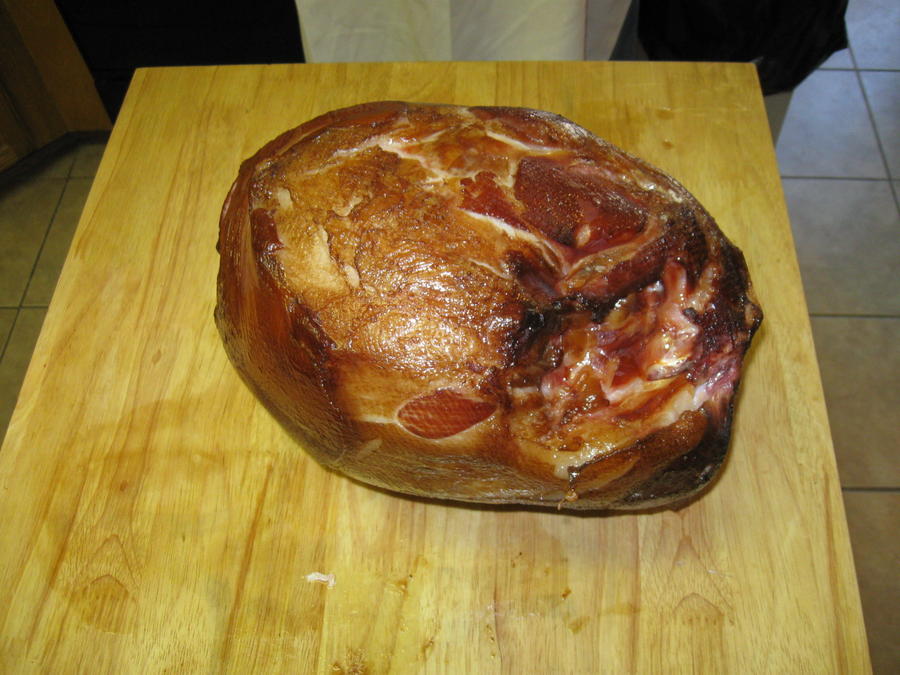
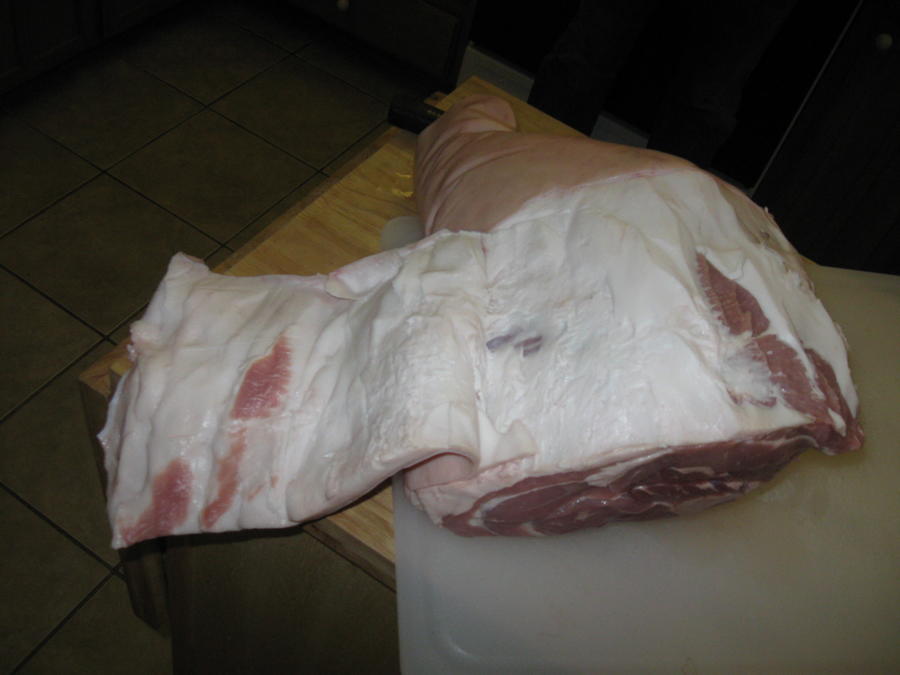
1st was to remove the excess skin and backfat from the lower half of the leg:
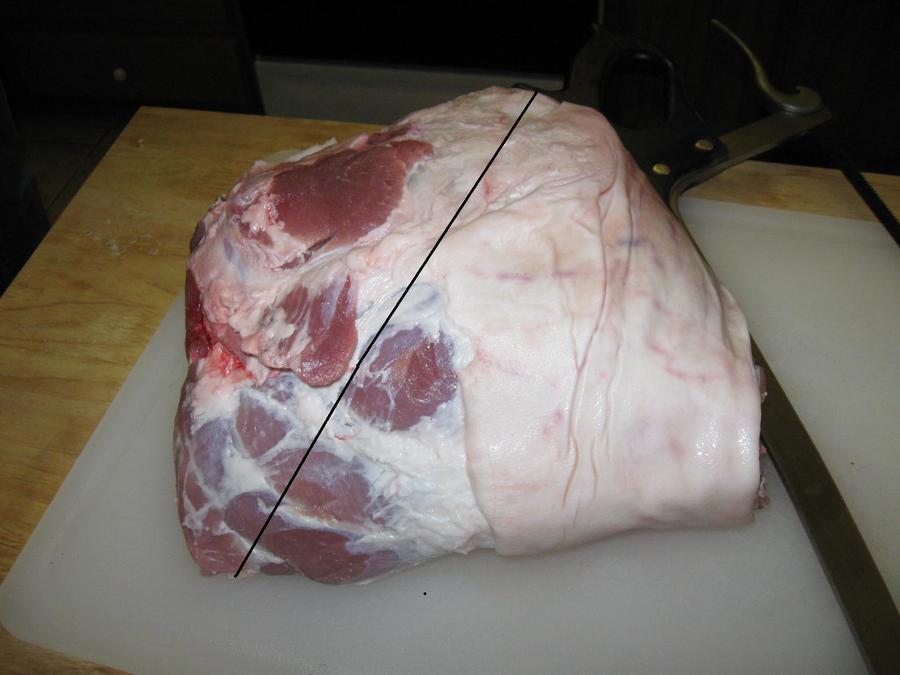
Then, cut and saw off the hock:
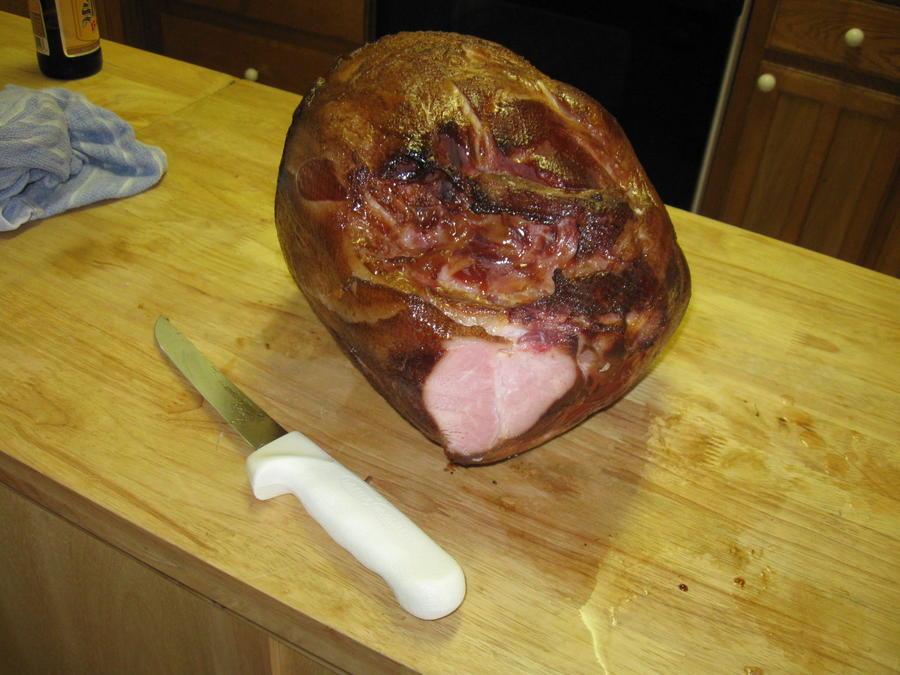
The line drawn demonstrates the butt, on the left, and the shank, with skin, on the right.
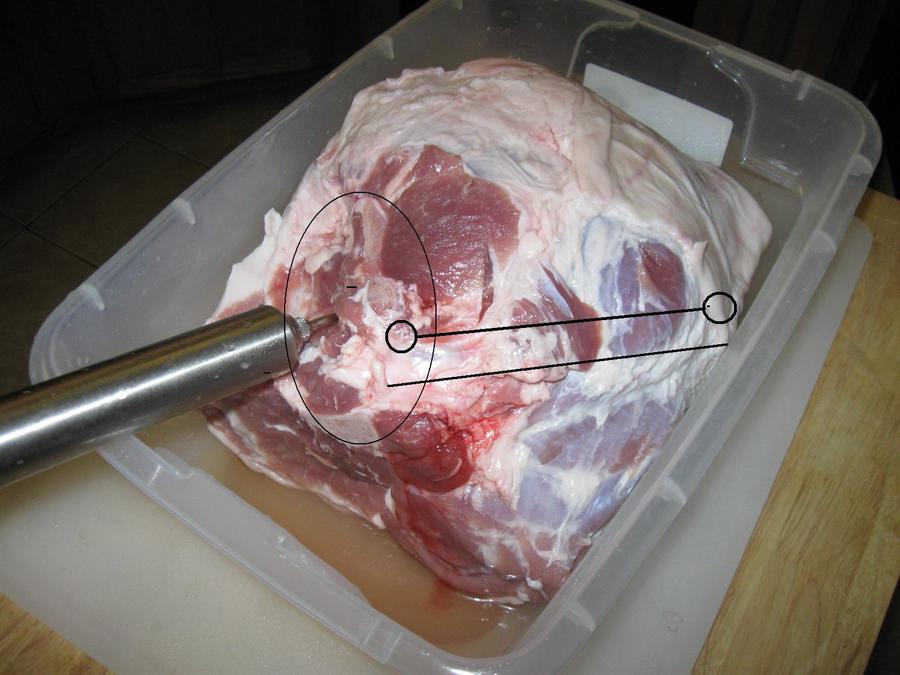
Now, the leg is shaping up! I put it in a bucket and the most important thing was to show them how to pump it properly so the brine gets in around the bones.
You have a short bone leading to the pelvis coming off the hip, then the femur from the pelvis, then the tibia/fibula of the lower leg from the femur. The only bone showing is the pelvis, or aitch bone.
This is where most the pickling is done, through the hole in the aitch bone. If you feel under the aitch bone about a ½" you will discover a hole in it about ½" in diameter. You push your brining needle through the hole into the leg in four distinct quadrants: upper left, lower left, upper right and lower right and pump at least 4 oz. of brine into each. Then, you push your brining needle into the butt end of the ham and brine around the pelvic knuckle, then in the top where the hock was and brine around the upper femur knuckle, then lastly into the sirloin tip portion and along the femur bone. You have now added about 28 oz. of brine to the leg, or about 10% of it's weight all in and around the 3-bone structure of the ham. Now, the meat can cure from both the outside-in and the inside-out, eliminating sour-bone and interior spoilage before it's cured all the way through! Pictures show the brining needle through the hole in the aitch bone:
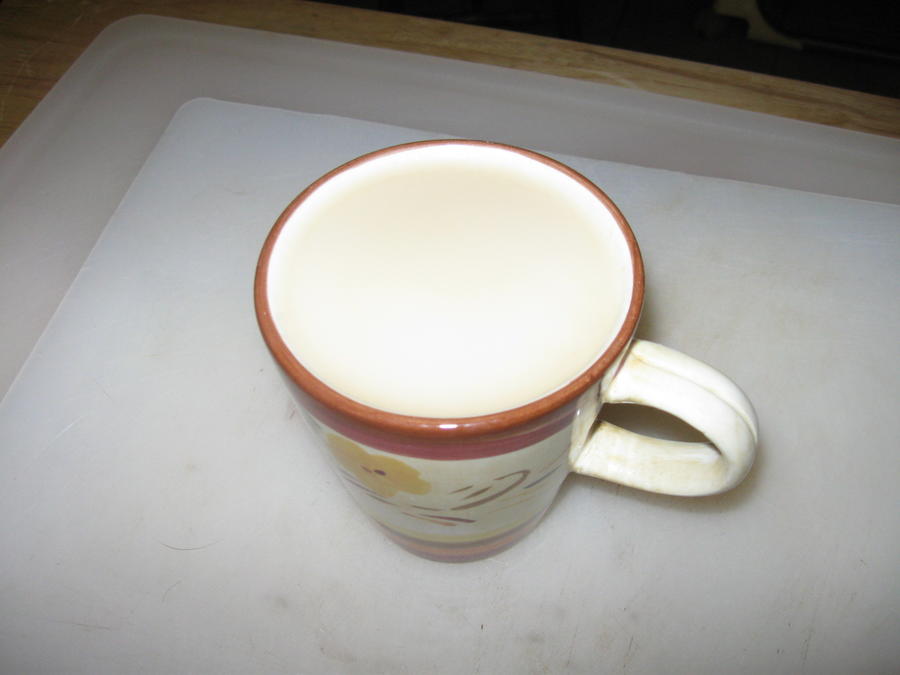
Brine is:
1 gal. cold water
1 cup salt
1 cup sugar
1 cup brown sugar
1 tbsp. DQ Cure (or any #1 cure, but not Tenderquick with salt added)
Once injected, put into 5 gal. bucket and cover completely with brine (took 2 gallons to do so) until ham is floating, then hold down with a gallon ziploc bag half full of water. Put in refrigerator for 30 days.
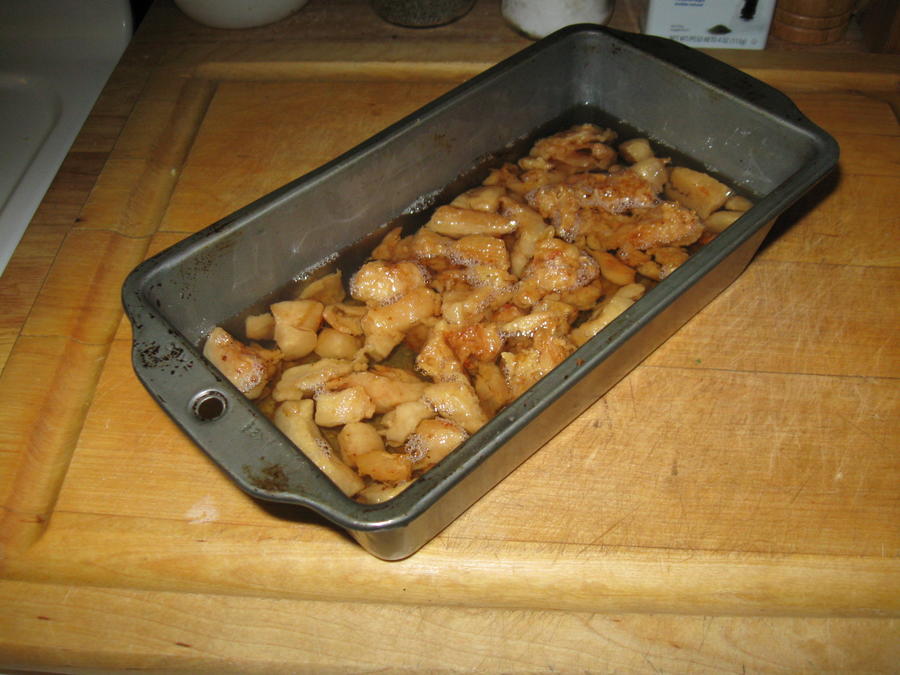
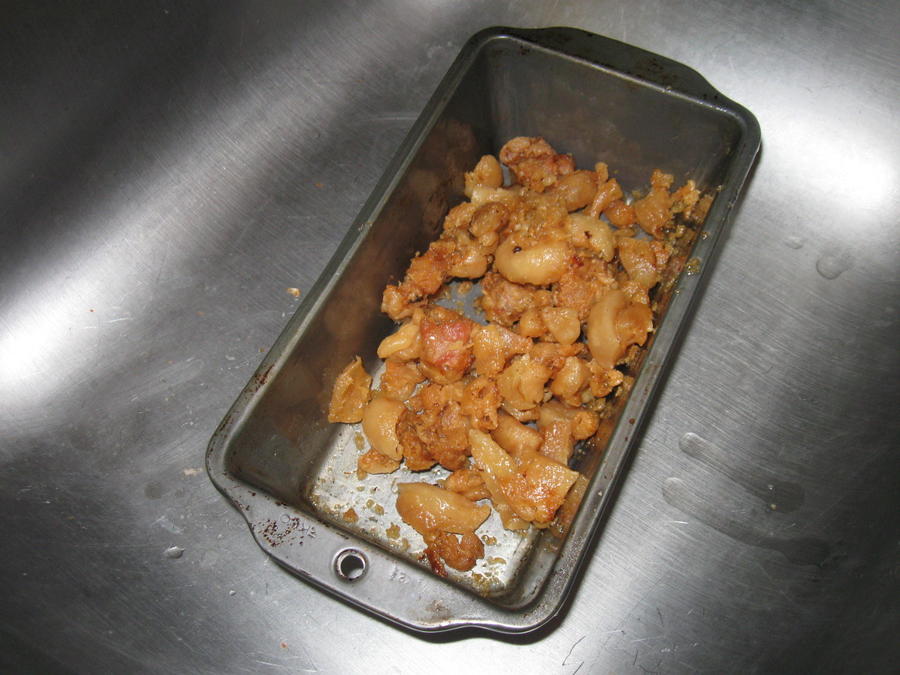
I skinned the fat off the strip I took off, cut into ½" cubes and it's in the oven rendering down for lard! I saved the hock to add to saurkraut some evening!
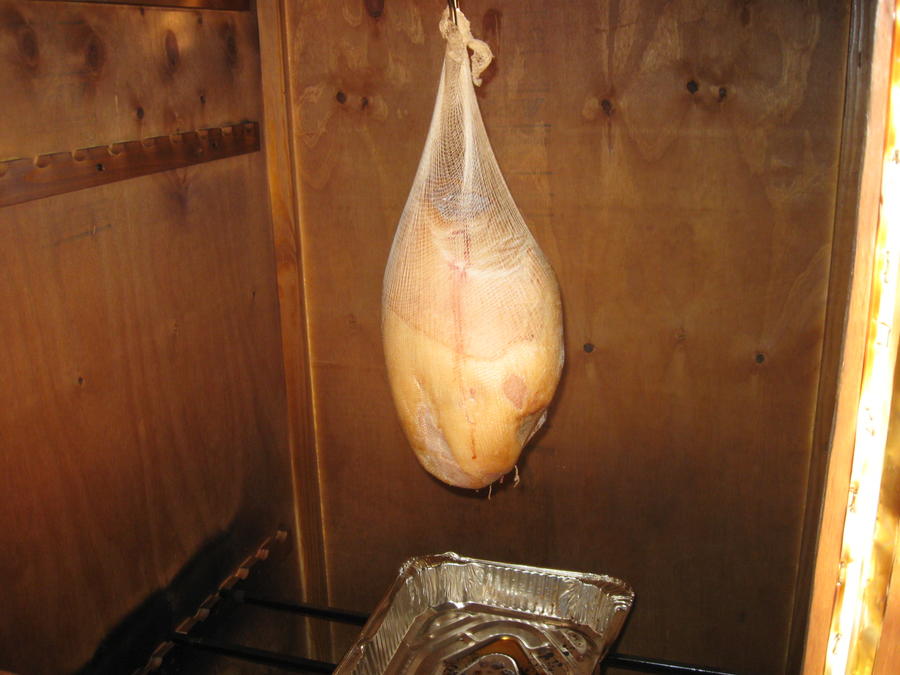
I will pull this from the brine Saturday evening, March 27th, and leave in refrigerator overnight to dry. I'll stockinette it Sunday morning and smoke and cook to 140° internal, then refrigerate until Easter Sunday, and then heat to 155° internal in the oven, about 15 min. a lb. and serve! I'll bone it out into it's subprimal sections (sirloin tip, top round, bottom round/eye, hock) and serve sliced for dinner!
I'll post pics along the way!
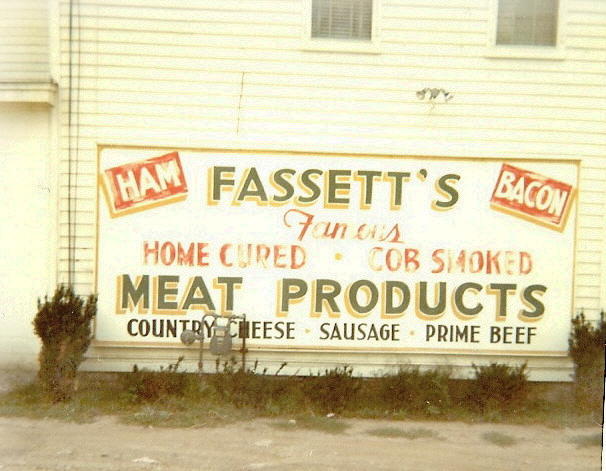
this year I have the means to try and recreate these for my family, what with the smoker and the right equipment.
I ordered a hog leg from my meat manager friend David Morgan at Green Oaks Albertson's in Fort Worth; it came in at about 17 lbs. with the hock attached, the foot off:
It was 99¢ lb. I had both my sons come over to the house to watch me process it so they could learn what and how to do it.
1st was to remove the excess skin and backfat from the lower half of the leg:
Then, cut and saw off the hock:
The line drawn demonstrates the butt, on the left, and the shank, with skin, on the right.
Now, the leg is shaping up! I put it in a bucket and the most important thing was to show them how to pump it properly so the brine gets in around the bones.
You have a short bone leading to the pelvis coming off the hip, then the femur from the pelvis, then the tibia/fibula of the lower leg from the femur. The only bone showing is the pelvis, or aitch bone.
This is where most the pickling is done, through the hole in the aitch bone. If you feel under the aitch bone about a ½" you will discover a hole in it about ½" in diameter. You push your brining needle through the hole into the leg in four distinct quadrants: upper left, lower left, upper right and lower right and pump at least 4 oz. of brine into each. Then, you push your brining needle into the butt end of the ham and brine around the pelvic knuckle, then in the top where the hock was and brine around the upper femur knuckle, then lastly into the sirloin tip portion and along the femur bone. You have now added about 28 oz. of brine to the leg, or about 10% of it's weight all in and around the 3-bone structure of the ham. Now, the meat can cure from both the outside-in and the inside-out, eliminating sour-bone and interior spoilage before it's cured all the way through! Pictures show the brining needle through the hole in the aitch bone:
Brine is:
1 gal. cold water
1 cup salt
1 cup sugar
1 cup brown sugar
1 tbsp. DQ Cure (or any #1 cure, but not Tenderquick with salt added)
Once injected, put into 5 gal. bucket and cover completely with brine (took 2 gallons to do so) until ham is floating, then hold down with a gallon ziploc bag half full of water. Put in refrigerator for 30 days.
I skinned the fat off the strip I took off, cut into ½" cubes and it's in the oven rendering down for lard! I saved the hock to add to saurkraut some evening!
I will pull this from the brine Saturday evening, March 27th, and leave in refrigerator overnight to dry. I'll stockinette it Sunday morning and smoke and cook to 140° internal, then refrigerate until Easter Sunday, and then heat to 155° internal in the oven, about 15 min. a lb. and serve! I'll bone it out into it's subprimal sections (sirloin tip, top round, bottom round/eye, hock) and serve sliced for dinner!
I'll post pics along the way!
Last edited: