Some of the links on this forum allow SMF, at no cost to you, to earn a small commission when you click through and make a purchase. Let me know if you have any questions about this.
Howdy ya all, my name is gona be chipmunk, and I'm a newbie to this forum. First let me say that folks like scooter magoo (sorry if I mis spelled) and a lot of other brothers and sisters of bbq on this site have helped enormously on my build. It seems to me that I have to ask a stupid question which is has any one out there ever built a smoker thas uses a pellet pooper for higher temp. smoking, and a electric element with a separate pid controller for low temp smoking. Got myself a pellet pro hopper system from Smoke Daddy (looks killer) ,thinking that would cover most all of my smoking needs, but as everyone knows,building your own smoker makes you smarter, so now I'm wandering since the pellet pro in my 50's era Frigidare sounds like it probably wont be able to get down to the temps I'm looking for to do salmon proper, is there something I'm missing, or am I regressing to my pre-build stupidity?
Now that's what I'm talkin about! In a former life I was in the custom paint world, murals, graphics and such, but a lot has changed over the years,not so sure i'll go down that road, but what I'm considering is a camo wrap, pretty spendy though!
Why don't you just go electric with the smoke daddy or amzn for all your smoking need. I have a dual auberins controller and an 1500w element and it gets as hit as I want or it stays at ambient temp. Sounds complicated to have 2 heating sources in the same unit.
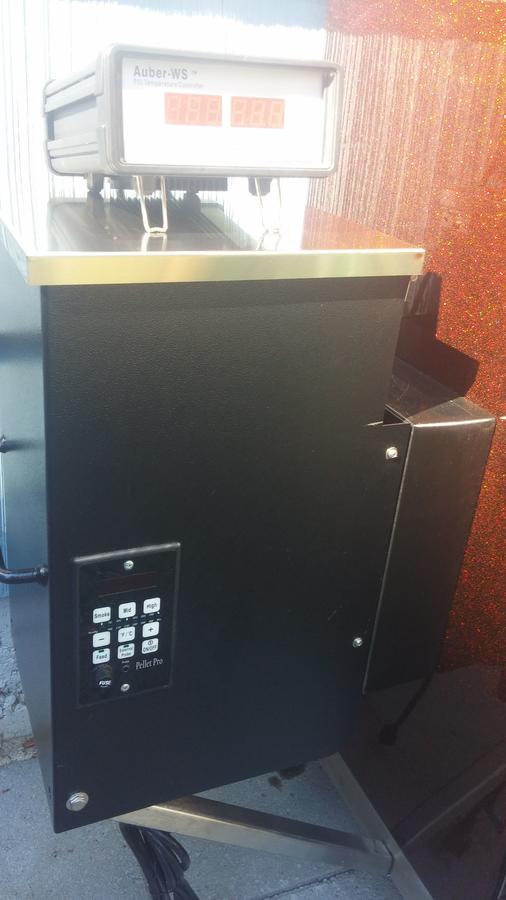
In this shot of the inside of the beast, you would have to look close, but I have a cover over the heat shield over the burner, it's fabbed out of a 1/4" piece of S.S. plate that also acts as a support for a 1500 electric element that I use for ultra low temp smokes, using a auberins controller which works extremely well for step type temps. also you can see a tube of perforated S.S. that I made a quasi smoke tube, seems to smoke for between 4- 6 hrs using pellets.
I have to apologize for the post, not good with this kind of technology I think I got this all backwards, but you get the idea, I do have to thank all the folks on the site who have given me the inspiration to proceed with this project, people like Scooter Magoo, and such, maybe if the folks out there like what they see, I can try to post some more pics or info, well see if this works, GOOD SMOKES EVERYONE!
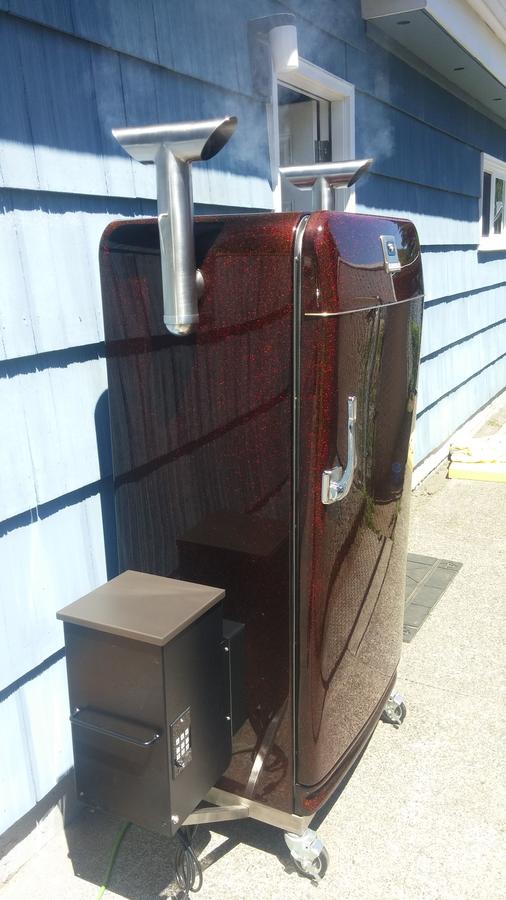
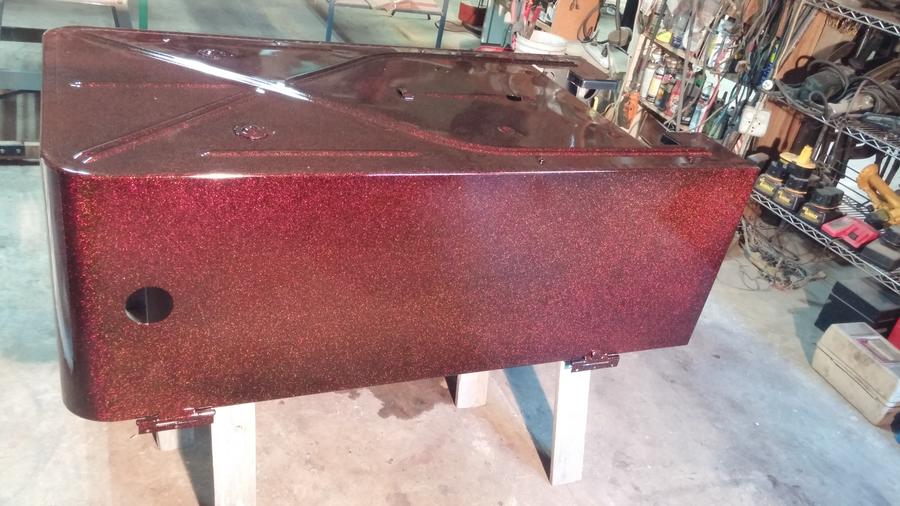
Here is a better shot of the color, the thing is wicked in the sun, it flashes the rainbow as you move around it! also in this pic you can see the S.S. smokestacks that I welded together, A lot of work sanding the seams! plus it really really works! if you look close you can see that I added a spacer between the PelletPro and the side of the fridge to center the burner in the fridge, OCD I guess!
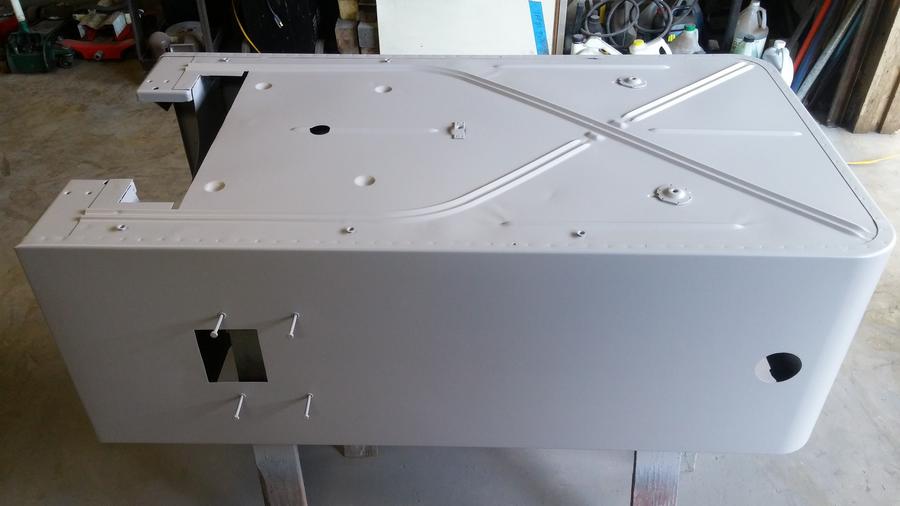
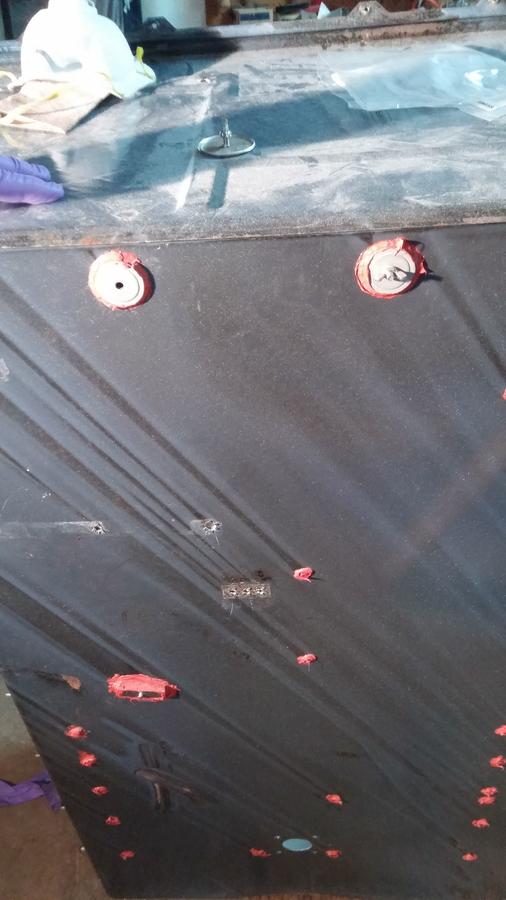
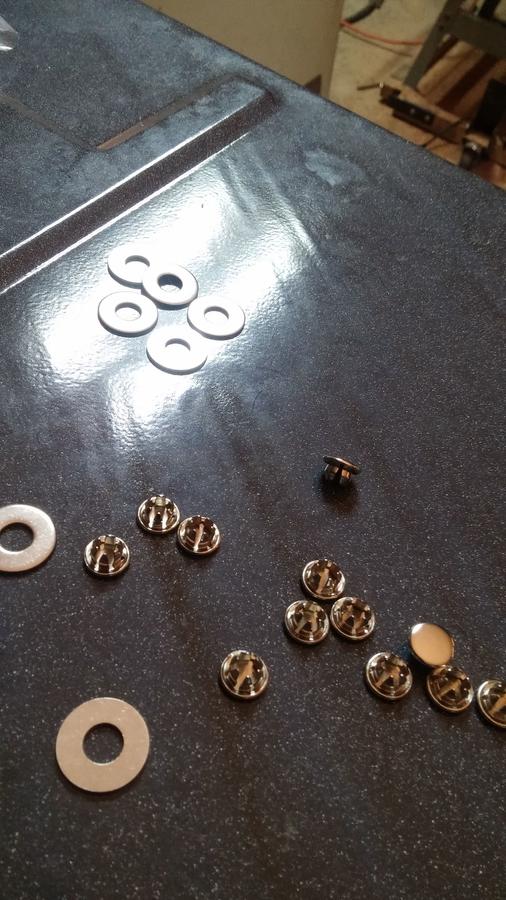
I'm going to drop back and punt for a moment, these are what I used to fill all the holes in the inner liner of the fridge, to make sure they wouldn't come out, I put a dap of high temp rtv on the back of each one.
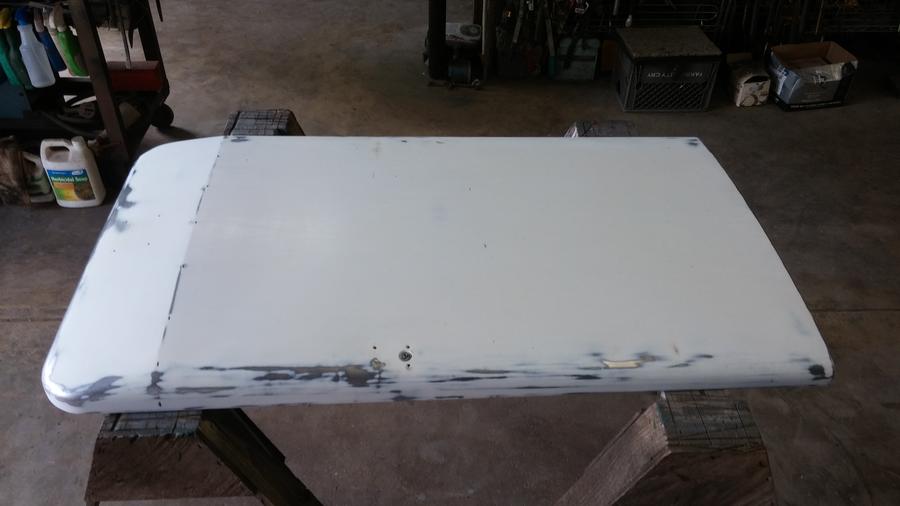
This is pretty typical for most paintjobs I would imagine, In a former life I was in the custom painting world, and at this point I wasn't quite sure where I was heading with this thing! I had at one point considered a camo vinyl wrap, but at about $300- $400, na!
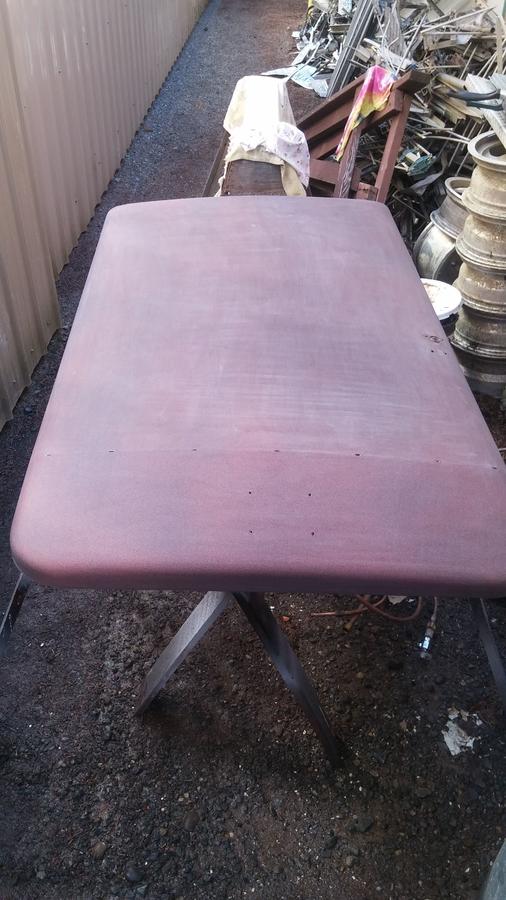
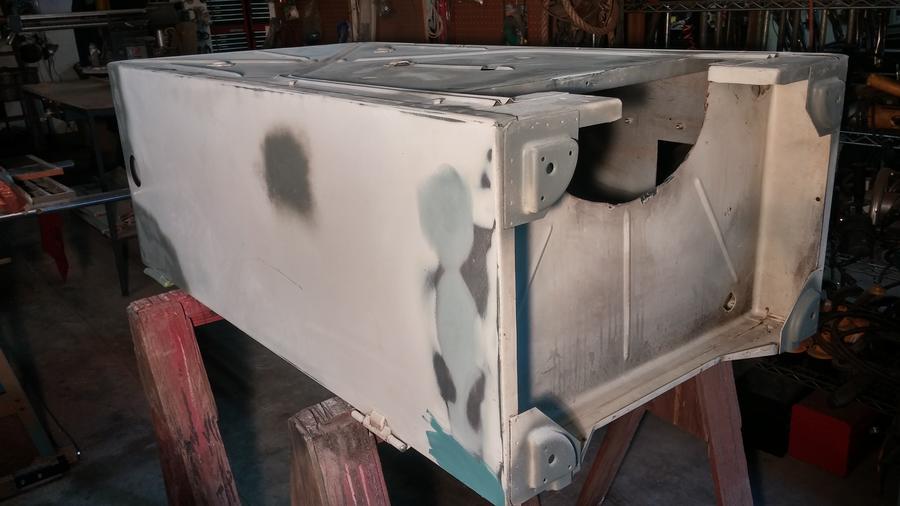
After most of the fitting process had been completed, I decided I would replace all the insulation with roxul, when I had removed the inner liner of the fridge I found copious quantities of tar that had been used as a seam sealer, sure was glad to find this out before moving on, but was a pain to remove.it was a along the back wall, and in the floors also in the door!
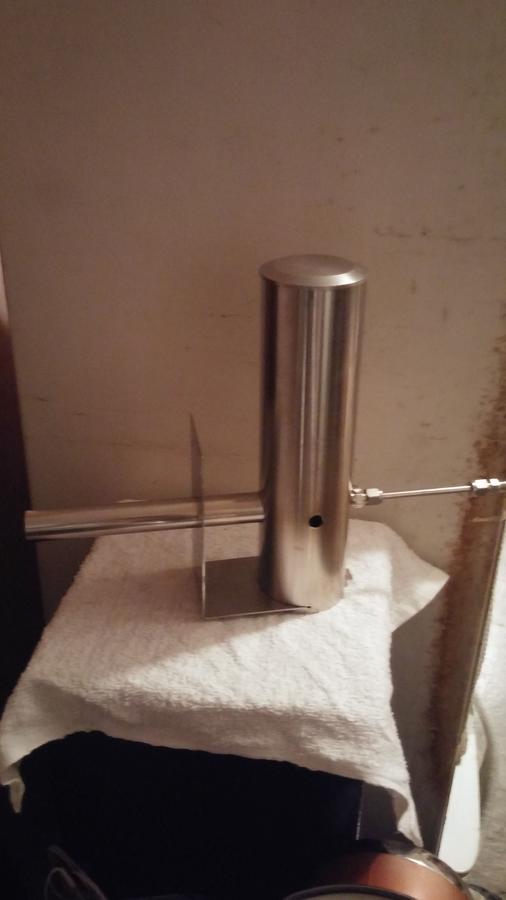
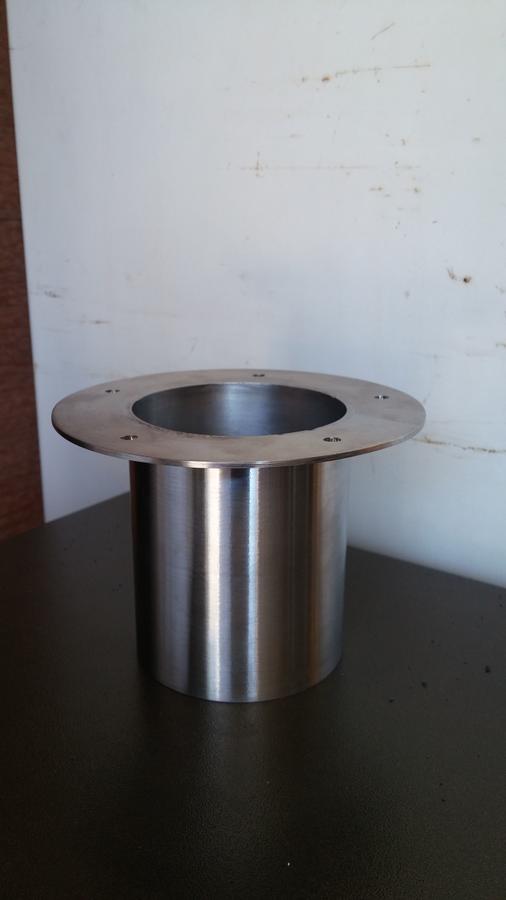
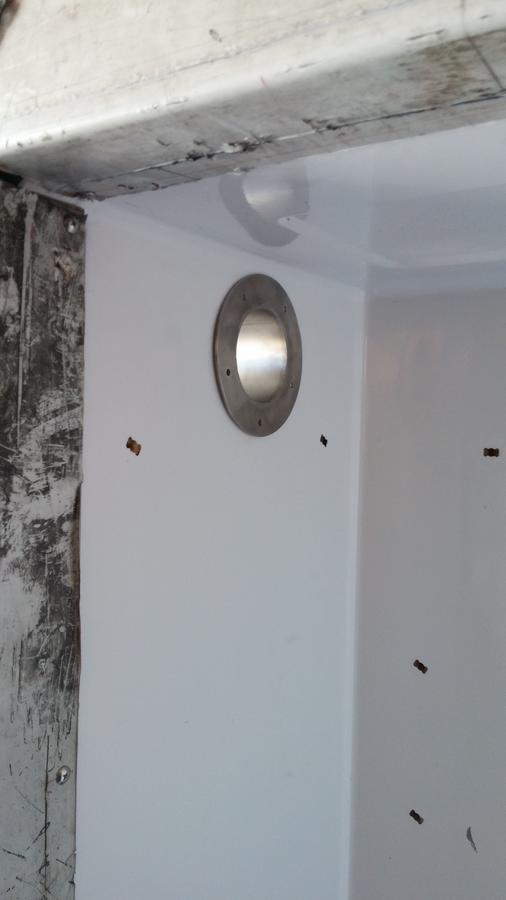
Not sure what I did for this photo, seems to be extra large, but you can see the inner smokestack flange, that is going to be used as a insert type of fitting which will allow me to remove the smokestacks for cleaning/ removal for storage.
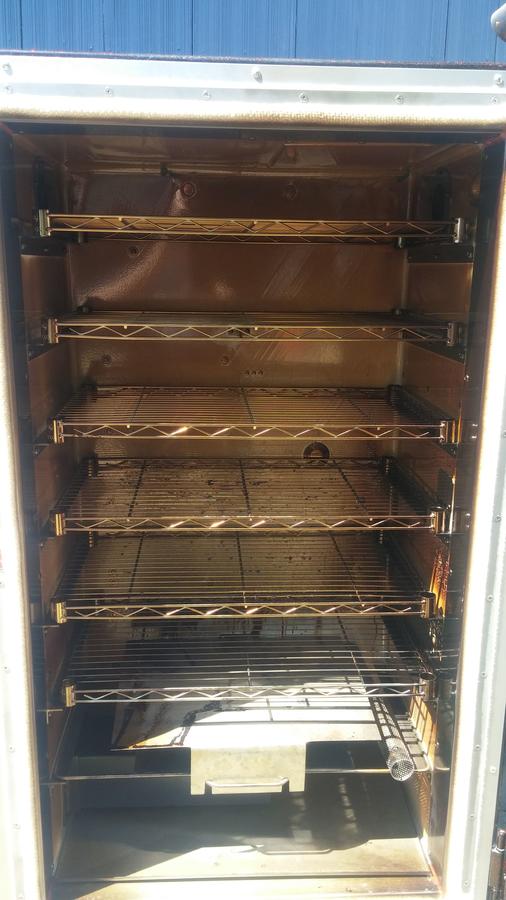
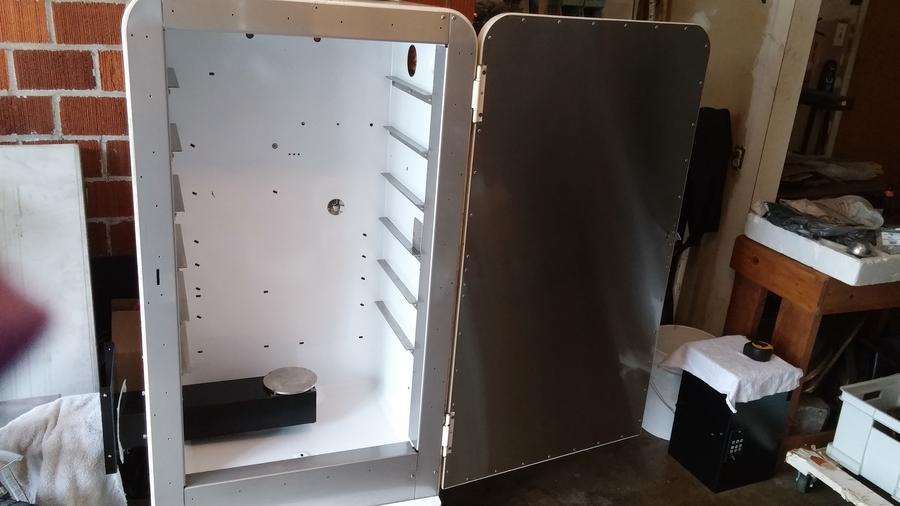
I'm going to give this a go and start pretty much from the beginning of my smoker build, as you can see in the photo, I've already have the inside of the door skinned with S.S. have a pellet pro installed from SmokeDaddy, which are some fine folks to deal with!
the inner flange was a piece of pipe that I turned down on a lathe, then welded a flange onto that to be able to mount it from the inside. The reason that I turned down the pipe was to facilitate the smoke stack being able to slide onto it from the outside, with a nice snug fit, the tubing I used on the smoke stack is 3" O.D. .065 wall S.S. what it comes down to is that it pretty much was all hand built. hope that helps
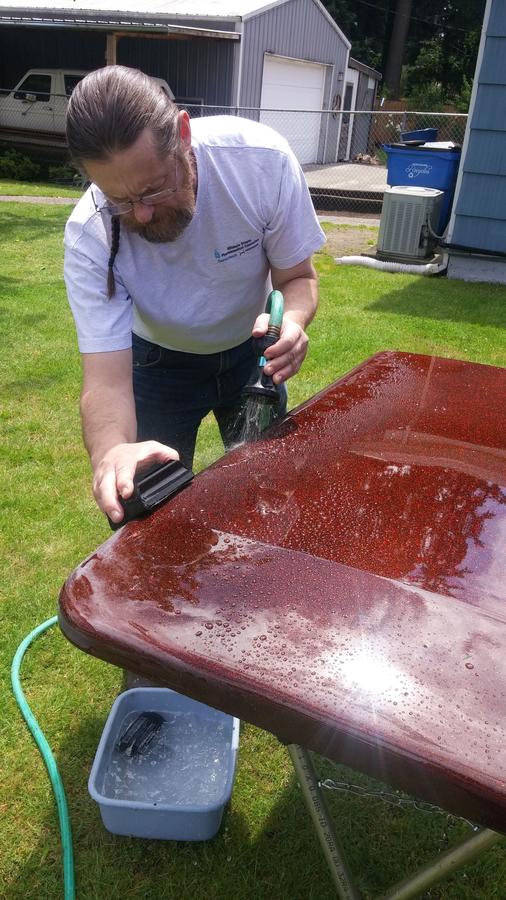
Well, truth be told, painting the beast was defiantly spendy, but I was fortunate enough to get some of the paint and primer from my eldest brother who had been given some of what I used .The black base was a straight enamel, while the primer, the carrier for the metal flake, and the clear used a hardener, by the time I was done it cost more than I had planed, but the end result was worth it!