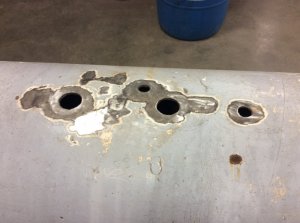
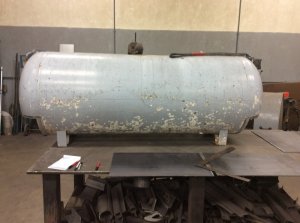
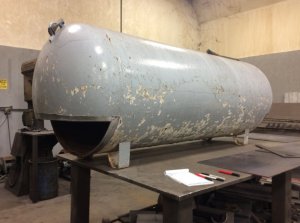
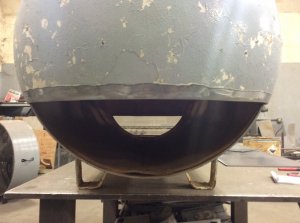
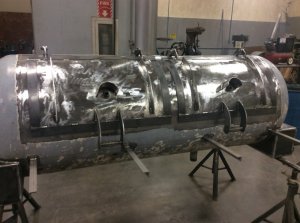
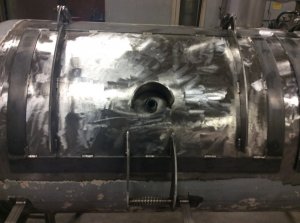
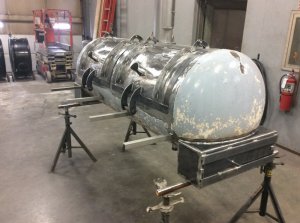
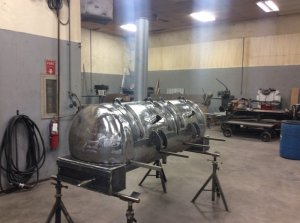
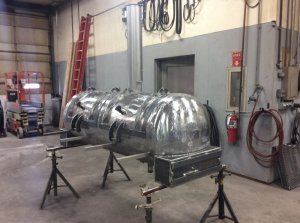
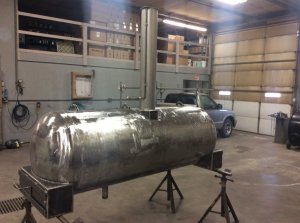
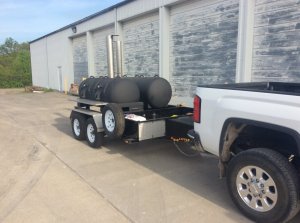
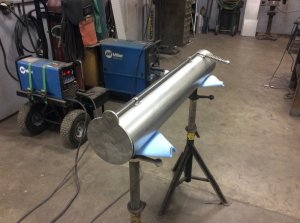
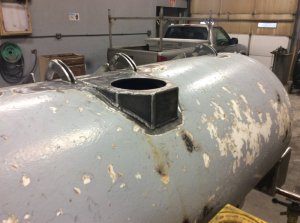
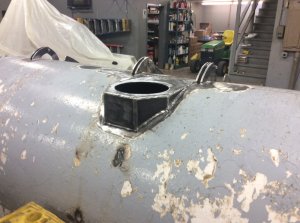
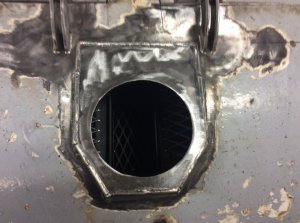
Have not had much time to work on the grill. Did get the valves and gauges removed from the top of tank, openings cut out for air inlets on both ends and pieces cut out to make inlet damper boxes. Hope to get time this weekend to do some work.
250 Gallon Propane Tank Build
- Thread starter Johndeere1
- Start date
-
Some of the links on this forum allow SMF, at no cost to you, to earn a small commission when you click through and make a purchase. Let me know if you have any questions about this.
You are using an out of date browser. It may not display this or other websites correctly.
You should upgrade or use an alternative browser.
You should upgrade or use an alternative browser.
SmokingMeatForums.com is reader supported and as an Amazon Associate, we may earn commissions from qualifying purchases.
Thank you. We will definitely enjoy and put to good use.VERY NICE !!! You will enjoy it for sure....
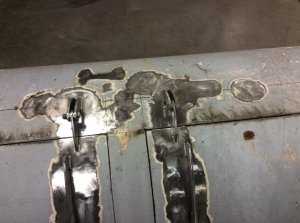
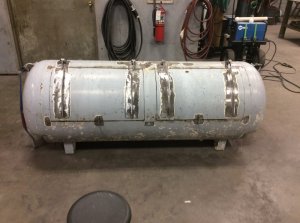
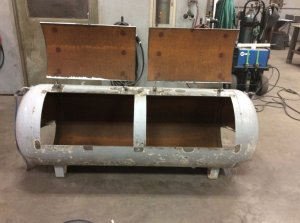
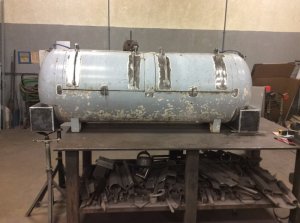
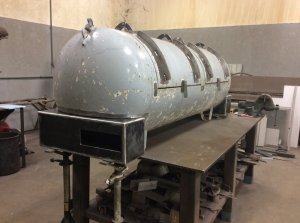
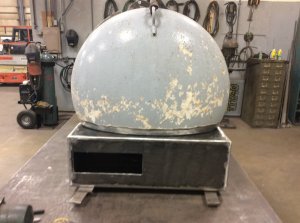
Finally got some time to work on grill. Patched the valves holes. Got the door braces made and welded on. Door hindges welded on. Cut out doors. Made intake air damper boxes. Fit boxes to tank and cut out holes.
Attachments
-
 83BCC6EA-6474-4762-AFEB-751AB756D4C1.jpeg116 KB · Views: 547
 -
 ED3503E9-83A4-4EE2-B437-1A25DBDF97DE.jpeg115.5 KB · Views: 550
 -
 39152637-B0E9-4B69-BC70-C8C0C25613D2.jpeg109.5 KB · Views: 548
 -
 EEAF39EF-8549-47E8-AE86-58A63278914E.jpeg110.7 KB · Views: 541
 -
 F3F414D3-3374-4E63-9713-B5E6C3BDA376.jpeg109.6 KB · Views: 536
 -
 9201CC7A-67E7-4EC3-B7DE-1362A81C4DE5.jpeg115 KB · Views: 548
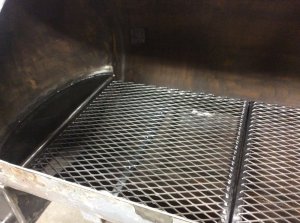
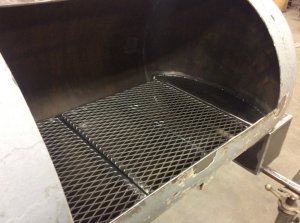
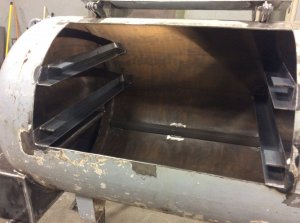
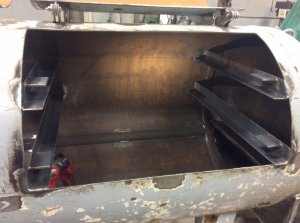
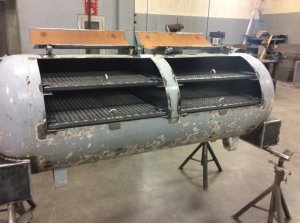
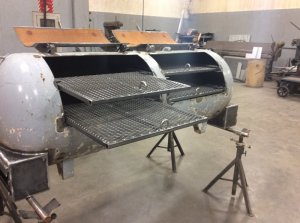
Been awhile but finally got a weekend to work on grill. Charcoal racks in. Rails for food racks in. Food racks made. Ready to start on door seal straps, door handles and exhaust stack.
Attachments
-
 1AC2FBEF-61CD-470F-90A2-DE0845A8C2E0.jpeg162.3 KB · Views: 531
 -
 F95CFB65-64F9-4B58-8AD7-87D3E2B5ADFB.jpeg131.1 KB · Views: 532
 -
 4E4541AF-7960-484F-BE4A-336C5F496C83.jpeg111.8 KB · Views: 553
 -
 866602E5-200C-41DC-9E04-9C75668C4745.jpeg115.3 KB · Views: 531
 -
 E7DF74A3-9689-4053-884D-B22B1689A2DA.jpeg116.9 KB · Views: 540
 -
 44429FED-1604-4F3F-9B1F-65CDBE603D7A.jpeg127 KB · Views: 579
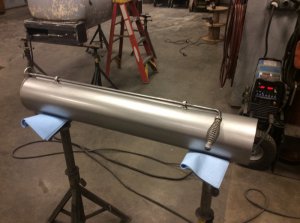
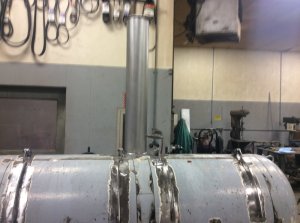
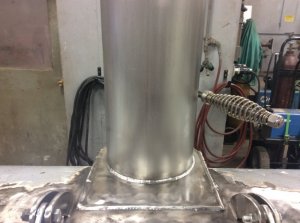
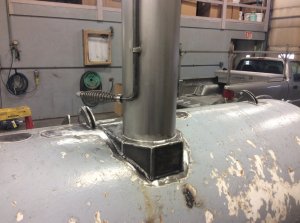
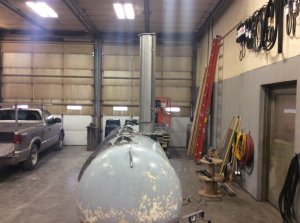
Made the stainless exhaust and damper. Made plenum on CC and got the stack welded on. Next is trimming out the doors. Haven’t had any spare time work on it. Hopefully can work on it the next two weekends.
Attachments
-
 E6FFC19F-79B9-4F33-B6EB-6F87C77397F1.jpeg102.2 KB · Views: 518
 -
 7D0E0865-0DD0-4EE4-AC58-F398F6779534.jpeg115.1 KB · Views: 488
 -
 A5508689-F988-4AD6-8CB2-B655FA3A84A5.jpeg107.8 KB · Views: 488
 -
 9485727C-C9F0-4A80-9322-9397523EAE1F.jpeg125.2 KB · Views: 494
 -
 F6677702-AE5D-4E7D-B5B4-BC2B0A5D82A6.jpeg119.7 KB · Views: 493
 -
 CB1838AF-4CF6-4E8A-8B29-8AE41A71A9CF.jpeg101 KB · Views: 484
 -
 F24071A9-CD34-41AA-A0F5-FBA7505DF364.jpeg106.3 KB · Views: 493
 -
 2B2B48A3-C4CB-4C34-B640-4957A819B6F6.jpeg120.5 KB · Views: 497
 -
 32B7D62A-B7C8-4A41-B4B5-24E955B368C8.jpeg122.7 KB · Views: 562
Had time today to trim out the doors. Get door handles made and welded on. Weld on threadolet for Tstats and half round guards. Got 2” drain installed. Ready to sand off old paint and get ready to make it black.
Attachments
InThePittBBQ
Smoke Blower
Worked 4 hours with an end grinder and flap disk. Finally got the 5 coats of paint off. Cleaned all up and ready to blow on some paint.
Attachments
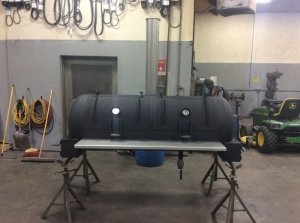
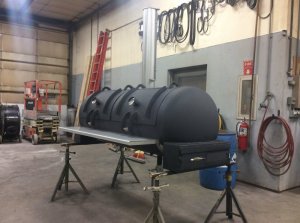
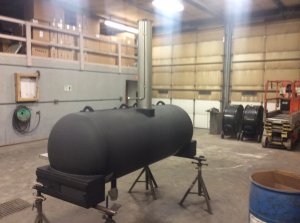
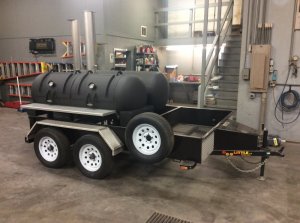
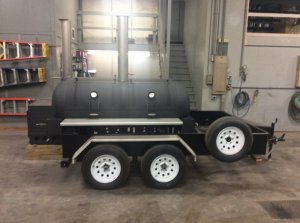
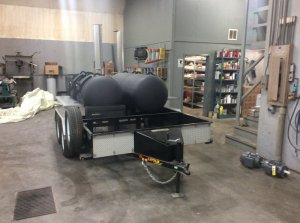
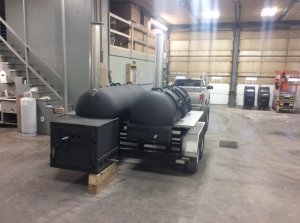
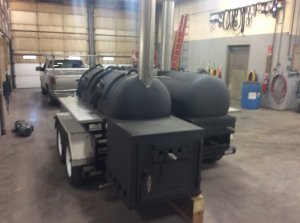
Finally got it painted. Made the stainless shelf under the cc doors. Got tstats put on. Drain valve. Set it on the trailer and ready to weld it on. After tomorrow should have it all welded up. Plan next weekend to build a fire in both and season them.
Attachments
-
 7CC76775-D39C-4BCA-99AA-BDEEEACA2E57.jpeg105.1 KB · Views: 539
 -
 78FC7B28-5D34-42CD-9E5B-0C3684C4FBFD.jpeg118.8 KB · Views: 519
 -
 894211D5-CB07-41A3-82F8-5F25BBFA8B19.jpeg100.3 KB · Views: 514
 -
 AE9A48E9-2B3D-420E-884C-33E5C5B650BF.jpeg123.4 KB · Views: 517
 -
 2B015EC4-4E72-4823-8C4A-D5D9D889D5C5.jpeg101.4 KB · Views: 513
 -
 28548B84-6270-4814-8E4D-43DACC24ECD0.jpeg117.6 KB · Views: 488
 -
 A68832B4-2DAD-460D-97E2-7C54DD5151AC.jpeg108.1 KB · Views: 488
 -
 C228DF18-991E-4507-958D-22970B598572.jpeg92.1 KB · Views: 490
Not yet. Just got it all done yesterday. Plan to fire both up next weekend and season the metal. Then ready to cook.Very nice work ... did you get to fire her up yet
InThePittBBQ
Smoke Blower
Got both of these fired up and seasoned today. Ran smoker for about 3 hours. Took 45 minutes to get up to 250 degrees. Held temp great. Firebox end ran 10 to 12 degrees cooler than opposite end. Air flow seemed to be good. Ran both lower dampers about 1/4 open and top damper in door 1/2 open. Maintained 250 degrees steady. Started with charcoal and burned 6 pecan splits. The upper food rack seemed to run 35 to 40 degrees hotter than lower rack. Ready to cook. Have fund raiser first weekend in June to feed 150 volunteer fire fighters. Doing brisket and pulled pork. Will try to post pictures. Would like to thank all who helped with questions and design. Anyone looking to build one of these use the formulas and numbers from this site and you will end up with an excellent smoker.
Attachments
InThePittBBQ
Smoke Blower
No one's touching that pit for their first go around, flat out impressive! Sounds like it run's right up there with the best of them from any builder great job have fun with it and post some pics of cooks down the road.
SmokingMeatForums.com is reader supported and as an Amazon Associate, we may earn commissions from qualifying purchases.
Similar threads
- Replies
- 6
- Views
- 3K
- Replies
- 2
- Views
- 9K
- Replies
- 3
- Views
- 1K
- Replies
- 10
- Views
- 2K
- Replies
- 110
- Views
- 9K
Hot Threads
-
Is my bacon bad? Please help
- Started by hooked on smoke
- Replies: 25
- Bacon
-
Featured Christmas Eve Lasagna , salad and sourdough
- Started by chopsaw
- Replies: 23
- General Discussion
-
Featured Merry Christmas
- Started by pineywoods
- Replies: 21
- Blowing Smoke Around the Smoker.
-
New Goodwill pan . Tater tot hotdish ?
- Started by chopsaw
- Replies: 20
- General Discussion
-
Cowboy Queso dip on the Egg 🔥
- Started by TimboBBQ!
- Replies: 20
- General Discussion


