My latest creation....

  • Some of the links on this forum allow SMF, at no cost to you, to earn a small commission when you click through and make a purchase. Let me know if you have any questions about this.
SMF is reader-supported. When you buy through links on our site, we may earn an affiliate commission.
That looks amazing!  Must be nice to have all the toys needed to put that together.  In reference to your question about the BBQ regulator, get a high pressure regulator (10psi).  There are lots of places that carry them, you might even have one laying around that wonderful shop of yours.  If you do, it SHOULD be  RED in color (indicates high pressure).  One word of caution.  If you do use a high pressure regulator, open it slowly, otherwise you will probably trip the excess flow safety in the propane tank, and you will not get any flow..  If this happens, just shut off the tank for about 30 seconds, and then open the tank valve very slowly.  You might want to consider a larger propane tank as well.  A 20lb cylinder won't last too long flowing at ~ 10psi through a 1 1/2 " pipe.
 
Last edited:
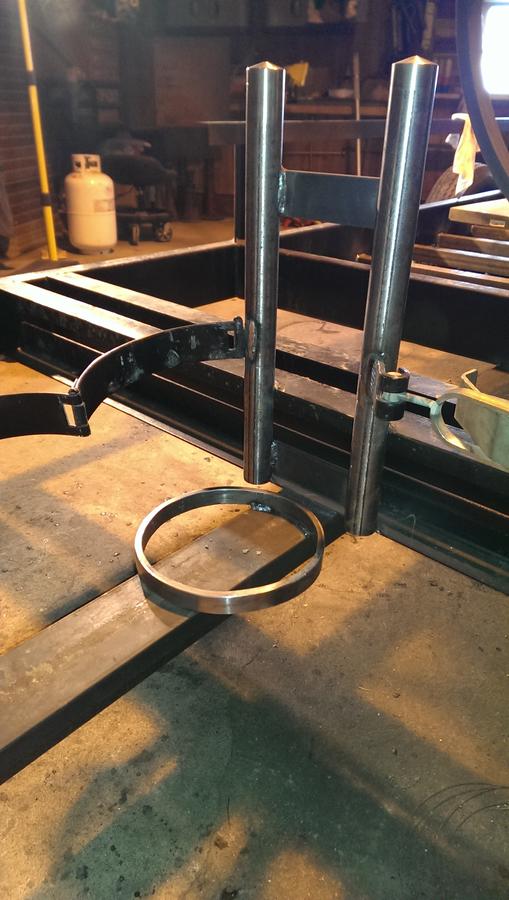
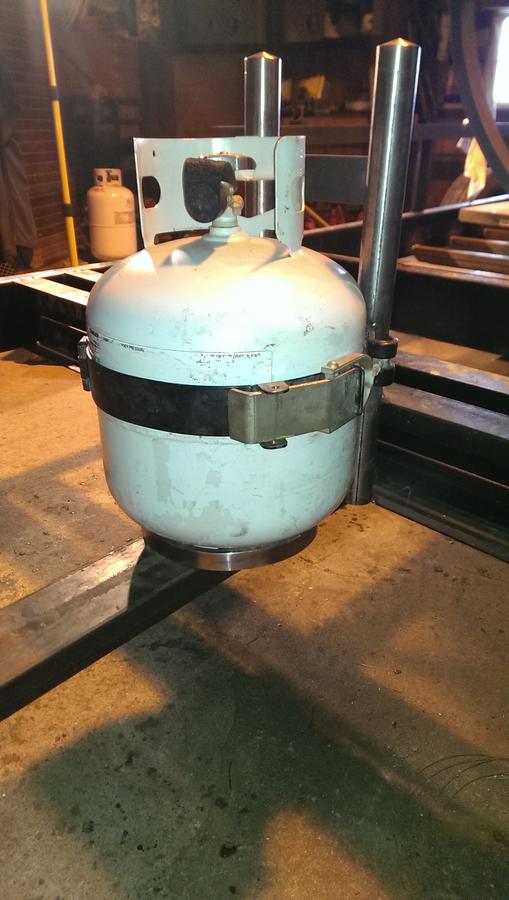
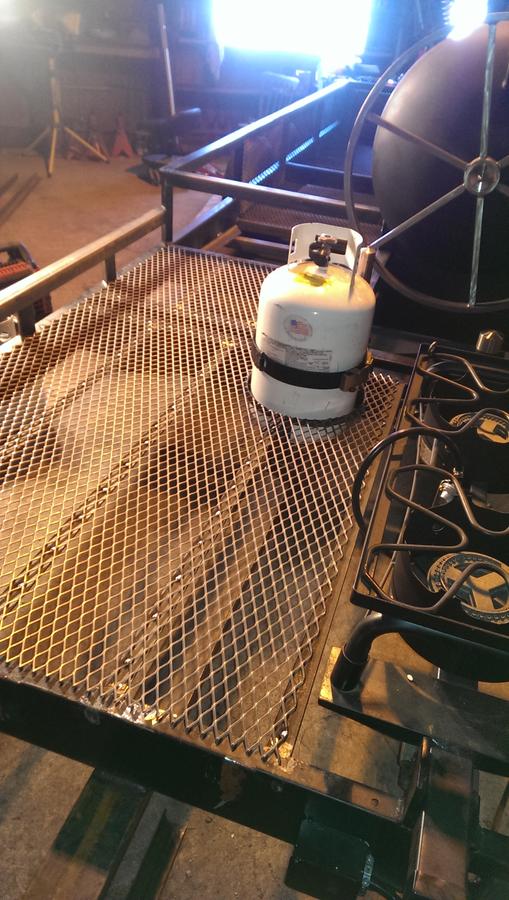
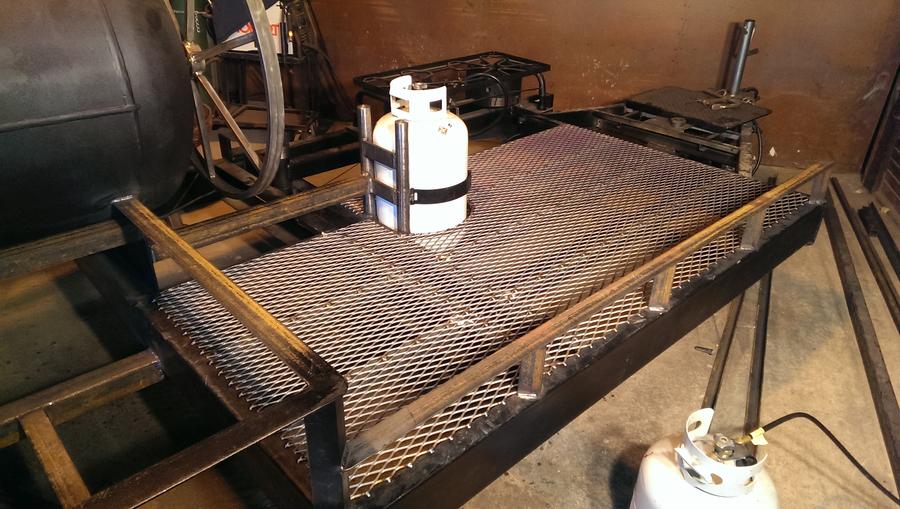
Well, time for an update. Got a few things done while freezing my toes off. Got a propane tank holder in place. As suggested, I think I'll build another one to match.


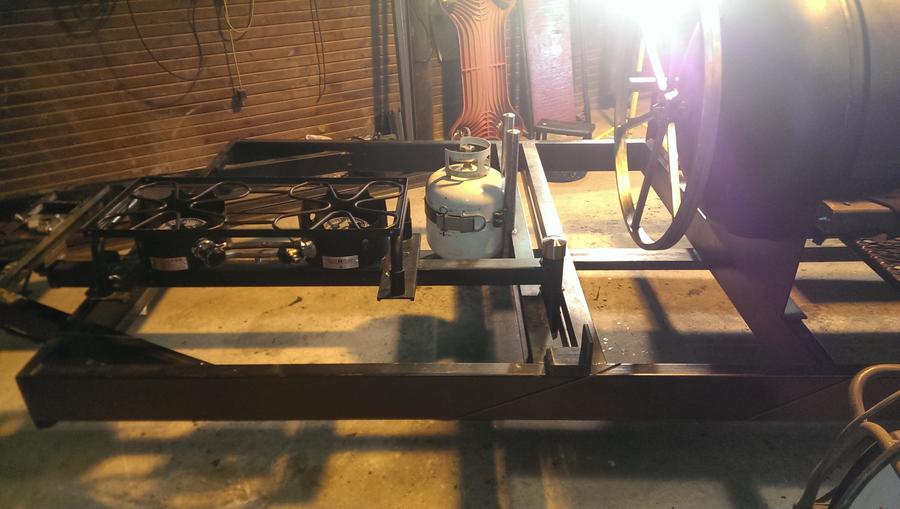
Had to make sure the hose was the right length and flowed properly...
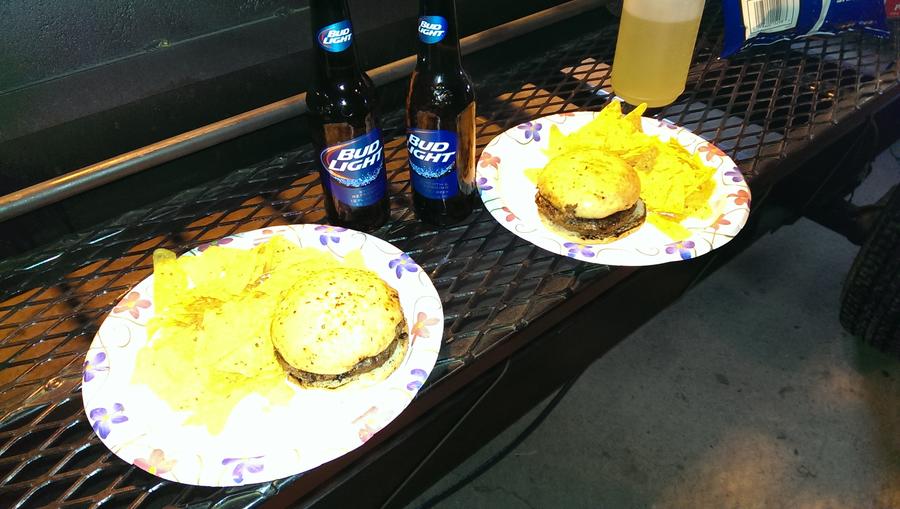

Lunch break.....


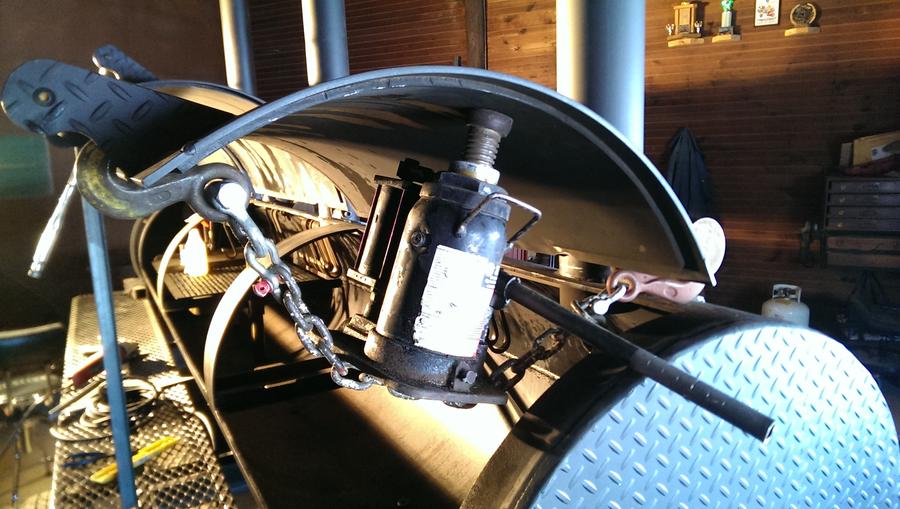
The counter weights were bugging me so I cut them off and glued on a new set. The old ones were @ 76 lbs. The new ones weigh in @ 97 lbs. I also  changed the geometry a little. The doors now open easily with one hand and bottom out against the back of the tank when open. It sucked spending all the extra time and material on this step, but it was well worth it. Oh well; trial and error. Only took two times to get this one right.


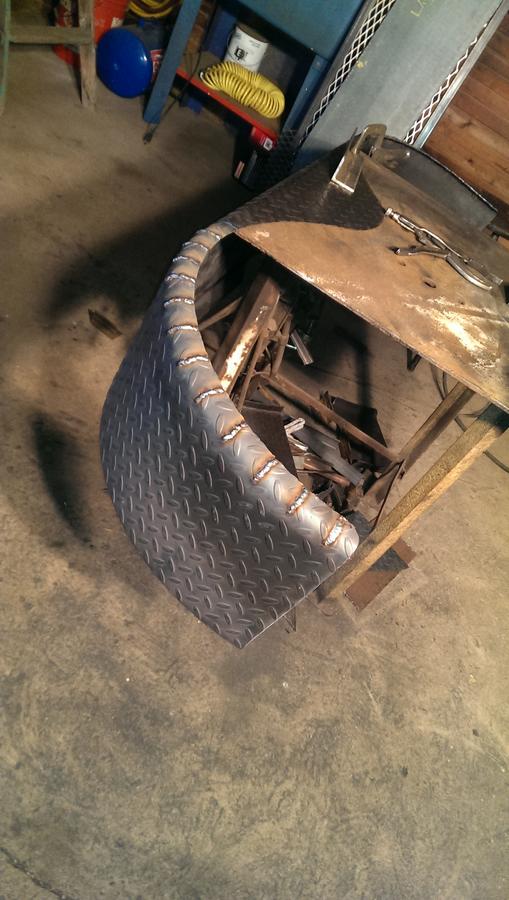
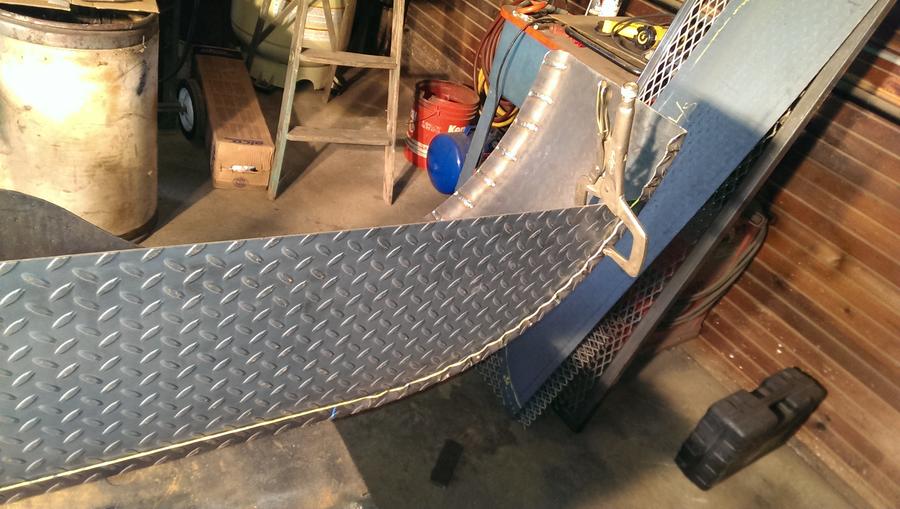
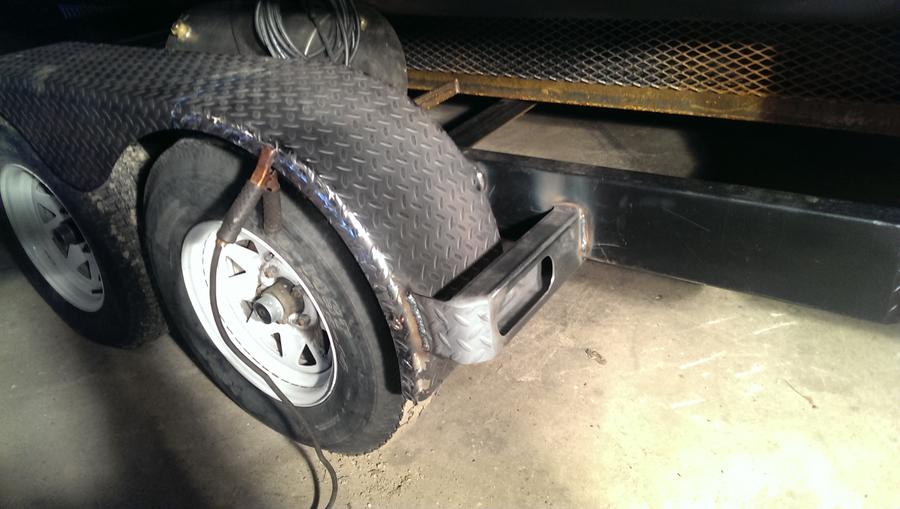
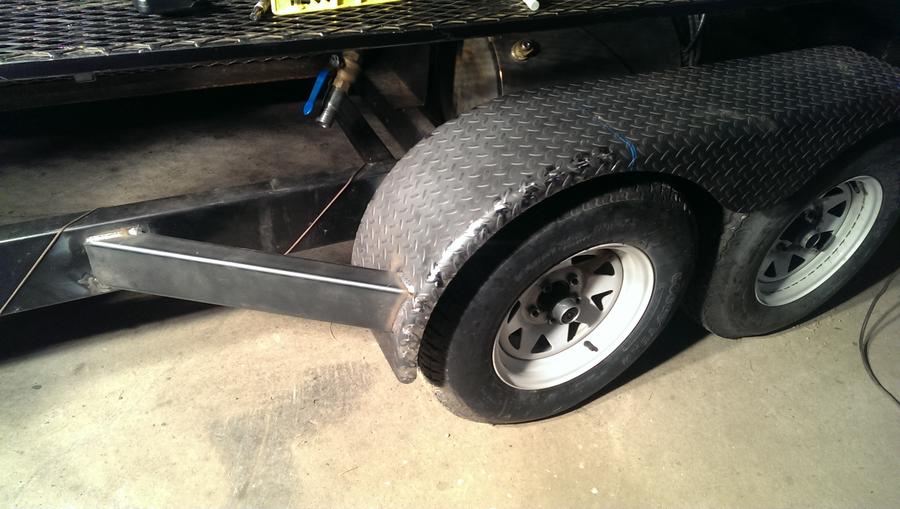
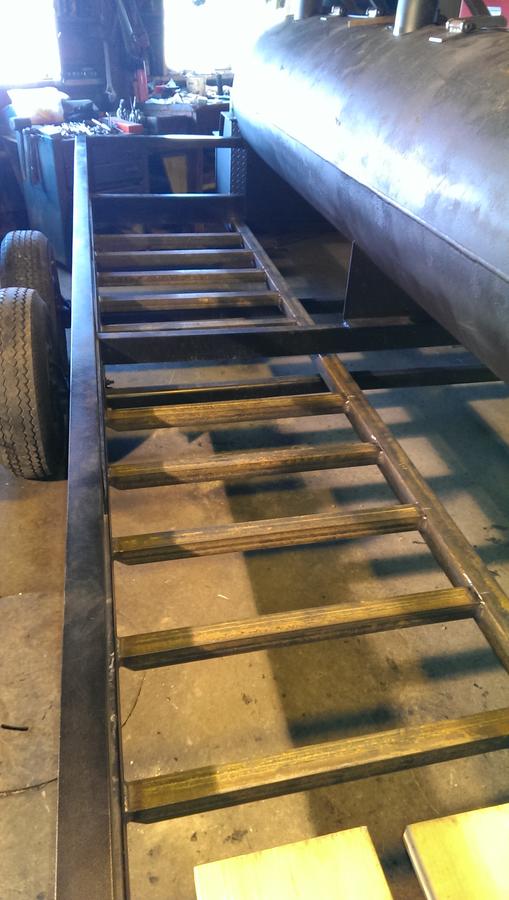
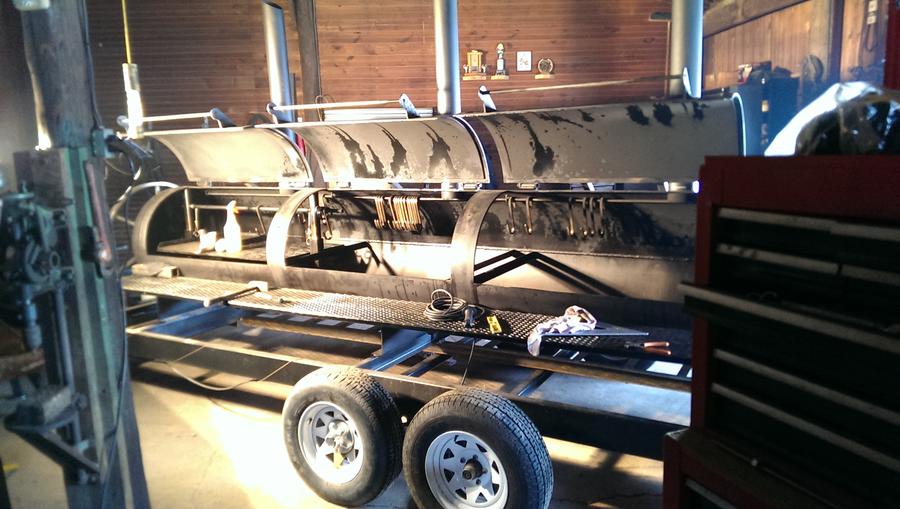
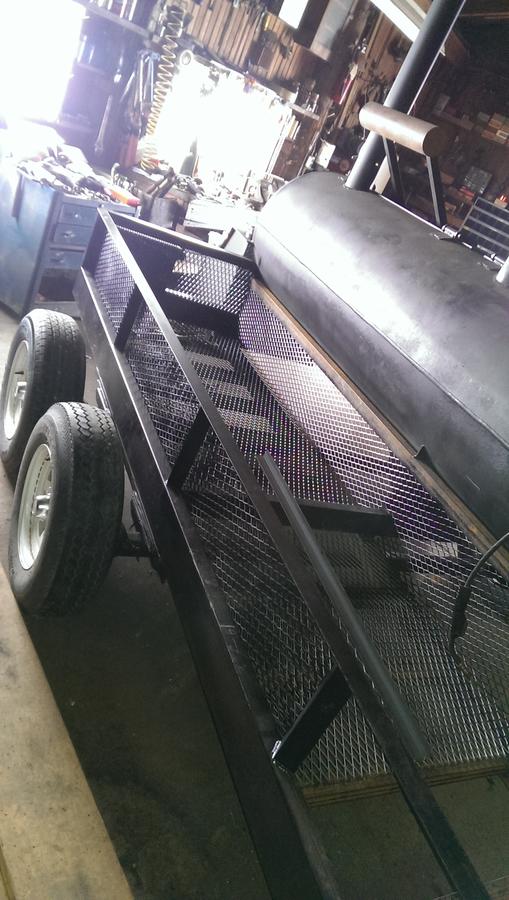
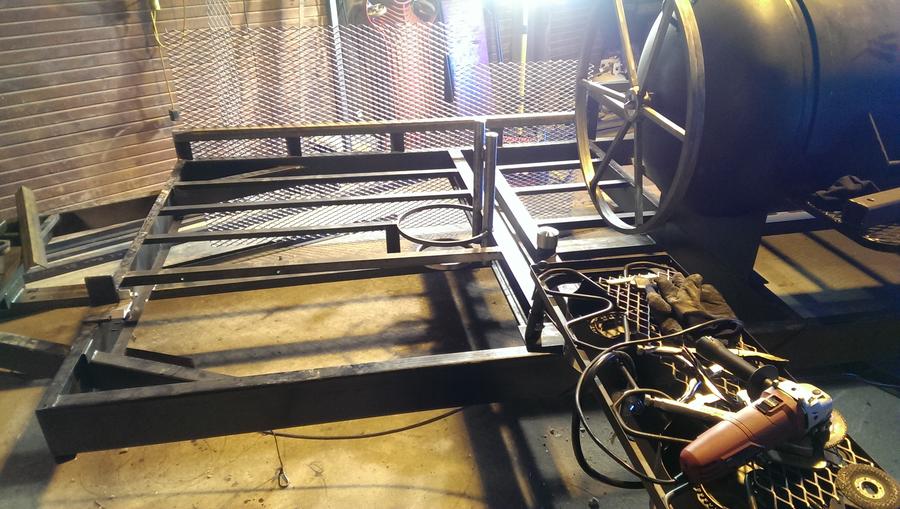
Got the frame work in place for wood storage. Ordered up some expanded steel and a set of fenders. Looking for a Knaack storage box if anyone happens to know where I can find one.


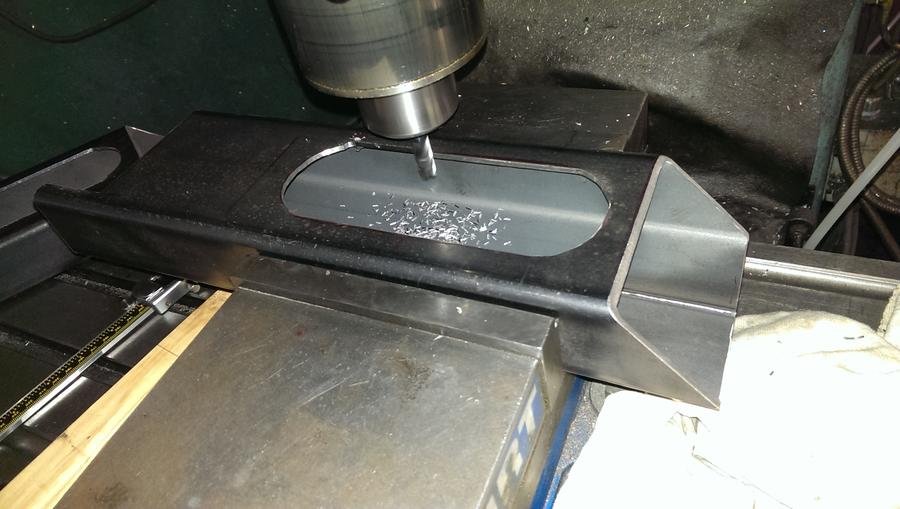
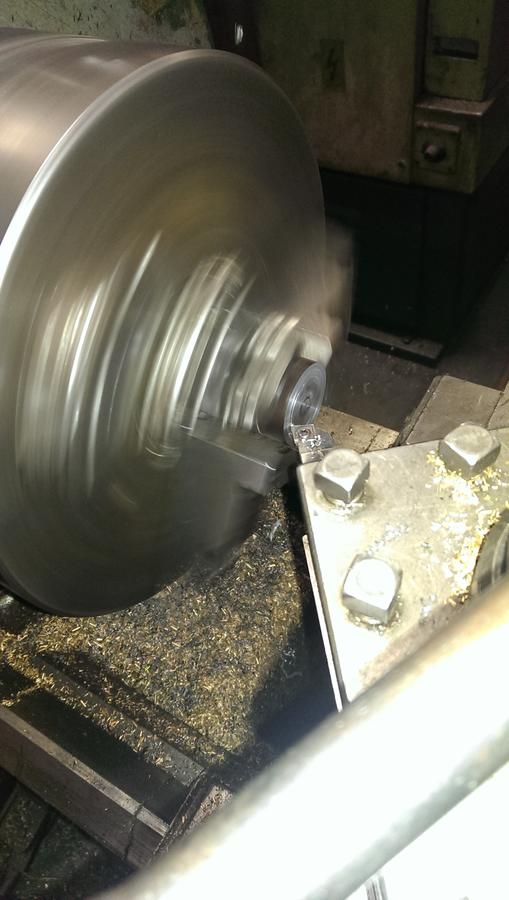
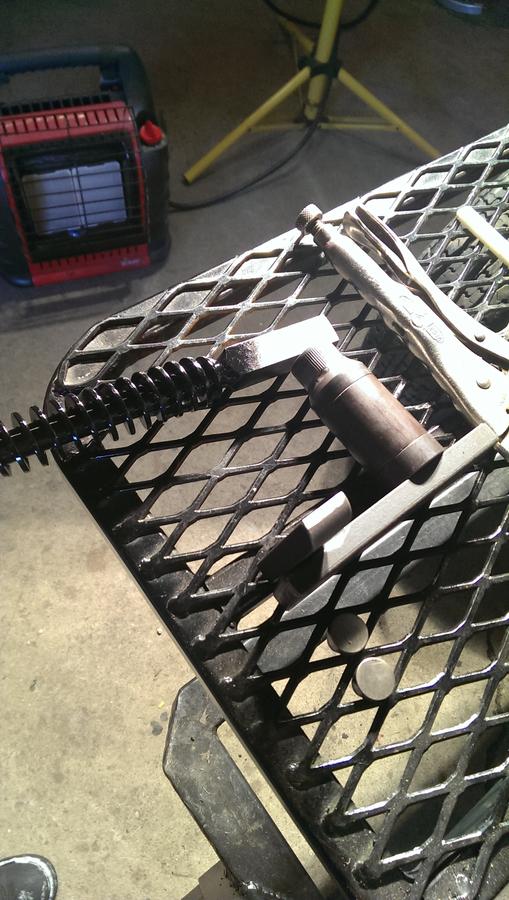
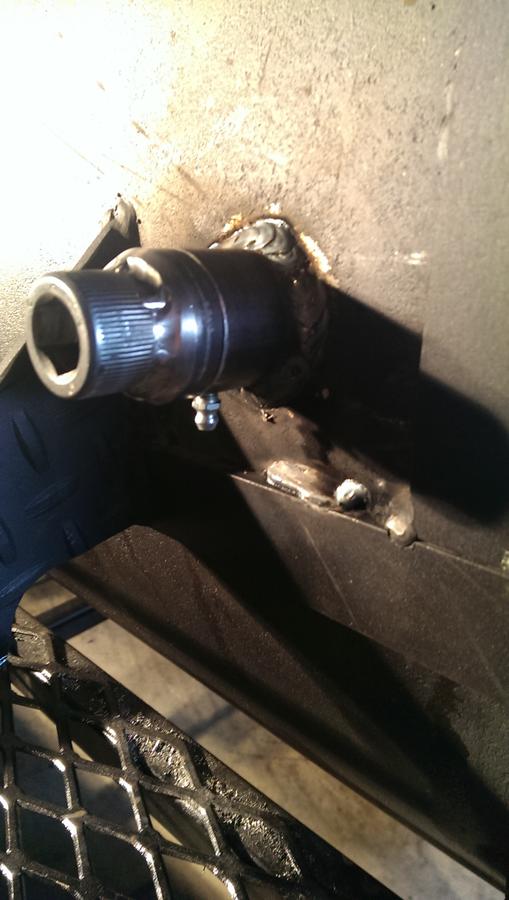
Started to work on some door latches. Spun up some H.D. bushing stock, reamed then fitted with 3/4" SHC. Top and bottom are welded solid to the bolt. I put a .008 two piece brass shim in place before welding; then removed afterwards. This gave it a little play for smooth turning. Cross drilled and tapped for grease zerks.


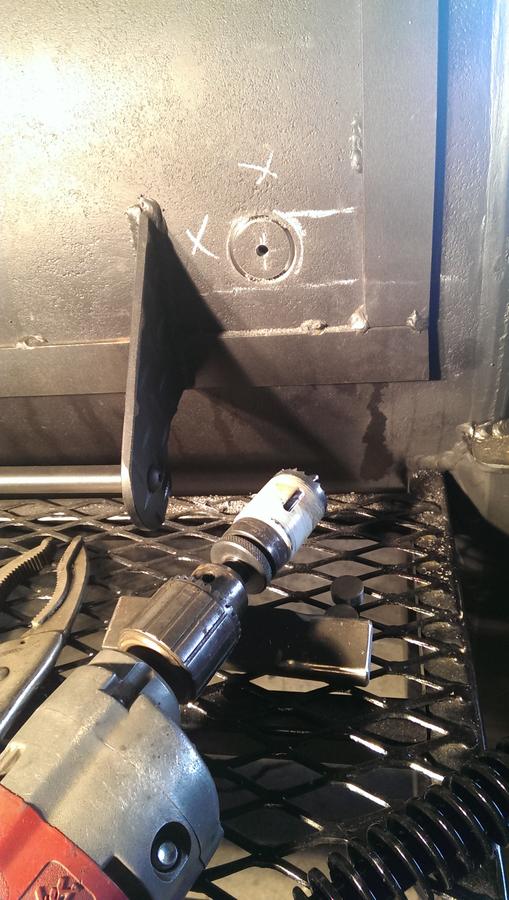
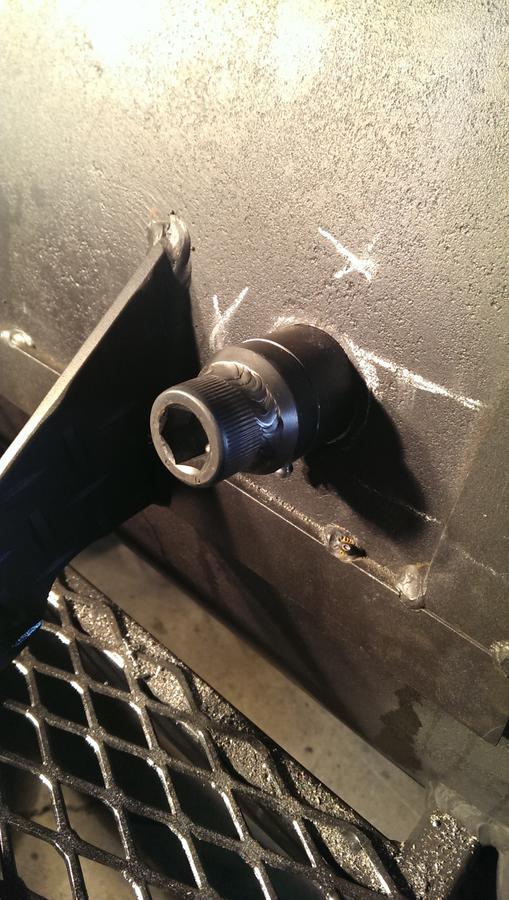
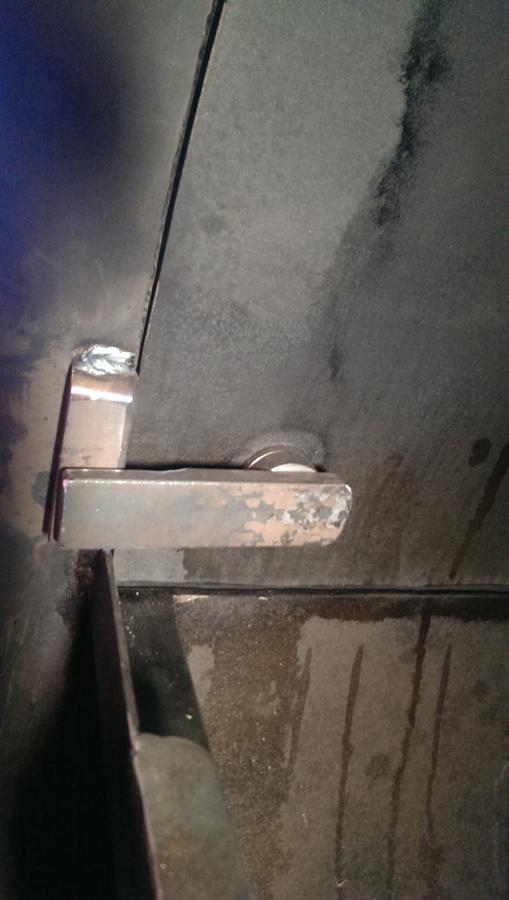
I then faced off the back to gain a smooth flat surface to weld the back catch to.


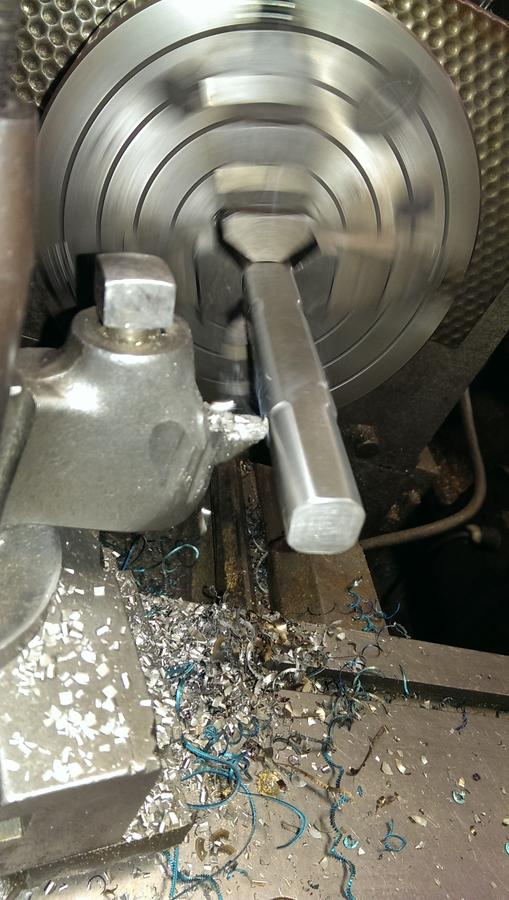
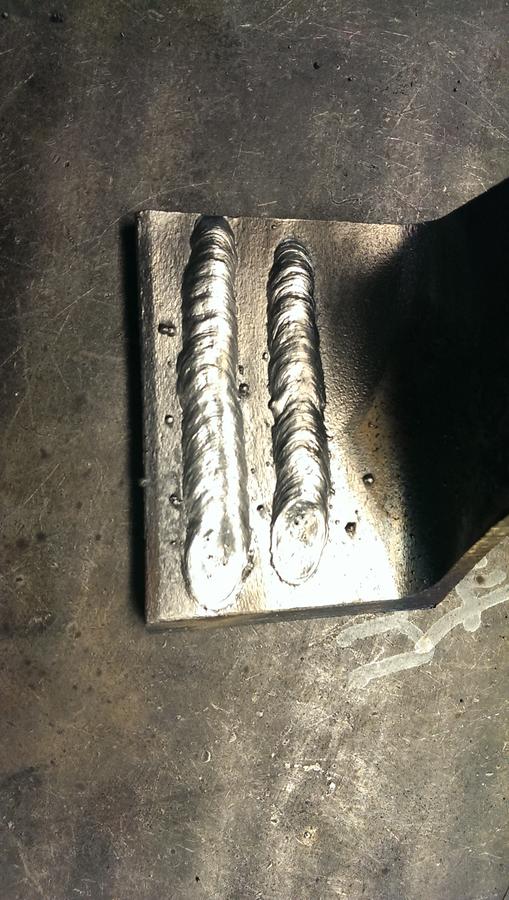
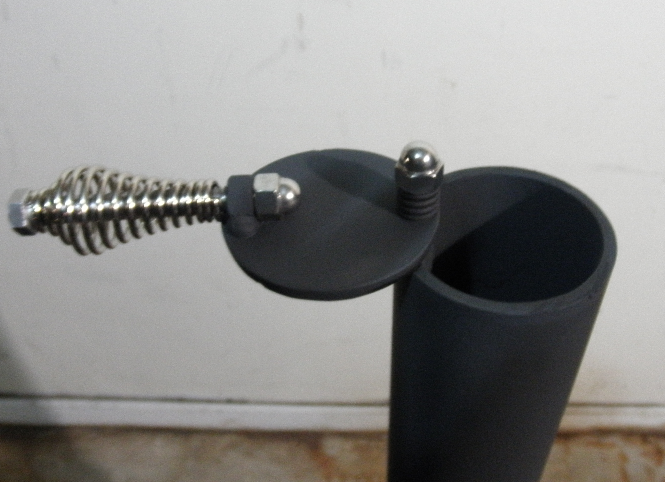
Started to turn some handles using 3/4" stainless square stock.


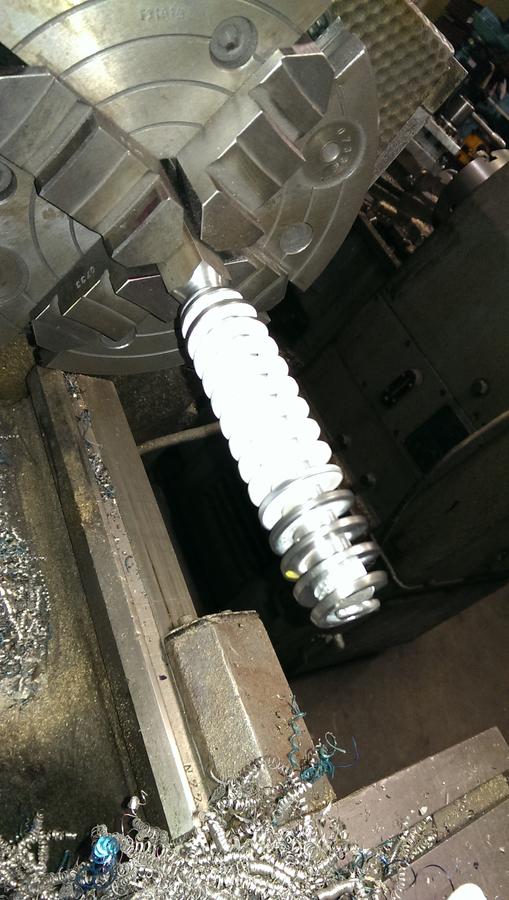
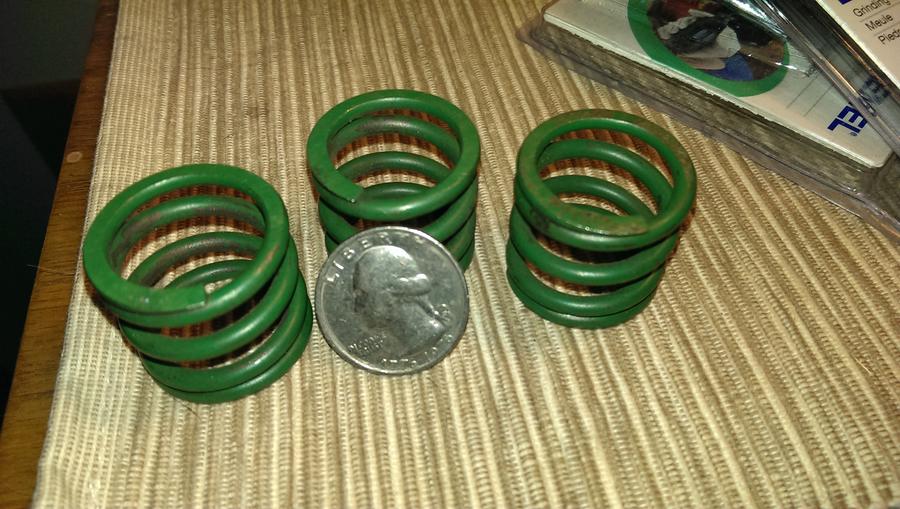
Then fitted some spring stock to them. Once everything looked good they were welded to the handles using 3330 alloy. 


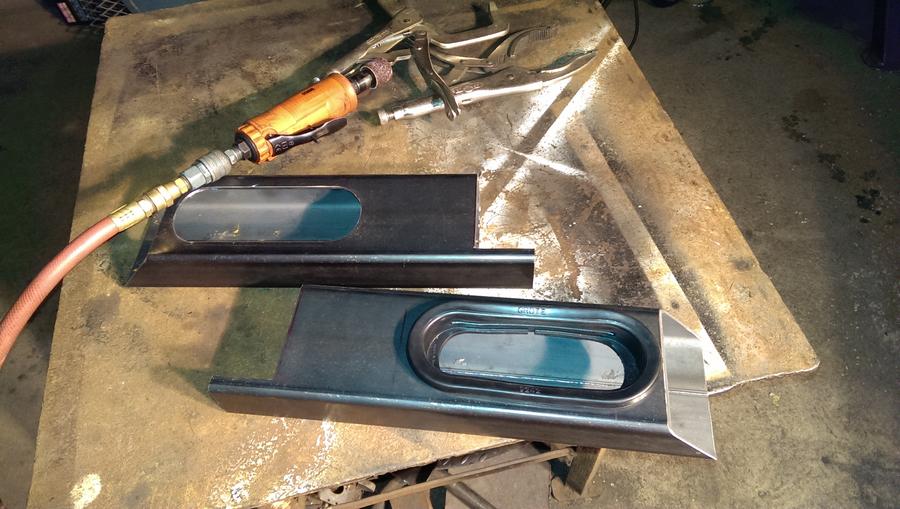
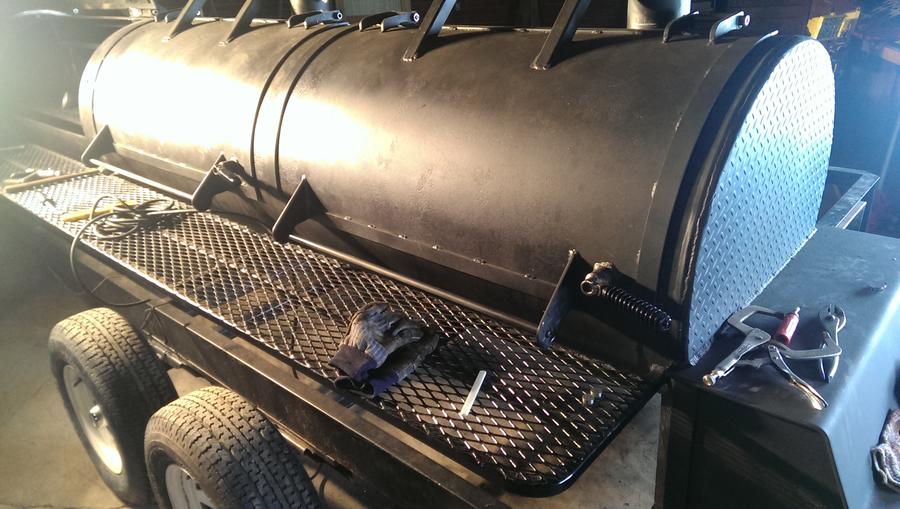
I did have to tweak the doors a touch. Figured I would get this out of the way before shoving a hole saw through for my door latches. And yes, this works.


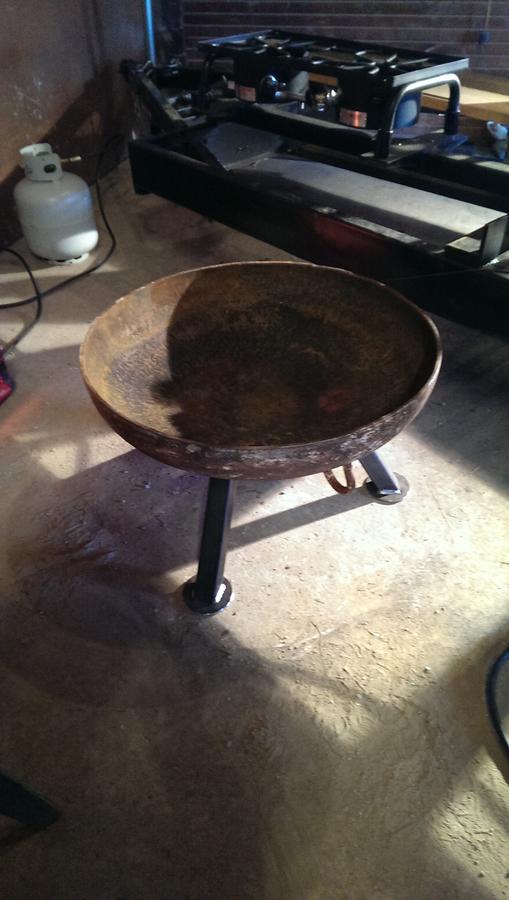
While trying to figure out what to do with the end cap off of this tank, my drunk buddy (yup, him again) suggests turning into a fire pit since its so cold out. Sounds good...


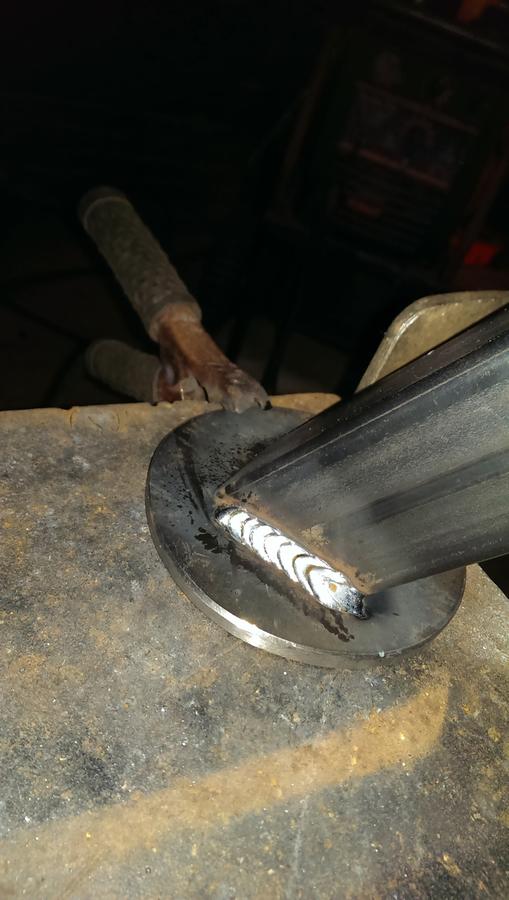
Just some square stock and a few rounds for feet...


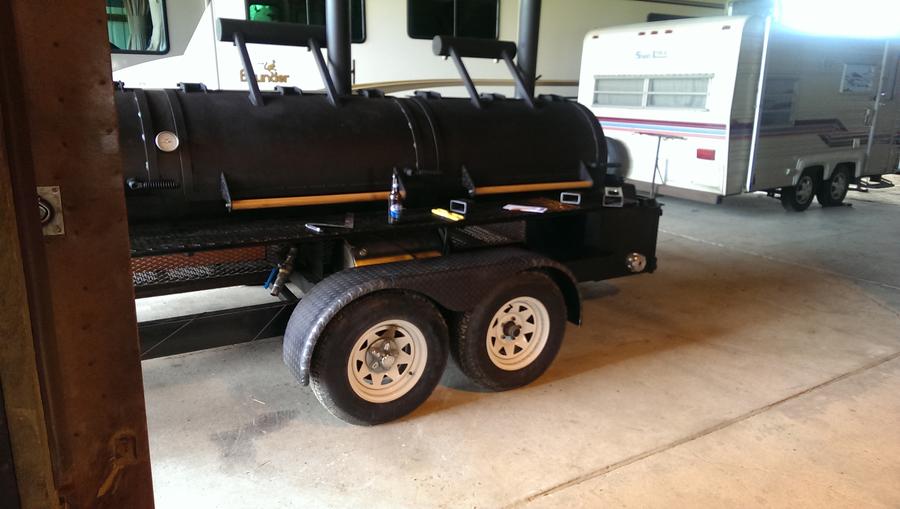
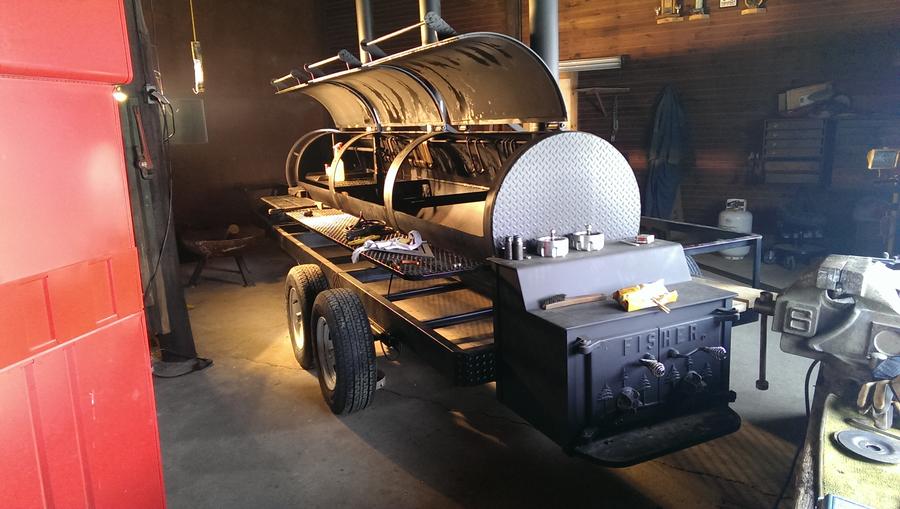
Not finished yet, but getting closer. I so feel like cooking a chicken right now...But its minus 5 out, 2:30 in the morning, I'm frozen, and....zzzzzzzzzzzzz...

 
  • Like
Reactions: bjake2001
 
That looks amazing!  Must be nice to have all the toys needed to put that together.  In reference to your question about the BBQ regulator, get a high pressure regulator (10psi).  There are lots of places that carry them, you might even have one laying around that wonderful shop of yours.  If you do, it SHOULD be  RED in color (indicates high pressure).  One word of caution.  If you do use a high pressure regulator, open it slowly, otherwise you will probably trip the excess flow safety in the propane tank, and you will not get any flow..  If this happens, just shut off the tank for about 30 seconds, and then open the tank valve very slowly.  You might want to consider a larger propane tank as well.  A 20lb cylinder won't last too long flowing at ~ 10psi through a 1 1/2 " pipe.
Thanks Aeroforce100. I found a high pressure reg and she burns awesome now! just got to install it yet. I'm also a Dessert Storm vet. 3/69 Armor - M1 Abrams
 
Door latches are on. This is what it looks like disassembled...


Score another hole for the mighty Milwaukee hole shooter!


Crawled inside to glue on the inner goodies...


Back outside to weld bushing in place...
Then cut down the handles and glue in place...


I tipped in the bottom of the striker plates @ 1 or 2 degrees in (toward the handle) to give it that tight locking feel. Very smooth, and heavy duty. Kinda feels like my safe door. Now I'll put in some type of magnetic internal stop, so when the handle is opened, it will stop and stick at 90 degrees straight up.
 
 
Nice lap on that weld, burned a rod before?  <chuckles>
Several thousands of them! But its been awhile, so I couldn't help myself. I fired up the old ideal arc and the Miller syncrowave and layed a few beads to see if I could remember how its done.


Both set @ 135ish amps 6013. The Miller (left) welds a bit smoother, but its also a few decades newer. While these old machines can still get the job done, most of my fab work is done on a newer Miller mig or the Hobart handler.
 
 
adding a heavy spring to the latch gives it a nice feel as well, and keeps it tight through heat cycles, small valve lifter springs work good.
That's a great idea Rib. I dug through the pile of  second hand goodies and came up with these...


Ill try the handles the way they are for a few burns to see how they feel through the heat cycles. If need be, I'll spin up a new set of bushings and somehow fit these internally; so as to keep the same look. I'm guessing it wouldn't take much pre-load with these puppies to get the desired effect.
 
Yeah, you want them on the back side so you can make them adjustable to set the tension. I put them on the back side of my pie vents to hold them air tight with out freezing up ( if they get stuck, I can just tap through the hole with a hammer and the spring gives enough give to let them free up) , and on my exhaust stack as we'll.

 
Time for some fenders. Its been awhile since I've worked on this project so here goes....

Found a nice set of diamond plate fenders. Although they were a bit long, the price was right. So I sliced them up, and changed the radius a little...


Re-welded them and worked them back in...


Had to shorten them a bit...
 
SmokingMeatForums.com is reader supported and as an Amazon Associate, we may earn commissions from qualifying purchases.

Latest posts

Hot Threads

Clicky