kmmamm
Meat Mopper
- Apr 30, 2016
- 238
- 87
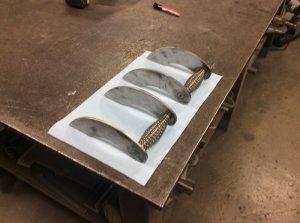
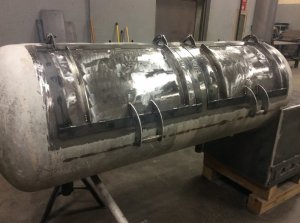
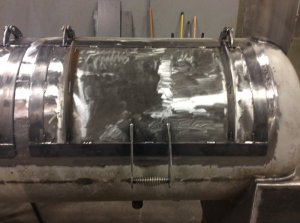
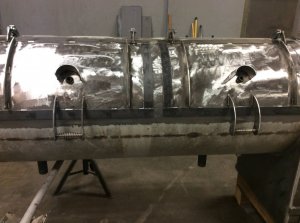
I always put my cc door gap strips through a roller until they are on a slightly tighter radius than the tank. Makes them easier to weld and the slight undersize seems to help the door hold its shape better and longer. If you don’t have a roller, the Harbor freight ring roller will work almost as well, I simply use a small diameter due on the center roller and larger dies on the other two. Flanges of the large die support outside edges and the smaller die bends on the center of the strap. Also found a few blind welds on the outer edge helps stop distortion further down the road.