Patrick Ball
Newbie
- Dec 21, 2017
- 10
- 0
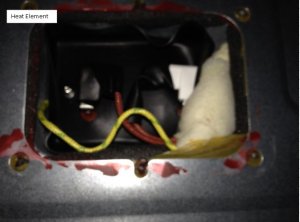
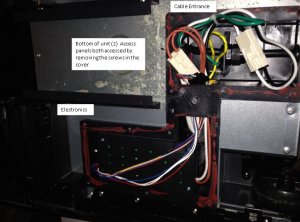
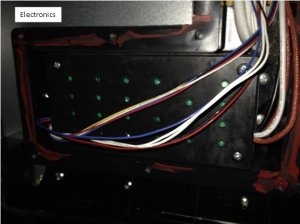
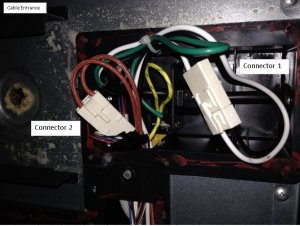
This is my first post but I have been hanging out here for awhile. I have a MES 30" model 20077915 which I primarily bought to make summer sausage and snack sticks after my first couple of attempts I have quickly discovered that the huge temperature swings of the MES are not very good for sausage making so I have decided to go to a PID controller I bought an Auber plug and play unit and have been reading up on rewiring mods. Today I finally got a chance to to take a look at the unit and discovered that I can make the mod by simply unpuging the connector from the power cord and pluging into the connector going to the heating element. My question is has anyone else done it this way? The other thing I'm not sure of is by doing it this way the neutral wire goes to the temp switch instead of the hot wire does this matter? If so I think I can switch the the wires around in the connector.
Any advice would be appreciated.
Thanks,
Patrick
Any advice would be appreciated.
Thanks,
Patrick