Well for about a month or more now I have been alluding to doing all kinds of mods like a MES40 Gen1 rewire for PID, the HeaterMeter PID controller, a convection fan, and a custom built controller box to house everything including a variable speed fan control.
Well he excitement has gotten to me. It is not completely finished and not 100% tested but I would say barring any catastrophes I'm about 85% of the way there. Everything works individually, everything is functions when assembled, but some kinks and finishing touches are being worked out but everything looks promising!
So here are some tease pics, enjoy!
HeaterMeter PID Controller Pic(s):
If you don't know about this guy it's a digital controller with wifi capability. It is built of the Raspberry Pi 3 technology/pc board
MES40 Gen1 Rewire WITHOUT taking off the back! :
(Testing unplugged wires for continuity with a $10 Multimeter to determine which was Hot and which was Neutral. The MES wires to the heating element both have black insulation so no color identification possible with wires. No need to tear off the back and follow wires using this method
 )
)
[Edit: Updated text and image to correctly reflect wiring connection described for the image. ]
Hot Power plug to Hot MES wire that goes to heating element. I got cute and used a male spade connector to leverage the existing female spade and I then leveraged the existing insulation covers that came with the MES.
Both Neutral and Hot power chord wire to Neutral and Hot MES Wire that goes to heating element.
Heating Element Rotation (Flip) to Center it Up:
I got the idea to copy this mod from user @cmayna and his mod post doing so, Thanks!
I figured this would help with the fan mod and generate heat from the center rather than 1 side. I use a Mailbox Mod and AMNPS for smoke so no need for the all the other stuff. You can also see the fan shaft there above the element.
I also flipped over the metal bars thingy under the heating element, this was to turn downward the metal flap that it contains so that it does not touch or interfere with the heating element. Worked like a charm!
Convection Fan Pic(s):
Large back hole drilled, stainless steel sharpie body inserted and cut with a dremel cutting wheel to be the fan shaft tube to prevent smoke from getting into smoker insulation and body. Silicon seal will be applied to seal the gaps around the tube once all kinks are worked out.
Fan mounted to smoker body and plastic housing mounted smoker body around fan. Fan shaft is poking through to the inside!
All sealed up.
Shaft on inside with sharpie tunnel (need to seal the extra hole space with hi temp Food safe silicon). Fan blade on. Rack, Waterpan, and Heating element Clearance all good.
The money shot of the fan blade spinning!!!
Custom Controller Box:
Plug, outlets, and power switch all labeled
The guts.
Probes outlet and heatsink to Solid State Relay (SSR)
Variable speed fan controller.
It's alive!!!!
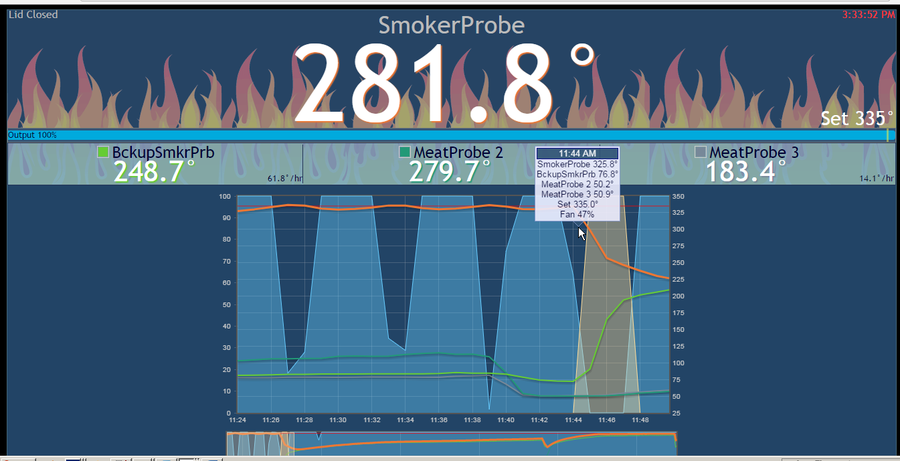
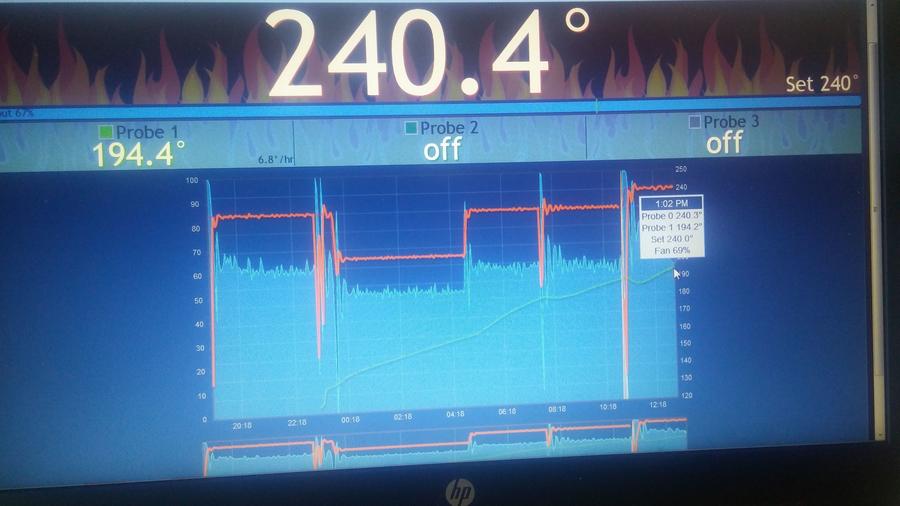
Closeup of HeaterMeter PID display.
Well guys if you have made it this far I hope you enjoyed pic heavy the tease.
I do plan to do some detailed posts about some or all of these mods so others who are interested and capable can benefit from them.
I think the "no back removal" MES rewire tips will be super helpful and I will include the measurements for adding a back panel for the Rollout Limit Safety switch, which I did not show in the pics above. I swapped mine with a 350F manually resetable switch and used high temp steel connectors.
[EDIT: I believe a couple of other members on different posts pretty much confirmed that the MES stock Roll out limit switch is an auto-resetable one rather than a one time tip]
I don't like the idea of theone time use 302F switch being there without me being able to access it. Plus the higher 350F threshold will give me some margin for error as I manually tune my HeaterMeter PID to get things heating properly.
I hope you enjoyed and thanks for stopping by!
Well he excitement has gotten to me. It is not completely finished and not 100% tested but I would say barring any catastrophes I'm about 85% of the way there. Everything works individually, everything is functions when assembled, but some kinks and finishing touches are being worked out but everything looks promising!
So here are some tease pics, enjoy!
HeaterMeter PID Controller Pic(s):
If you don't know about this guy it's a digital controller with wifi capability. It is built of the Raspberry Pi 3 technology/pc board
![DSC_0241[1].JPG](/media/dsc_0241-1-jpg.527226/full?d=1507244861)
MES40 Gen1 Rewire WITHOUT taking off the back! :
(Testing unplugged wires for continuity with a $10 Multimeter to determine which was Hot and which was Neutral. The MES wires to the heating element both have black insulation so no color identification possible with wires. No need to tear off the back and follow wires using this method
![DSC_0257[1].JPG](/media/dsc_0257-1-jpg.527231/full?d=1507244861)
[Edit: Updated text and image to correctly reflect wiring connection described for the image. ]
Hot Power plug to Hot MES wire that goes to heating element. I got cute and used a male spade connector to leverage the existing female spade and I then leveraged the existing insulation covers that came with the MES.
![DSC_0303[1].JPG](/media/dsc_0303-1-jpg.528634/full?d=1507244980)
Both Neutral and Hot power chord wire to Neutral and Hot MES Wire that goes to heating element.
![DSC_0302[1].JPG](/media/dsc_0302-1-jpg.528632/full?d=1507244980)
Heating Element Rotation (Flip) to Center it Up:
I got the idea to copy this mod from user @cmayna and his mod post doing so, Thanks!
I figured this would help with the fan mod and generate heat from the center rather than 1 side. I use a Mailbox Mod and AMNPS for smoke so no need for the all the other stuff. You can also see the fan shaft there above the element.
I also flipped over the metal bars thingy under the heating element, this was to turn downward the metal flap that it contains so that it does not touch or interfere with the heating element. Worked like a charm!
![DSC_0273[1].JPG](/media/dsc_0273-1-jpg.527241/full?d=1507244861)
Convection Fan Pic(s):
Large back hole drilled, stainless steel sharpie body inserted and cut with a dremel cutting wheel to be the fan shaft tube to prevent smoke from getting into smoker insulation and body. Silicon seal will be applied to seal the gaps around the tube once all kinks are worked out.
![DSC_0265[1].JPG](/media/dsc_0265-1-jpg.527242/full?d=1507244861)
Fan mounted to smoker body and plastic housing mounted smoker body around fan. Fan shaft is poking through to the inside!
![DSC_0268[1].JPG](/media/dsc_0268-1-jpg.527246/full?d=1507244861)
All sealed up.
![DSC_0271[1].JPG](/media/dsc_0271-1-jpg.527247/full?d=1507244861)
Shaft on inside with sharpie tunnel (need to seal the extra hole space with hi temp Food safe silicon). Fan blade on. Rack, Waterpan, and Heating element Clearance all good.
![DSC_0274[1].JPG](/media/dsc_0274-1-jpg.527248/full?d=1507244861)
![DSC_0278[1].JPG](/media/dsc_0278-1-jpg.527249/full?d=1507244861)
![DSC_0286[1].JPG](/media/dsc_0286-1-jpg.527251/full?d=1507244861)
The money shot of the fan blade spinning!!!
![DSC_0279[1].JPG](/media/dsc_0279-1-jpg.527252/full?d=1507244861)
Custom Controller Box:
Plug, outlets, and power switch all labeled
![DSC_0232[1].JPG](/media/dsc_0232-1-jpg.527253/full?d=1507244861)
The guts.
![DSC_0247[1].JPG](/media/dsc_0247-1-jpg.527254/full?d=1507244861)
Probes outlet and heatsink to Solid State Relay (SSR)
![DSC_0254[1].JPG](/media/dsc_0254-1-jpg.527255/full?d=1507244861)
Variable speed fan controller.
![DSC_0233[1].JPG](/media/dsc_0233-1-jpg.527256/full?d=1507244861)
It's alive!!!!
![DSC_0251[1].JPG](/media/dsc_0251-1-jpg.527257/full?d=1507244861)
Closeup of HeaterMeter PID display.
![DSC_0234[1].JPG](/media/dsc_0234-1-jpg.527258/full?d=1507244861)
Well guys if you have made it this far I hope you enjoyed pic heavy the tease.
I do plan to do some detailed posts about some or all of these mods so others who are interested and capable can benefit from them.
I think the "no back removal" MES rewire tips will be super helpful and I will include the measurements for adding a back panel for the Rollout Limit Safety switch, which I did not show in the pics above. I swapped mine with a 350F manually resetable switch and used high temp steel connectors.
[EDIT: I believe a couple of other members on different posts pretty much confirmed that the MES stock Roll out limit switch is an auto-resetable one rather than a one time tip]
I don't like the idea of the
I hope you enjoyed and thanks for stopping by!
Last edited:


![DSC_0308[1].JPG](/media/dsc_0308-1-jpg.528711/full?d=1507244980)
![DSC_0309[1].JPG](/media/dsc_0309-1-jpg.528720/full?d=1507244980)
![DSC_0310[1].JPG](/media/dsc_0310-1-jpg.528721/full?d=1507244980)