Hi RG, thanks for the input!Tall,
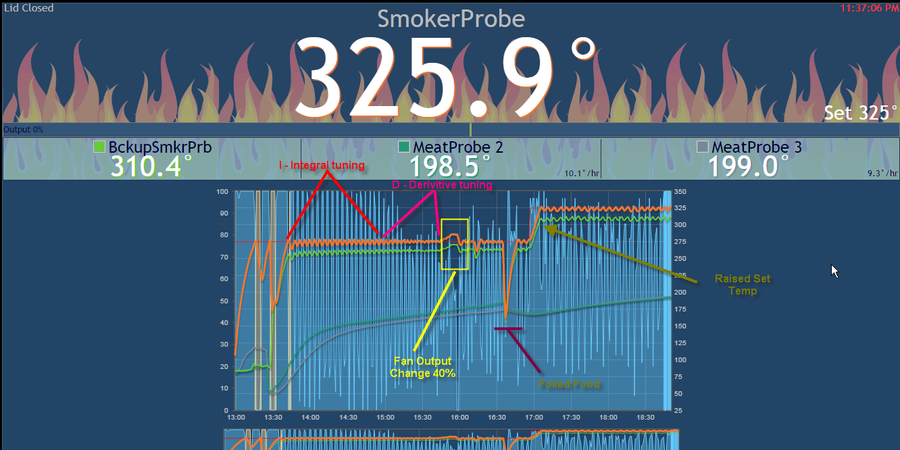
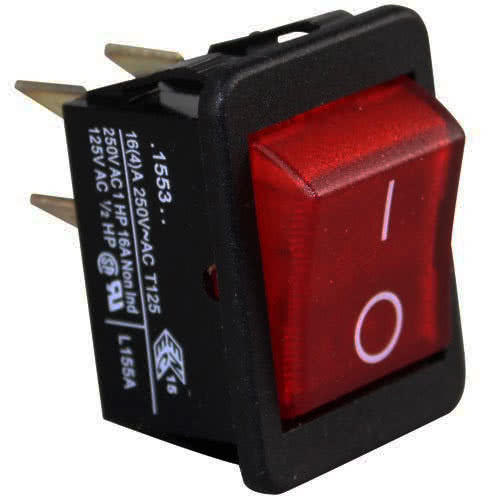
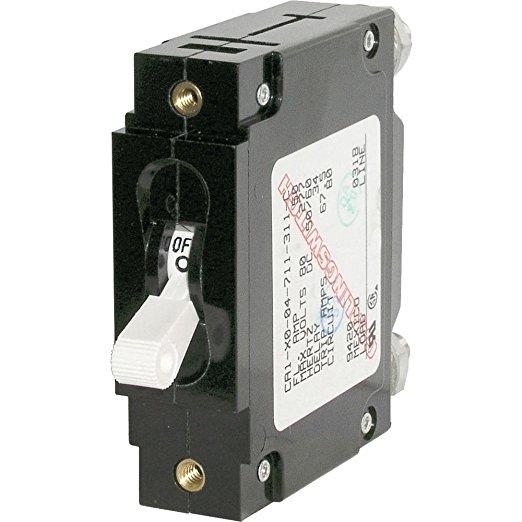
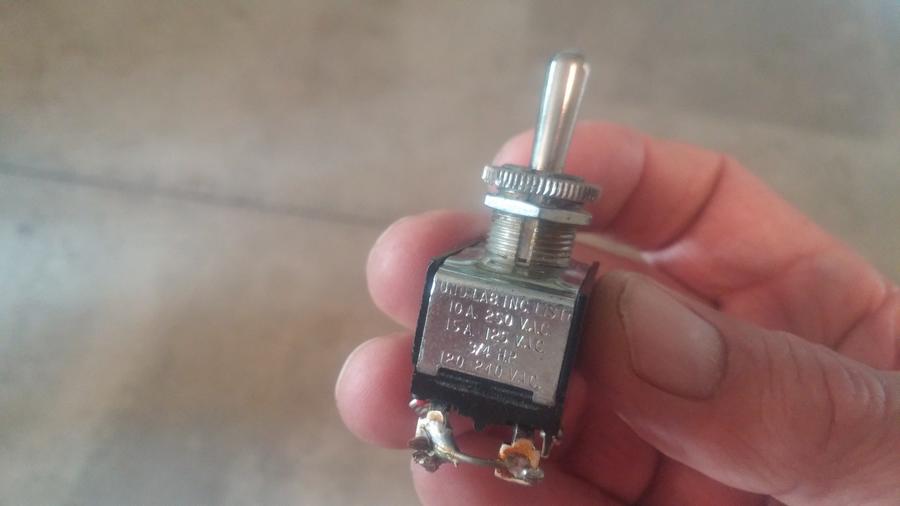
I just rebuilt a Smoke hollow electric using a HeaterMeter 4.2. You can do better by, tweaking PID and fan (SSR) controls. The first temp overshoot was 20-30 degees. I've got that down to 15 degrees...then it settles right in at set temp. Driving a SSR from that PWM fan out is a bit trickey. SSR turns on at 3 volts...no reason to drive it with 12volts, fan min 100%, fan max 100%. I have mine set 40% / 40%. You can read PID tuning at that other website. I have some more work on mine. I built the control box and it's a little too small. Have to move it to a biggerbox.
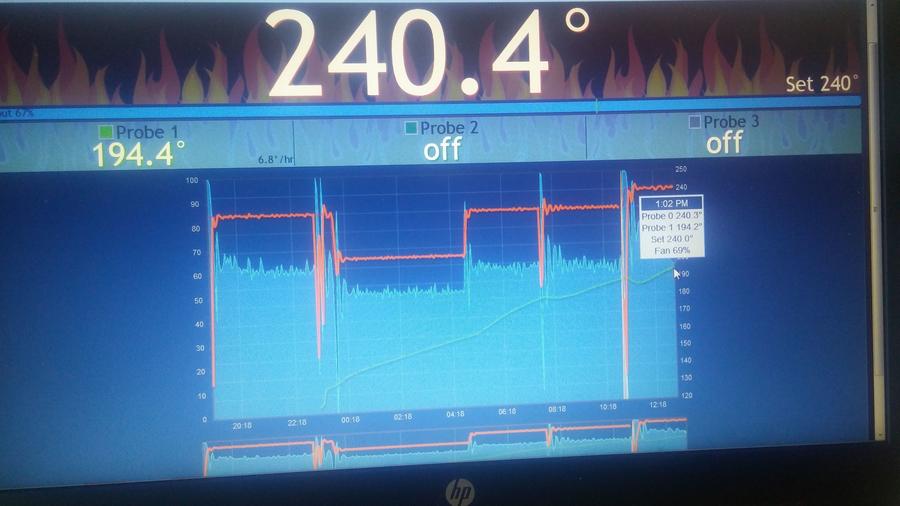
Here's a shot of a pork butt cook....on at 8pm, turned temp down at midnight and went to bed. I did port forward on the home router...works great. Now I can control it from the beer store!.
Good luck!
RG
Good point on the 3volts vs 12 volts.
My PID settings were taken from an Auber PID autotune I did on a different MES I bought for $40 and rewired as a gift to my mother.
My first temp overshoot is 2 degrees so far using the PID settings I copied from the Auber PID autotune. When empty the temp oscillates no more than 3 degrees.
My biggest issue is that when I add any decent load to the smoker the recovery time when I open the door takes a while when I have the smoker probe at rack 1 level or higher in the smoker.
Also I discovered that the "lid open" setting needs to be set to 0%. With an electric smoker it wants to cut output for 240 seconds by default when triggered. This is NOOOO good lol. I lost 100F degrees due to that setting. I'll know how it recovers from a 30F or so drop soon but a 100F drop with 2 racks of food was a killer.
This is fun stuff and I look forward to sharing any info I gather with you :)