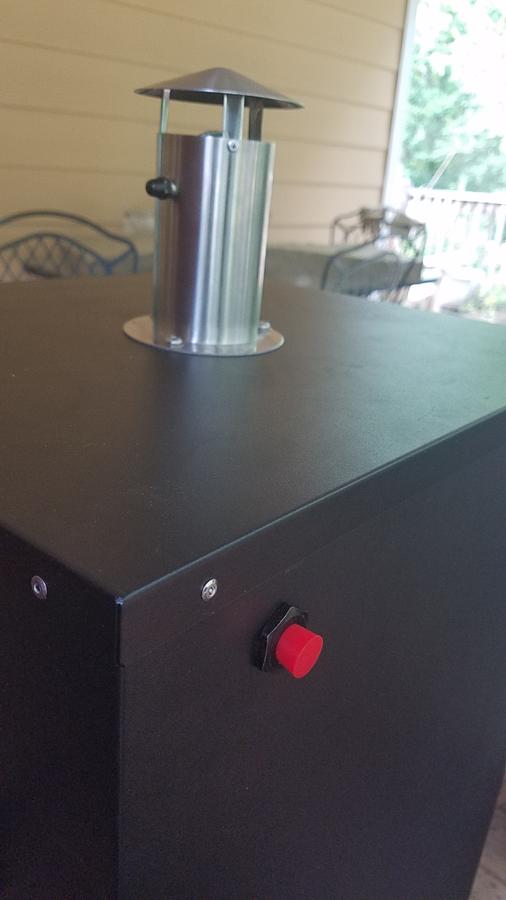
Ok, I confess, Masterbuilt does not make a "SS" model, but they should. SS stands for Sticks and Sausage. What I did was take their lowest entry level 30" analog smoker and turn it into a custom "SS" model. This is a detailed story of how I went from MES 30 analog to MES custom SS....
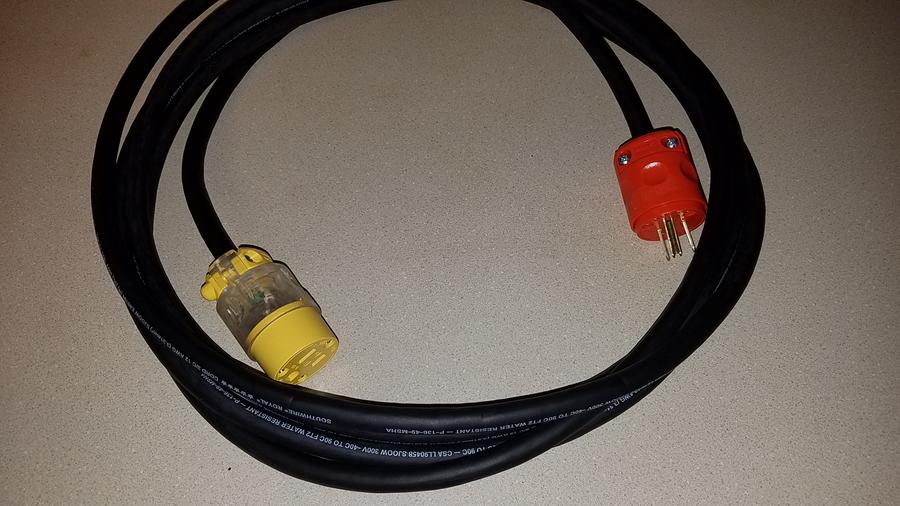
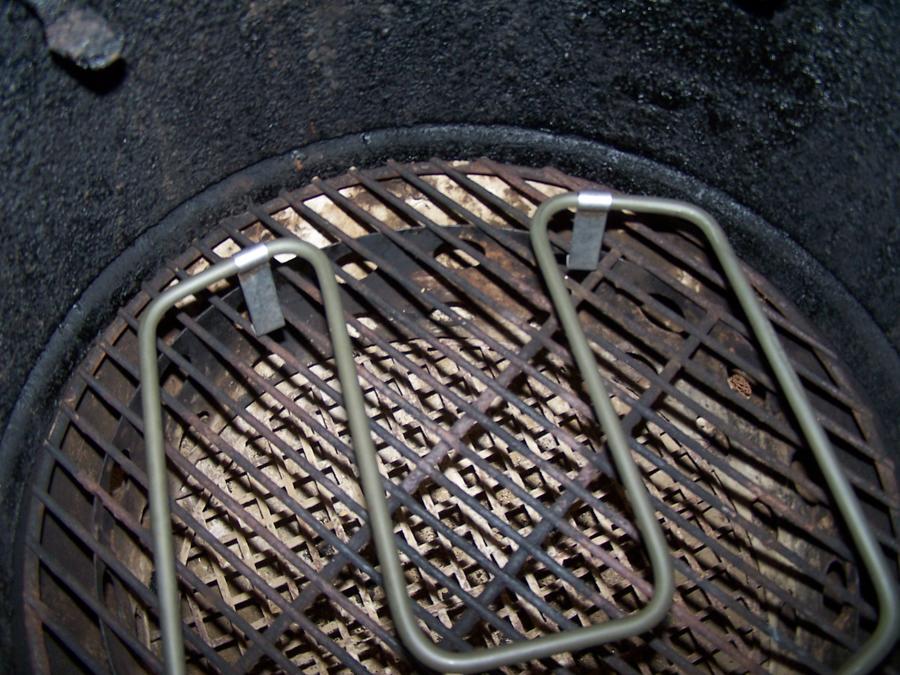
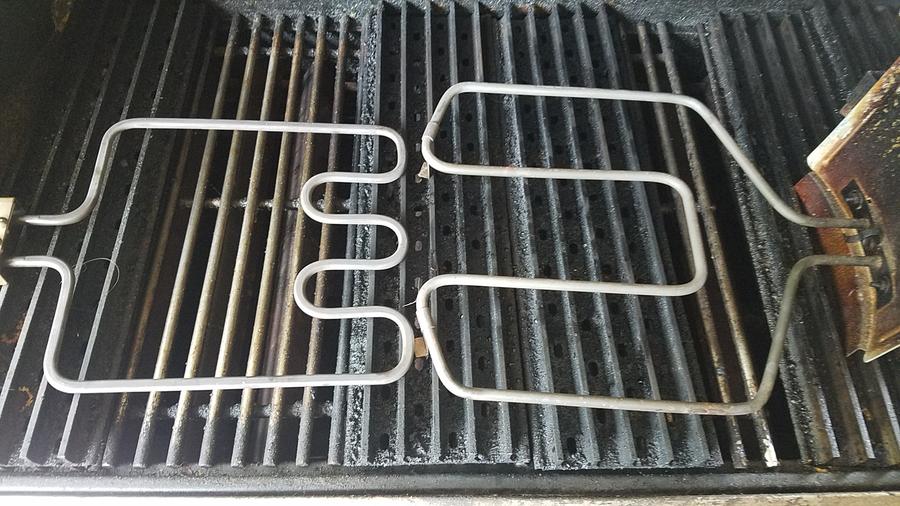
I have a WSM and I'm perfectly happy with it for most normal smoking functions at the 200-250* range. However I also love to make jerky, snack sticks, and sausage that requires lower temps. To answer that need, I previously came up with a e-WSM mod where I took an extra door for my 18.5" WSM and mounted a 1,300 watt electric element in the door. By simply switching doors I can either run as a normal WSM on charcoal or as a e-WSM on electricity for lower temp smokes. I also added a Auber Instruments "all in one" pre-built PID controller in a box to the e-WSM and have excellent results. But my one gripe is I need more rack space. 5 pounds of sticks maxes out my e-WSM with the two grates stacked on top of each other at the top grate level and separated by wooden spacer blocks. With the dome shape tapering inward as it goes up, you can only add so many round Weber racks.
A while back I bought this awesome all stainless steel McCall proofer/warmer from a school auction. It will eventually be my mega-uber smoker for sticks and sausage. But it's just too tall for where I want to put it (ok, the wife says it's too tall but it will actually fit). So that project is tabled and the McCall remains in storage and that will be a story for another day.
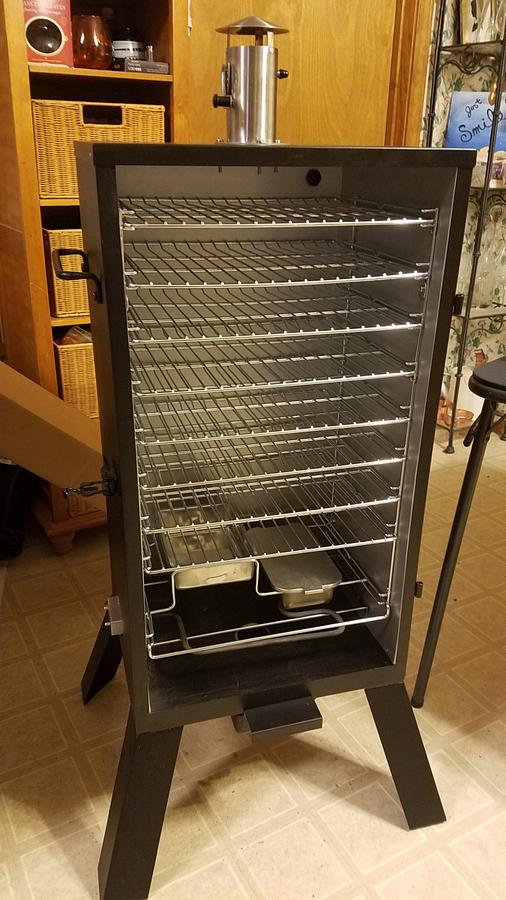
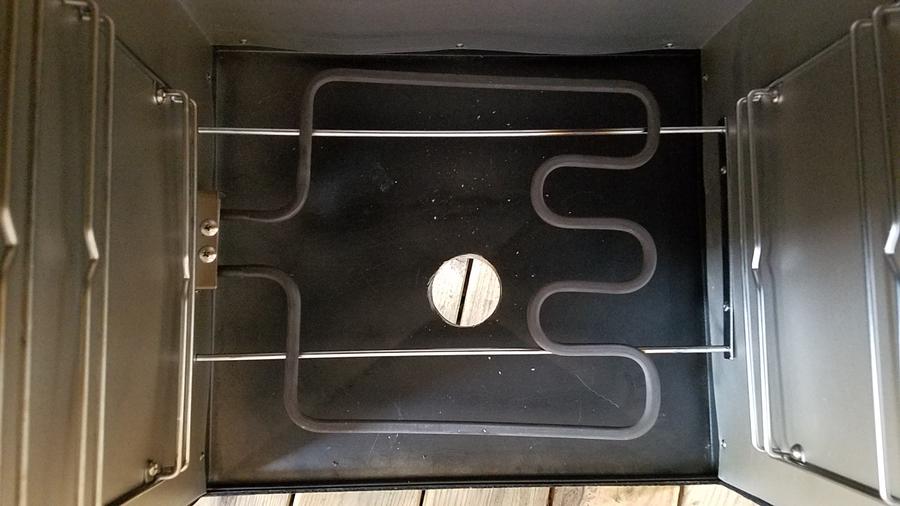
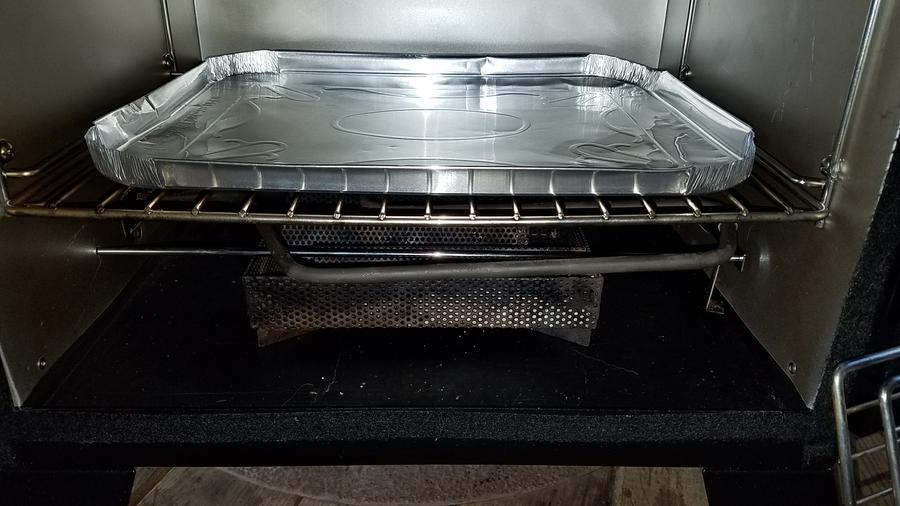
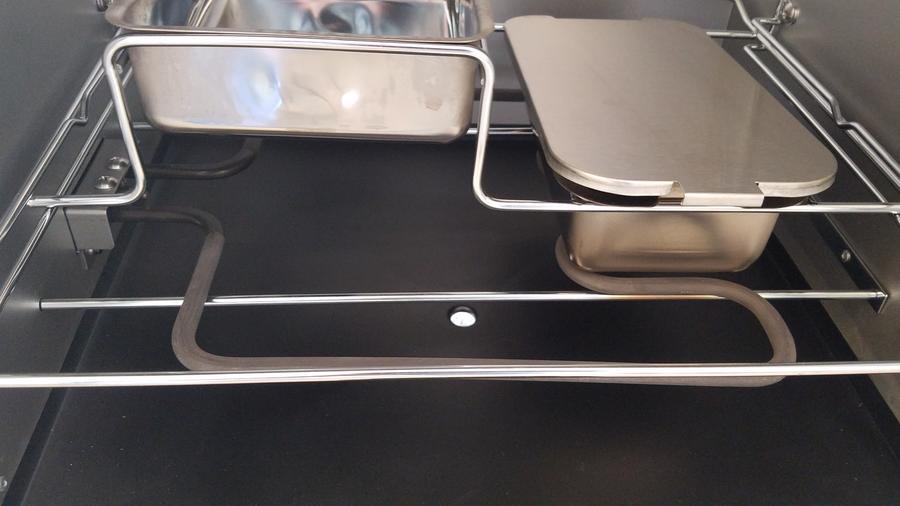
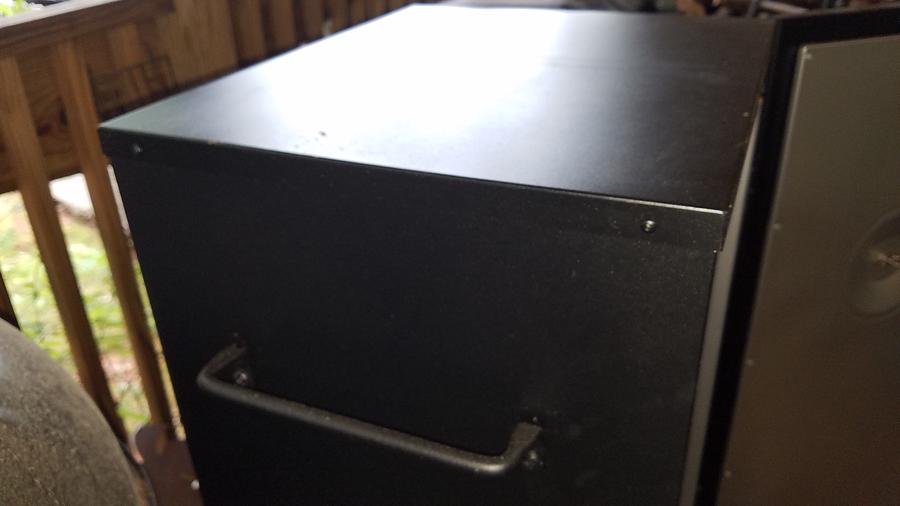
So first I decided I would totally destroy a brand new, never used MES 30 analog. No, I'm not crazy and I did get it at a heavy discount from the local Gander Mountain that is going out of business. But it was a new in the sealed box MES 30 analog. The Gander Mountain and Cabela's version of the MES 30 analog is sold as the MES Elite 30 analog. The rack holders are different than the standard MES 30 analog. It comes with 3 racks, but the rack holder has spaces for a total of 5 racks and they sell a 2 rack optional upgrade kit. Note: it is less expensive to buy individual racks direct from MES than to buy the "kit". The heating element is an analog, 1,500 watt element and the temp is set via an imprecise dial. The thermometer is the typical inexpensive and less than accurate MES dial thermometer in the door. The air inlet is a 5/8" hole in the bottom and the air/smoke vent is a single 5/8" hole in the top right corner of the back. Simply put, air flow sucks in the stock design. Smoke is from a stainless hardwood chip tray that sits right over the heating element. There is a small water pan.
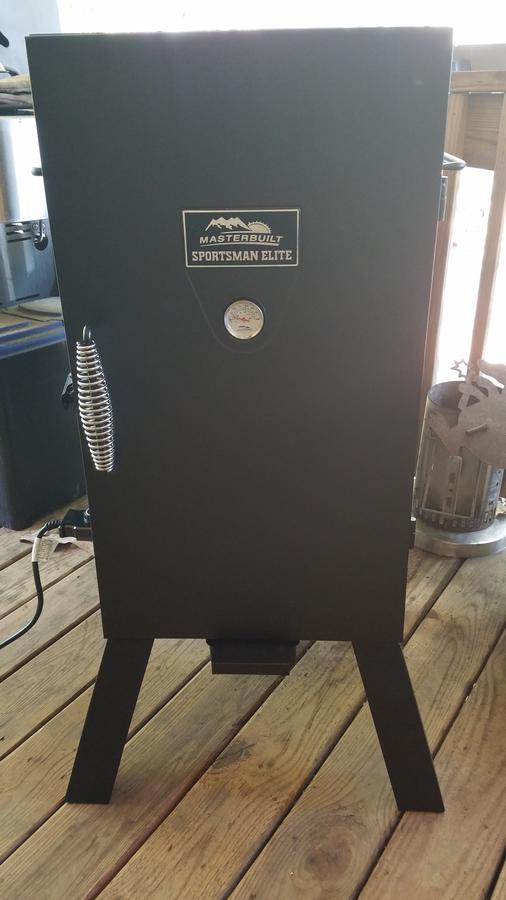
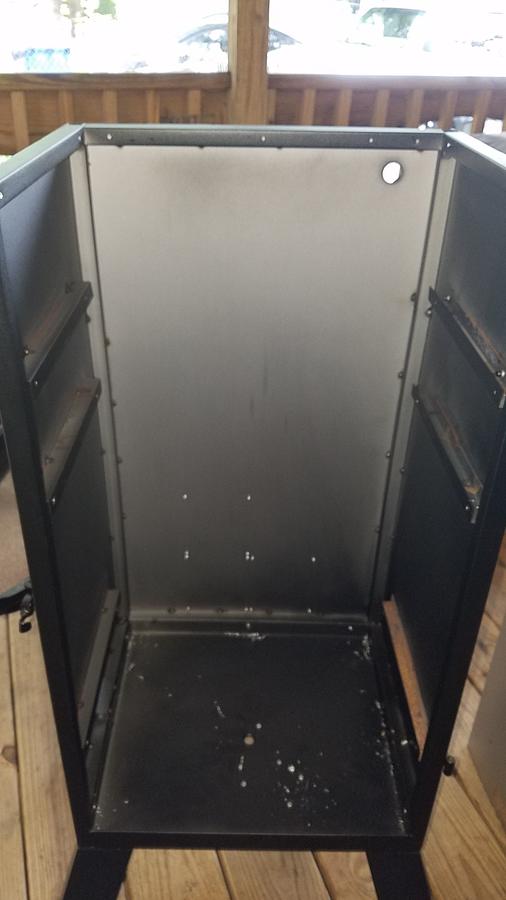
So this is the stock configuration of a MES Elite 30 Analog:
Sort of underwelming isn't it. The neat thing is this "meh" smoker has the potential of a phoenix to transform and rise into something spectacular!.
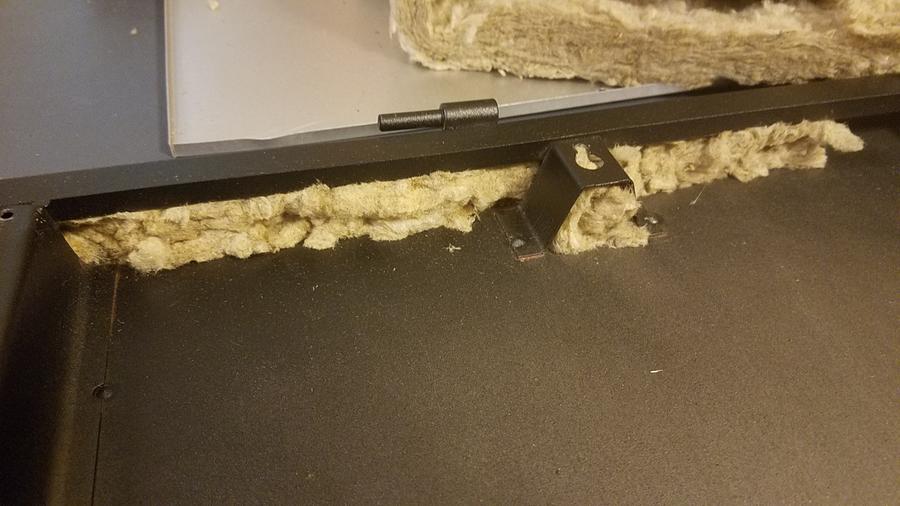
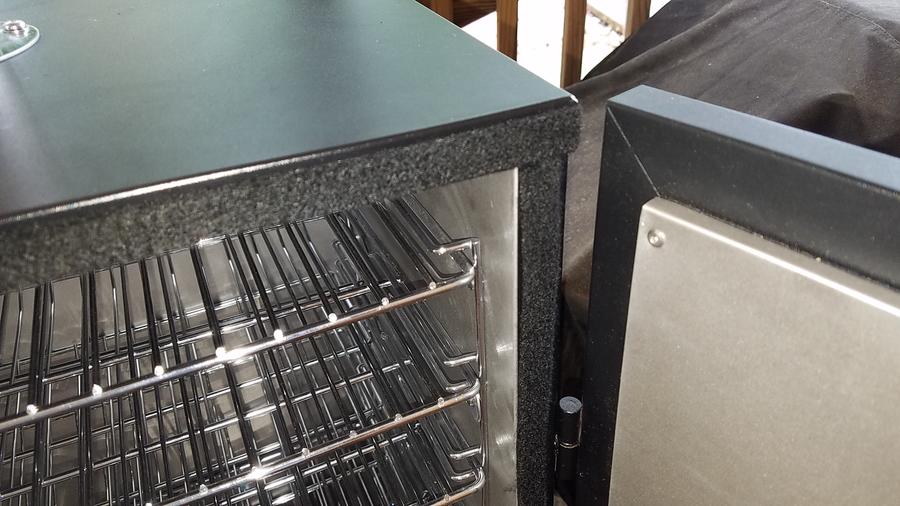
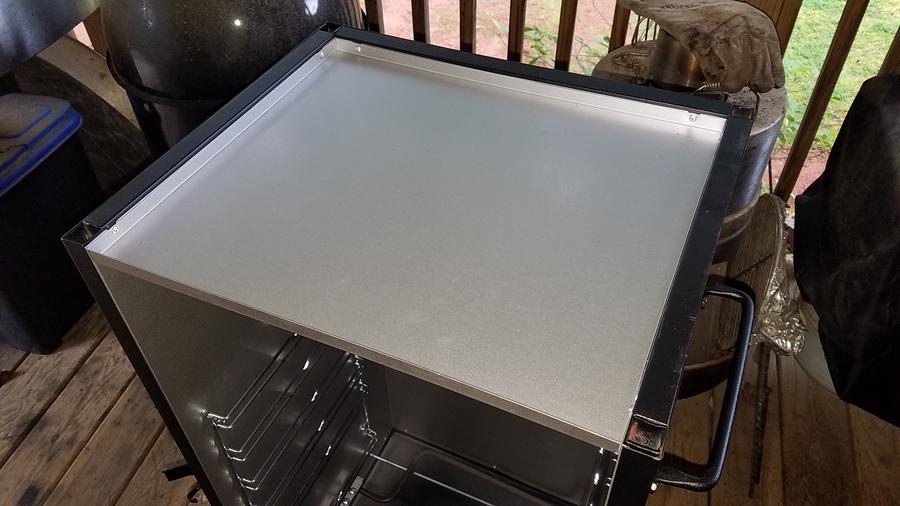
A while back, I looked at one of these as a display model. I found the door, side walls, and top are hollow dead air spaces. There is no insulation in the stock version, but in looking at the design, it was basically riveted together and it appeared I could de-construct the unit to add insulation. Then I saw another post where a mode was made to add 3 more racks to the MES for a total of 8 racks. That's a lot of space for stick & sausage making.
So, time to start the deconstruction.....
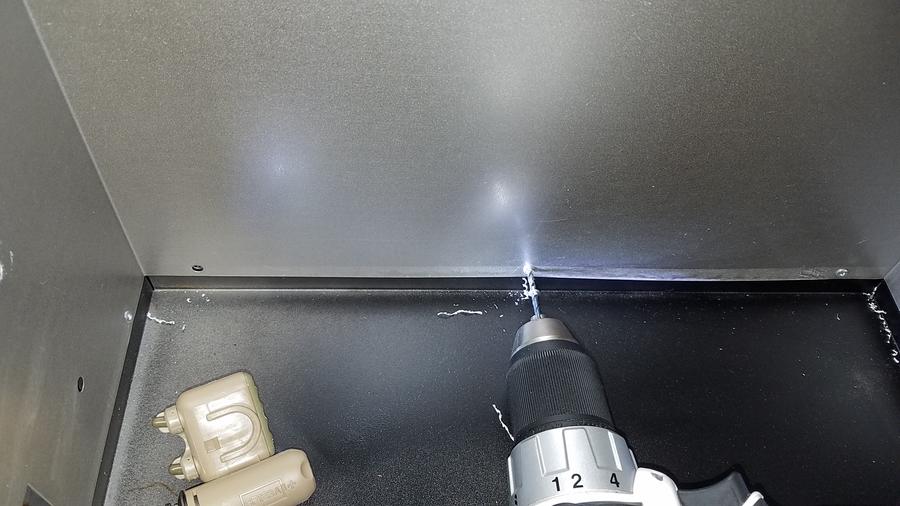
The smoker has a top cap that is held in place by 6 aluminum rivets. This covers the interior top section that is also held in place by aluminum rivets. The inner body liner is held in place by rivets at the bottom (the same rivets for the interior top section hold the top in place), and also by the bolts that mount the heating element and the sheet metal screws that hold the rack holder in place on each side. There is also a cross piece support that appears to keep the heating element from sagging that is riveted to the inner liner, but not to any structure. All rivets were 1/8" aluminum. To remove, just drill out the head with a 1/8" drill bit. Photos of the above....
Top cap and rivets
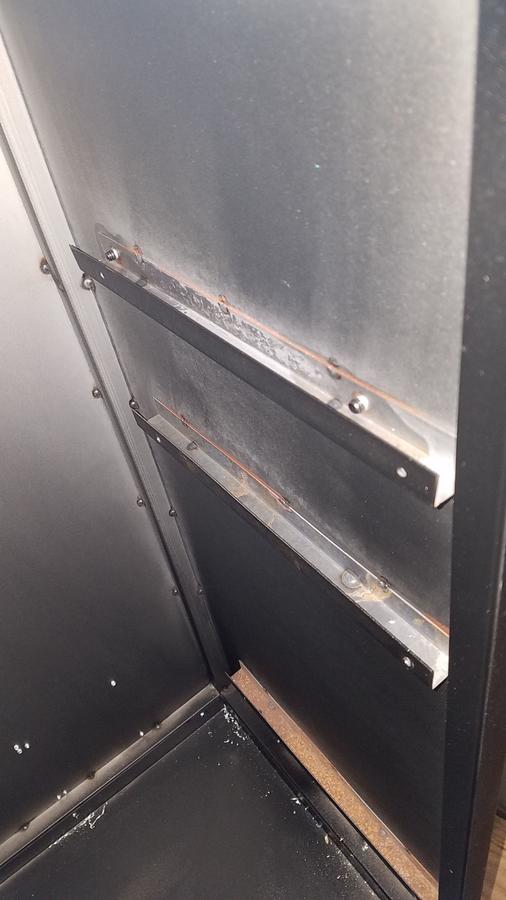
Left side view of heating element, rack holder and heating element cross support
Right side view of rack holder and heating element cross support
Heating element mounting bolts (pass through from outside of smoker to a bracket on the element that is threaded).
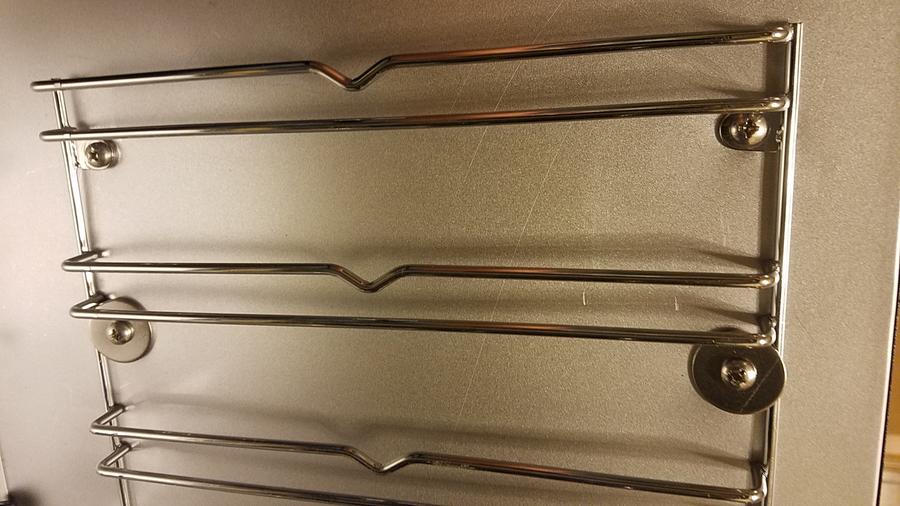
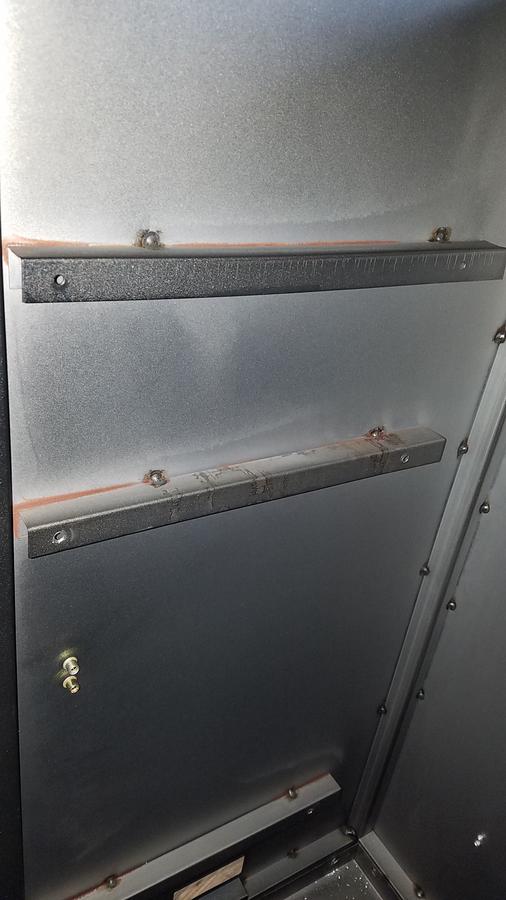
Sheet metal screws holding rack holder against the inner body. The screw goes through to a structural member under inner liner. Half of these screws were stripped a the top under the head of the screw. When trying to back them out, they just spin. I had to hold a screw driver blade under the head to put upward pressure until the threads caught. These are not really meant to be taken out and reinstalled but I have a plan to deal with this. Both the upper and lower rack screws are into interior structural members.
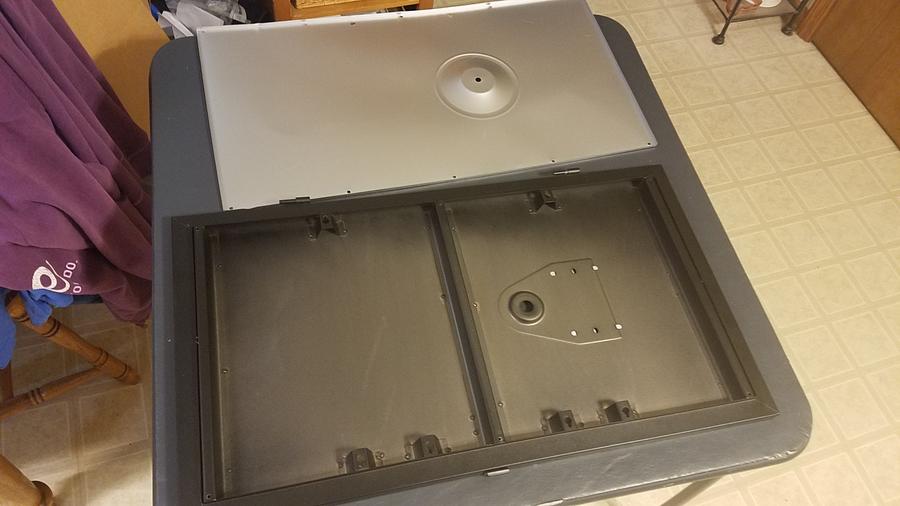
Top cap removed, you can see the upper inner liner cap and the rivets that hold it and the upper section of the main chamber inner liner in place.
Upper inner liner removed. The top section of the main body inner liner is now free. The front edge of the inner liner is bent on a 90* angle and this slides in a channel of the frame.
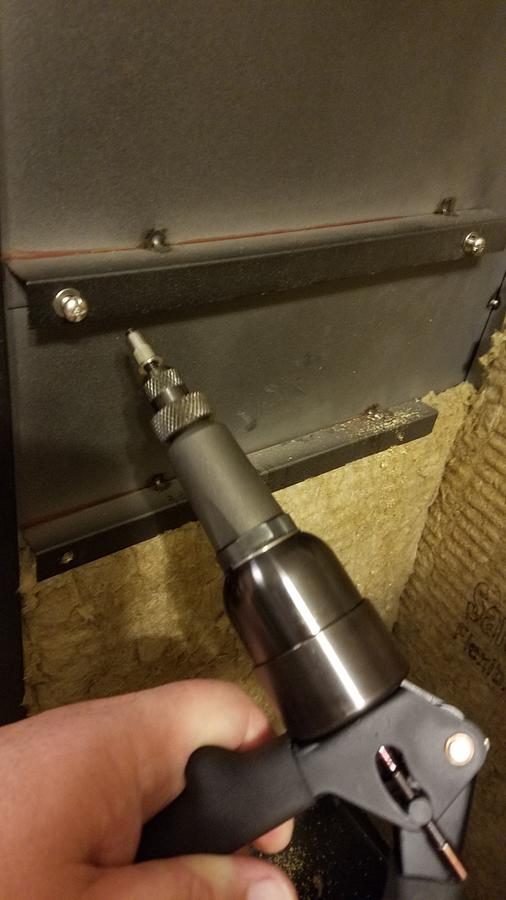
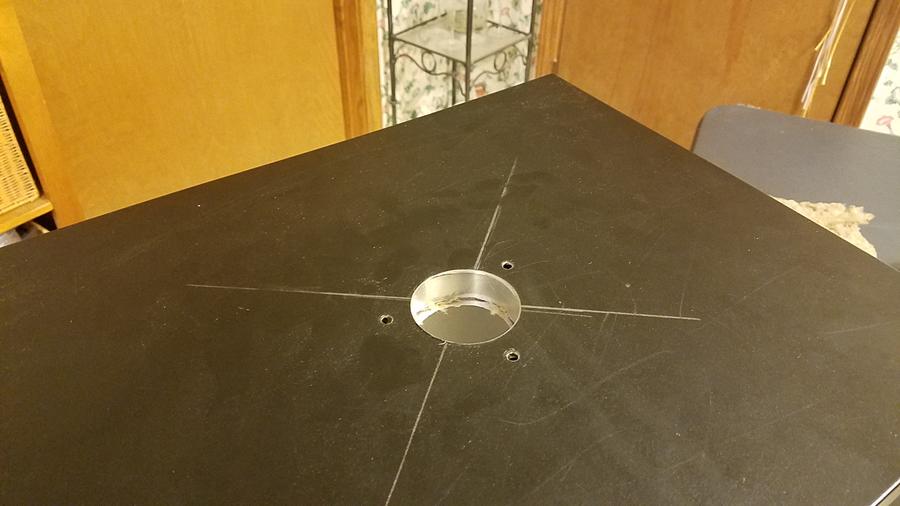
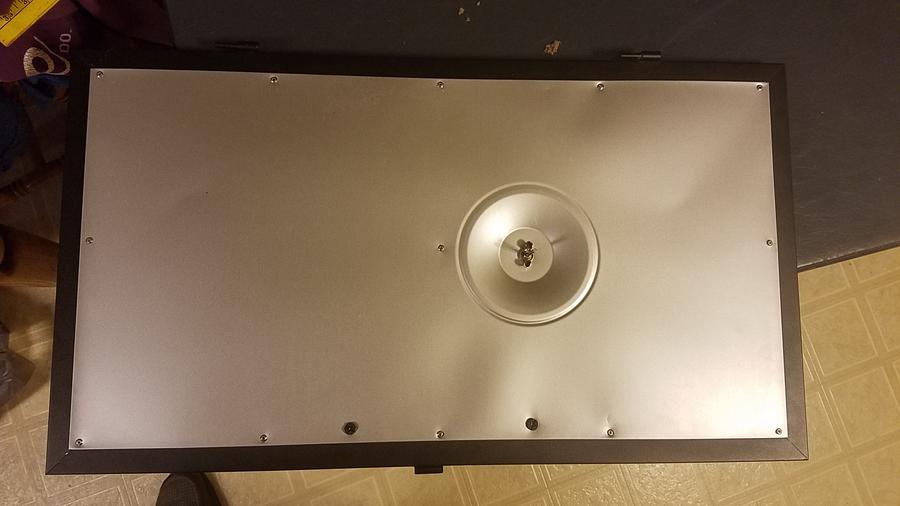
Exhaust port (small as it is) is basically a short length of pipe with a flange on the outside and threads and a nut on the inside. I could take the nut of with my hands and no tool was needed.
All rack mounts, heating element, heating element support, and exhaust port removed. Only thing left to separate the inner liner, is to drill out the bottom rivets.
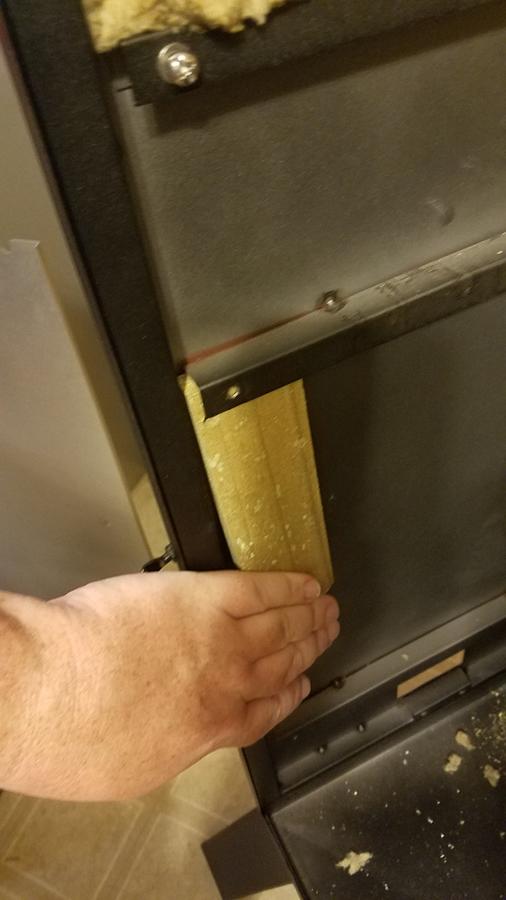
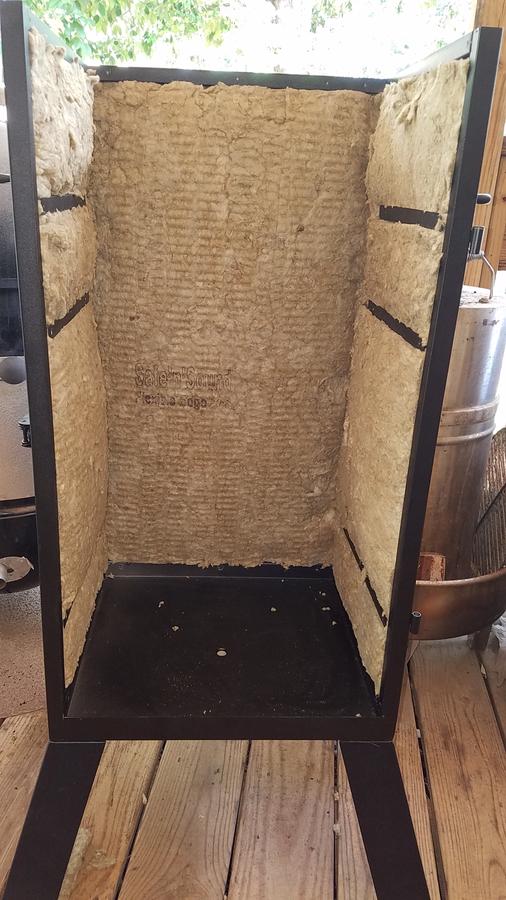
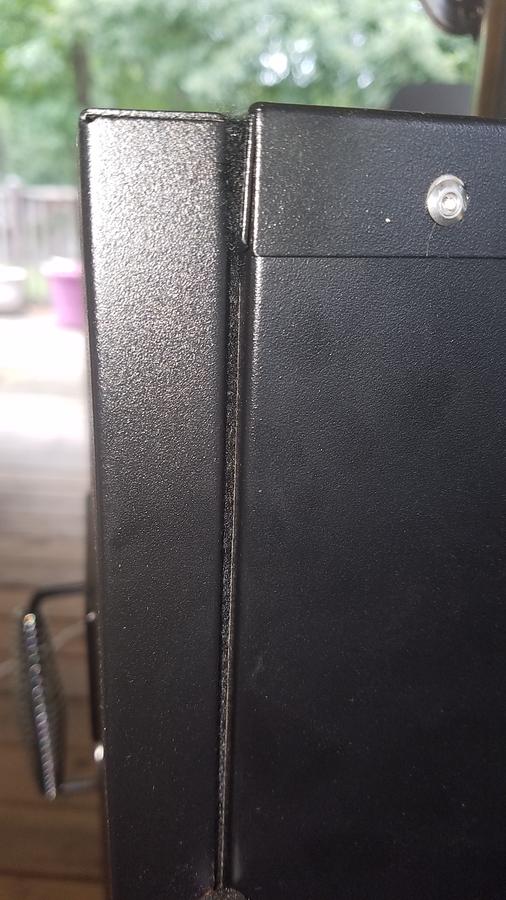
Now we can see the outer shell and what was the hollow dead air space between the shell and the inner liner. This is where the insulation will go. You can also see the structural members the sheet metal screws for the rack holders screwed into. They are u-channel that is tack welded to the outer shell (face up on the right side and down on the left side). There is also a structural member that was not used to mount the inner liner but is pre-drilled with holes for the sheet metal screws. I would take it that MES has one outer body for different models and the inner liner has the holes to match those structural members depending on what they are building. The rivets in the back panel near the bottom third are the rivets that hold on the serial number and other ID plates. No need to mess with those in this mod.
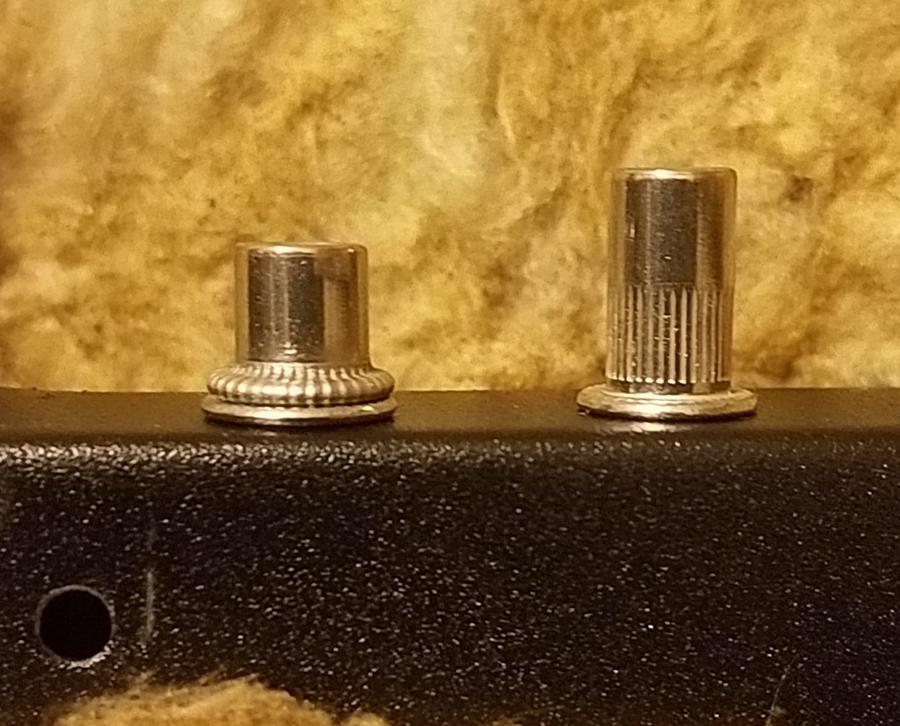
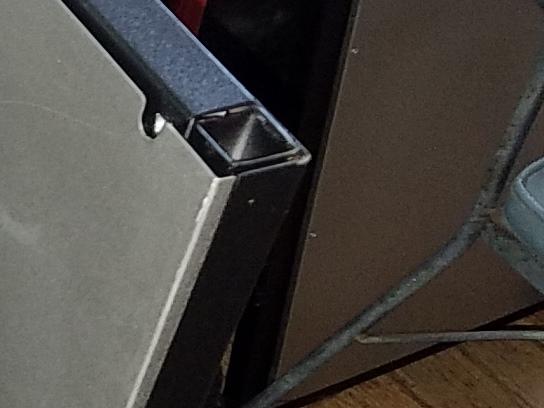
The latch is held on the outer body by screws into 2 rivet nuts. I will also use rivet nuts on my mods.
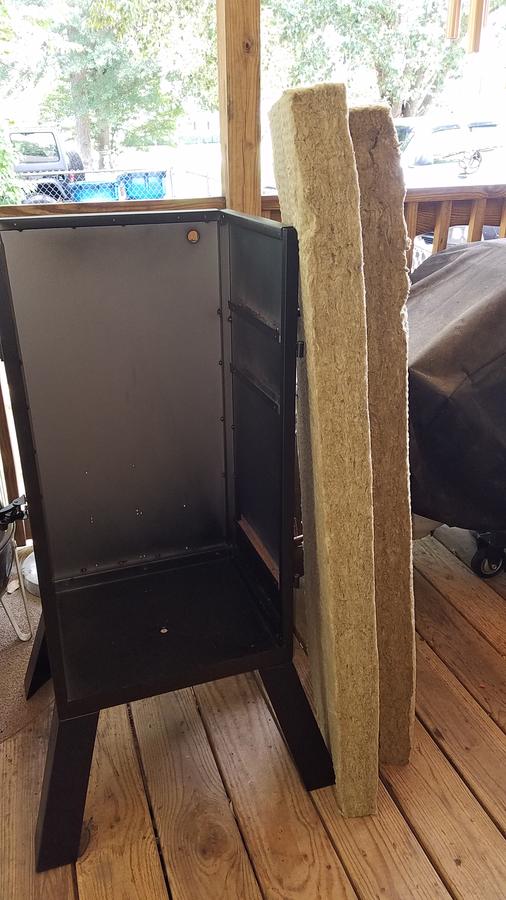
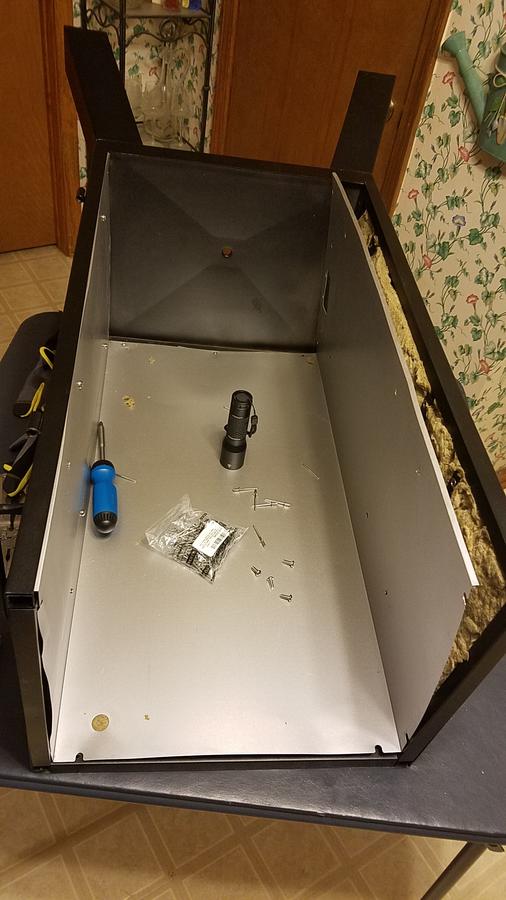
So now we have the MES Elite 30 analog completely disassembled and read for mods.
I'll break this into multiple posts as each section will be long. More to come in a few minutes (it takes a while to organize and upload the photos).
I have a WSM and I'm perfectly happy with it for most normal smoking functions at the 200-250* range. However I also love to make jerky, snack sticks, and sausage that requires lower temps. To answer that need, I previously came up with a e-WSM mod where I took an extra door for my 18.5" WSM and mounted a 1,300 watt electric element in the door. By simply switching doors I can either run as a normal WSM on charcoal or as a e-WSM on electricity for lower temp smokes. I also added a Auber Instruments "all in one" pre-built PID controller in a box to the e-WSM and have excellent results. But my one gripe is I need more rack space. 5 pounds of sticks maxes out my e-WSM with the two grates stacked on top of each other at the top grate level and separated by wooden spacer blocks. With the dome shape tapering inward as it goes up, you can only add so many round Weber racks.
A while back I bought this awesome all stainless steel McCall proofer/warmer from a school auction. It will eventually be my mega-uber smoker for sticks and sausage. But it's just too tall for where I want to put it (ok, the wife says it's too tall but it will actually fit). So that project is tabled and the McCall remains in storage and that will be a story for another day.
So first I decided I would totally destroy a brand new, never used MES 30 analog. No, I'm not crazy and I did get it at a heavy discount from the local Gander Mountain that is going out of business. But it was a new in the sealed box MES 30 analog. The Gander Mountain and Cabela's version of the MES 30 analog is sold as the MES Elite 30 analog. The rack holders are different than the standard MES 30 analog. It comes with 3 racks, but the rack holder has spaces for a total of 5 racks and they sell a 2 rack optional upgrade kit. Note: it is less expensive to buy individual racks direct from MES than to buy the "kit". The heating element is an analog, 1,500 watt element and the temp is set via an imprecise dial. The thermometer is the typical inexpensive and less than accurate MES dial thermometer in the door. The air inlet is a 5/8" hole in the bottom and the air/smoke vent is a single 5/8" hole in the top right corner of the back. Simply put, air flow sucks in the stock design. Smoke is from a stainless hardwood chip tray that sits right over the heating element. There is a small water pan.
So this is the stock configuration of a MES Elite 30 Analog:
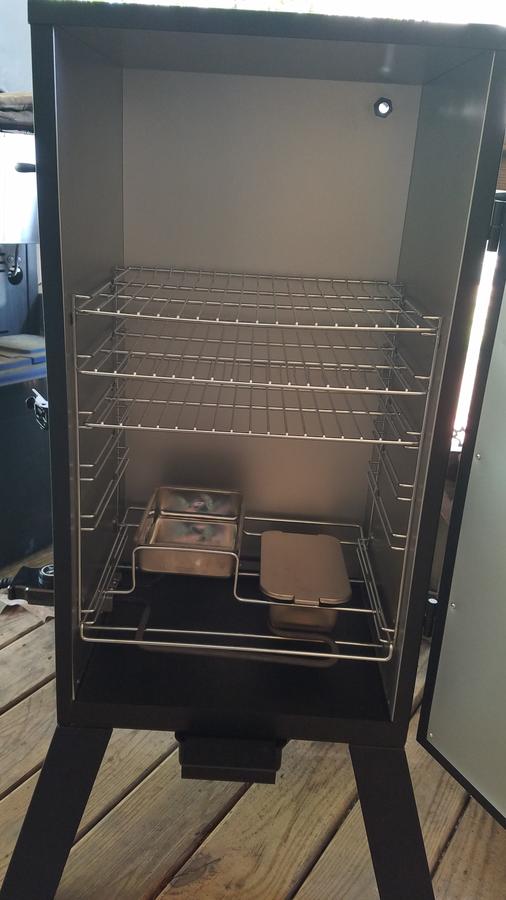
Sort of underwelming isn't it. The neat thing is this "meh" smoker has the potential of a phoenix to transform and rise into something spectacular!.
A while back, I looked at one of these as a display model. I found the door, side walls, and top are hollow dead air spaces. There is no insulation in the stock version, but in looking at the design, it was basically riveted together and it appeared I could de-construct the unit to add insulation. Then I saw another post where a mode was made to add 3 more racks to the MES for a total of 8 racks. That's a lot of space for stick & sausage making.
So, time to start the deconstruction.....
The smoker has a top cap that is held in place by 6 aluminum rivets. This covers the interior top section that is also held in place by aluminum rivets. The inner body liner is held in place by rivets at the bottom (the same rivets for the interior top section hold the top in place), and also by the bolts that mount the heating element and the sheet metal screws that hold the rack holder in place on each side. There is also a cross piece support that appears to keep the heating element from sagging that is riveted to the inner liner, but not to any structure. All rivets were 1/8" aluminum. To remove, just drill out the head with a 1/8" drill bit. Photos of the above....
Top cap and rivets
Left side view of heating element, rack holder and heating element cross support
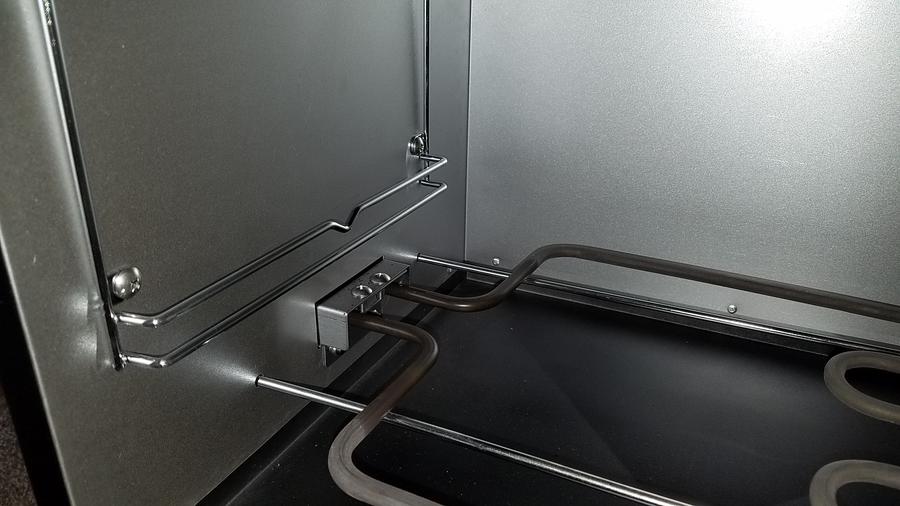
Right side view of rack holder and heating element cross support

Heating element mounting bolts (pass through from outside of smoker to a bracket on the element that is threaded).

Sheet metal screws holding rack holder against the inner body. The screw goes through to a structural member under inner liner. Half of these screws were stripped a the top under the head of the screw. When trying to back them out, they just spin. I had to hold a screw driver blade under the head to put upward pressure until the threads caught. These are not really meant to be taken out and reinstalled but I have a plan to deal with this. Both the upper and lower rack screws are into interior structural members.

Top cap removed, you can see the upper inner liner cap and the rivets that hold it and the upper section of the main chamber inner liner in place.
Upper inner liner removed. The top section of the main body inner liner is now free. The front edge of the inner liner is bent on a 90* angle and this slides in a channel of the frame.

Exhaust port (small as it is) is basically a short length of pipe with a flange on the outside and threads and a nut on the inside. I could take the nut of with my hands and no tool was needed.

All rack mounts, heating element, heating element support, and exhaust port removed. Only thing left to separate the inner liner, is to drill out the bottom rivets.

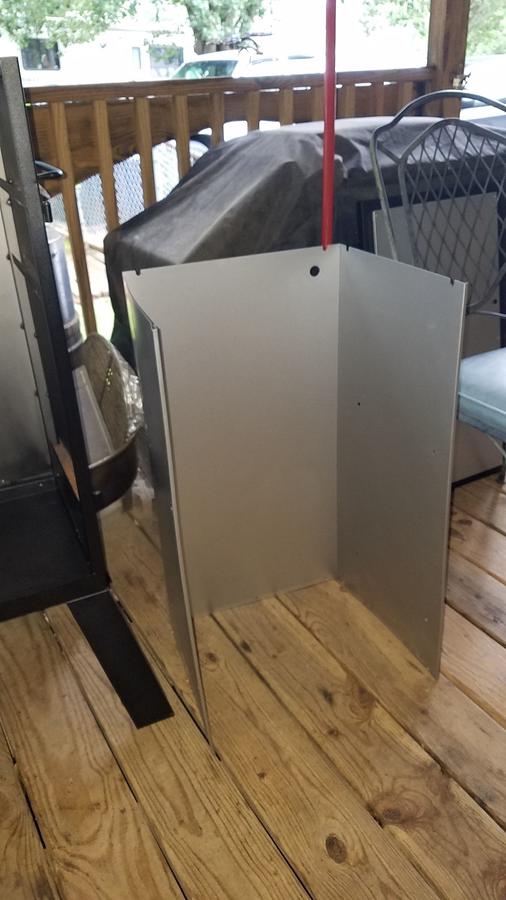
Now we can see the outer shell and what was the hollow dead air space between the shell and the inner liner. This is where the insulation will go. You can also see the structural members the sheet metal screws for the rack holders screwed into. They are u-channel that is tack welded to the outer shell (face up on the right side and down on the left side). There is also a structural member that was not used to mount the inner liner but is pre-drilled with holes for the sheet metal screws. I would take it that MES has one outer body for different models and the inner liner has the holes to match those structural members depending on what they are building. The rivets in the back panel near the bottom third are the rivets that hold on the serial number and other ID plates. No need to mess with those in this mod.
The latch is held on the outer body by screws into 2 rivet nuts. I will also use rivet nuts on my mods.

So now we have the MES Elite 30 analog completely disassembled and read for mods.

I'll break this into multiple posts as each section will be long. More to come in a few minutes (it takes a while to organize and upload the photos).