So finally getting the things together for my build.
Here is the tank will be using. It measures 24"x84".
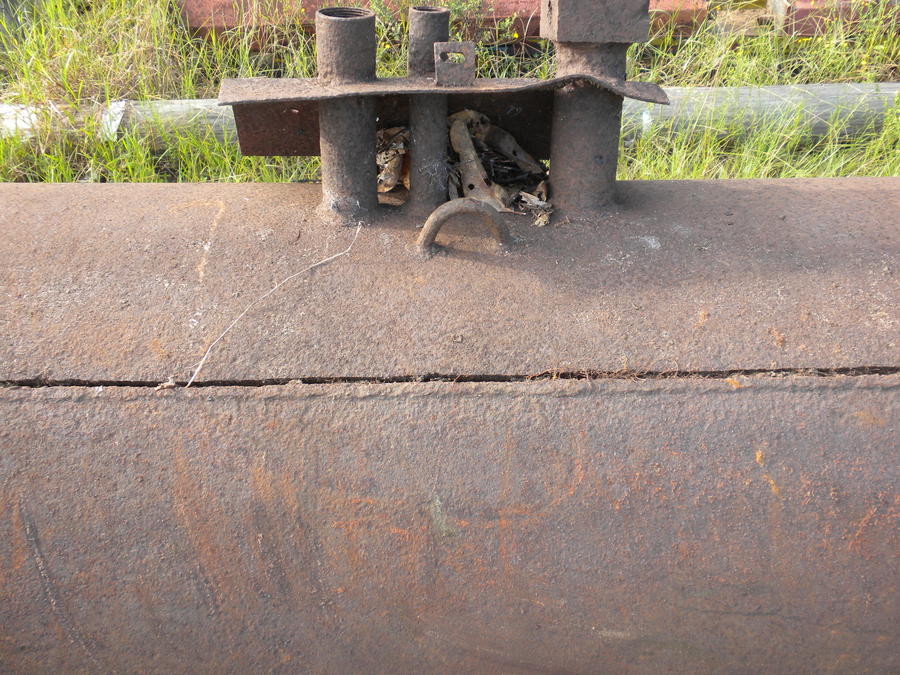
It was supposed to be built years ago by my Father In Law. It looks like he already cut the top of the door. Not sure if i should be concerned, but it has dirt or sand inside of it. At least I know it wont blow up when i go to cut it.
I was inspired by Ribwizzard and his build. So I am wanting to split and lift as well. I am thinking if I do 14" lift that I can get a total of 4 shelves. 3 the same size and 1 smaller one at the top. Depending on the cooker performance I am thinking the top shelf will be a warming shelf.
http://www.smokingmeatforums.com/t/...erse-flow-hybred-smoker-pit-build#post_857337
So the numbers I came up with are as follows:
Cook Chamber (I ran the center addition and the tank to get an approximate total of 66,205 Cu", so it came to 33"x24"x84" and 66,528 Cu")
Fire Box 34"H x 20"W x 38"L (116.5%) (may tweak this a bit when I get the trailer next to it.)
Chimney @6" Diameter 46" Long (have not found any pipe that size yet) or 6"x6"36" (i have some metal I can fabricate one out of, leaning this way)
Fire Box Inlets 10ea 2"x4" was thinking 5 on each side. The sizes may change a bit as I get into the actual work.
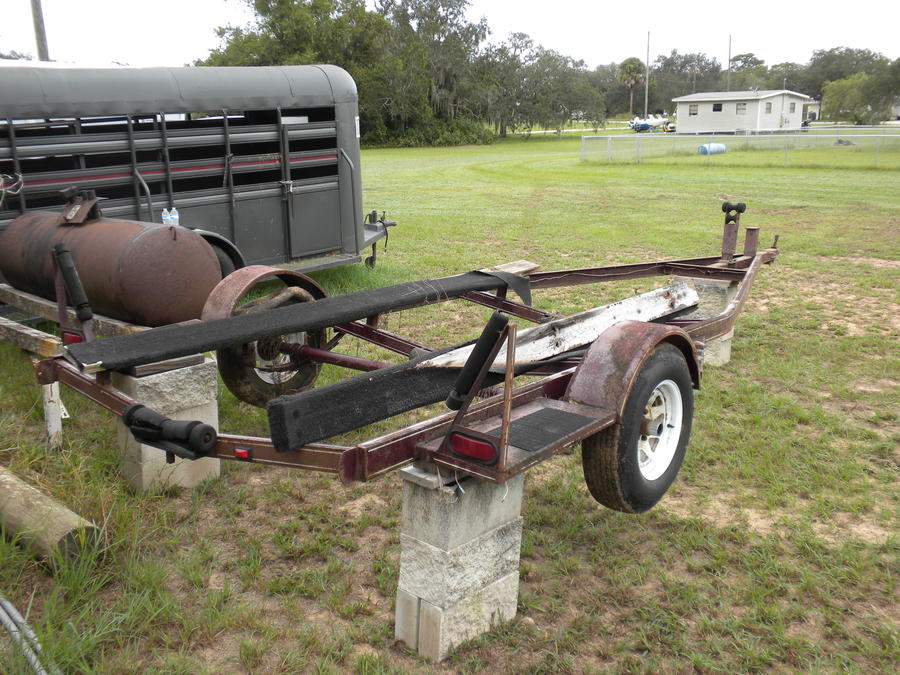
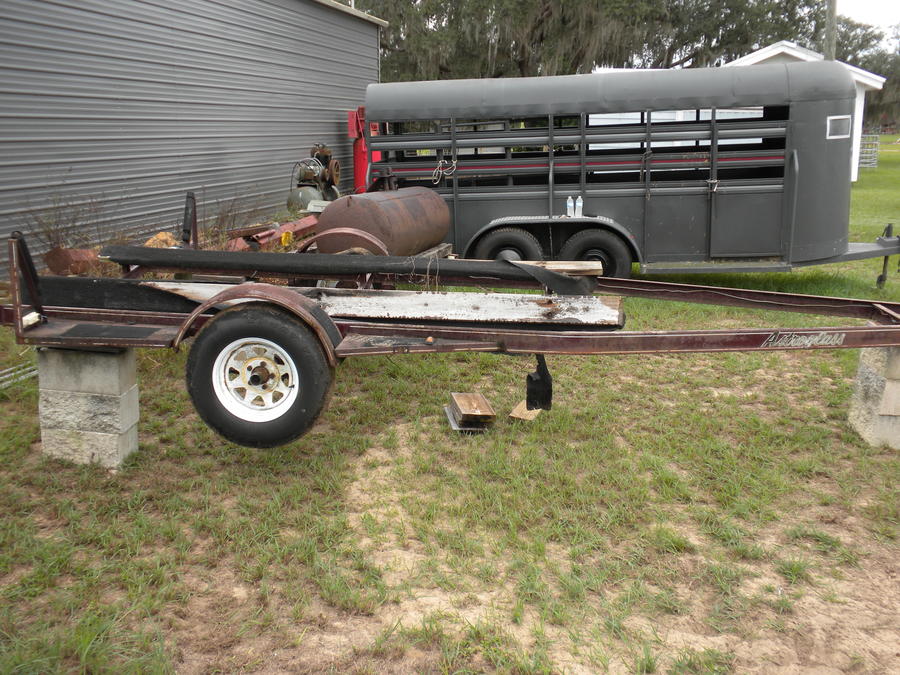
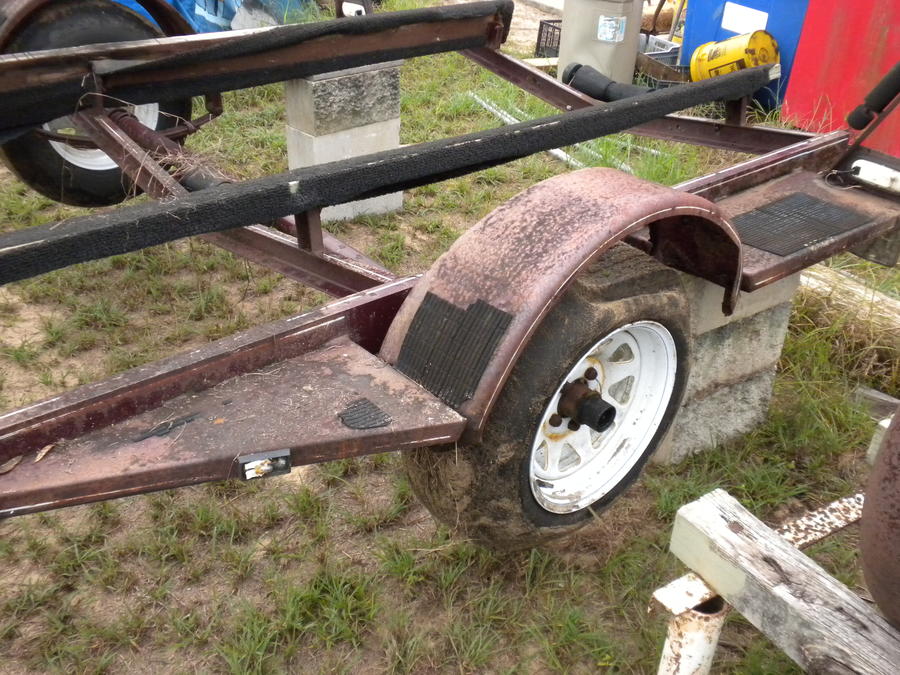
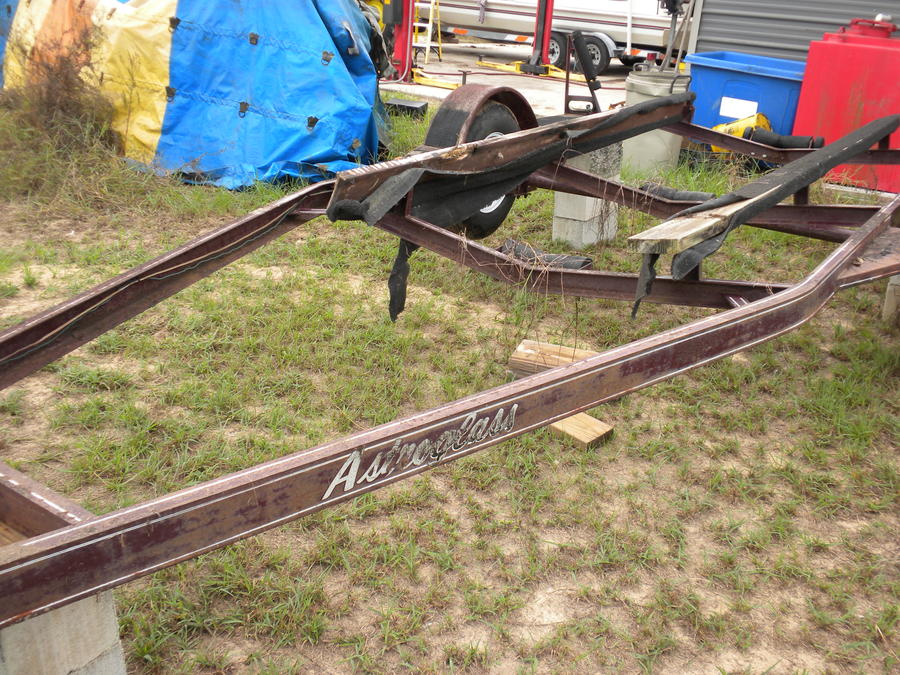
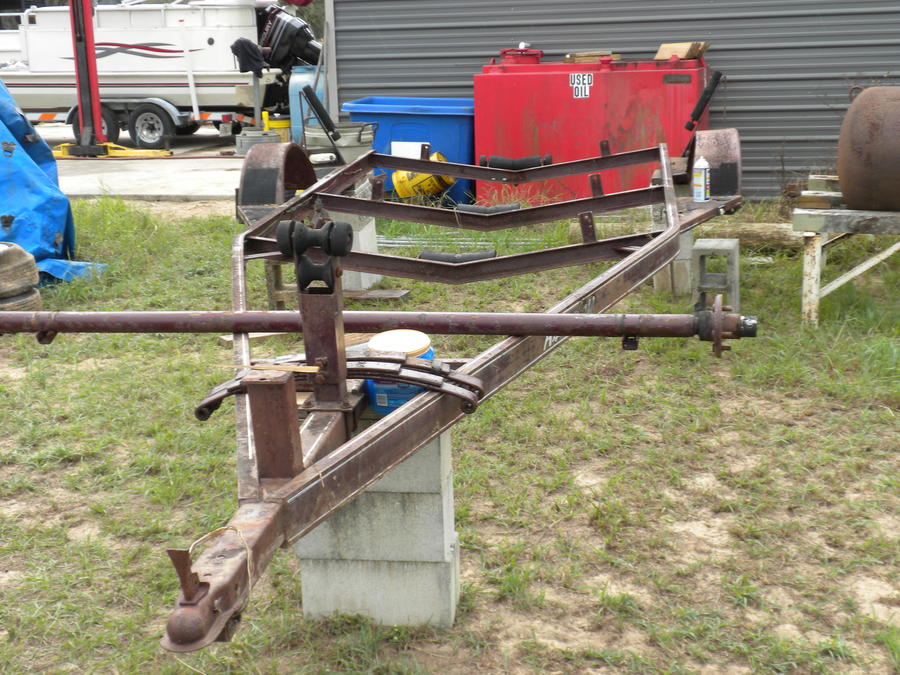
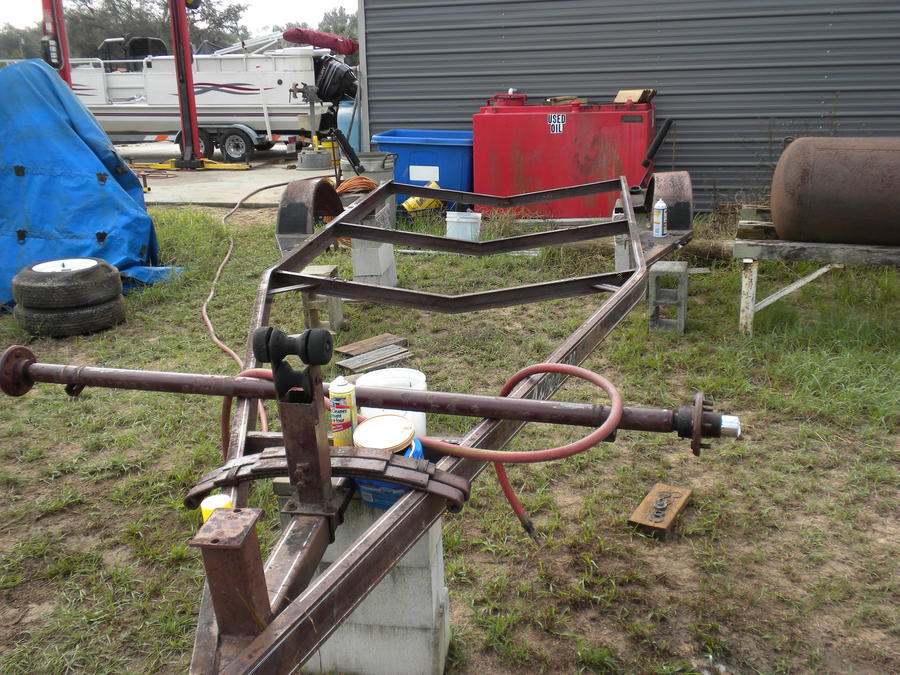
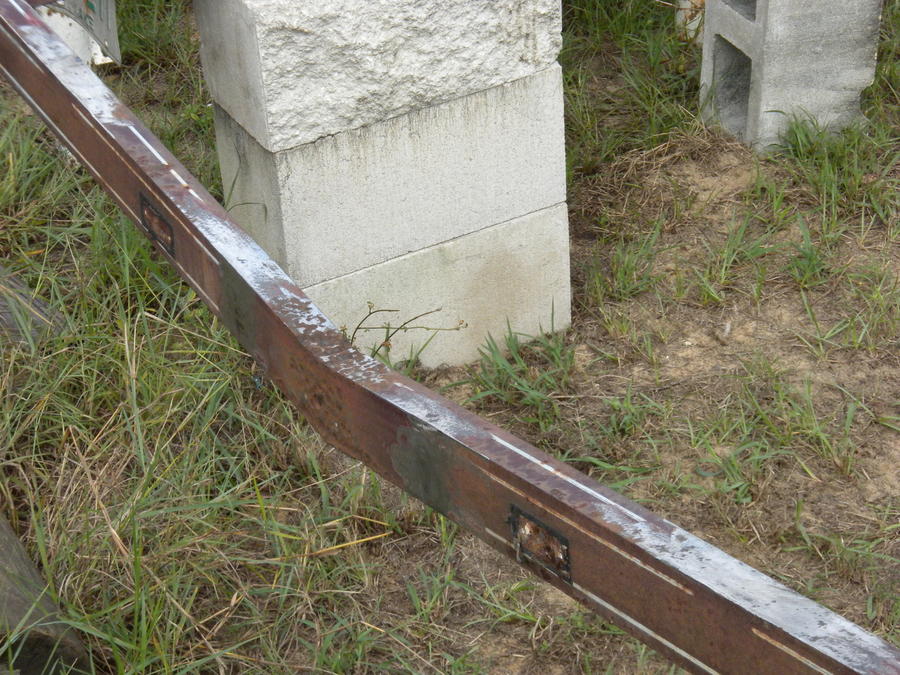
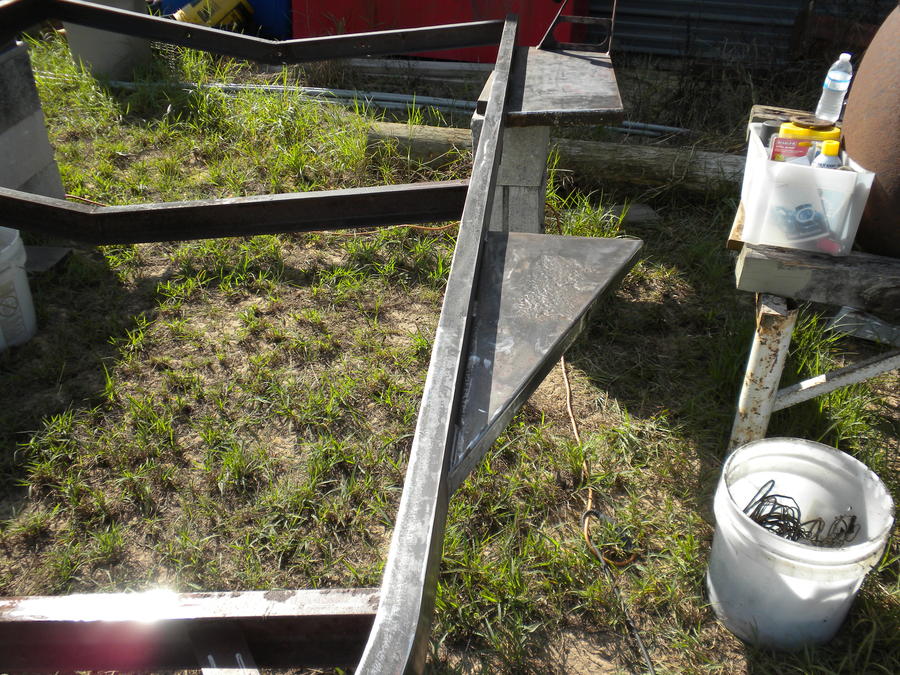
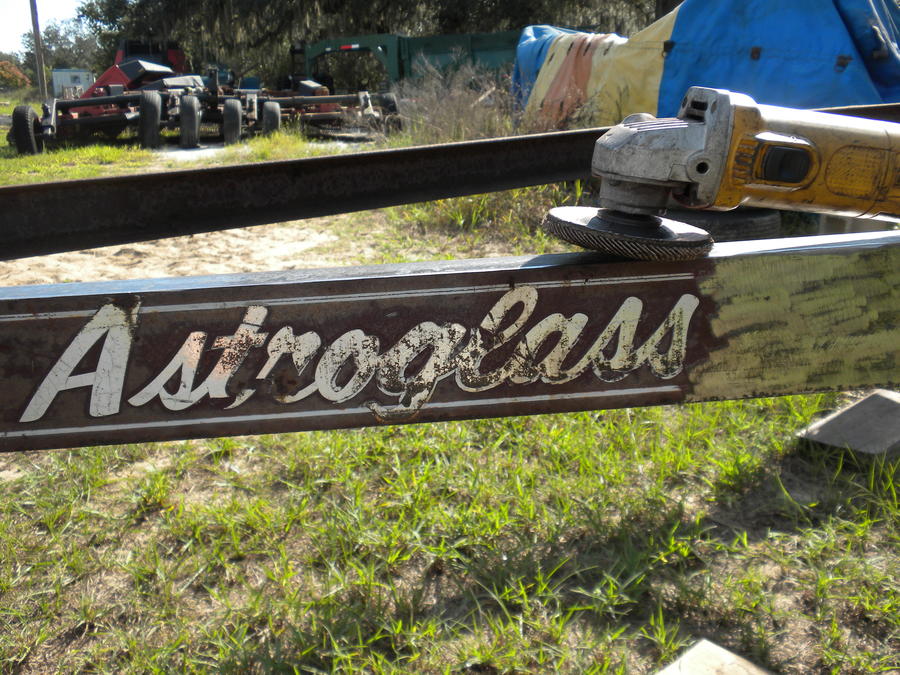
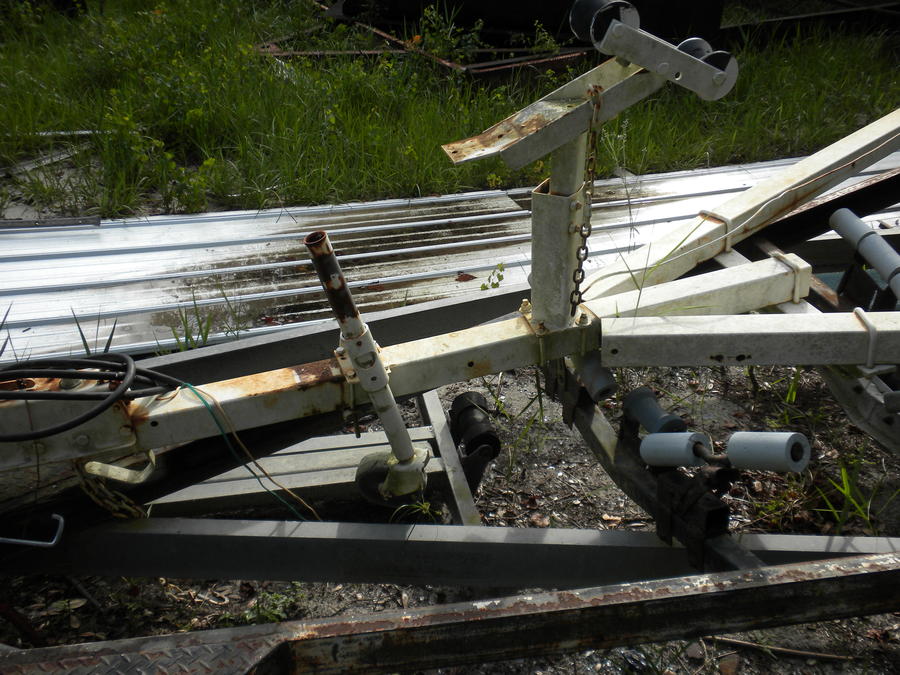
I also have the trailer already. It is an old boat trailer he has had laying around.It is 14' from the wench mount to the back and 69" wide. Plenty of room for storage boxes and 2 burner outdoor fryer station.
These are the tools I get to learn how to weld with. I feel I will be OK as long as I take my time.
Spectrum 875 Plasma Cutting Tool
Millermatic 210 Mig Welder
He has a huge shop and all kinds of other toys to use for the build.
Any tips or advice is very welcome. I am still looking for latches, handles and hinge ideas......
Here is the tank will be using. It measures 24"x84".
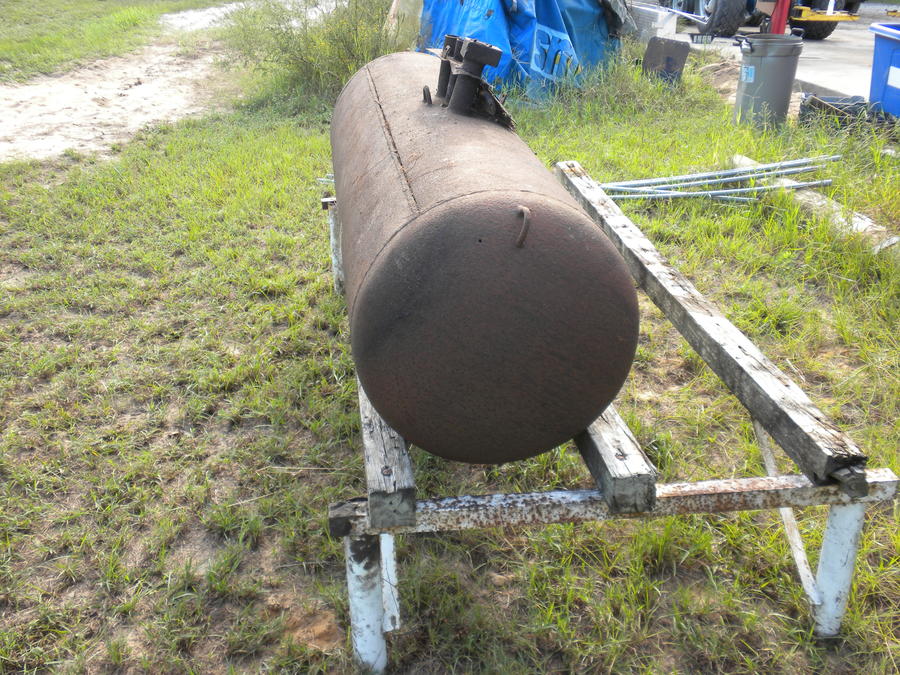
It was supposed to be built years ago by my Father In Law. It looks like he already cut the top of the door. Not sure if i should be concerned, but it has dirt or sand inside of it. At least I know it wont blow up when i go to cut it.
I was inspired by Ribwizzard and his build. So I am wanting to split and lift as well. I am thinking if I do 14" lift that I can get a total of 4 shelves. 3 the same size and 1 smaller one at the top. Depending on the cooker performance I am thinking the top shelf will be a warming shelf.
http://www.smokingmeatforums.com/t/...erse-flow-hybred-smoker-pit-build#post_857337
So the numbers I came up with are as follows:
Cook Chamber (I ran the center addition and the tank to get an approximate total of 66,205 Cu", so it came to 33"x24"x84" and 66,528 Cu")
Fire Box 34"H x 20"W x 38"L (116.5%) (may tweak this a bit when I get the trailer next to it.)
Chimney @6" Diameter 46" Long (have not found any pipe that size yet) or 6"x6"36" (i have some metal I can fabricate one out of, leaning this way)
Fire Box Inlets 10ea 2"x4" was thinking 5 on each side. The sizes may change a bit as I get into the actual work.
I also have the trailer already. It is an old boat trailer he has had laying around.It is 14' from the wench mount to the back and 69" wide. Plenty of room for storage boxes and 2 burner outdoor fryer station.

These are the tools I get to learn how to weld with. I feel I will be OK as long as I take my time.
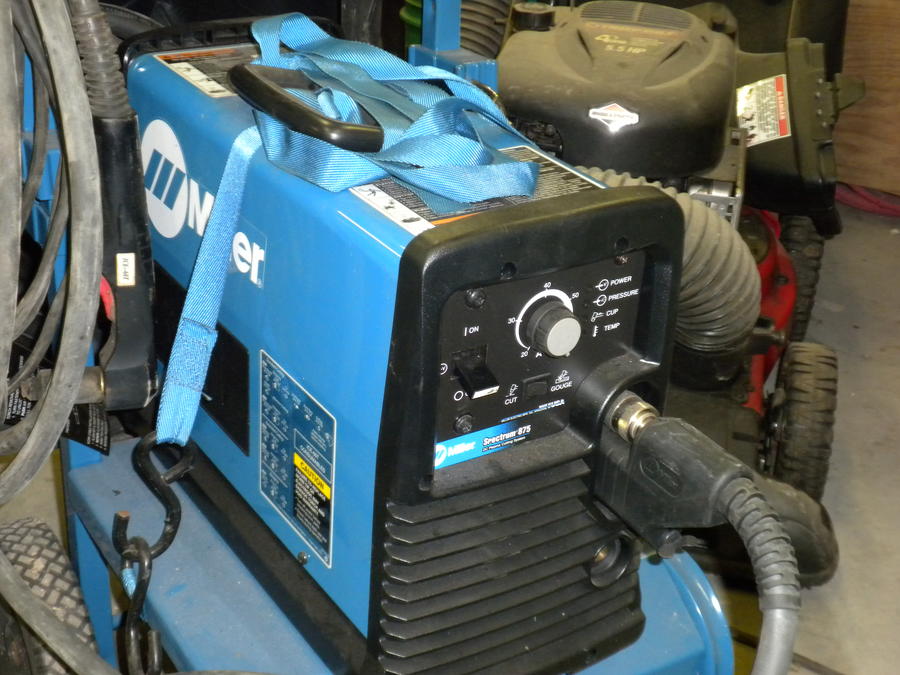
Spectrum 875 Plasma Cutting Tool
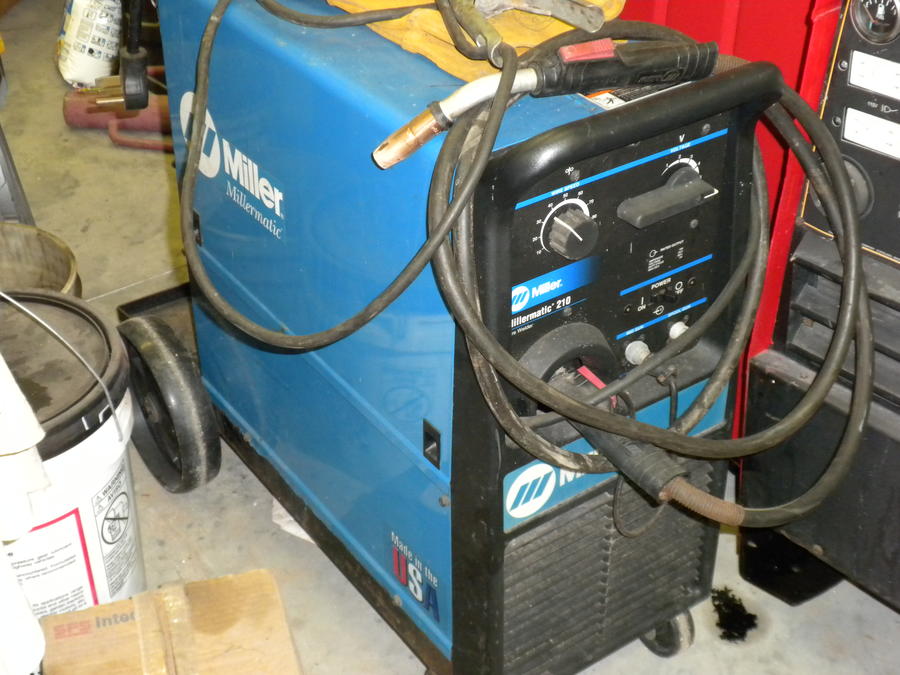
Millermatic 210 Mig Welder
He has a huge shop and all kinds of other toys to use for the build.
Any tips or advice is very welcome. I am still looking for latches, handles and hinge ideas......