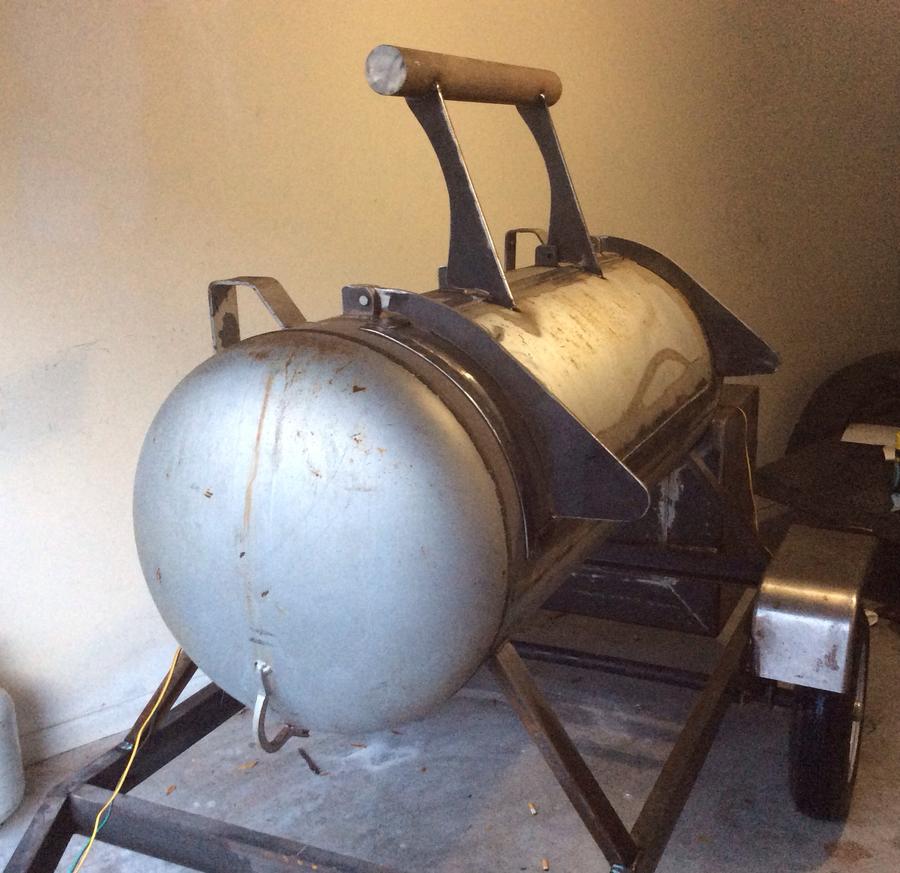
Ok, here we go.
- Thread starter ribwizzard
- Start date
-
Some of the links on this forum allow SMF, at no cost to you, to earn a small commission when you click through and make a purchase. Let me know if you have any questions about this.
You are using an out of date browser. It may not display this or other websites correctly.
You should upgrade or use an alternative browser.
You should upgrade or use an alternative browser.
SmokingMeatForums.com is reader supported and as an Amazon Associate, we may earn commissions from qualifying purchases.
jweller
Fire Starter
I would personally close the bottom, because of general road crap/water spray, but one of my concerns, salt, isn't an issue for you in Florida. Seems to me that a minute with a shop vac would clean anything out of the bottom anyway. just my $0.02
I get your point, but the bottle of veg. Oil or package of rub or something else always tends to not seal up , no matter how careful you are and now that huge roll of aluminum foil is ruined from the cardboard box getting soaked,
I was just thinking leaving the bottom open would keep it cleaner and dryer in there. I know, right now I need to pull the tool box off of my pick up and wash it out because a bottle of car wash soap leaked all over everything and it's a mess in there.
I was just thinking leaving the bottom open would keep it cleaner and dryer in there. I know, right now I need to pull the tool box off of my pick up and wash it out because a bottle of car wash soap leaked all over everything and it's a mess in there.
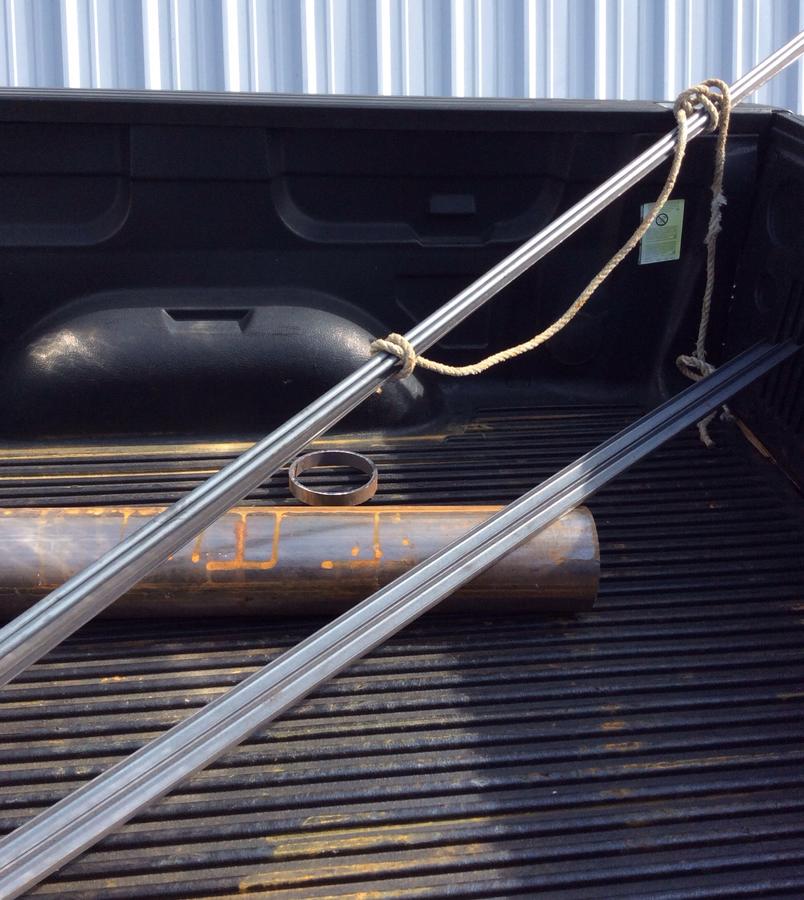
Might be on vacation, but can never pass up getting while getting is good, all this for $42.00
20 ft 1/2 round
20 ft 1.25 x 1/8
36" schedule 40, 5 " I'd
16" 1" channel
20 ft 1/2 round
20 ft 1.25 x 1/8
36" schedule 40, 5 " I'd
16" 1" channel
Yeah, I know I'm dragging but on this build...
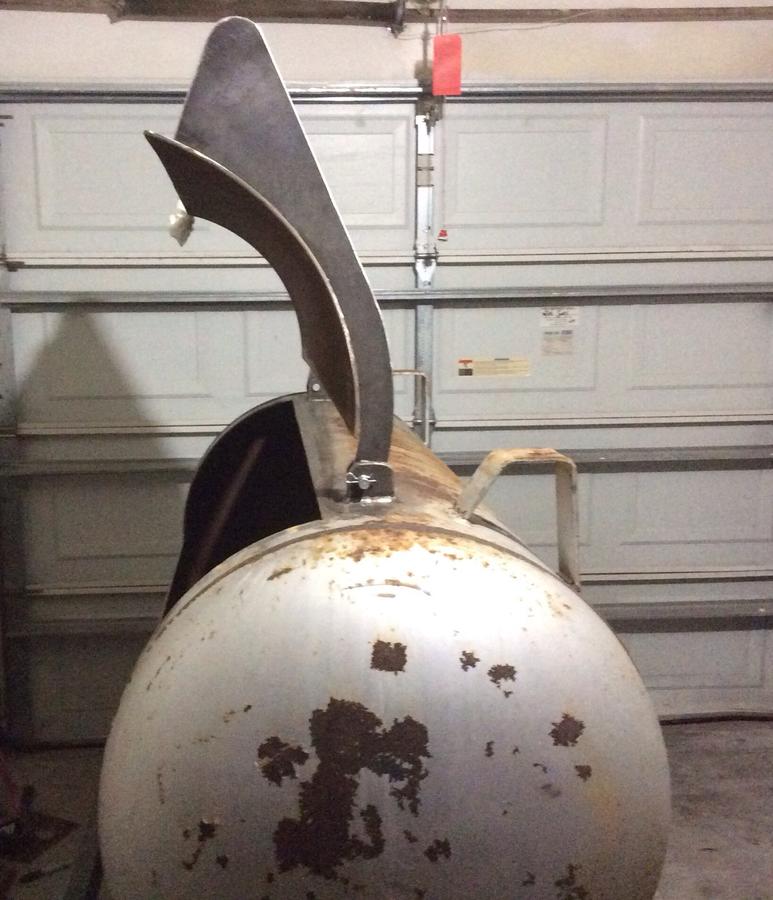
I did get some hinges/ flanges made up and welded on today so that I could get door cut upen. I'm not real happy with the out radius's, they just don't " look right". Too big and don't flow well. I'm going to play around with a sharpy and when I get the right look, grind them down to where they need to be.
I'm also going to add a second set of hinges in the middle to add a counterweight. I did however get the fulcrum point right where I want it. Counterweight will set dead up at 12, with door shut, and will not have to be very tall.
This smoker is going to be about the perfect size for what I do these days, fits in the garage much easier too. Think I will sell old number 19 and make this one my new part smoker.
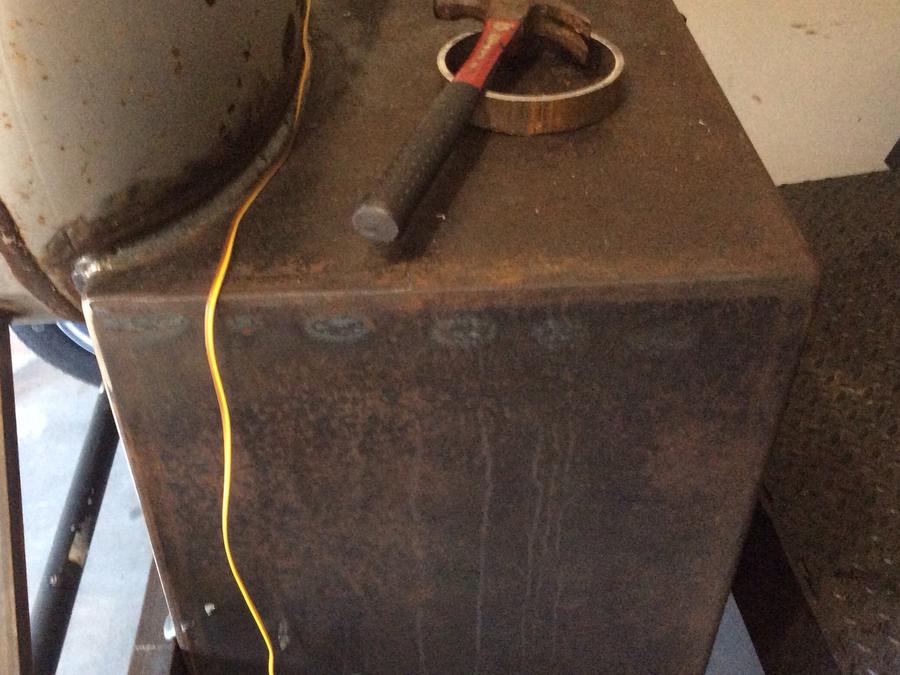
Here you can see where I stiched in the doubler plate at and angle inside the firebox, used 1/4" plate.
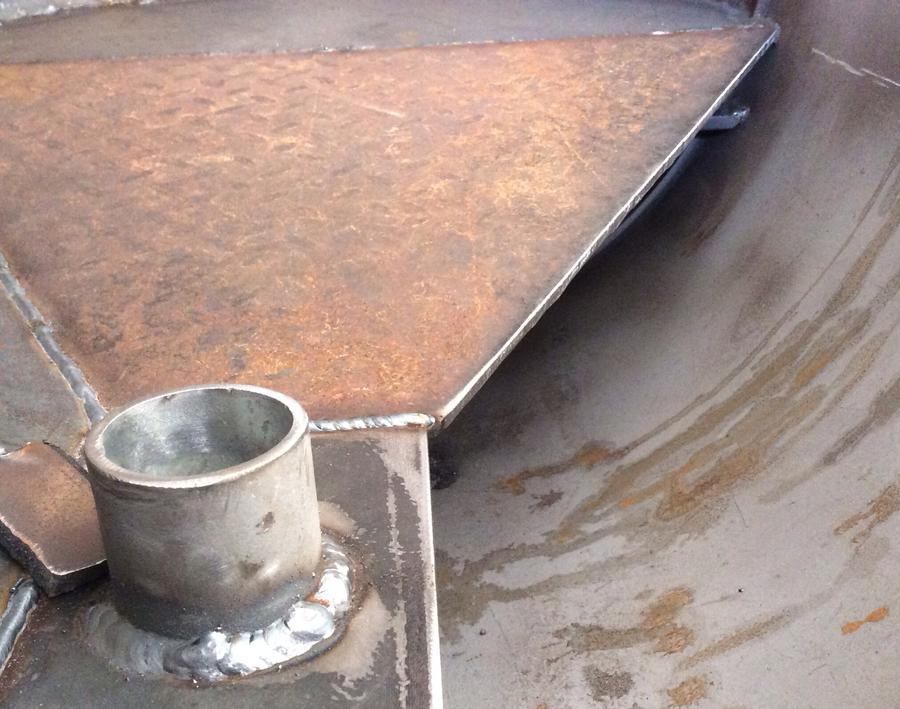
Here's how I plan on supplying the fresh air to my above plate burner, I will plumb two pipes up through the plate and extend them up so as the plate will still hold grease/water, then put a rain cap so that nothing drips into them. Then just make a shutter valve for the openings below the tank.
With the way I decided to angle the inner top plate of the firebox, I ended up with no air gap at the top inside lip, just the two plates joining together to make a 1/2 inch lip.
So I used a piece of 3/8" x 6" flat bar and extended that front lip into the cooking chamber, to act as a deflected to keep the hot spot off of the reverse flow pan, you can just barely see it at the top right corner of this pic.
I think with that 3/8" plate extended into the cooking chamber, and the an 1 and 1/2 inch gap between it and the reverse flow pan, there should be very little chance of a hot spot at that end.
I hope.
I hope.
I decided to go with these hold down clamps for this build, they are stainless steel so no rusting. I noticed with the ones Ive used before, the zinc plating gets oxidized and the plastic red handles fade and turn pink. I'll have the option to paint this one so it does match the smoker as well.
Down side is I don't know how hot the handle will get, I might end up welding on some small stainless spring handles onto them before its all over.

Down side is I don't know how hot the handle will get, I might end up welding on some small stainless spring handles onto them before its all over.
RW, morning.... I was googling to find that clamp and I ran across this invention... could be adapted to smoker use somehow....
http://nhwoodworker.com/temp/diy_mft_hold_down.html
http://nhwoodworker.com/temp/diy_mft_hold_down.html
The old square pegged welding tables used to have clamps like that, dont see them very often any more. I guess most of them today are too worn out to hold the clamps anymore.
I always thought that they should make a lighter version for the home shop of these tables.
[ATTACH=full]622606[/ATTACH]
Correction, just did a search and there are some really cool new designs, Im going to have to get me one for the house!!!!
How freaking cool is this??/
[img]http://www.stronghandtools.com/siegmundtables/img/special-fixture-7.jpg[/img]
We'll, I'm pretty happy with myself this morning, got up at 6am and got started thinking getting the door true and the counterweight was going to be time consuming, but it's 7:30 and I done whooped it!
Doors sitting nicely, and the weight really has a nice feel to it, you can still feel good weight to the door for the first 3 or 4 inches of pull , the the weight starts to take over and glides it right up, same on the closing cycle, so it holds the door up nicely.
SmokingMeatForums.com is reader supported and as an Amazon Associate, we may earn commissions from qualifying purchases.
Similar threads
- Replies
- 14
- Views
- 892
- Replies
- 6
- Views
- 4K
- Replies
- 73
- Views
- 6K
- Replies
- 1
- Views
- 361
Latest posts
-
-
-
-
It's all fun and games until your kid decides she's coming for your crown.
- Latest: Fueling Around
Hot Threads
-
Is anyone here in the automotive or truck sales business?
- Started by forktender
- Replies: 39
- General Discussion
-
Featured Prime Boneless Striploin Steaks on the Q
- Started by DRKsmoking
- Replies: 24
- Beef
-
Bucket list Smoker - Humphrey's Pint
- Started by dward51
- Replies: 22
- General Discussion
-
Your Favorite Way to Use Leftover Smoked Pork Ribs
- Started by Jim_C
- Replies: 20
- General Discussion


