Punclock
Newbie
- Jul 27, 2019
- 6
- 1
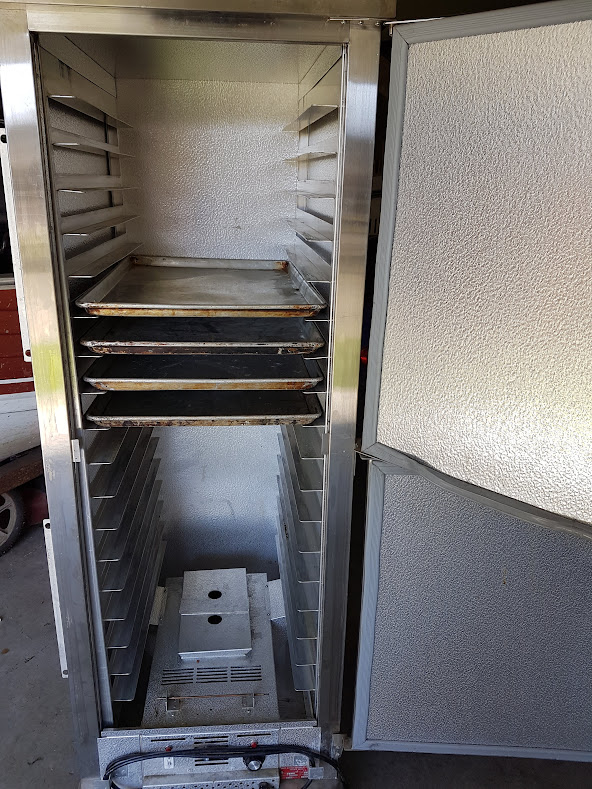
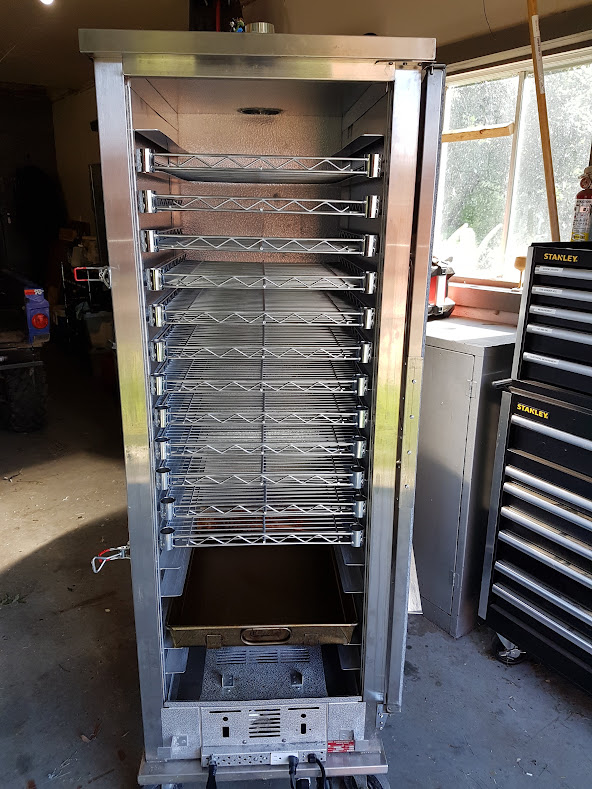
So this is my electric smoker build that I have been slowly working on. I found this Food warming/holding cabinet for sale in my local Kijiji classifieds. At a $150.00 I was more than happy to give up some cash to make this smoker happen.
The unit was used in an old brewery for some sort of process and except for issues with the door seal it was in working condition and very clean. As you can see from the first picture the cabinet had two doors, and the door seals were not in good condition.

This picture shows the door assembled as one unit; it only required a slight adjustment to the hinge location.


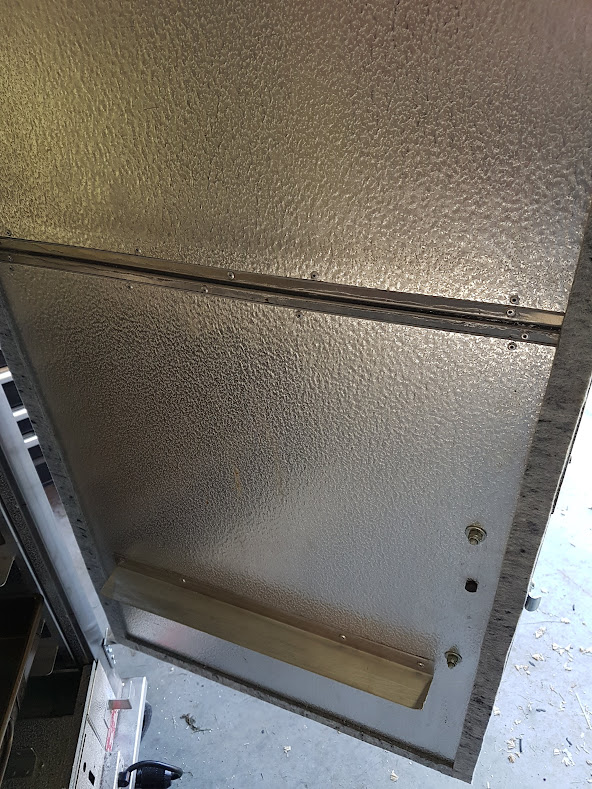
In this picture you can see the new door seal was put in place, along with a drip guard to catch condensation that may run down the door.

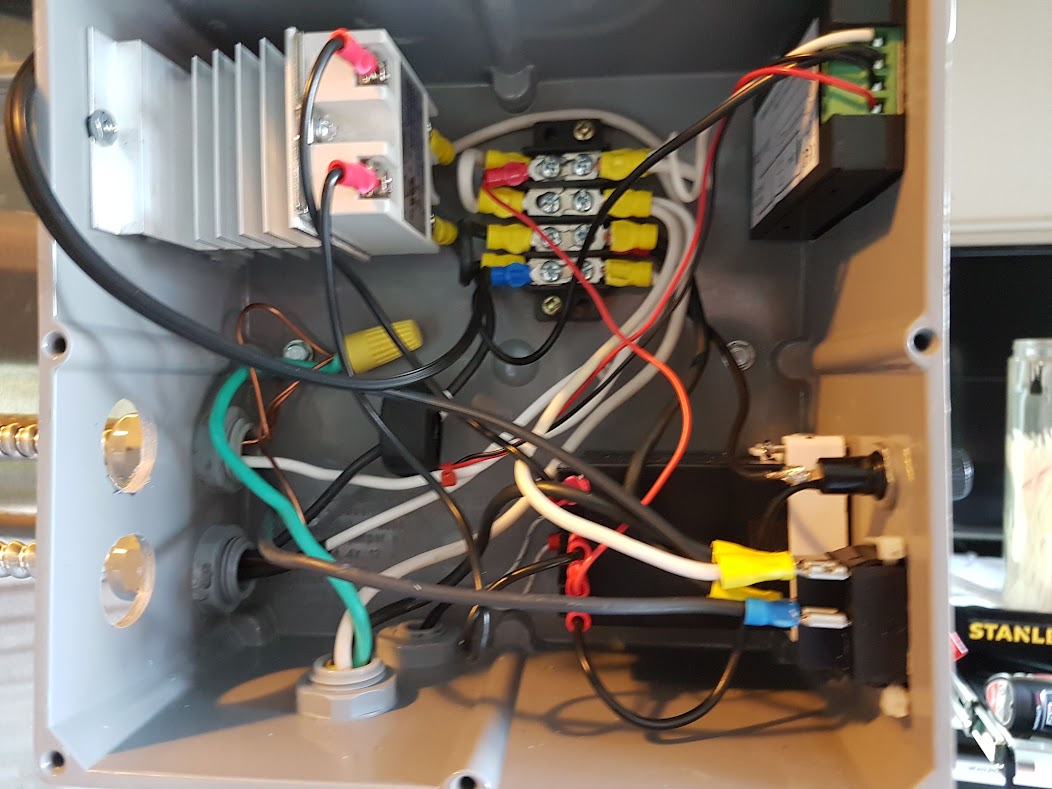
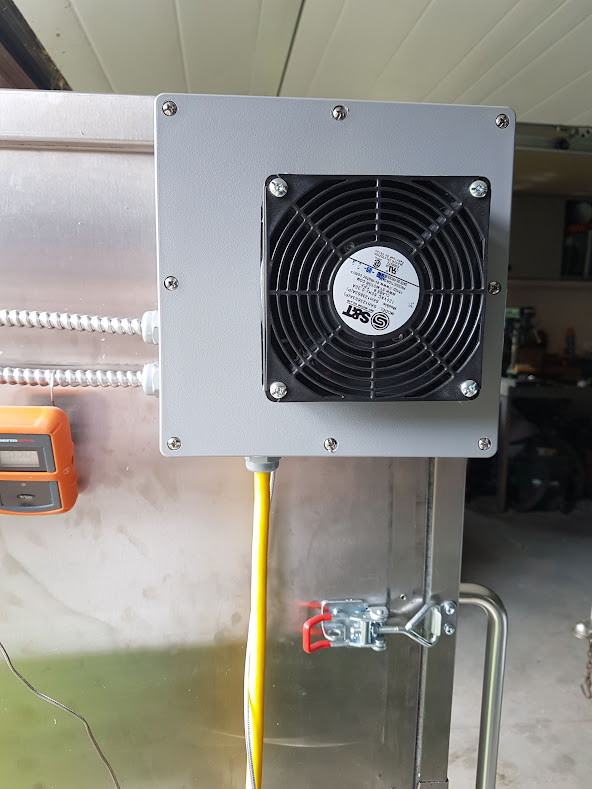
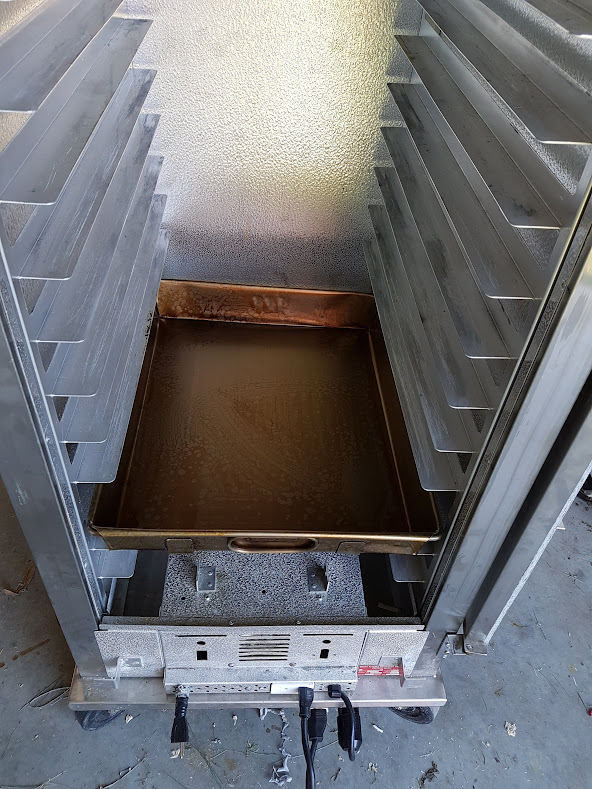
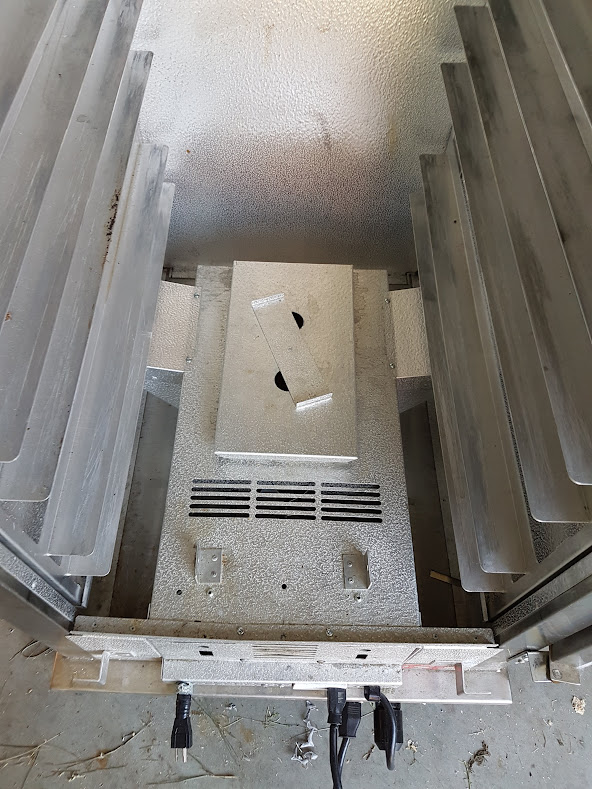
In the next photos drip pan and the heater unit. The entire heat assembly can be removed in one piece. I removed the original temperature controls from the cabinet and am in the midst of assembling a PID controller. This also shows three plugs that I installed to keep the heater assemble removable. One plug controls a fan that circulates the air in the cabinet, and the two other plugs are power supplies for the 1500 and 1000 watt heating elements.


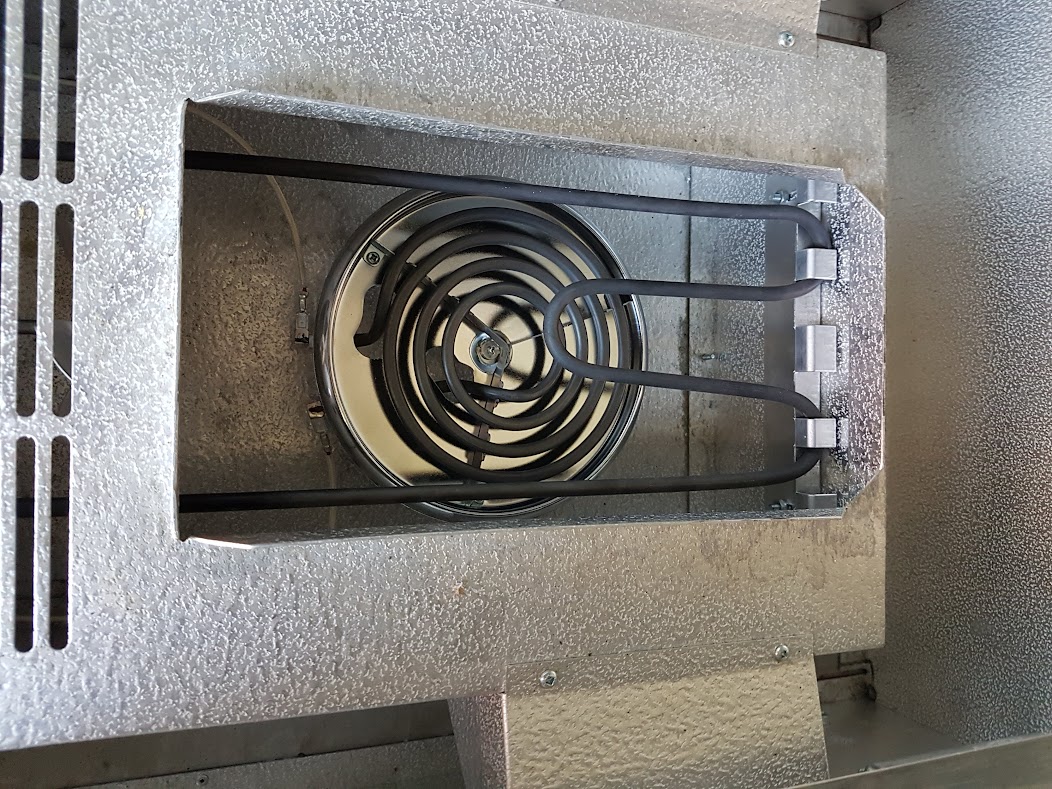
Here you can see the heater elements. The coil is the 1000 watt element which will be used to generate smoke to the pellet pan. The coil element has been kept on a separate 120 volt circuit and will only be used to aid in providing additional heat at during the smoking phase. The other element is 1500 watts and will be controlled by the PID.

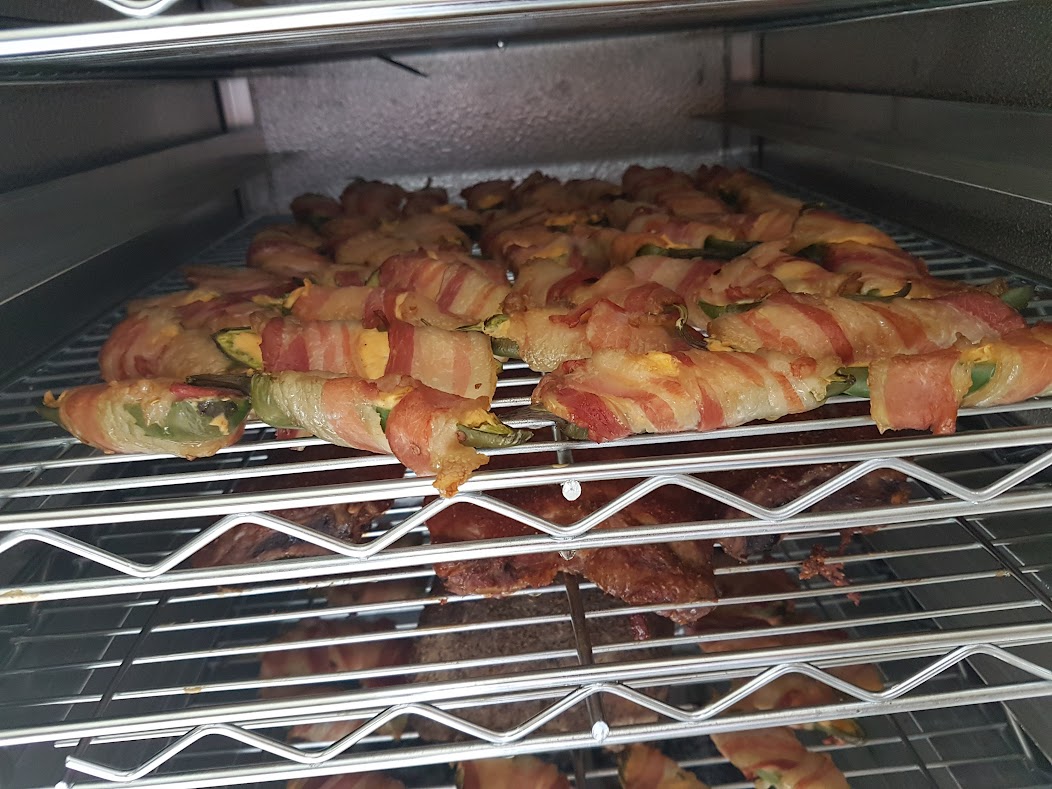
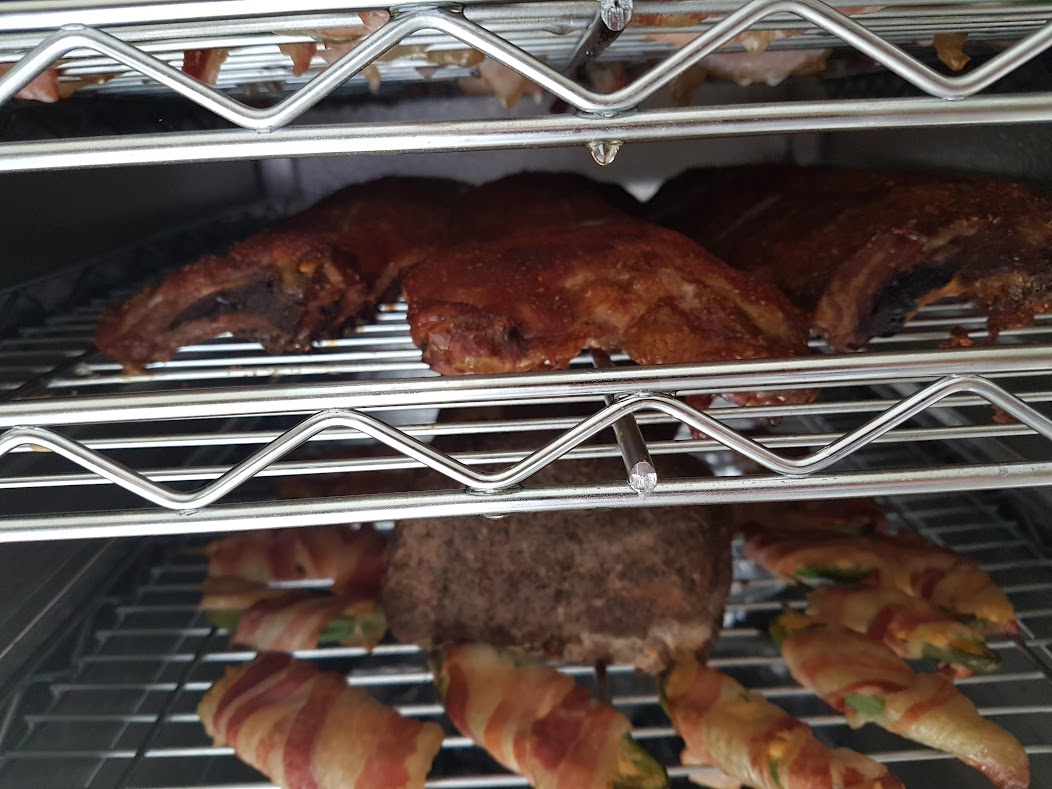
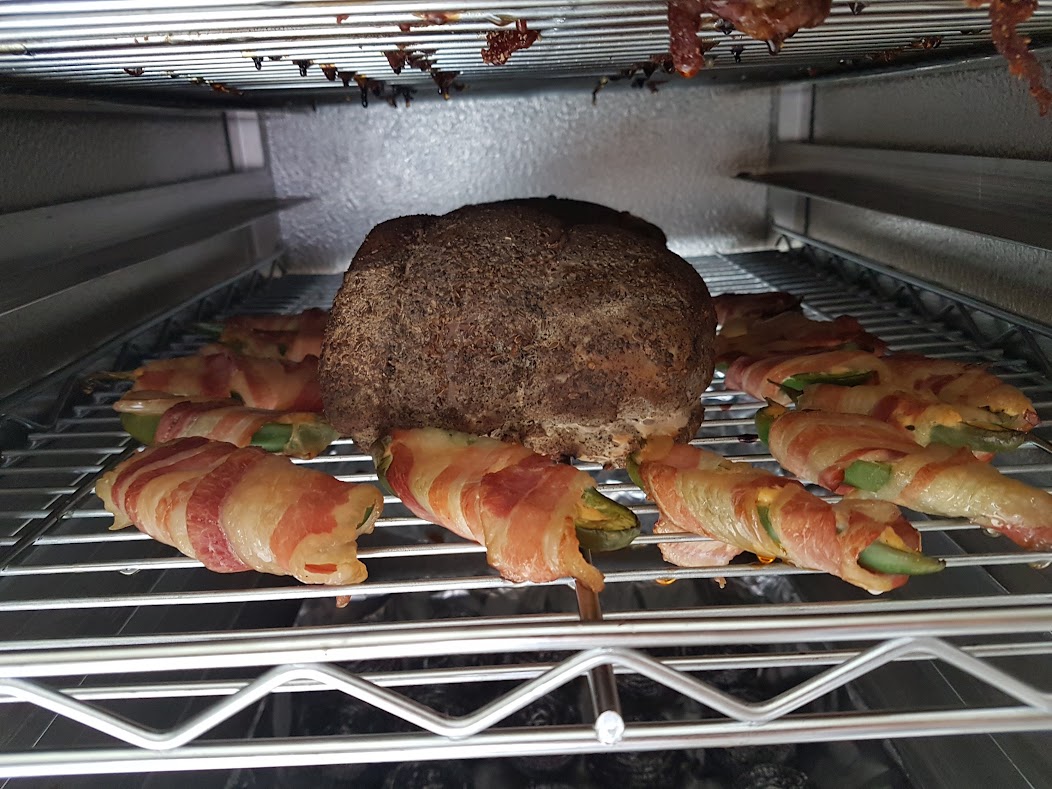
Since the cabinet came with full size aluminum sheet pans measuring 18“x26” I had to find some sort of racks. I was able to find a chrome rack system at a big box which 18“x4’ at a fraction of the cost of welding my own, so I cut these chrome ones in half. I hope they hold up…

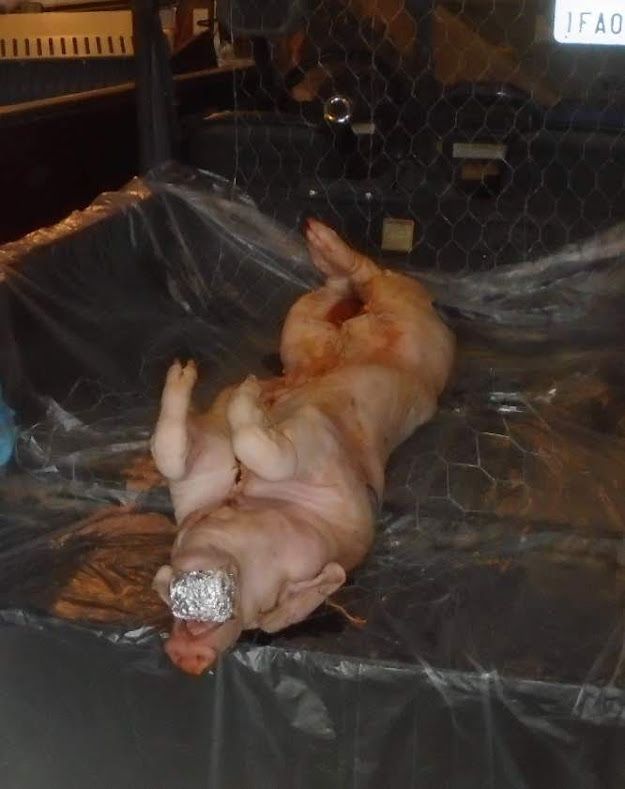
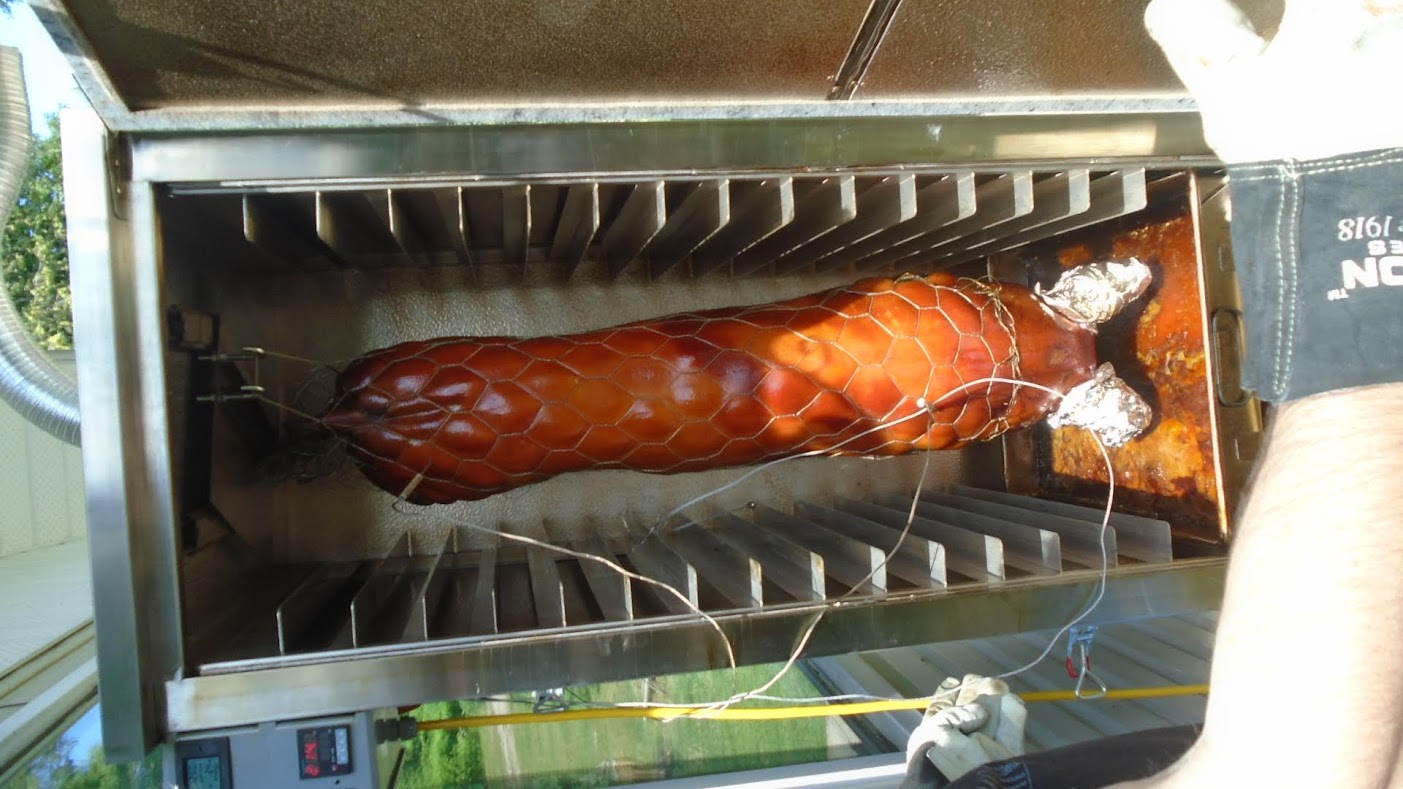
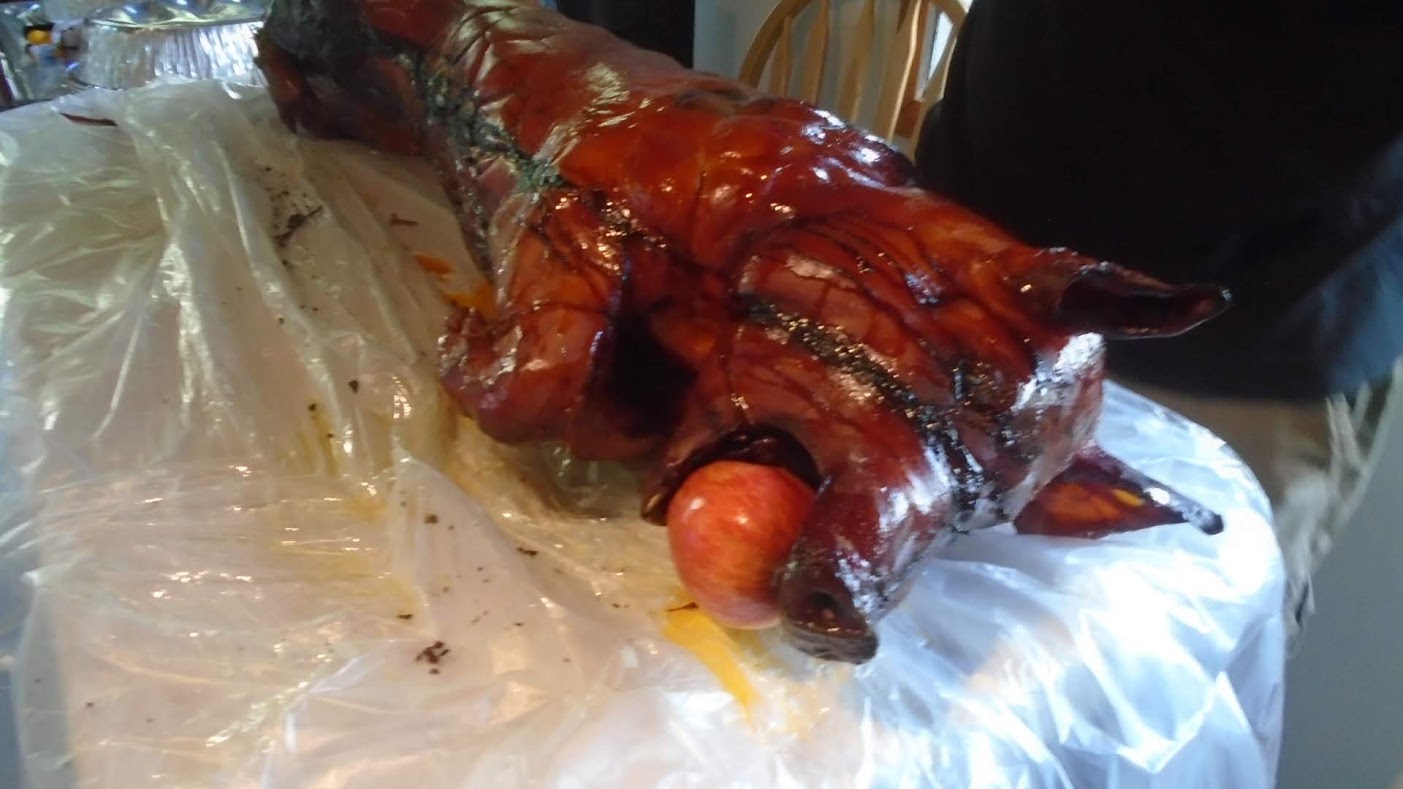
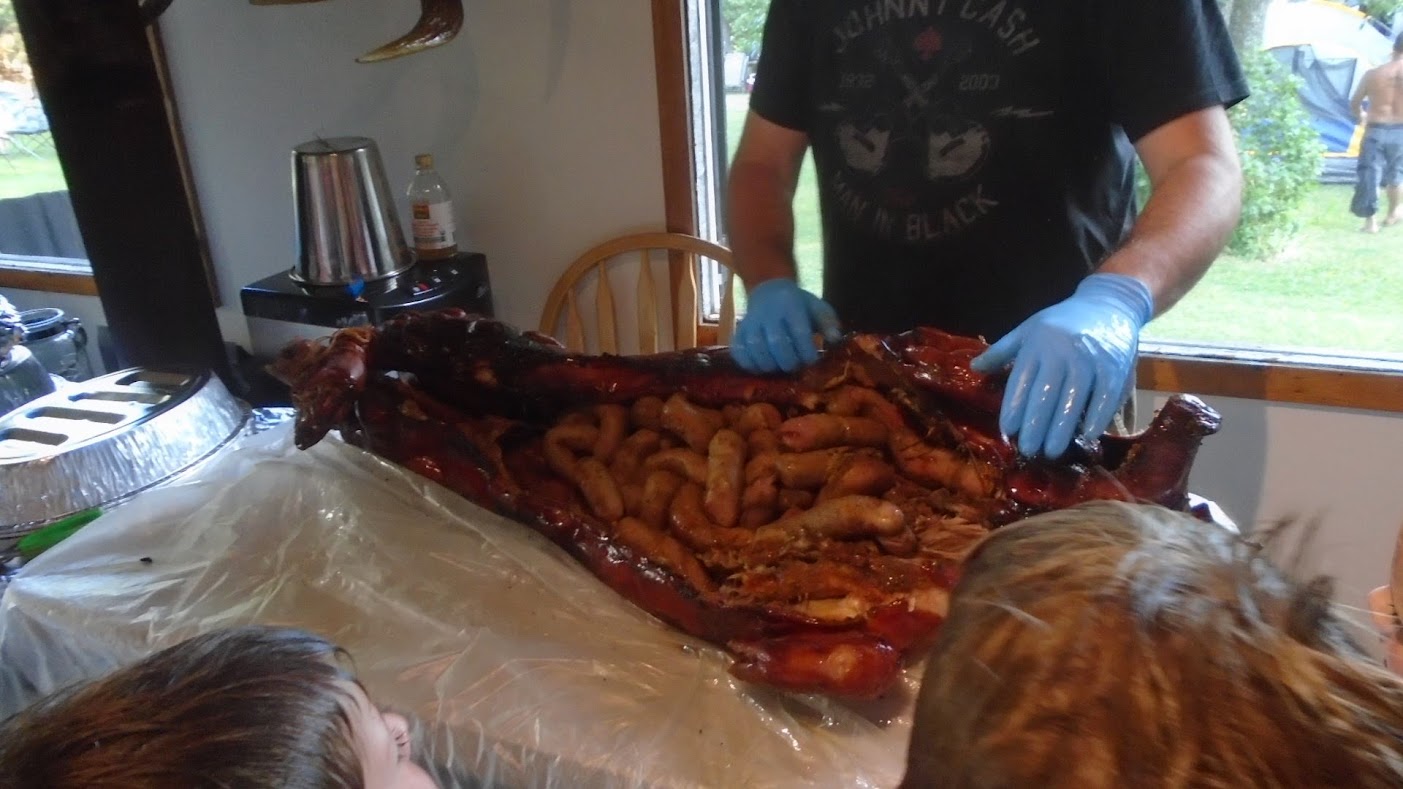
Well that’s where I am at for now, I will update once I am done wiring the PID and I have my first smoke. In August I plan to attempt to stuff an 80 lb pig into this thing; wish me luck!
The unit was used in an old brewery for some sort of process and except for issues with the door seal it was in working condition and very clean. As you can see from the first picture the cabinet had two doors, and the door seals were not in good condition.
This picture shows the door assembled as one unit; it only required a slight adjustment to the hinge location.
In this picture you can see the new door seal was put in place, along with a drip guard to catch condensation that may run down the door.
In the next photos drip pan and the heater unit. The entire heat assembly can be removed in one piece. I removed the original temperature controls from the cabinet and am in the midst of assembling a PID controller. This also shows three plugs that I installed to keep the heater assemble removable. One plug controls a fan that circulates the air in the cabinet, and the two other plugs are power supplies for the 1500 and 1000 watt heating elements.
Here you can see the heater elements. The coil is the 1000 watt element which will be used to generate smoke to the pellet pan. The coil element has been kept on a separate 120 volt circuit and will only be used to aid in providing additional heat at during the smoking phase. The other element is 1500 watts and will be controlled by the PID.
Since the cabinet came with full size aluminum sheet pans measuring 18“x26” I had to find some sort of racks. I was able to find a chrome rack system at a big box which 18“x4’ at a fraction of the cost of welding my own, so I cut these chrome ones in half. I hope they hold up…
Well that’s where I am at for now, I will update once I am done wiring the PID and I have my first smoke. In August I plan to attempt to stuff an 80 lb pig into this thing; wish me luck!
Last edited: