radioguy
Master of the Pit
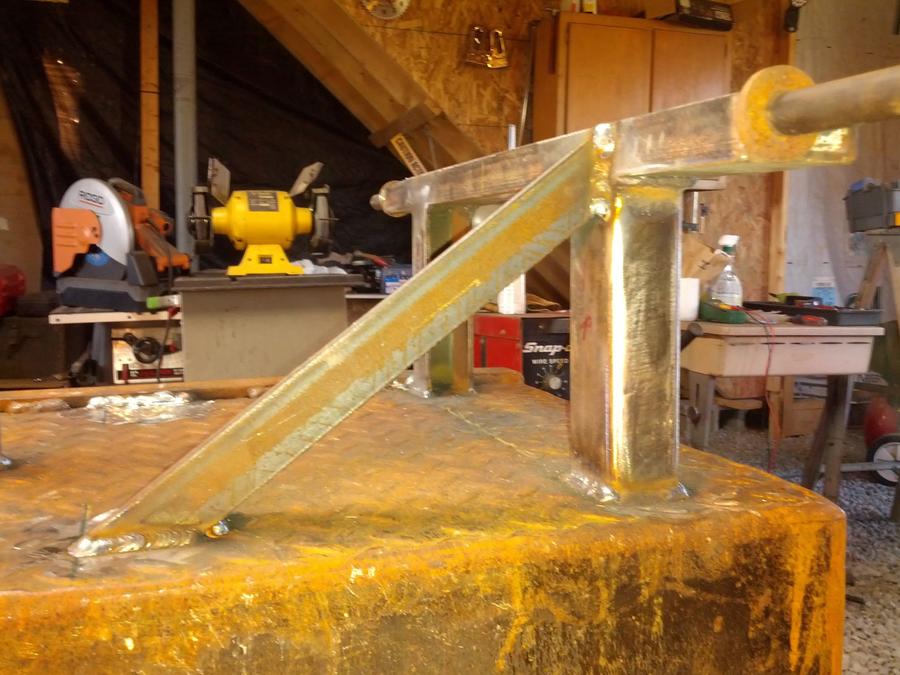
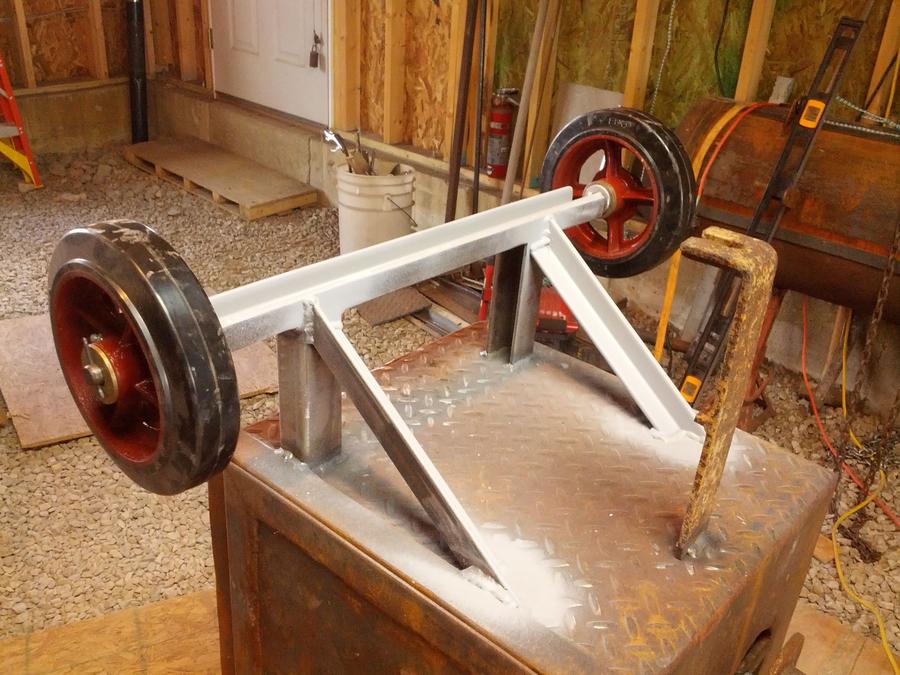
Well, I've done enough reading and research, time to make some sparks! Since this is custom why not make a left-hand version.
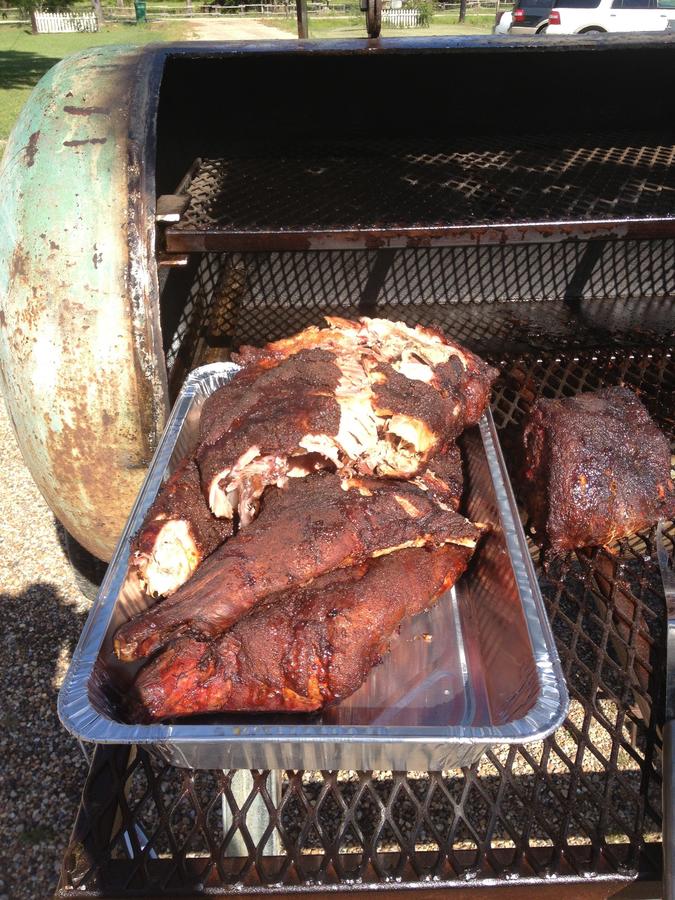
Really looking forward to some smoked meats this summer!!!
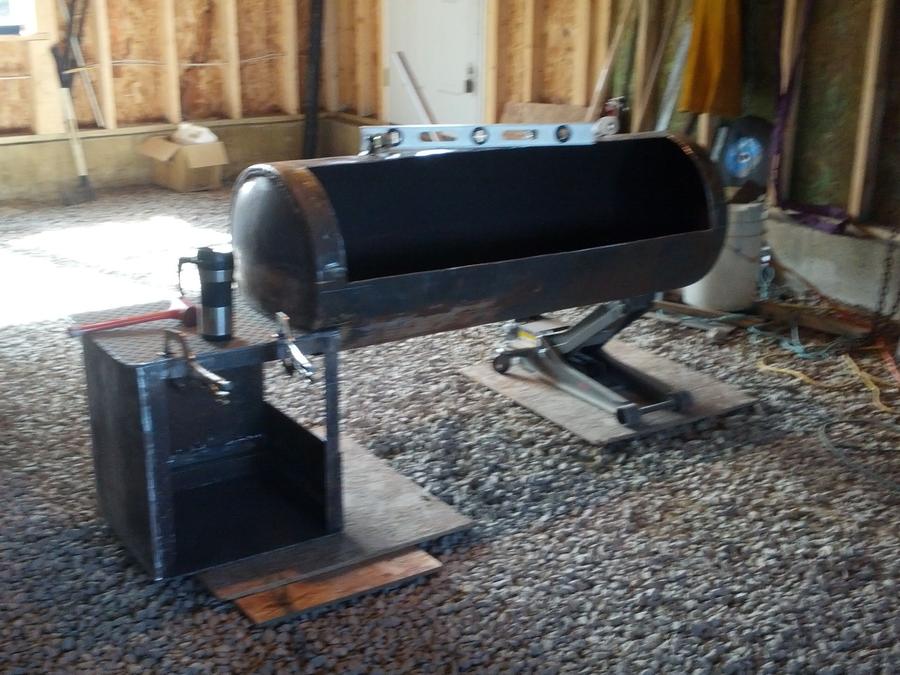
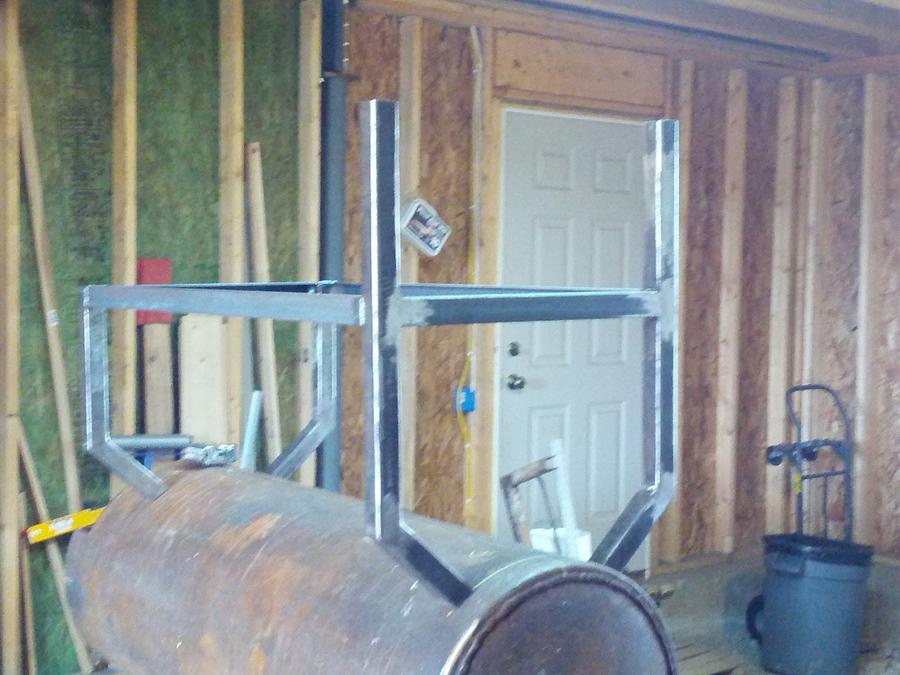
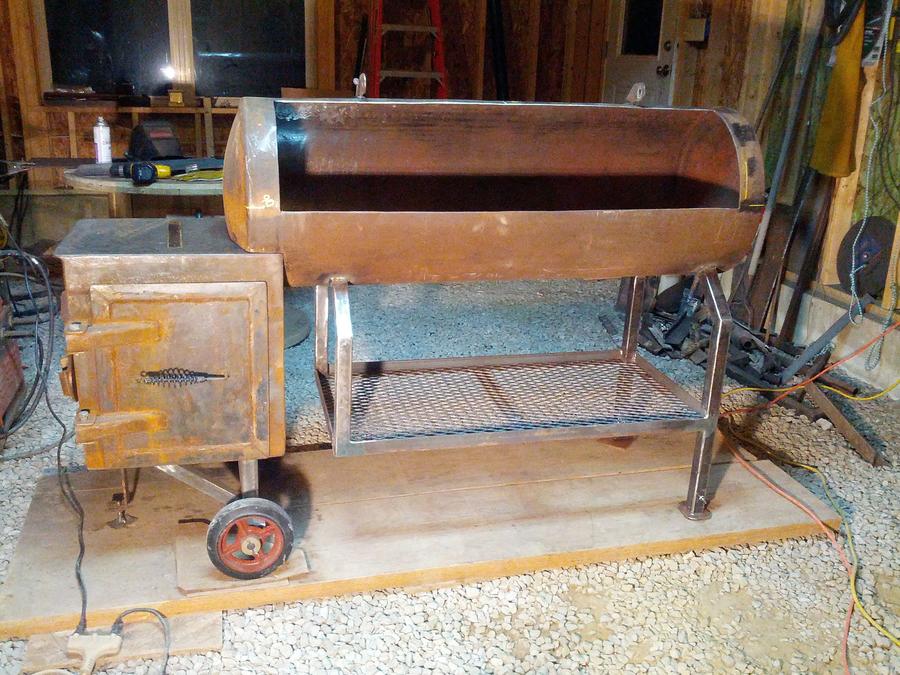
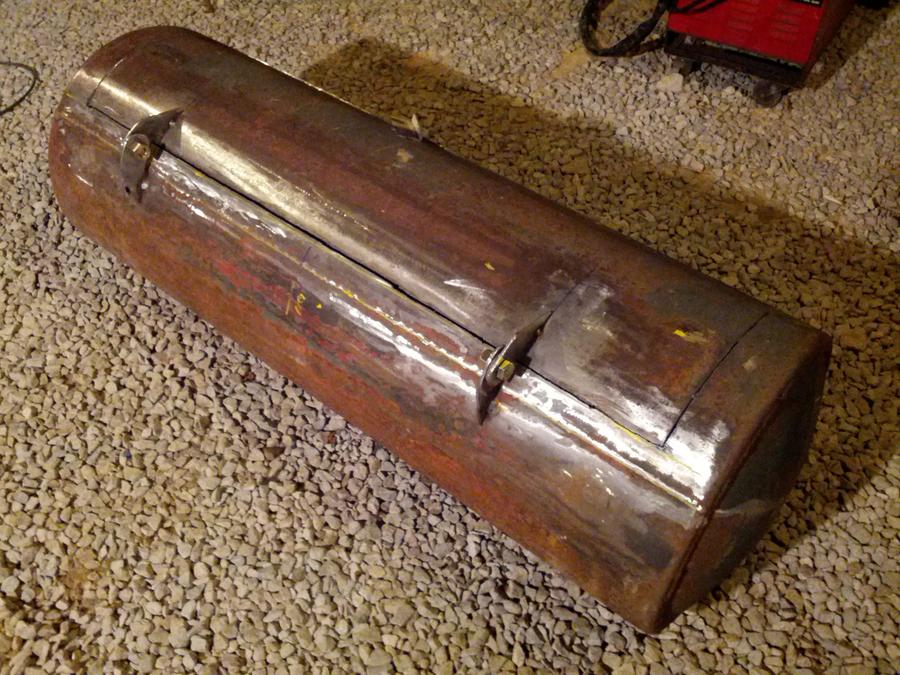
52 gallon compressor tank dated 1927, flat rolled steel, welded rolled ends, stout and heavy.
using Feldons BBQ calc inside dimensions:
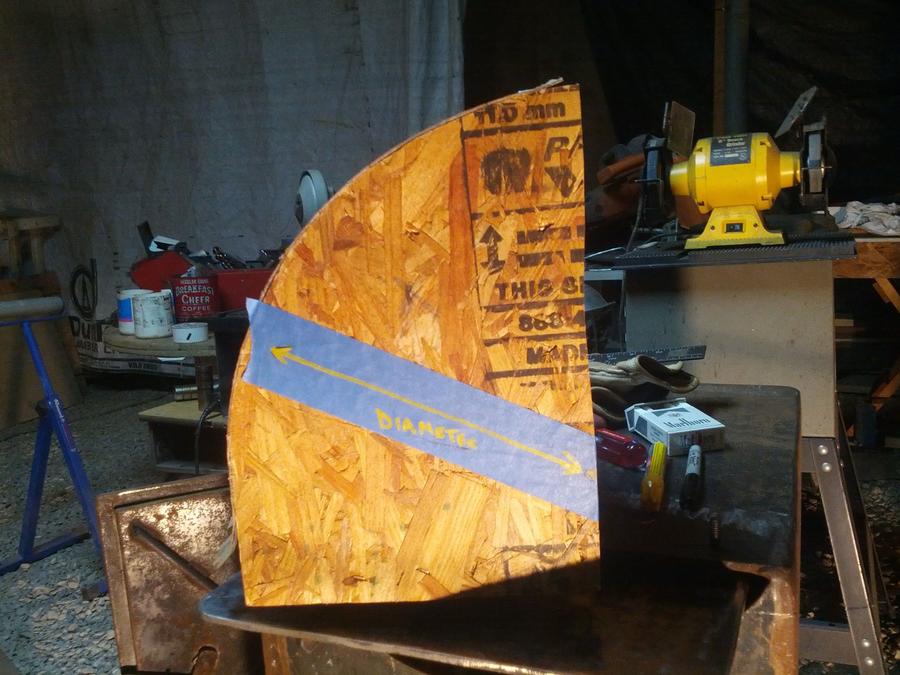
Tank 18" x 53" >> 13480.02 cu in cook chamber
Rec fire box >> 4493.34 cu in
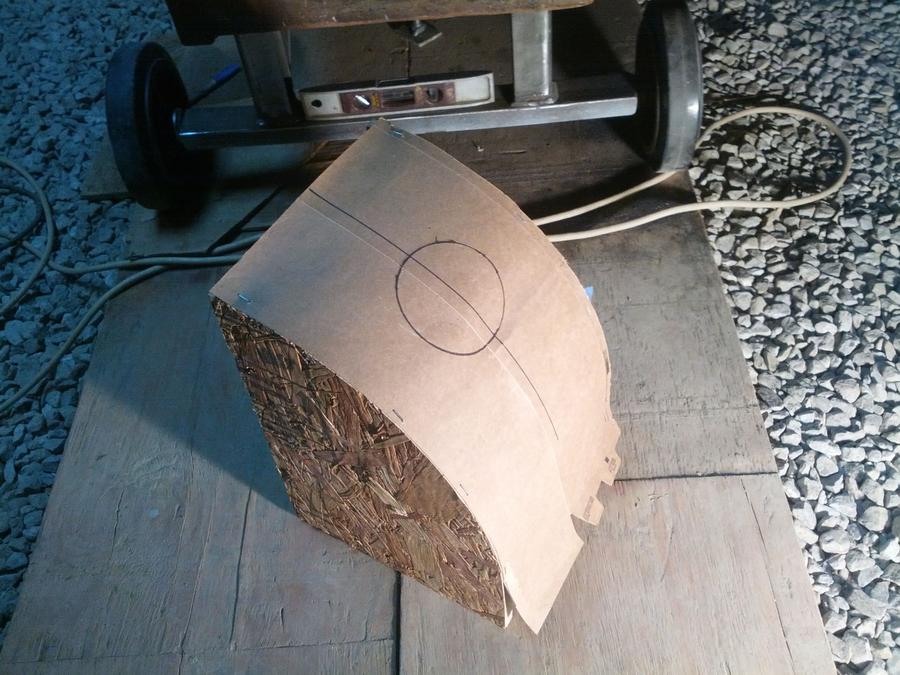
Firebox size to be determined, depending on what I can procure.
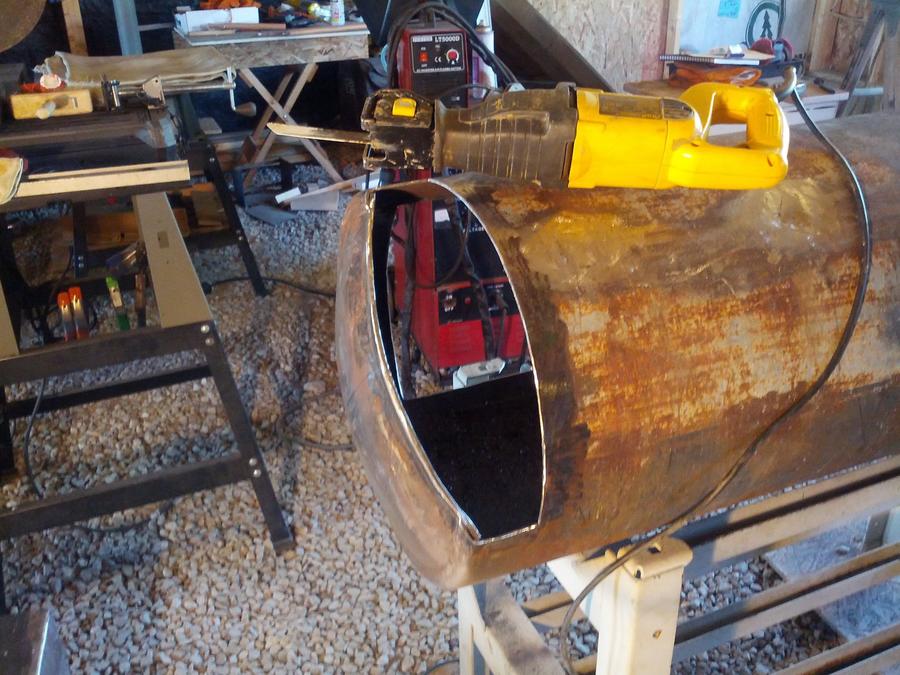
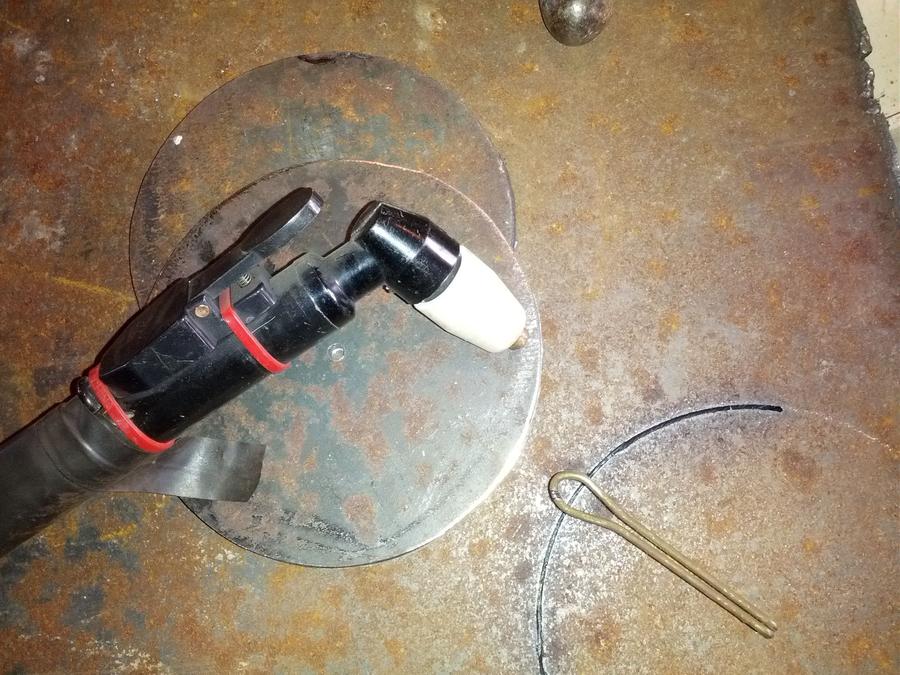
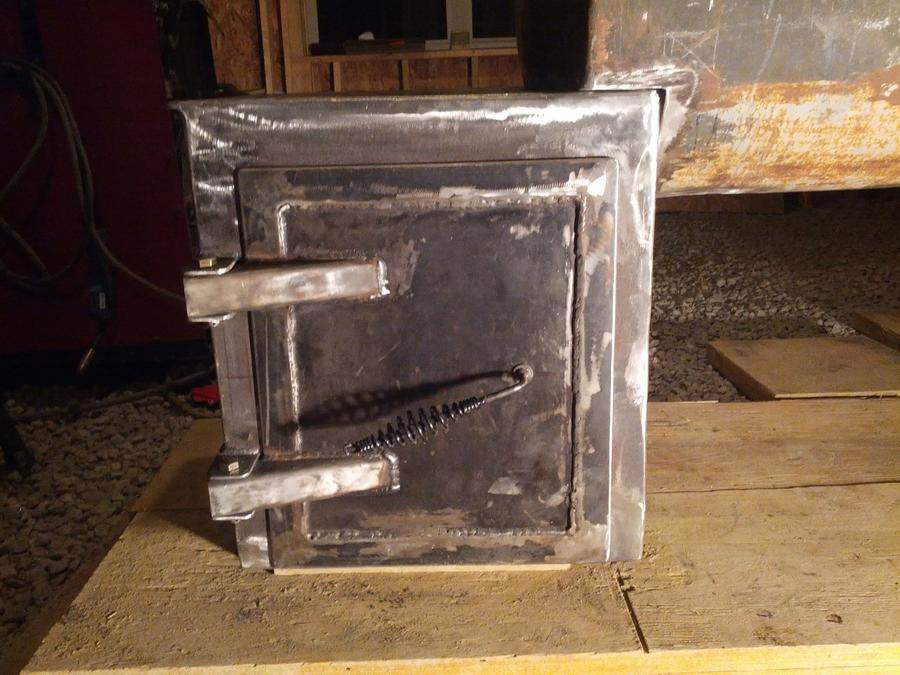
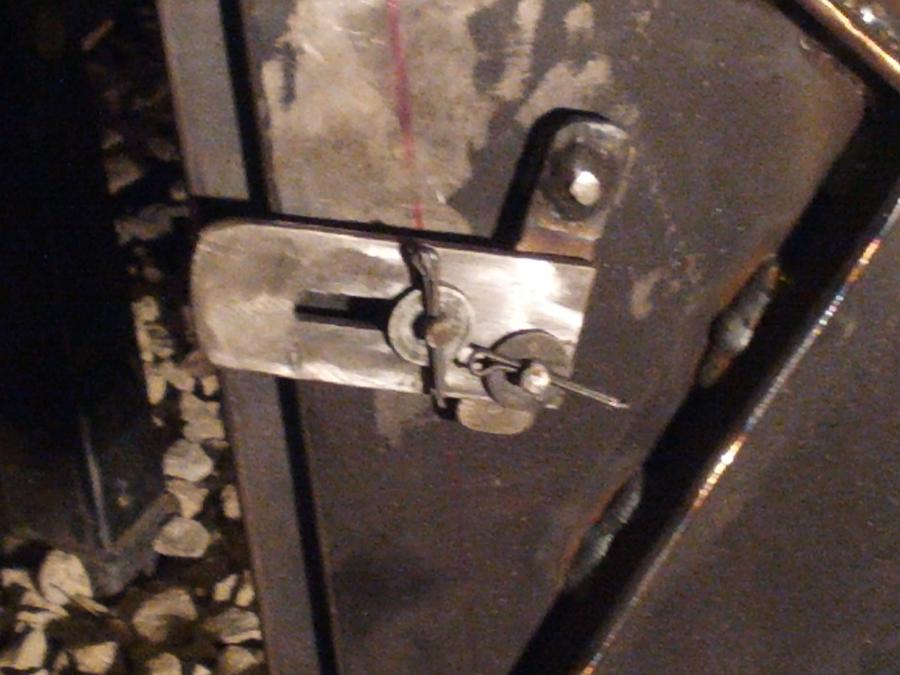
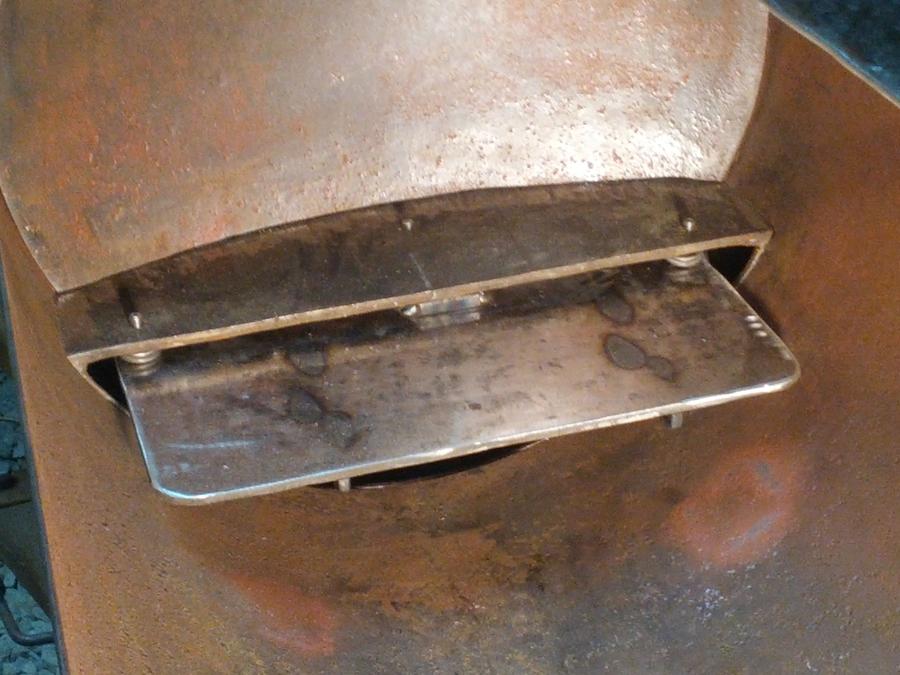
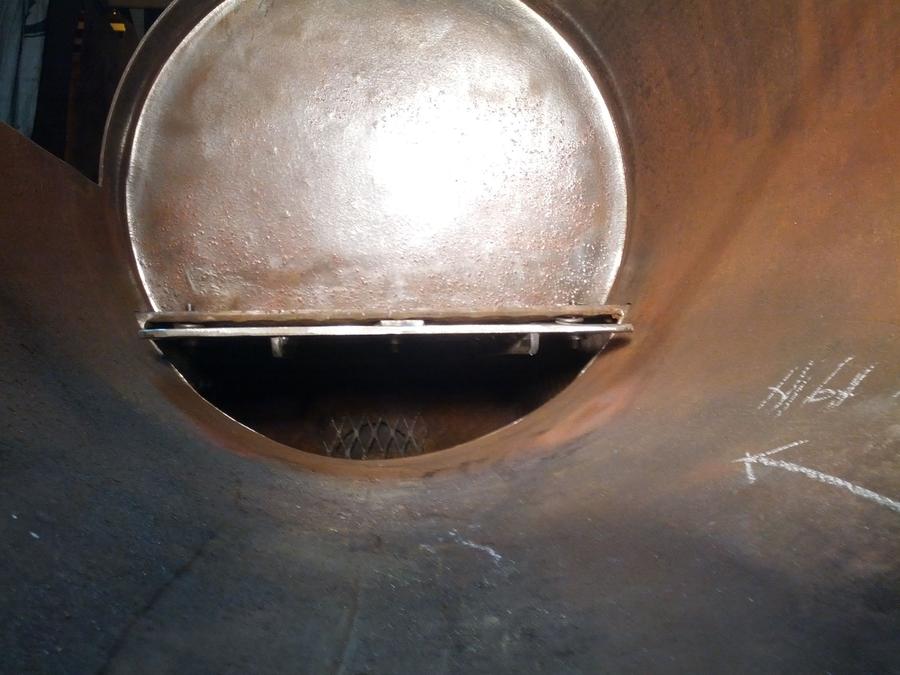
I've got the door opening cut, hinges and flanges installed. Thanks to SilentHunter for the hinge idea, I had some nice 3/16" stock. I used Ribwizzard's advice on the door flanges (terrific post RW !) and they turned out great.
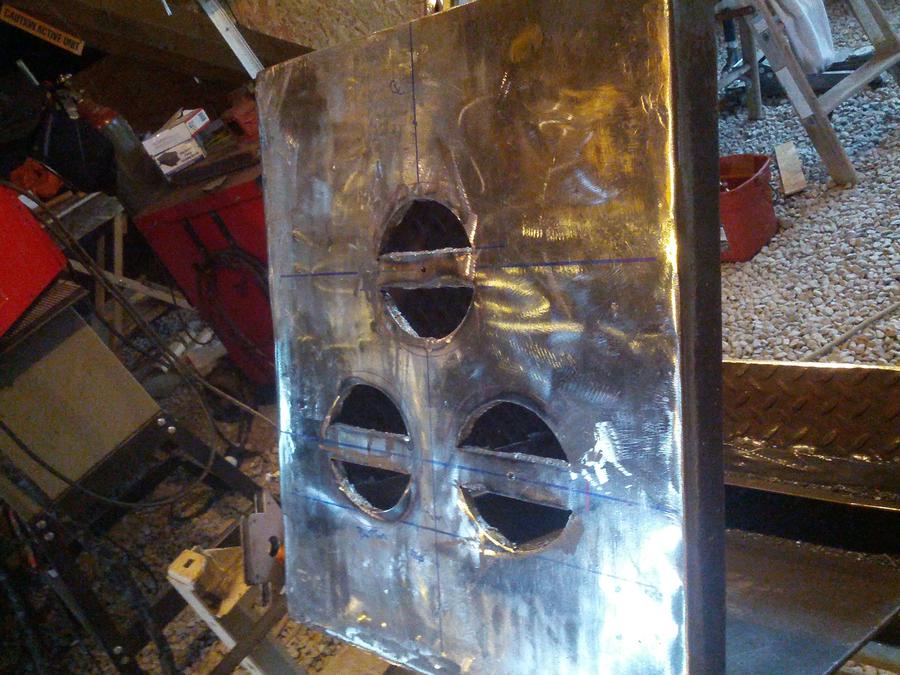
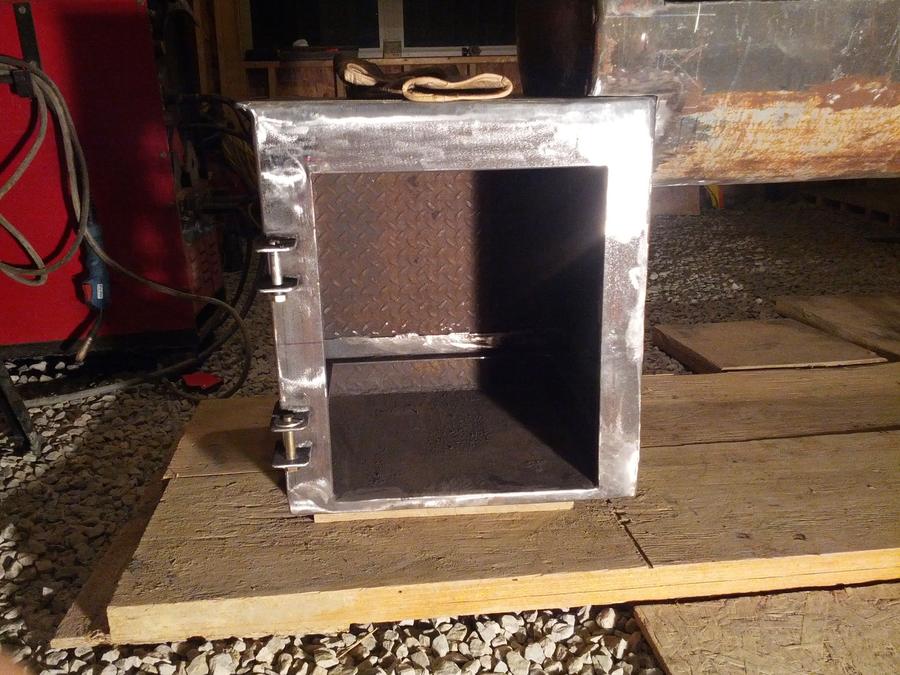
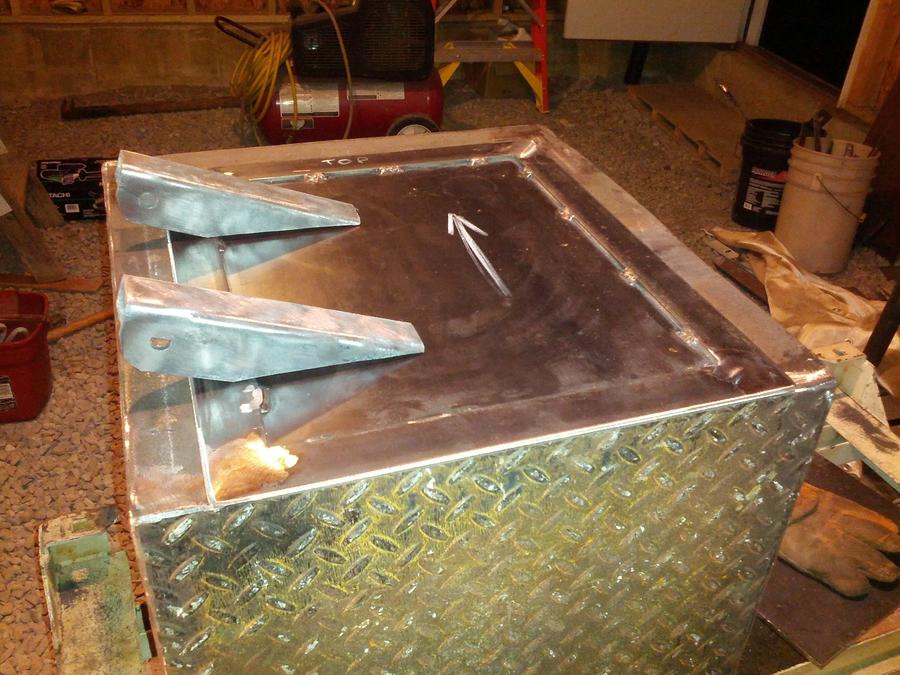
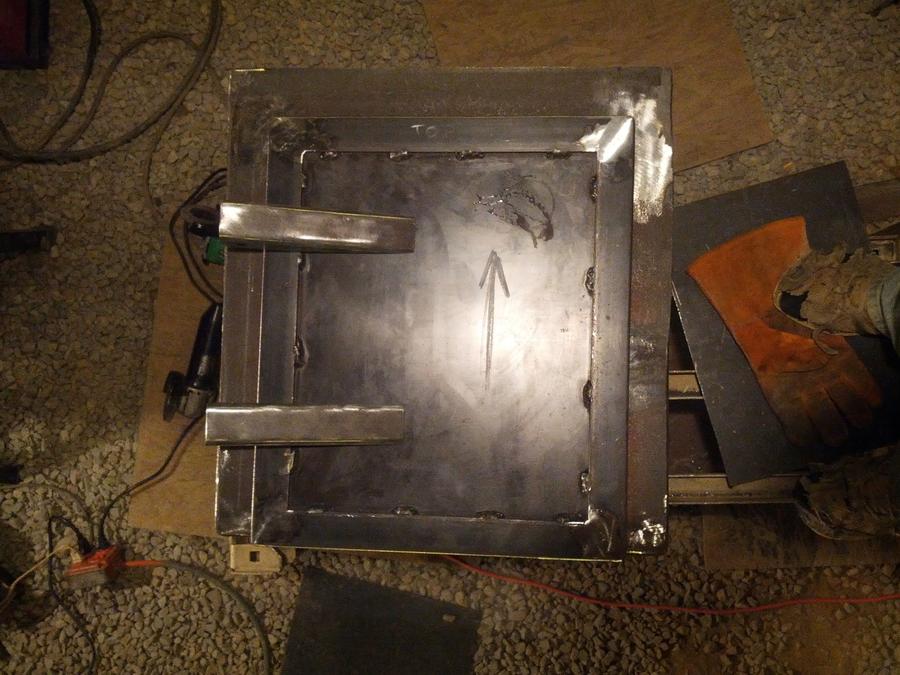
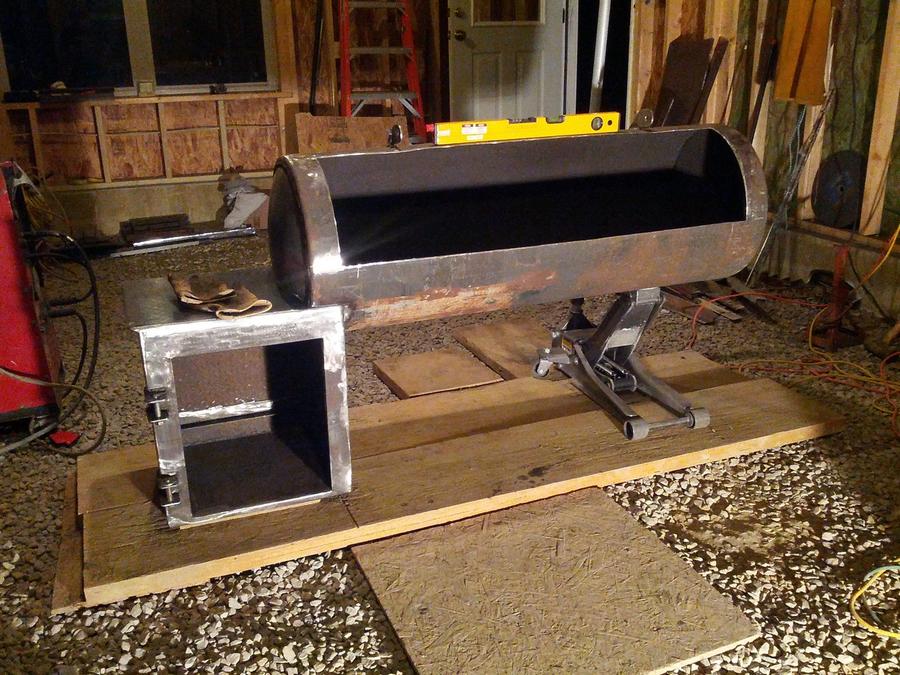
I am at a standstill until I can obtain materials for firebox. For now I am planning on square box, 1/4" plate box. I have an awesome cast grate from an old table saw 17" x 20", that I would like to use.
Question 1 Firebox size, I want to make room below the grate for a slide out ash pan, do I include this additional space in FB calculation?
Question 2 RF plate, I am planning on putting FB under cook chamber by about 1/3 its length. About the RF plate, should that be welded in? Or can I just place it on some angled brackets? I was thinking it may be better to have it removable for cleaning. I would take it that I want this plate to be heavy, 1/4" or thicker. I do have some stainless stock, but it is only .120"
Question 3 I haven't been able to find much detail on drains, any help would be appreciated.
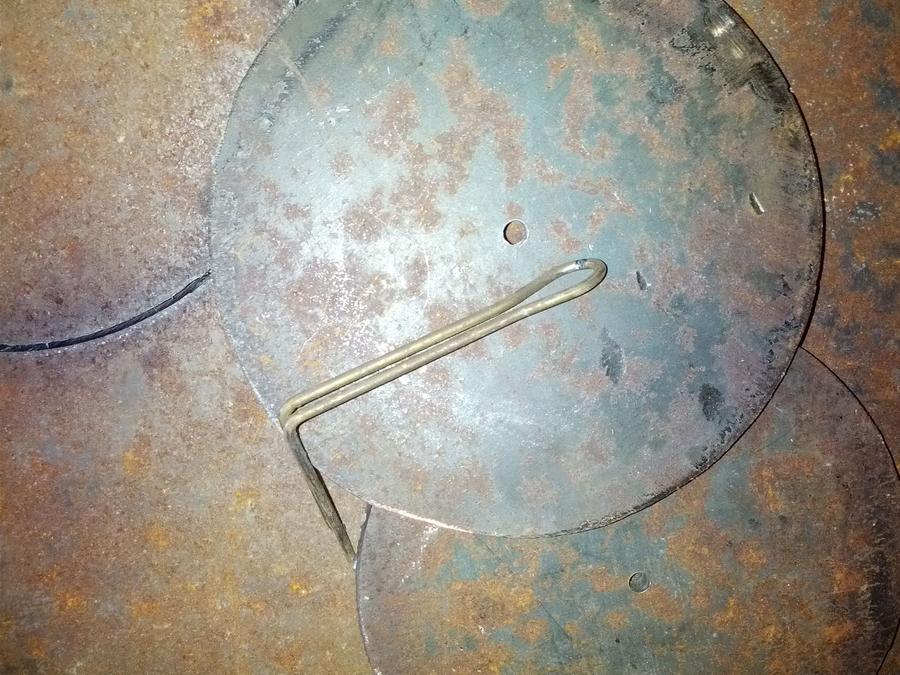
Door Cut, hinges made and welded.
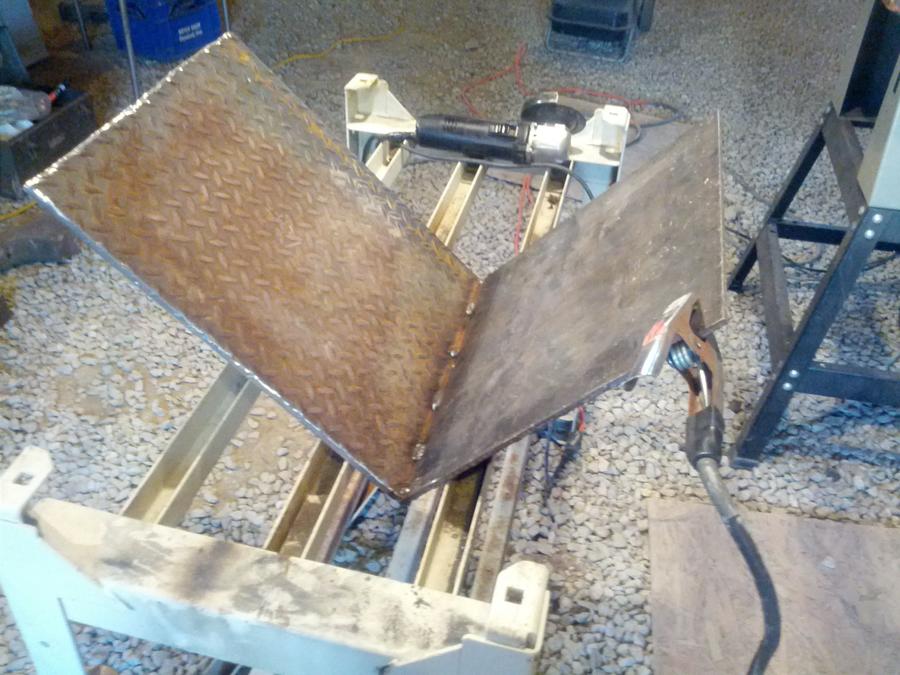
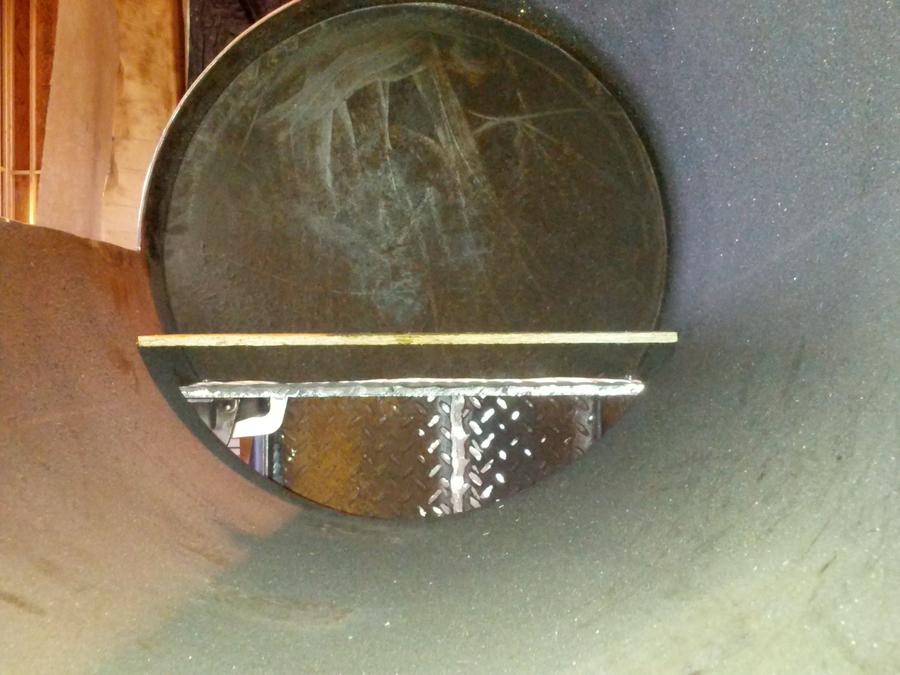
Door flange attach.... I cut the V's a bit deeper and squared them off, using MIG here. 1/8" x 1 1/4" stock, good seal all the way around.
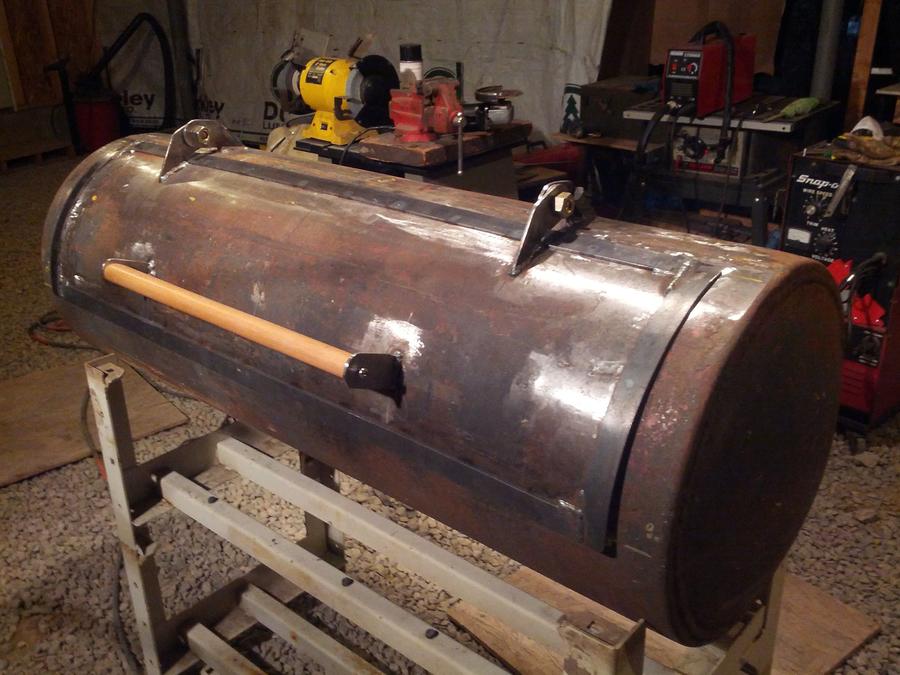
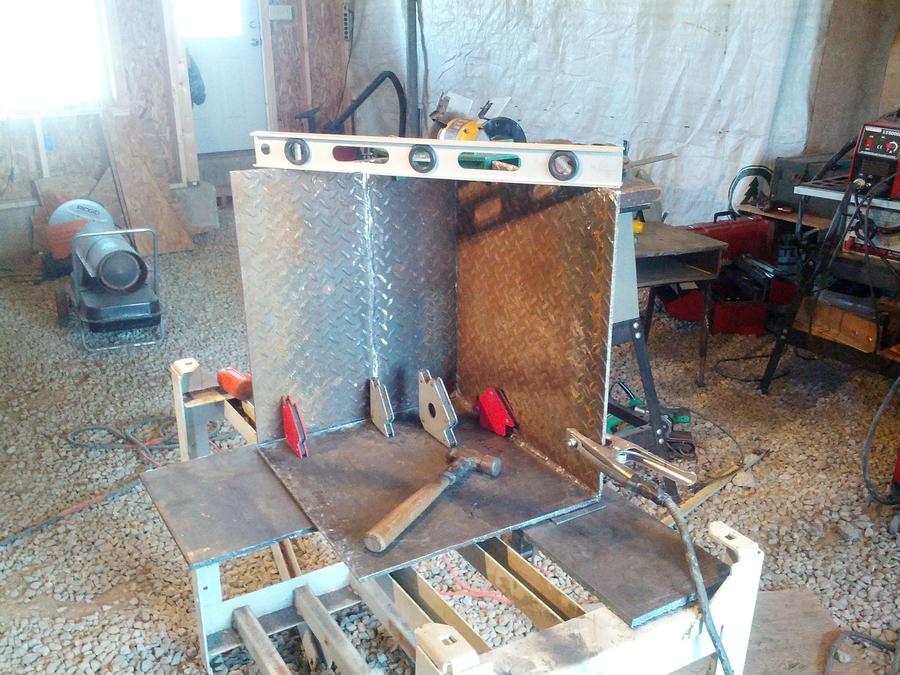
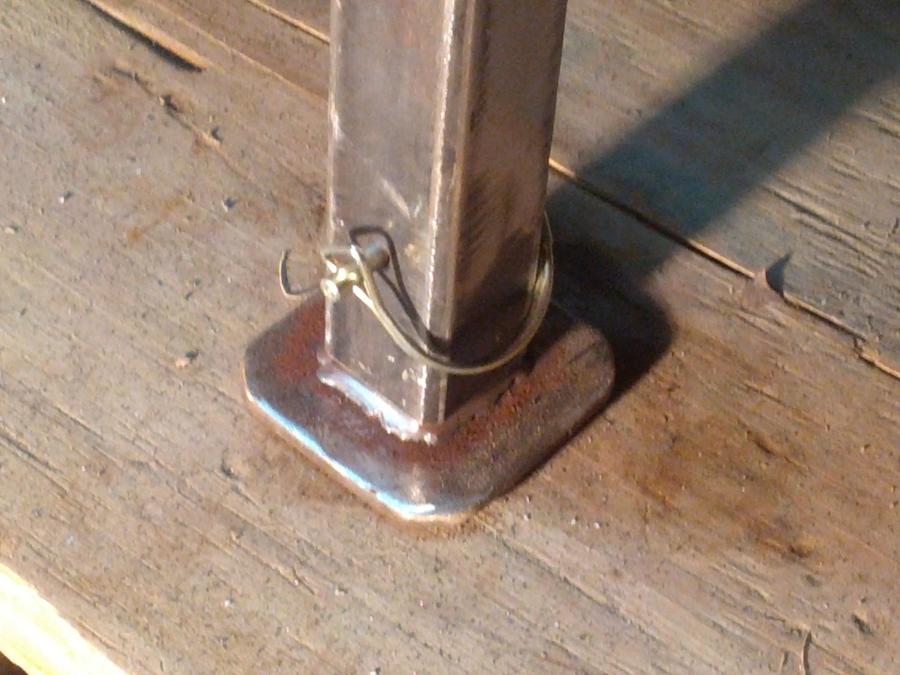
As it sits today, door and flanges complete.
Tom -aka RadioGuy
Really looking forward to some smoked meats this summer!!!
52 gallon compressor tank dated 1927, flat rolled steel, welded rolled ends, stout and heavy.
using Feldons BBQ calc inside dimensions:
Tank 18" x 53" >> 13480.02 cu in cook chamber
Rec fire box >> 4493.34 cu in
Firebox size to be determined, depending on what I can procure.
I've got the door opening cut, hinges and flanges installed. Thanks to SilentHunter for the hinge idea, I had some nice 3/16" stock. I used Ribwizzard's advice on the door flanges (terrific post RW !) and they turned out great.
I am at a standstill until I can obtain materials for firebox. For now I am planning on square box, 1/4" plate box. I have an awesome cast grate from an old table saw 17" x 20", that I would like to use.
Question 1 Firebox size, I want to make room below the grate for a slide out ash pan, do I include this additional space in FB calculation?
Question 2 RF plate, I am planning on putting FB under cook chamber by about 1/3 its length. About the RF plate, should that be welded in? Or can I just place it on some angled brackets? I was thinking it may be better to have it removable for cleaning. I would take it that I want this plate to be heavy, 1/4" or thicker. I do have some stainless stock, but it is only .120"
Question 3 I haven't been able to find much detail on drains, any help would be appreciated.
Door Cut, hinges made and welded.
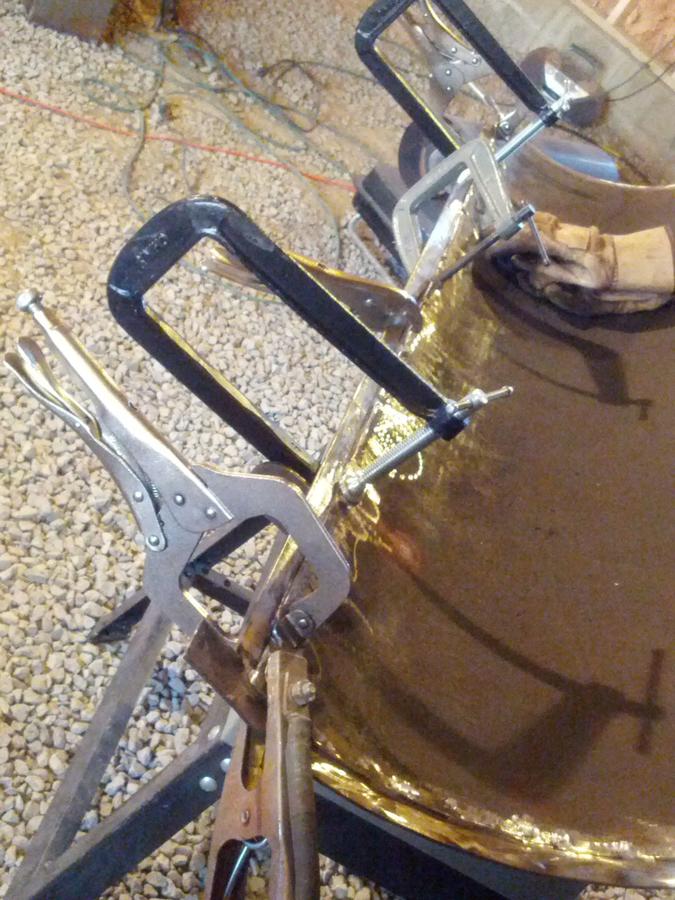
Door flange attach.... I cut the V's a bit deeper and squared them off, using MIG here. 1/8" x 1 1/4" stock, good seal all the way around.
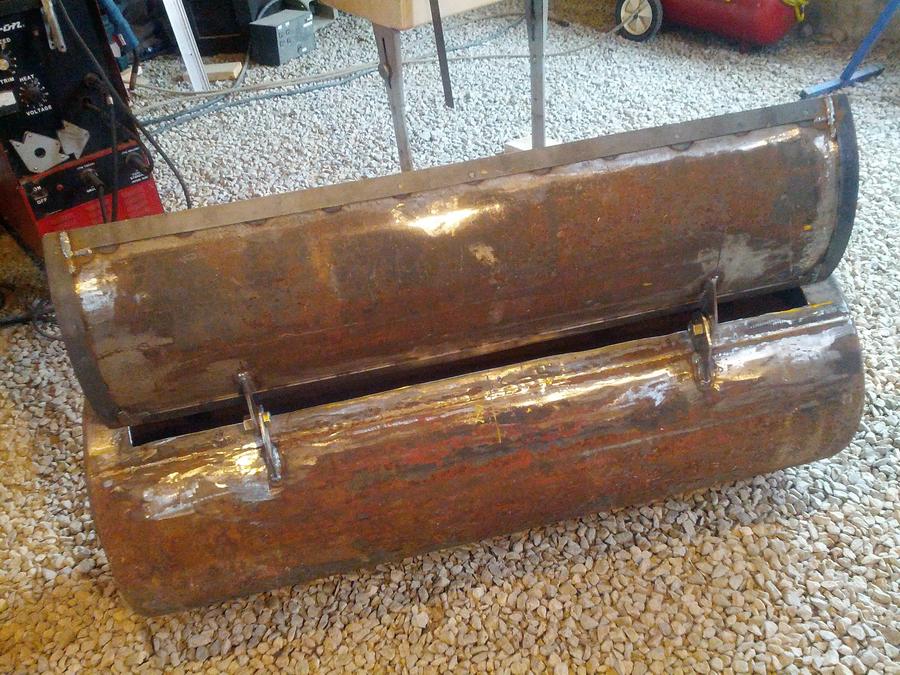
As it sits today, door and flanges complete.
Tom -aka RadioGuy