Canadian Bacon Dry Cured (Step by Step)
About a month ago I ran out of Canadian Bacon, so I waited for the Christmas Week sales.
I got an 11.24 LB Pork Loin @ $1.89 LB.
I also got 5 “Choice” Prime Ribs about 5 to 6 LBS each ($7.99 LB).
Then I had the bones trimmed off of the Prime Ribs, with about an extra inch of meat left on the bones, for some Awesome Meaty Beef Dino Ribs in my future!!!
My whole bill was $253——Not bad for a years worth of Great eating.
NOTE: The following is how I do this particular Smoke. You can do it this way, or many other ways.
I'm posting this in Step by Step form in case anyone would like to follow it.
So back to my Pork Loin Adventure:
First of all, Mrs Bear wanted some Pork Loin for her crock-pot to make Pork & Sauerkraut (New Year's Day).
I wanted to cure the rest, so that worked out perfectly.
I cut two pieces of Loin, that would each fit in my Gallon Size Zip-locks.
The piece that was left was for Mrs Bear's Crock-Pot.
Prepping (Day #1):
Weigh pieces to be cured.
Weigh proper amount of Tender Quick for each piece of Pork Loin—1/2 ounce (One TBS) per pound.
Rub TQ on first, trying to get it distributed evenly all over the piece of meat it was measured for.
Rub on about 2 tsp of Brown Sugar per pound of meat, and put the piece of meat in the bag.
Note: We fold the top of the bag over, like a pants cuff, so no salt or sugar grains get in the zipper parts.
Also: Any cure that falls off before getting into the bag, I pick up & put in the bag, with the piece of meat it was designated to be with. That will ensure that the proper amount of cure will be with each piece of meat during the curing stage.
Calculating curing time:
The method I use for calculating curing time is simple.
Measure the thickest spot of all of the pieces of meat you plan to cure.
Figure how many "half inches" there are in that measurement.
Add 2 to that number. That will be the minimum time that I would cure that piece of meat.
Then I personally like to add 2 or 3 more days to be extra safe (you can't over-cure, but you can under-cure).
Example:
My thickest piece was 2 1/2 inches. There are 5 "Half inches" in 2 1/2".
So that would be 5 Days plus 2 days = 7 days minimum curing time.
Then I always add 2 or 3 days to that, so I planned on curing this stuff for 10 days.
Note: I Never cure for less than 8 days.
Don't forget to flip the curing packages over every day to give both sides an equal turn laying in the juices.
Meanwhile Mrs Bear went into the hospital, and was still there on my 10th day.
Two extra days won't hurt, so I waited until Sunday after she came home, which was actually 12 days in cure.
Day #13:
Rinse the pieces off well, and pat dry with paper towels.
I cut a slice out of the middle of the thickest piece to see if the cure went all the way to center.
Then I did a Fry-Test to make sure it wasn't too salty. It was perfect.
So I patted the pieces dry with a lot of paper towels (Mrs Bear says I should buy a paper towel company!!)
Then I sprinkled some CBP, Garlic Powder, and Onion Powder on each piece, and put the pieces on the Grill rack, without touching each other.
Then into the fridge uncovered over night for the pellicle to begin forming.
If you don't have fridge space, you can put in your smoker for an hour or two at about 130˚, before adding the smoke. This should form a pellicle.
Or you can put the pieces in front of a fan for a couple hours to form that pellicle.
Day #14 (Smoking Day---Using MES 40):
6:30 AM-------------------------Pre-Heat Smoker to 150°.
7:00 AM-------------------------Put loaded grill on second position, with top exhaust vent open fully, without smoke, to finish forming pellicle.
7:30 AM————————-Load my AMNS with Hickory Sawdust & light one end.
7:45 AM————————-Put AMNS on bars to the left of Chip Burning Assembly.
2:00 PM-------------------------Bump heat to 170° (Internal Temps were at about 130° at this time).
4:00 PM————————-Bump to 190°——Sawdust all burned out.
6:00 PM————————-Wanting to get to 145° IT minimum, I hit IT 149° and 151°. Pull pieces & bring in to cool.
Allow to cool to about 100° before wrapping in plastic wrap, and putting in fridge for R & R.
Leave in Fridge for 44 hours.
Put in freezer for 4 hours before slicing makes the slicing work much better.
I got 144 slices (1/8” Thick), plus a little bowl of ends.
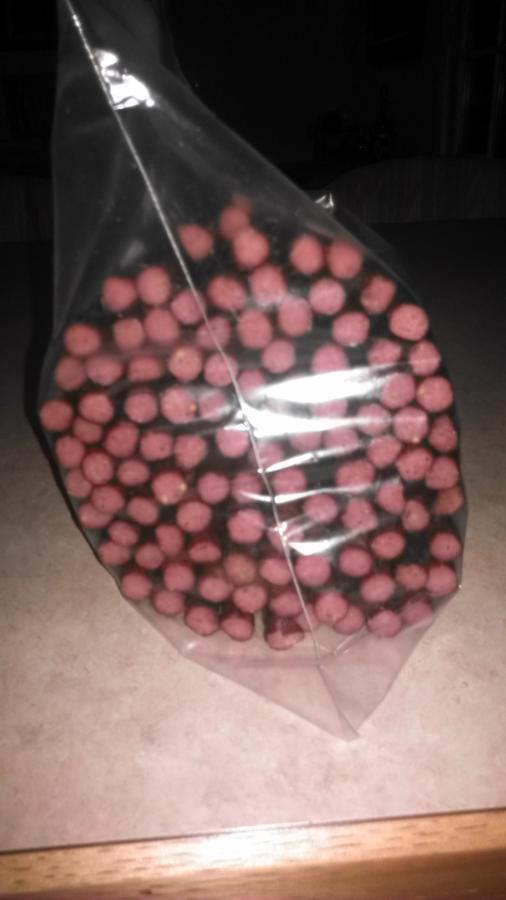
I Vacuum packed 16 packs of 9 slices in each for freezing, and gave a Baggie of ends to my Son & kept one for myself.
The next morning I fried up some ends lightly with a couple eggs, and the taste was Fantastic!!
That's all I can think of right now----Enjoy the Views!!
Bear
Victim for today is the large Pork Loin in the very back of this Christmas Week score I made.
In the middle are 5 “Choice” Prime Ribs.
On both ends are the bones I had sliced from the Prime Ribs, with about an extra inch of meat on each for some Meaty Beef Ribs:

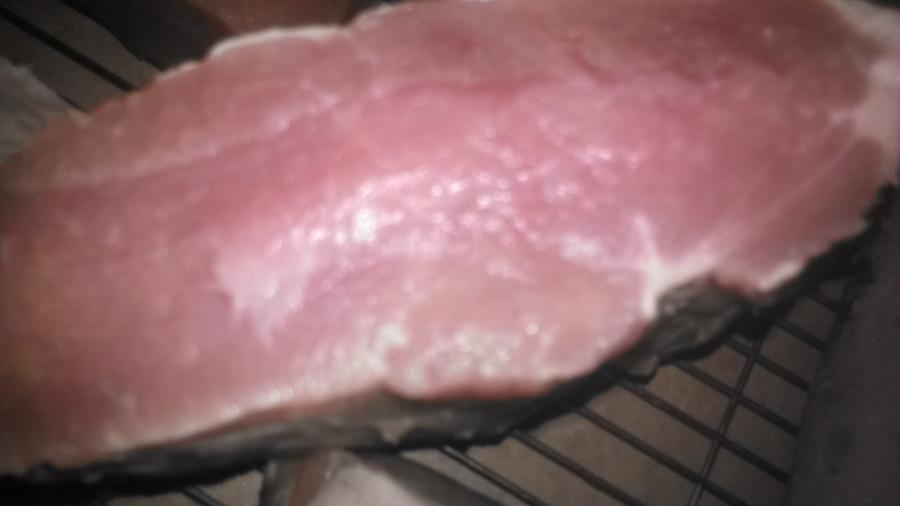
Two cured hunks of Pork Loin, with the center sliced out for salt fry test & to see the cure went all the way to center:

Closer Look——Note the slice on top is pink all the way to center showing complete cure:

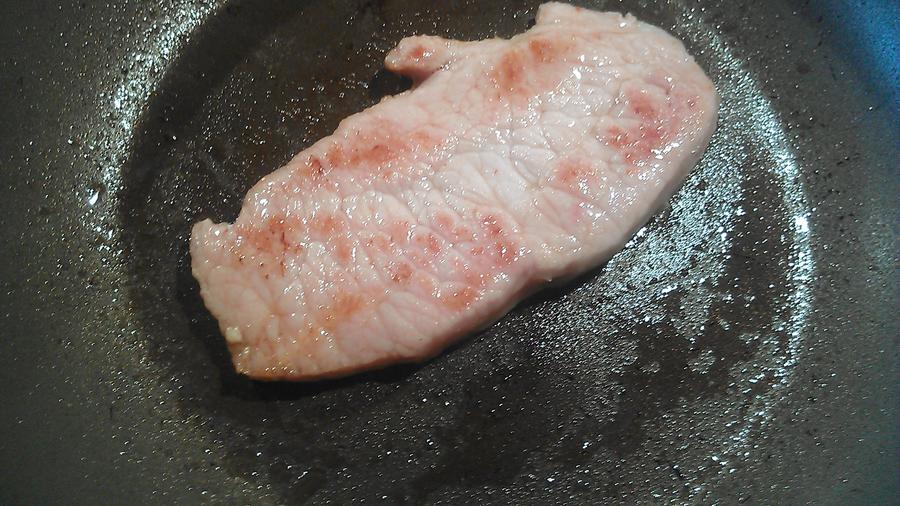
Salt Fry Test——MMMMMmmmmmm——Oh Yeah!!

Seasoned & ready for smoking:

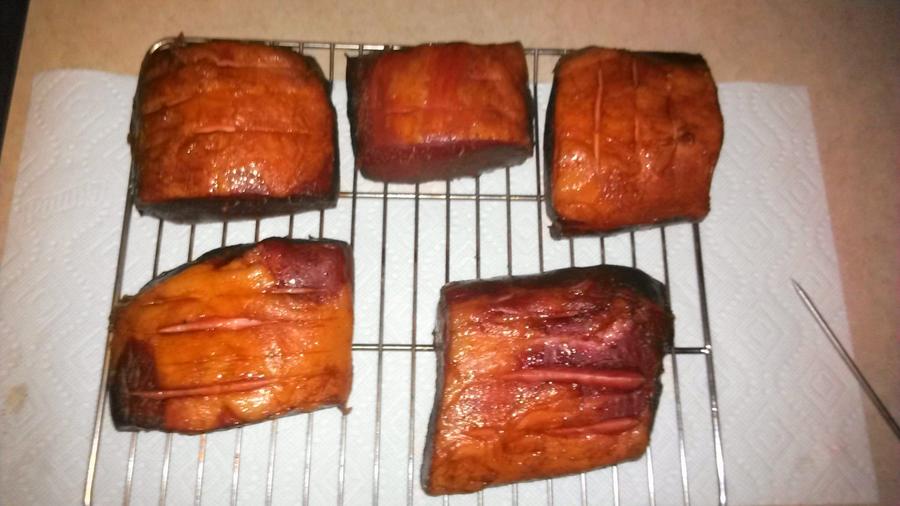
Fresh out of Smoker:

After 44 hours in fridge and 4 hours in freezer——Ready for slicing:

Slicing started (and some tasting):

All sliced up into 144 slices (1/8” thick), and a bowl of ends:

All bagged up——16 packs of 9 slices each for freezer, and 2 baggies of ends (one for me & one for my Son):

About a month ago I ran out of Canadian Bacon, so I waited for the Christmas Week sales.
I got an 11.24 LB Pork Loin @ $1.89 LB.
I also got 5 “Choice” Prime Ribs about 5 to 6 LBS each ($7.99 LB).
Then I had the bones trimmed off of the Prime Ribs, with about an extra inch of meat left on the bones, for some Awesome Meaty Beef Dino Ribs in my future!!!
My whole bill was $253——Not bad for a years worth of Great eating.
NOTE: The following is how I do this particular Smoke. You can do it this way, or many other ways.
I'm posting this in Step by Step form in case anyone would like to follow it.
So back to my Pork Loin Adventure:
First of all, Mrs Bear wanted some Pork Loin for her crock-pot to make Pork & Sauerkraut (New Year's Day).
I wanted to cure the rest, so that worked out perfectly.
I cut two pieces of Loin, that would each fit in my Gallon Size Zip-locks.
The piece that was left was for Mrs Bear's Crock-Pot.
Prepping (Day #1):
Weigh pieces to be cured.
Weigh proper amount of Tender Quick for each piece of Pork Loin—1/2 ounce (One TBS) per pound.
Rub TQ on first, trying to get it distributed evenly all over the piece of meat it was measured for.
Rub on about 2 tsp of Brown Sugar per pound of meat, and put the piece of meat in the bag.
Note: We fold the top of the bag over, like a pants cuff, so no salt or sugar grains get in the zipper parts.
Also: Any cure that falls off before getting into the bag, I pick up & put in the bag, with the piece of meat it was designated to be with. That will ensure that the proper amount of cure will be with each piece of meat during the curing stage.
Calculating curing time:
The method I use for calculating curing time is simple.
Measure the thickest spot of all of the pieces of meat you plan to cure.
Figure how many "half inches" there are in that measurement.
Add 2 to that number. That will be the minimum time that I would cure that piece of meat.
Then I personally like to add 2 or 3 more days to be extra safe (you can't over-cure, but you can under-cure).
Example:
My thickest piece was 2 1/2 inches. There are 5 "Half inches" in 2 1/2".
So that would be 5 Days plus 2 days = 7 days minimum curing time.
Then I always add 2 or 3 days to that, so I planned on curing this stuff for 10 days.
Note: I Never cure for less than 8 days.
Don't forget to flip the curing packages over every day to give both sides an equal turn laying in the juices.
Meanwhile Mrs Bear went into the hospital, and was still there on my 10th day.
Two extra days won't hurt, so I waited until Sunday after she came home, which was actually 12 days in cure.
Day #13:
Rinse the pieces off well, and pat dry with paper towels.
I cut a slice out of the middle of the thickest piece to see if the cure went all the way to center.
Then I did a Fry-Test to make sure it wasn't too salty. It was perfect.
So I patted the pieces dry with a lot of paper towels (Mrs Bear says I should buy a paper towel company!!)
Then I sprinkled some CBP, Garlic Powder, and Onion Powder on each piece, and put the pieces on the Grill rack, without touching each other.
Then into the fridge uncovered over night for the pellicle to begin forming.
If you don't have fridge space, you can put in your smoker for an hour or two at about 130˚, before adding the smoke. This should form a pellicle.
Or you can put the pieces in front of a fan for a couple hours to form that pellicle.
Day #14 (Smoking Day---Using MES 40):
6:30 AM-------------------------Pre-Heat Smoker to 150°.
7:00 AM-------------------------Put loaded grill on second position, with top exhaust vent open fully, without smoke, to finish forming pellicle.
7:30 AM————————-Load my AMNS with Hickory Sawdust & light one end.
7:45 AM————————-Put AMNS on bars to the left of Chip Burning Assembly.
2:00 PM-------------------------Bump heat to 170° (Internal Temps were at about 130° at this time).
4:00 PM————————-Bump to 190°——Sawdust all burned out.
6:00 PM————————-Wanting to get to 145° IT minimum, I hit IT 149° and 151°. Pull pieces & bring in to cool.
Allow to cool to about 100° before wrapping in plastic wrap, and putting in fridge for R & R.
Leave in Fridge for 44 hours.
Put in freezer for 4 hours before slicing makes the slicing work much better.
I got 144 slices (1/8” Thick), plus a little bowl of ends.
I Vacuum packed 16 packs of 9 slices in each for freezing, and gave a Baggie of ends to my Son & kept one for myself.
The next morning I fried up some ends lightly with a couple eggs, and the taste was Fantastic!!
That's all I can think of right now----Enjoy the Views!!
Bear
Victim for today is the large Pork Loin in the very back of this Christmas Week score I made.
In the middle are 5 “Choice” Prime Ribs.
On both ends are the bones I had sliced from the Prime Ribs, with about an extra inch of meat on each for some Meaty Beef Ribs:
Two cured hunks of Pork Loin, with the center sliced out for salt fry test & to see the cure went all the way to center:
Closer Look——Note the slice on top is pink all the way to center showing complete cure:
Salt Fry Test——MMMMMmmmmmm——Oh Yeah!!
Seasoned & ready for smoking:
Fresh out of Smoker:
After 44 hours in fridge and 4 hours in freezer——Ready for slicing:
Slicing started (and some tasting):
All sliced up into 144 slices (1/8” thick), and a bowl of ends:
All bagged up——16 packs of 9 slices each for freezer, and 2 baggies of ends (one for me & one for my Son):
Last edited: