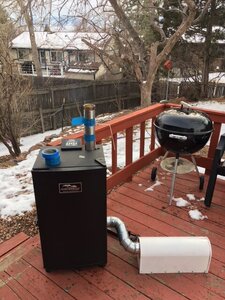
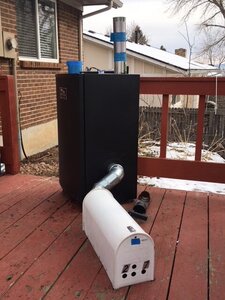
I know there are tons of mailbox mod threads, but I added a couple twists that I thought I'd share. Mine is going on the ground, so it needed a stand to give it enough clearance so the door would open without scraping the pavement. I had a scrap piece of 2x6, so I cut it long enough to use 4 of the attachment holes, while leave the other 4 attachment holes open for airflow. And I wanted to preclude any possibility of the wood catching fire, so I added a heat shield, which is probably unnecessary, but I had some scrap sheet metal hanging around so I figured why not?
If you do not have a 2x6, two pieces of 2x4 should work just as well, and maybe even better since you can place them flush against the sides for extra stability.


If you do not have a 2x6, two pieces of 2x4 should work just as well, and maybe even better since you can place them flush against the sides for extra stability.
Last edited: