Name the smoker thread is up.
 www.smokingmeatforums.com
Name my smoker build.
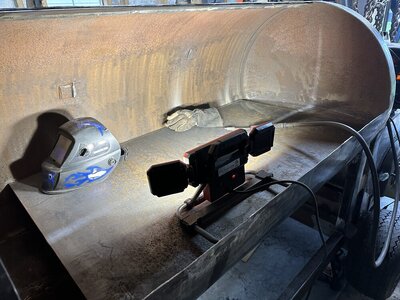
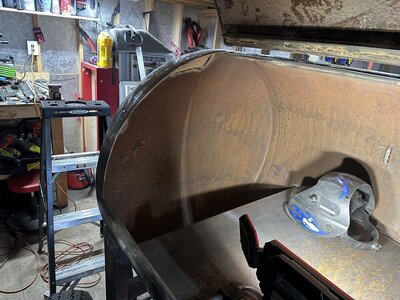
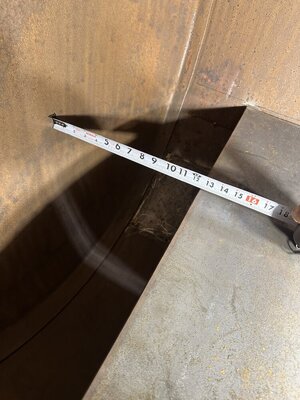
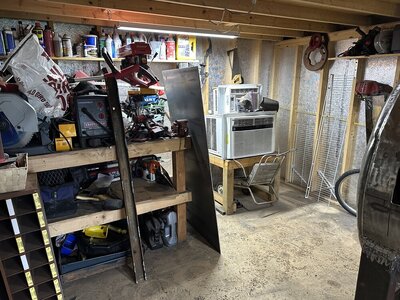
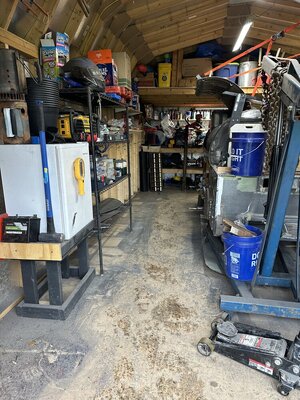
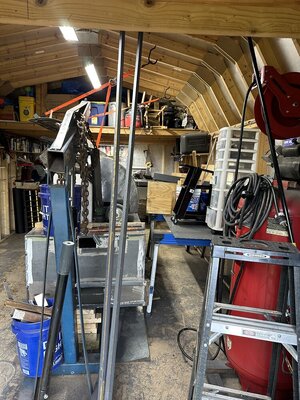
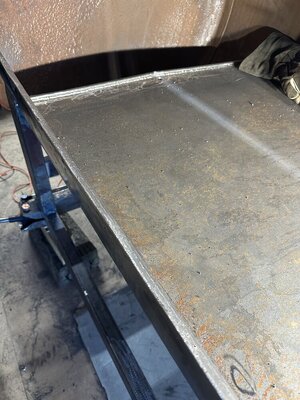
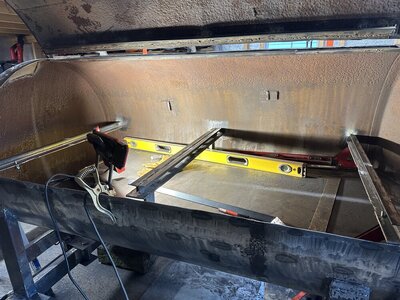
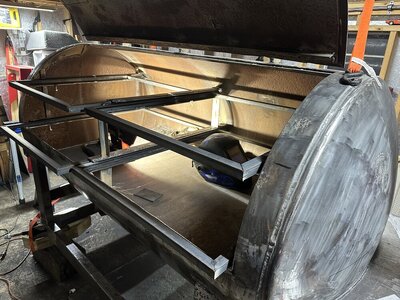
My smoker build needs a name. Help me name it. I am going to make a plate that will have its name on it when it’s done. How about throw out names and the one with the most likes will be the winner when I am done building it. It’s a big old beast. 103” in total length of firebox and cook chamber...
www.smokingmeatforums.com