linepipe
Newbie
- Dec 15, 2012
- 16
- 10
Here is my UDS build. If you see anything wrong or something that I can improve one, please let me know.
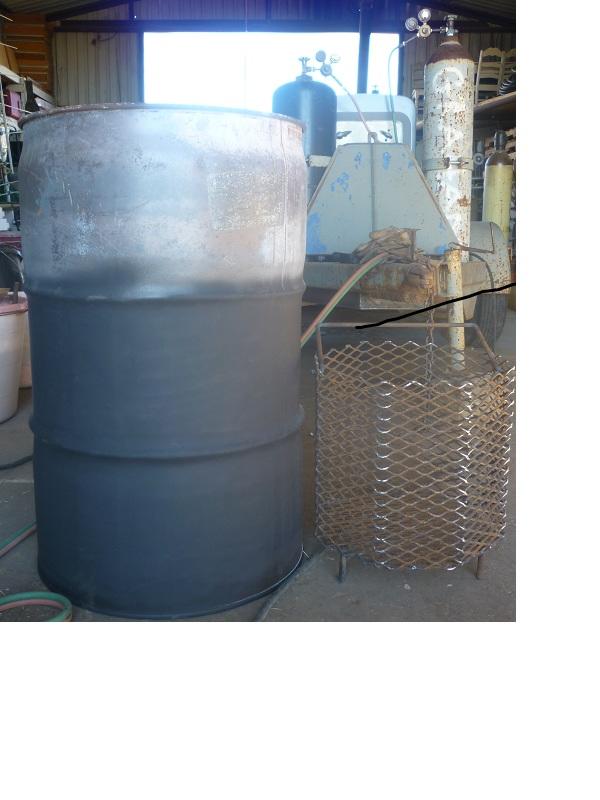
My build centered around trying to make it as low cost as possible, using what I had laying around. Scrap metal was considered in-bounds.
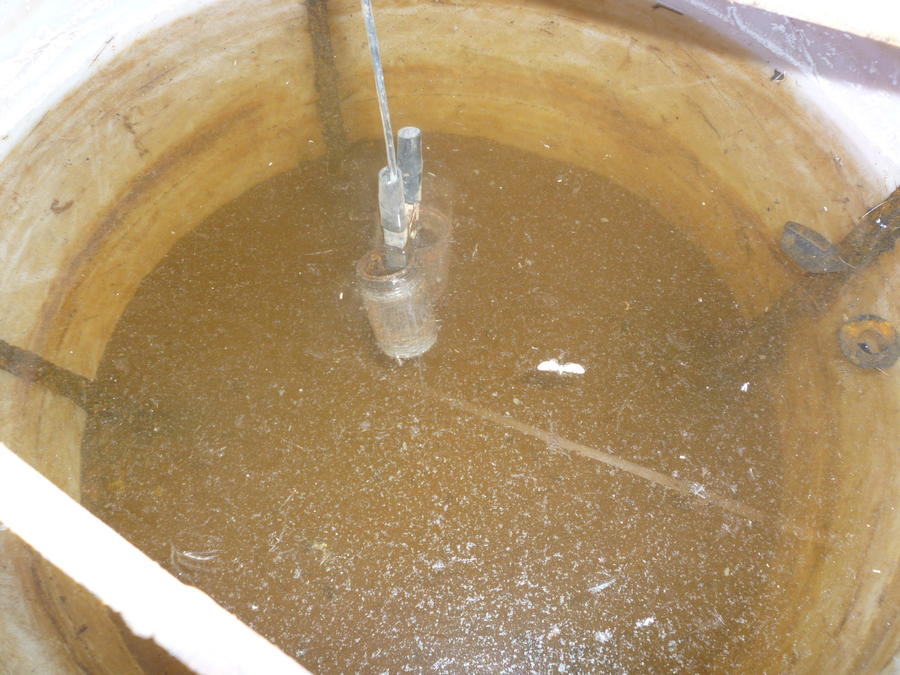
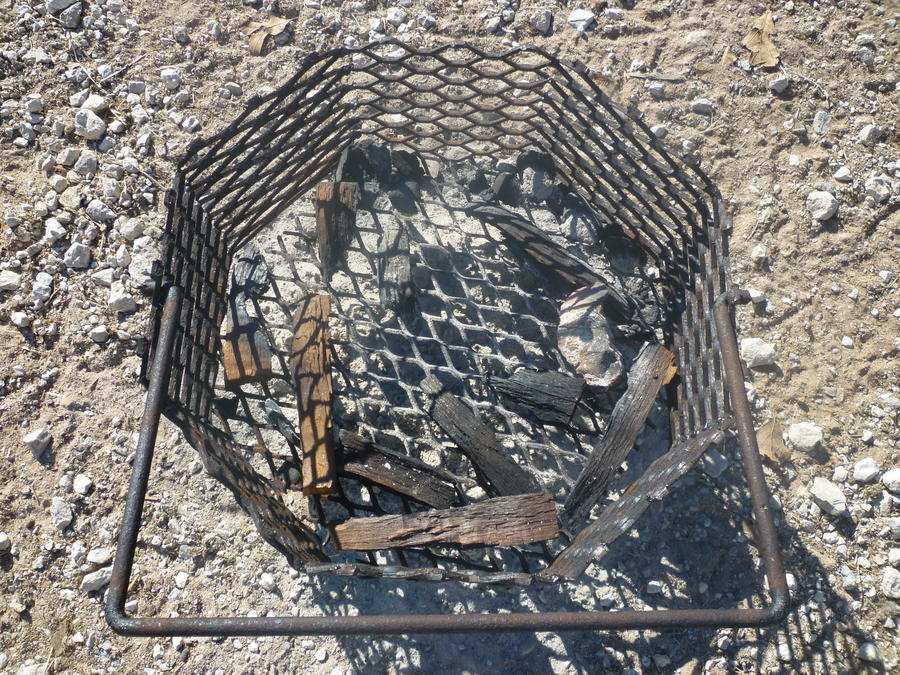
I started with a drum I had been using for feed for the animals and burned it out. I had some heavy guage expanded metal and welded up a basket:
The exp. metal was too heavy guage to roll without a roller, so I just put the math to it and welded up a 15" diameter octagon 12" high with 3" feet. I thought this was too high as I thought that I was supposed to be measuring off of the TOP of the basket, not the bottom of it. Thanks to some help here I was put back on the path of righteouness, but not before I had cut it to 7" tall. Whatever, it holds 9lbs of charcoal and wood chunks in addition to that, so its all good.
I had some used 1" connections from an old water line, so I broke them apart and threw them into an electrolysis bath to remove the rust:
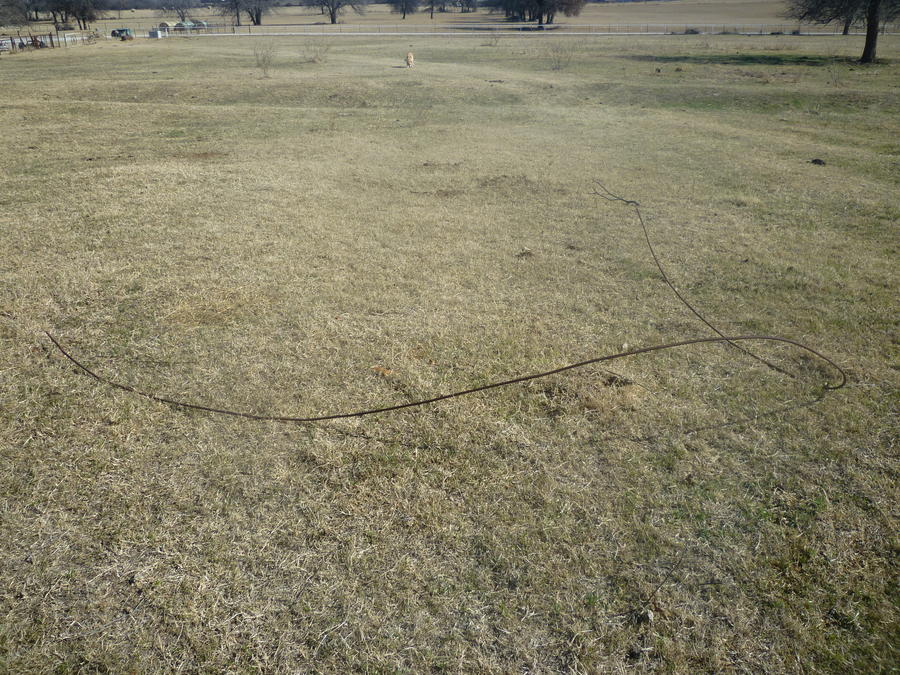
While that was cooking I had to make the grate. I had some exp. metal left over (barely), so I went to it. I had some rebar that was a LITTLE bent, left from a previous owner. Whatever, its going to be bent more anyway.
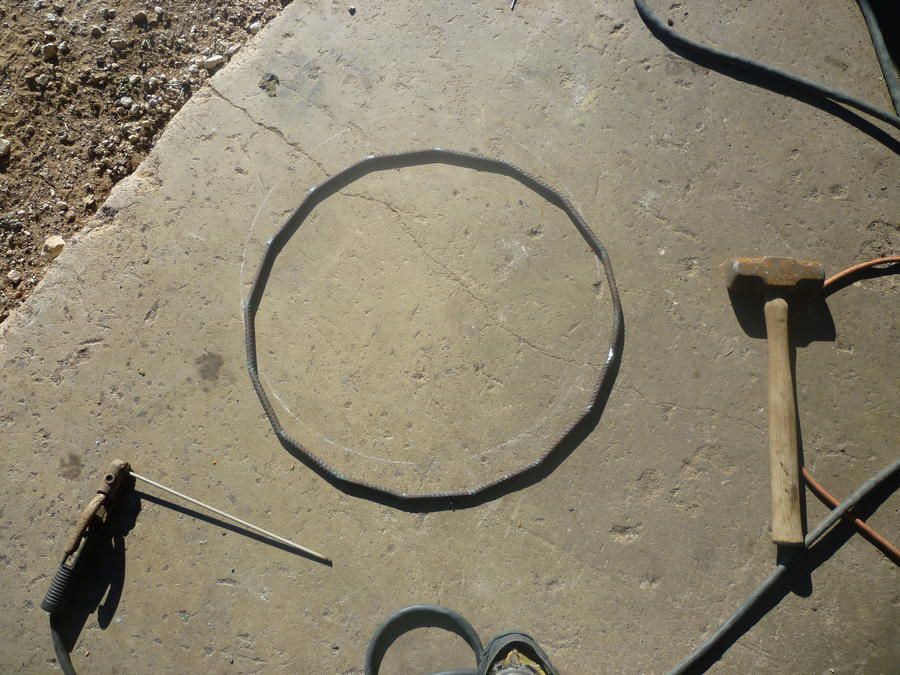
After some beating on the anvil and - again - some math - I heated and bent it to the i.d. of the mouth of the barrel. Then I welded it at the single joint. 18 sides, if I remember correctly. This really took longer than it should have.
Then the remaining expanded metal was welded on with an angle iron support underneath:
The angle iron is centerd more than it appears in this pic. Shading or something strange.
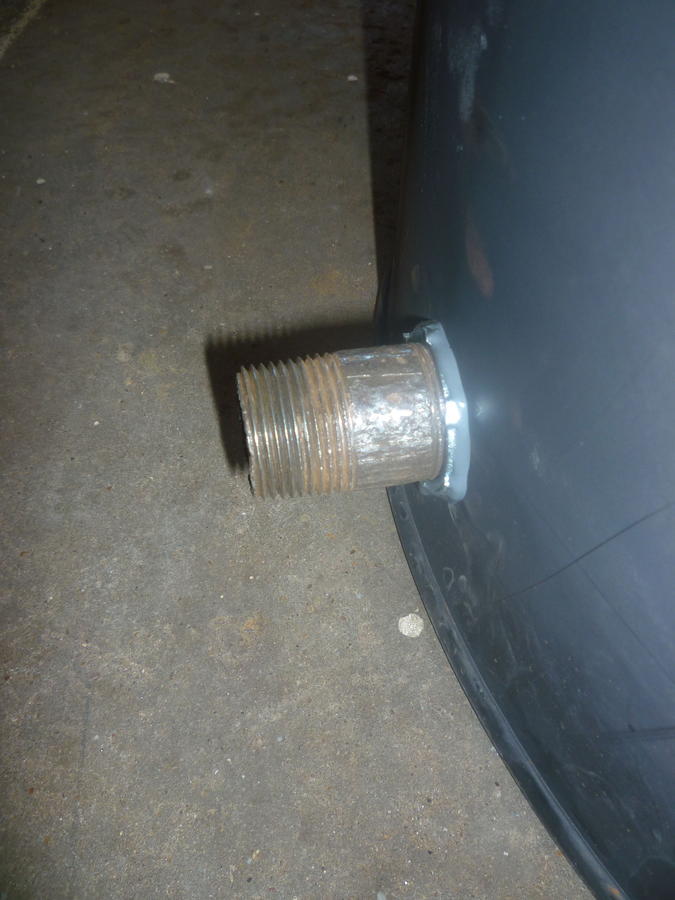
The connections were de-rusted, so I put the pipe into the barrel and JB welded them in. I was going to make collars instead of buying them, but a quick trip through the electric dept found the nuts for $0.40 each. I can do that and sleep well.
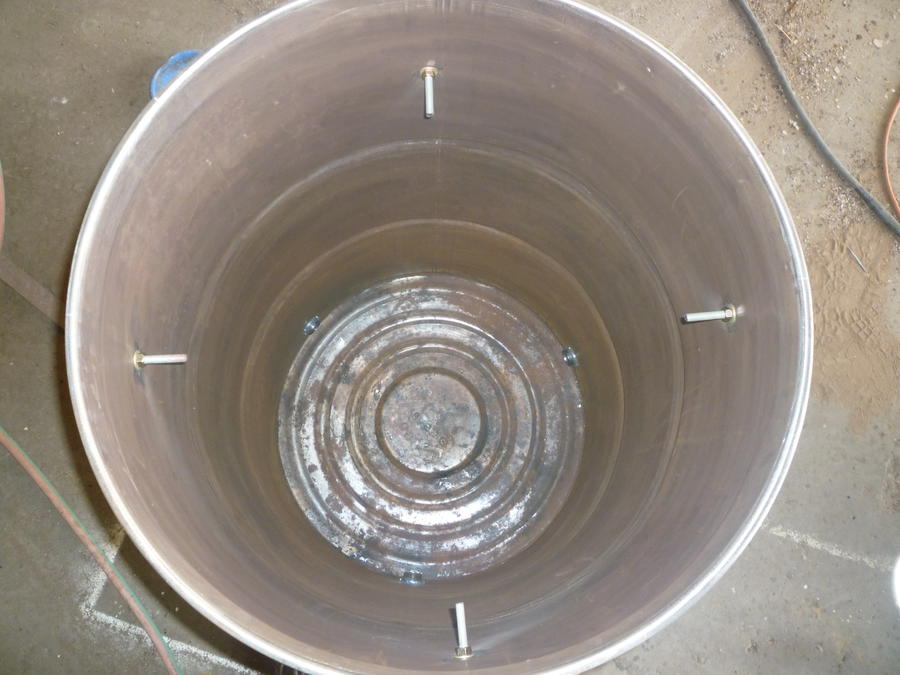
I then drilled the holes for the grate supports. Note here, important point: I used allthread that I had that was 5/16 since I didn't know how long to make them. I cut one 3" long and made adjustments for length on the fly and used it as a master for the other three. I also drilled the hole one size less than 5/16 so I would get 1) an airtight fit and 2) maximum support from the barrel (no wallowing around in the hole). When tightened down it was very sturdy and ready to go.
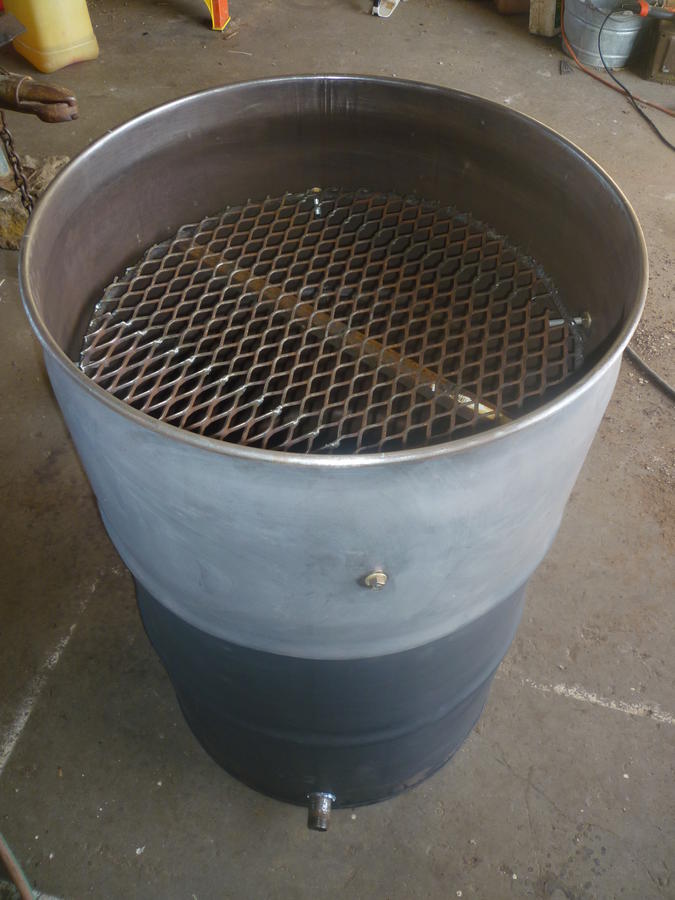
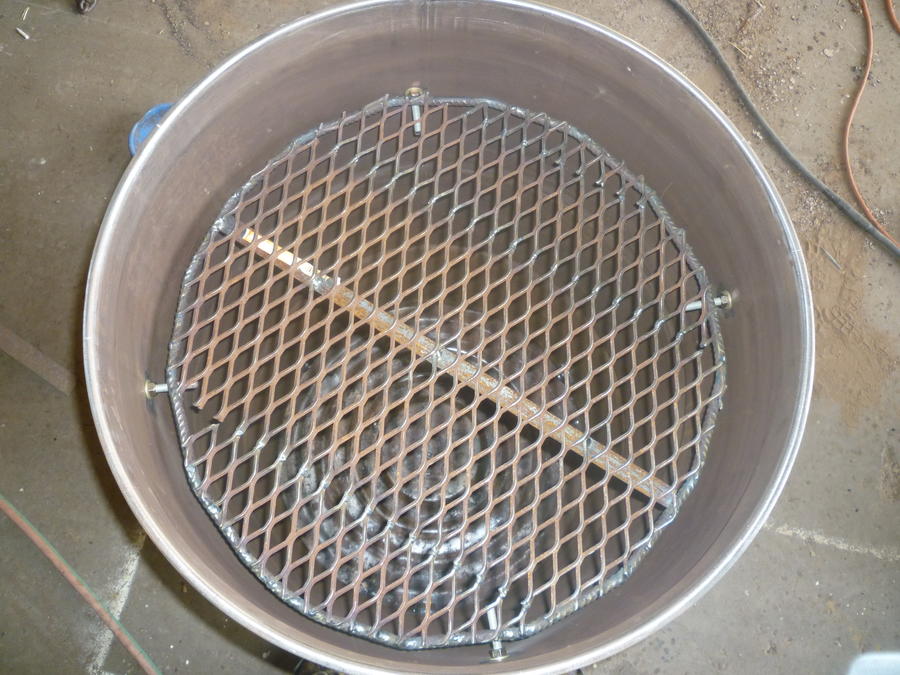
In goes the grate. Like a glove!!
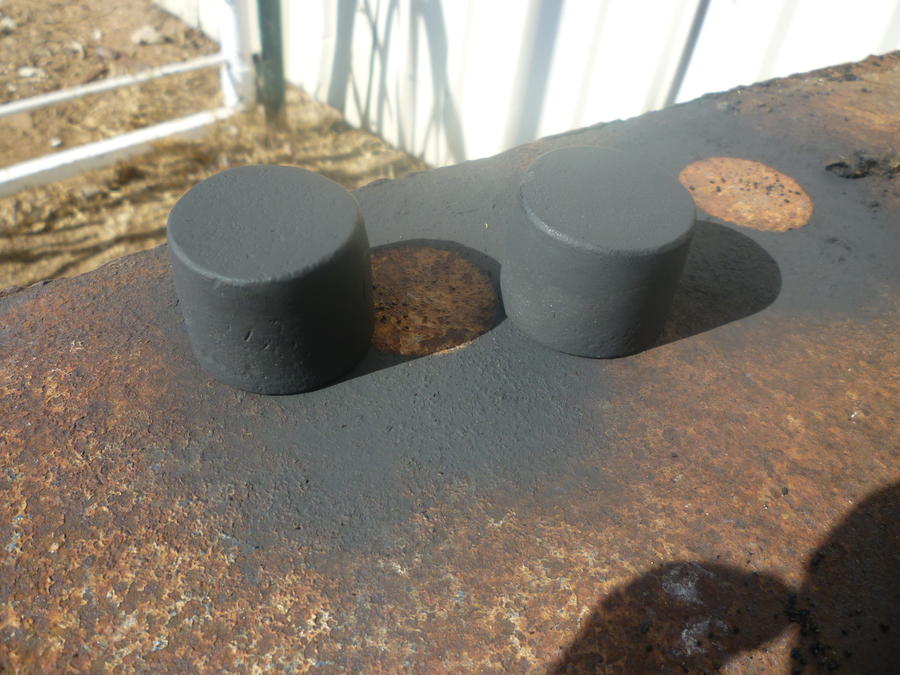
Now the plugs. I'm not buying those things - too much money and I had that old 1" collar that is rust free. So I took my pipe cutters and spit it in two. Welded flat iron on the end and painted:
I also had a 1" ball valve that I refurbised/cleaned and put on as well. Those things were $6 for plastic ones, but Ihad this one laying around. Brass valves like this were $23+.
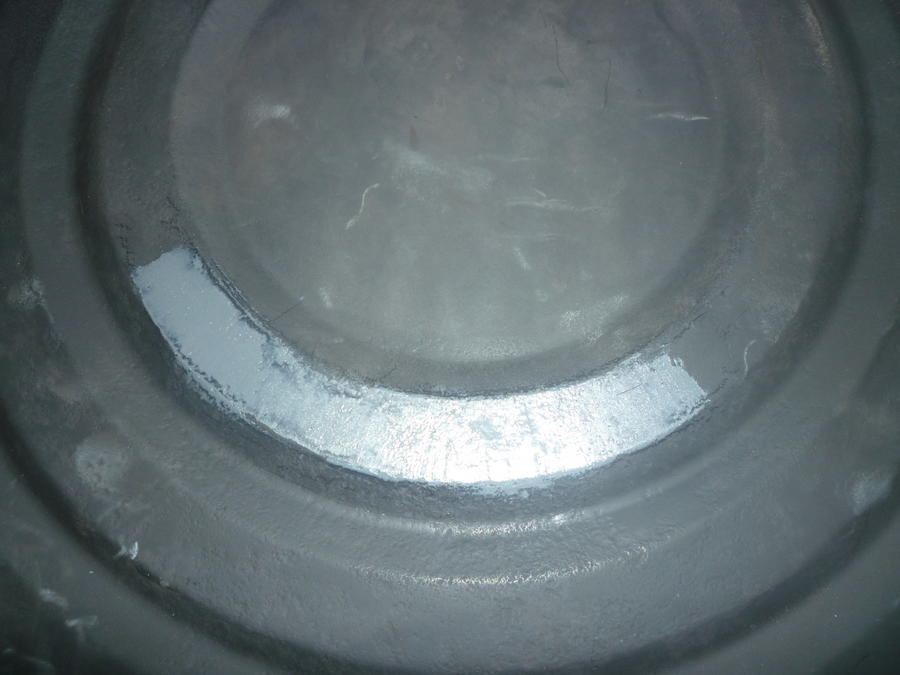
Somehow I missed three small rust holes in the bottom of the barrel. Had to stop and JB weld those shut:
I also added feet from 2" angle iron so that the bottom would be less likely to trap moisture as it sat.
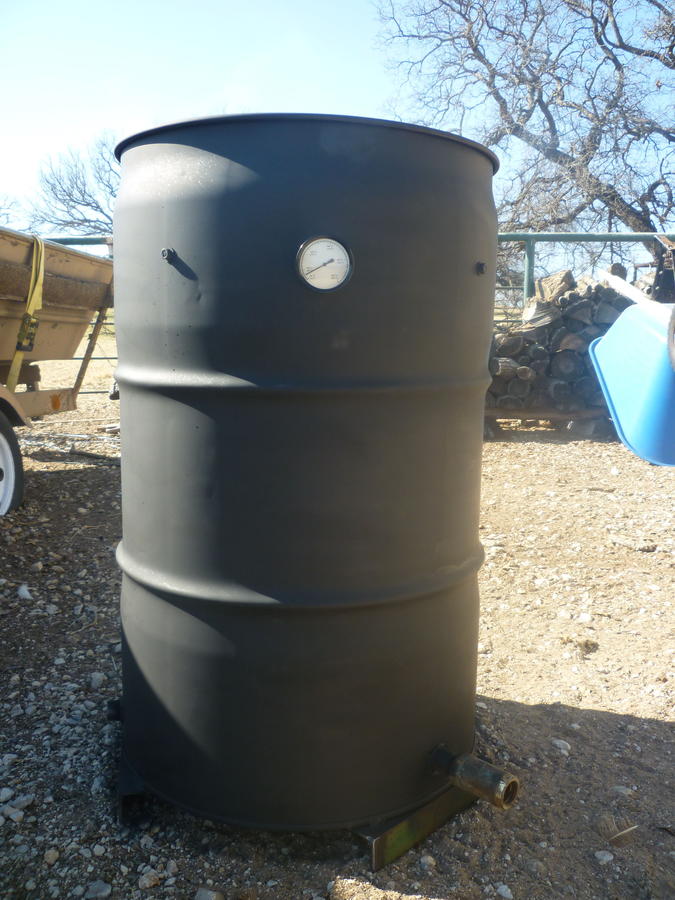
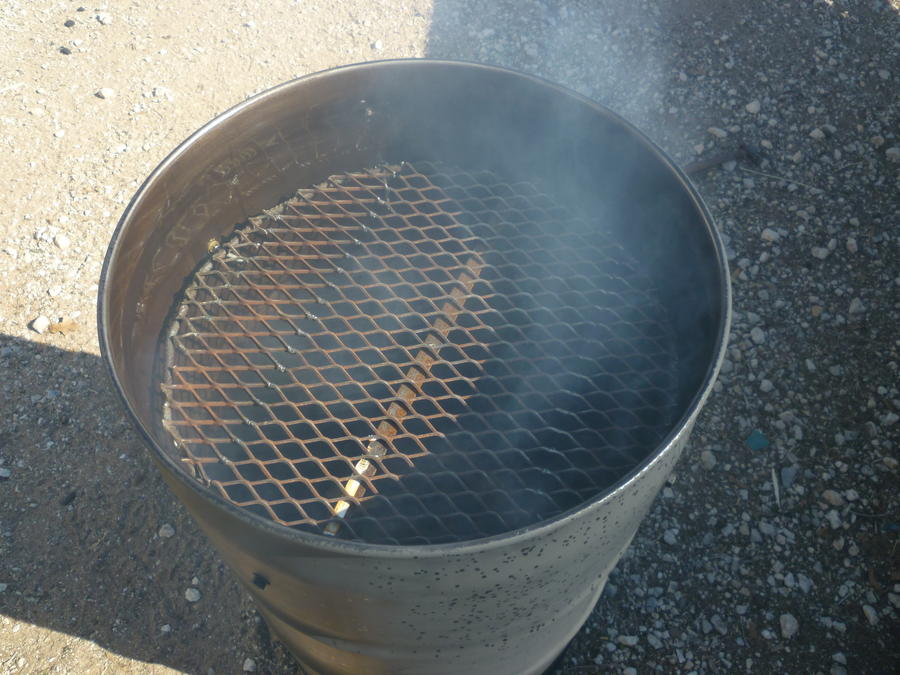
I finished painting it all, put a hole in the lid, sprayed the PAM and did the initial fire-up - finally!!
Held temp OK. Dont really know enough about it yet to tell anything, so I am still in the learning phase on this. Seems to like the valve opened all the way and one of the plugs slightly loose in order to hang at 250 constantly.
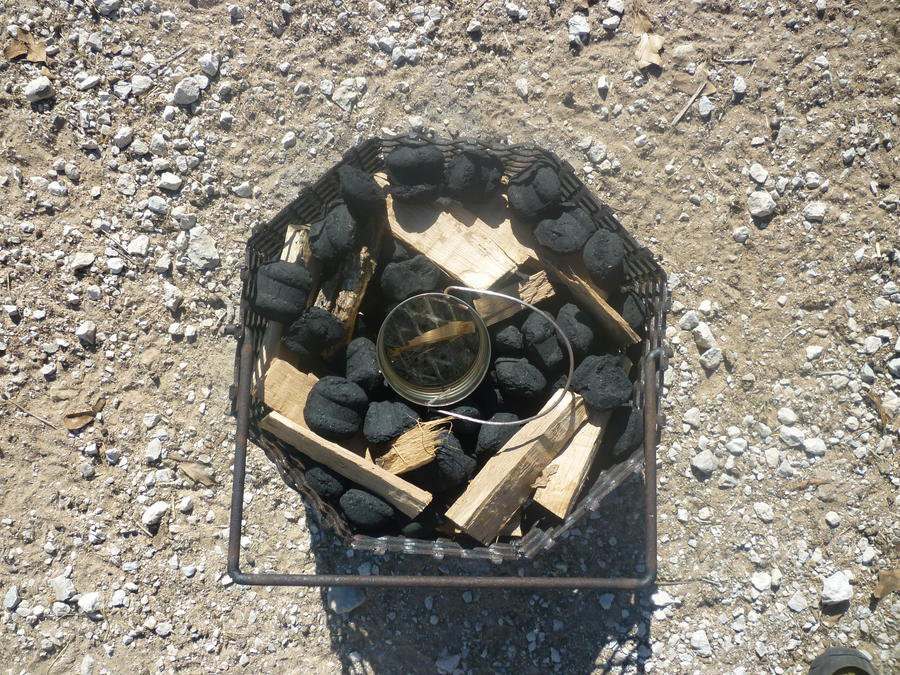
Next morning, here is whats left of the charcoal and wood:
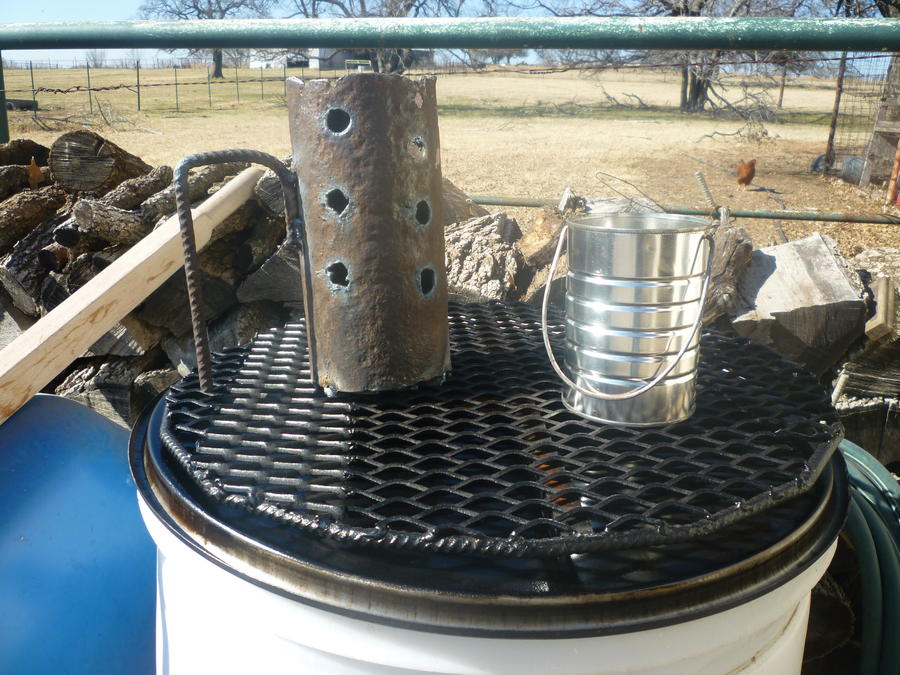
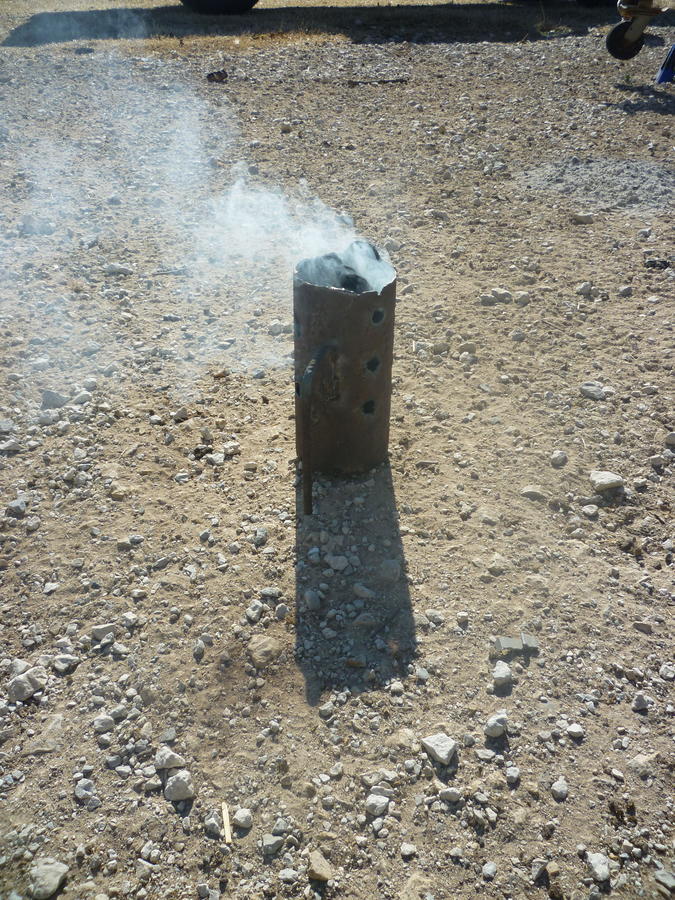
Last things are a coffee can for the hot coals and a charcoal "starter" out of rusty 4.5" casing. And a bit of leftover rebar for the handle:
OK, yes, I threw those two together, but they work fine for now:
Thats it! Builds complete. I wouldn't do it like that again unless I didn't have a spare grill - again. Total cost was about $35.
Like I said, if you have any hints on what I should do differently let me know. Questions, I will be happy to answer them.
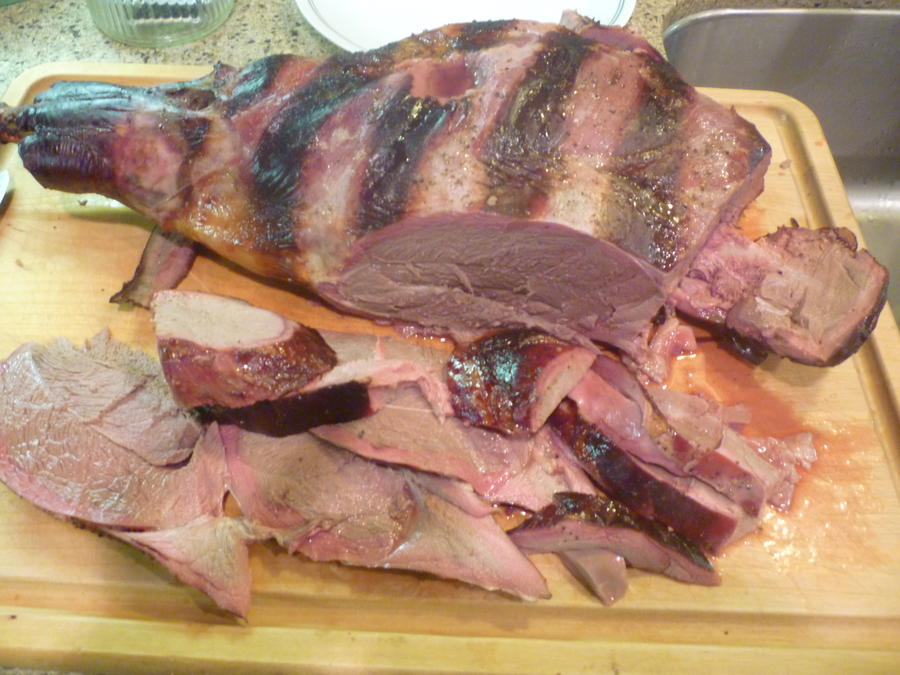
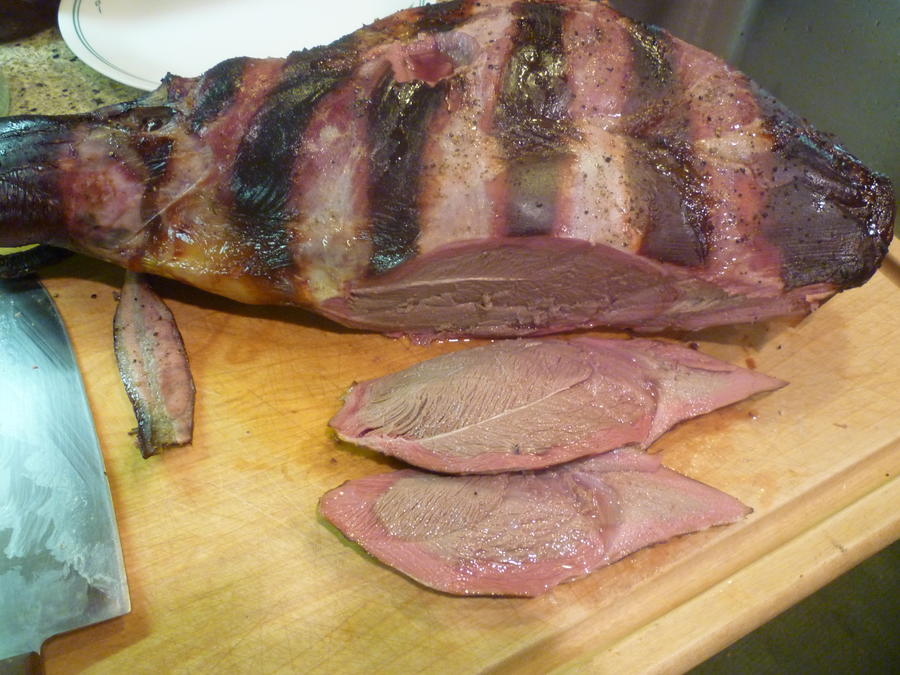
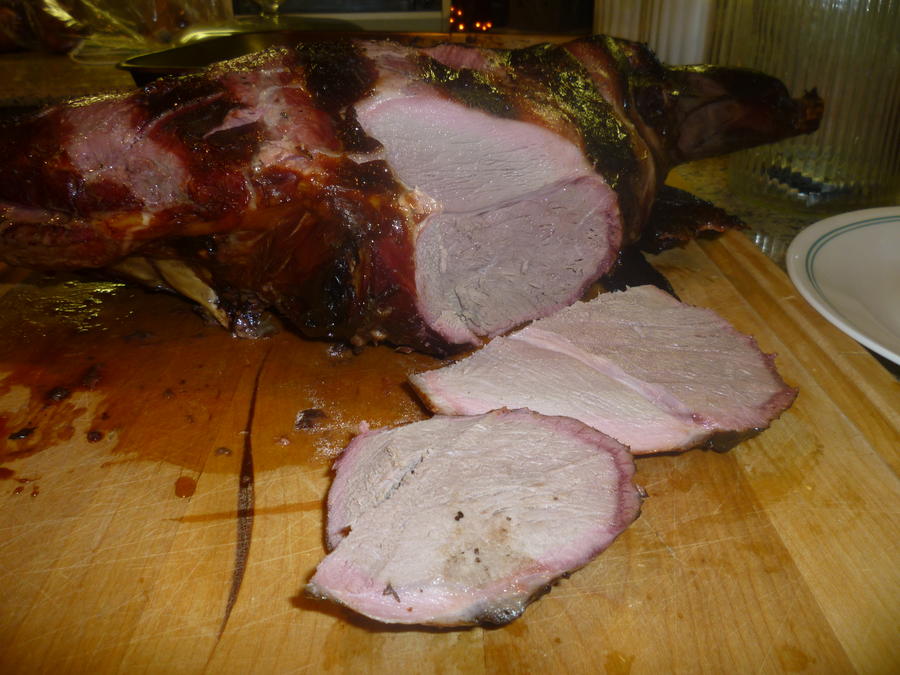
Qview is coming!! Venision is on the maiden voyage!!
Linepipe.
My build centered around trying to make it as low cost as possible, using what I had laying around. Scrap metal was considered in-bounds.
I started with a drum I had been using for feed for the animals and burned it out. I had some heavy guage expanded metal and welded up a basket:
The exp. metal was too heavy guage to roll without a roller, so I just put the math to it and welded up a 15" diameter octagon 12" high with 3" feet. I thought this was too high as I thought that I was supposed to be measuring off of the TOP of the basket, not the bottom of it. Thanks to some help here I was put back on the path of righteouness, but not before I had cut it to 7" tall. Whatever, it holds 9lbs of charcoal and wood chunks in addition to that, so its all good.
I had some used 1" connections from an old water line, so I broke them apart and threw them into an electrolysis bath to remove the rust:
While that was cooking I had to make the grate. I had some exp. metal left over (barely), so I went to it. I had some rebar that was a LITTLE bent, left from a previous owner. Whatever, its going to be bent more anyway.
After some beating on the anvil and - again - some math - I heated and bent it to the i.d. of the mouth of the barrel. Then I welded it at the single joint. 18 sides, if I remember correctly. This really took longer than it should have.
Then the remaining expanded metal was welded on with an angle iron support underneath:
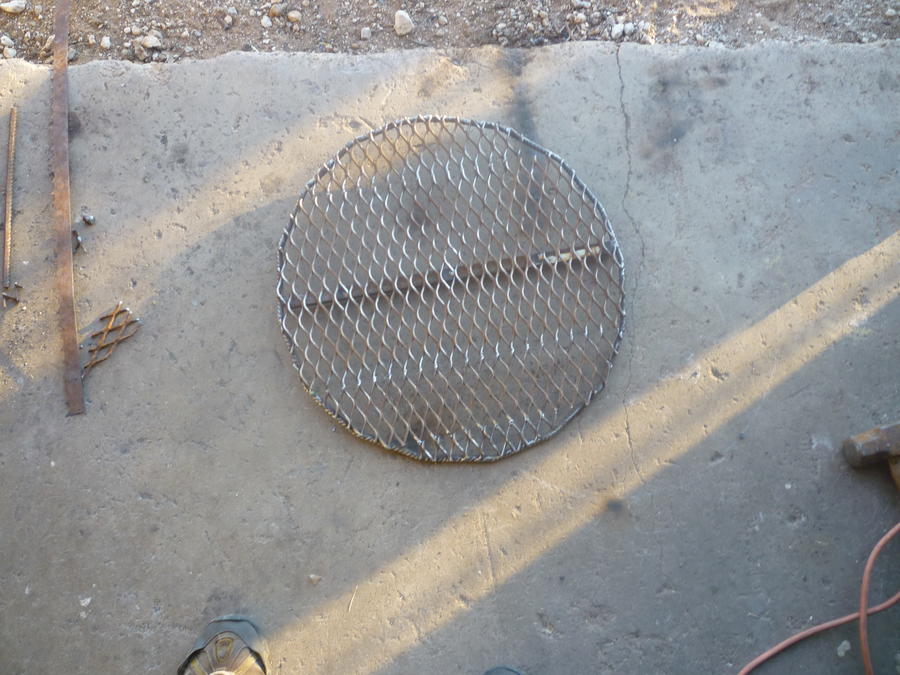
The angle iron is centerd more than it appears in this pic. Shading or something strange.
The connections were de-rusted, so I put the pipe into the barrel and JB welded them in. I was going to make collars instead of buying them, but a quick trip through the electric dept found the nuts for $0.40 each. I can do that and sleep well.
I then drilled the holes for the grate supports. Note here, important point: I used allthread that I had that was 5/16 since I didn't know how long to make them. I cut one 3" long and made adjustments for length on the fly and used it as a master for the other three. I also drilled the hole one size less than 5/16 so I would get 1) an airtight fit and 2) maximum support from the barrel (no wallowing around in the hole). When tightened down it was very sturdy and ready to go.
In goes the grate. Like a glove!!
Now the plugs. I'm not buying those things - too much money and I had that old 1" collar that is rust free. So I took my pipe cutters and spit it in two. Welded flat iron on the end and painted:
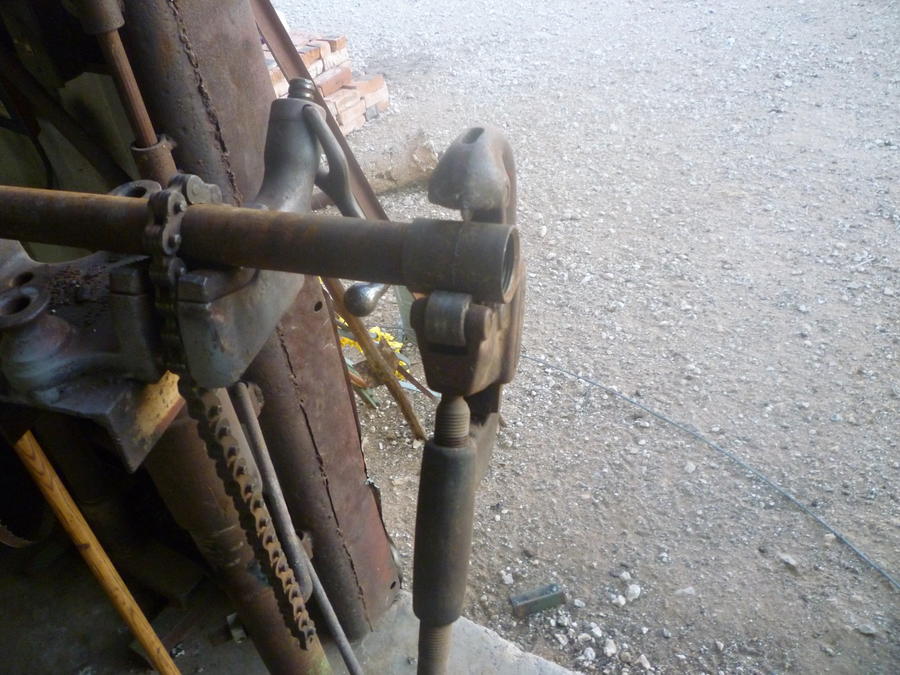
I also had a 1" ball valve that I refurbised/cleaned and put on as well. Those things were $6 for plastic ones, but Ihad this one laying around. Brass valves like this were $23+.
Somehow I missed three small rust holes in the bottom of the barrel. Had to stop and JB weld those shut:
I also added feet from 2" angle iron so that the bottom would be less likely to trap moisture as it sat.
I finished painting it all, put a hole in the lid, sprayed the PAM and did the initial fire-up - finally!!
Held temp OK. Dont really know enough about it yet to tell anything, so I am still in the learning phase on this. Seems to like the valve opened all the way and one of the plugs slightly loose in order to hang at 250 constantly.
Next morning, here is whats left of the charcoal and wood:
Last things are a coffee can for the hot coals and a charcoal "starter" out of rusty 4.5" casing. And a bit of leftover rebar for the handle:
OK, yes, I threw those two together, but they work fine for now:
Thats it! Builds complete. I wouldn't do it like that again unless I didn't have a spare grill - again. Total cost was about $35.
Like I said, if you have any hints on what I should do differently let me know. Questions, I will be happy to answer them.
Qview is coming!! Venision is on the maiden voyage!!
Linepipe.