Smoker and Pizza Oven Build
- Thread starter ferdy
- Start date
-
Some of the links on this forum allow SMF, at no cost to you, to earn a small commission when you click through and make a purchase. Let me know if you have any questions about this.
You are using an out of date browser. It may not display this or other websites correctly.
You should upgrade or use an alternative browser.
You should upgrade or use an alternative browser.
SmokingMeatForums.com is reader supported and as an Amazon Associate, we may earn commissions from qualifying purchases.
Looks awesome Ferdy!
Finally got a computer that works...
I can't stress enough to let your build cure for at least 30-45 days before putting any fire in it. Then start with small fires and work up over a couple weeks, before you run full temp.
Finally got a computer that works...
I can't stress enough to let your build cure for at least 30-45 days before putting any fire in it. Then start with small fires and work up over a couple weeks, before you run full temp.
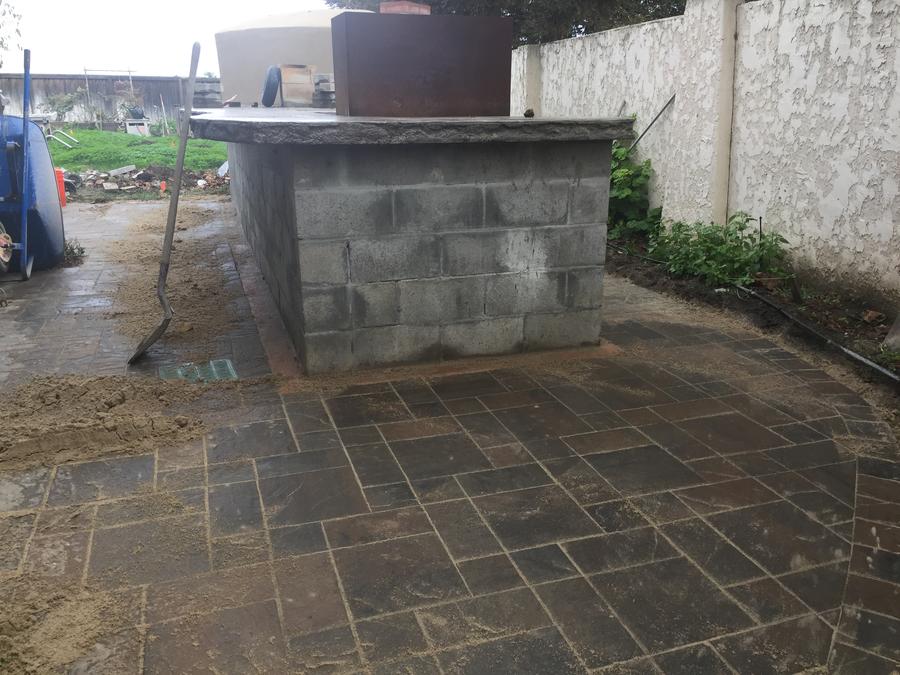
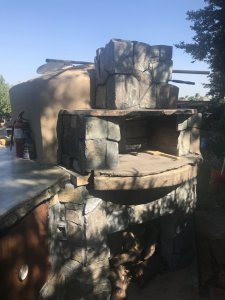
I finished the brickwork the first week of April. I put the cladding around the oven brickwork two weeks later. I then started firing it around the end of April, starting with a small newspaper fire, then a small twig fire a few days later, and every few days after that a progressively larger fire. The first pizza (and full firing) was mid-May. So, I probably was a little quick with the fire, but no cracks or leaks.
I cannot tell you all how appreciative I am for all of your suggestions. It's turning out to be a fine project which I have enjoyed immensely. It wouldn't have turned out that way without your suggestions.
I cannot tell you all how appreciative I am for all of your suggestions. It's turning out to be a fine project which I have enjoyed immensely. It wouldn't have turned out that way without your suggestions.
WOW. Id love to see more detailed pictures but that 1 is pretty awesome.
Brian
Brian, if you tell me what details you are interested in, I would be happy to provide them.
Jeff Wright
Smoking Fanatic
That looks really great. I too would like to see some addtional photos. Pat yourself on the back. That will be enjoyable for years to coome.
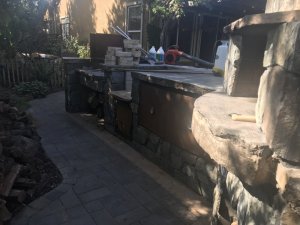
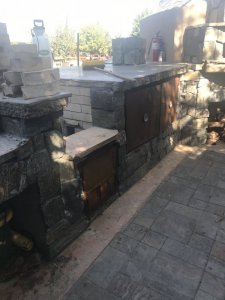
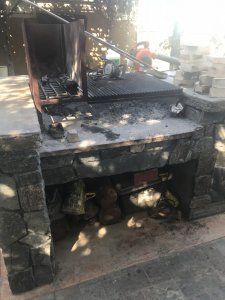
id love to see the other side with the grill and the oven.
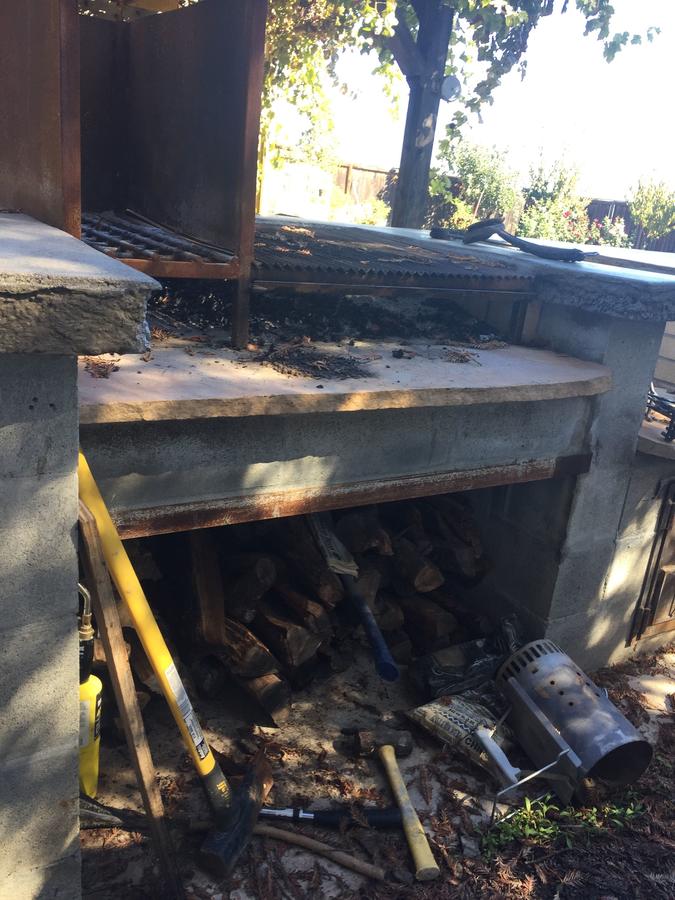
Pardon the mess.
Attachments
yeah ,, real nice . If I can get rid of a hot tub , I'll have room for something like that . Nice job .
pianov
Meat Mopper
"We poured a concrete counter. We glued fiberglass I dilation to the edge of the form to give a textured edge. Once we pulled the forms, we brushed the insulation off with wire brushes, and what little did not come off, we burned off with a torch."
What is "fiberglass I dilation"? I love your countertops! I am planning to build an outdoor kitchen and had not yet found what I want as a countertop - I think I now have!!!
What is "fiberglass I dilation"? I love your countertops! I am planning to build an outdoor kitchen and had not yet found what I want as a countertop - I think I now have!!!
"We poured a concrete counter. We glued fiberglass I dilation to the edge of the form to give a textured edge. Once we pulled the forms, we brushed the insulation off with wire brushes, and what little did not come off, we burned off with a torch."
What is "fiberglass I dilation"? I love your countertops! I am planning to build an outdoor kitchen and had not yet found what I want as a countertop - I think I now have!!!
Sorry. It should read “fiberglass insulation”. Fat fingers + autocorrect.
pianov
Meat Mopper
Oh sure, I understand. Thanks. So I'm guessing you had a wooden frame/form for the countertop and you simply lined the inside of the form with a strip of insulation? I really like the end result!
Jeff Wright
Smoking Fanatic
That’s the wet grinder on the grill. It’s at about 110 in the sun. LolLooks very nice. What temperature are you cooking that circular saw?
SmokingMeatForums.com is reader supported and as an Amazon Associate, we may earn commissions from qualifying purchases.
Similar threads
- Replies
- 9
- Views
- 729
- Replies
- 14
- Views
- 8K
- Replies
- 21
- Views
- 2K
Hot Threads
-
Dehydrater
- Started by pc farmer
- Replies: 22
- Blowing Smoke Around the Smoker.
-
Just a Simple Breakfast
- Started by BrianGSDTexoma
- Replies: 19
- Breakfast
-
Friday Cocktail Hour. Whatchya Drinkin'?
- Started by Quiganomics
- Replies: 18
- General Discussion
-
Pop’s brine scalable?
- Started by curmudgeonly
- Replies: 16
- Info and Practices


