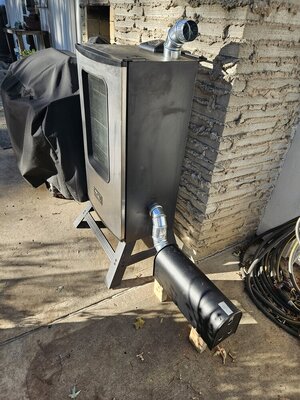
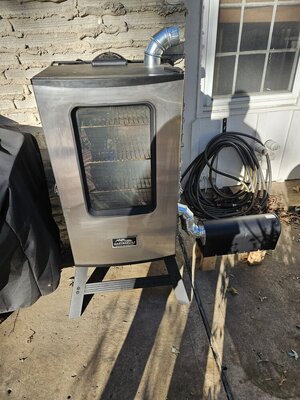
So, after doing the rewire and it working OK last time I did a smoke, this morning I tried to fire it all up and it kept tripping the outlet breaker. The Auber alone worked fine, but as soon as I plug in the Masterbuilt, the breaker pops. Man I hate this company. Anyway, before I throw it off a cliff, any ideas on what could be causing this, since it is essentially a slave box with a heating element now?
Me and my pork butts cooking in the oven await a fix.
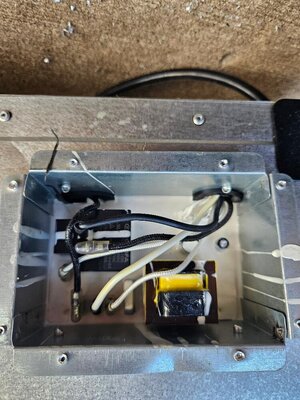
Edit: Well this answers a lot. As you can probably tell, I'd replaced the original clips. Maybe leave it open when smoking and run a fan on it.
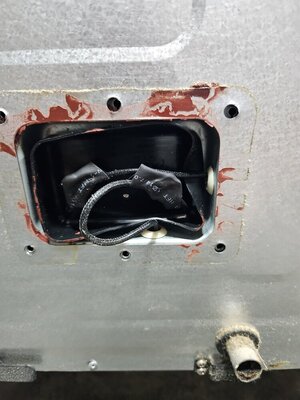
After replacing the connector, the unit trips the breaker after about a minute.
View attachment 667348

Im glad you found this burned up piece and fixed the connector.
Sounds like your GFCI outlet is tripping because it doesn't like the current being pulled.
If you can try a non GFCI outlet (like through a window indoors) see if that keeps the breaker from tripping. This is what I have to do these days. Let me know if this works. It will tell us a few things and possibly keep you going.