DoTheEyeThing
Newbie
- Jun 8, 2021
- 20
- 38
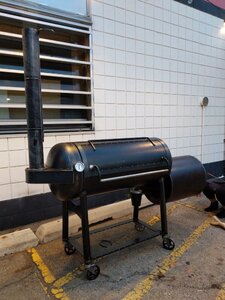
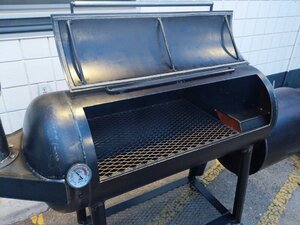
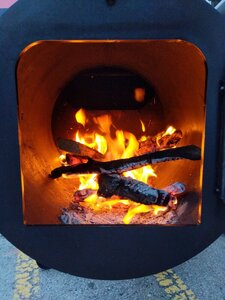
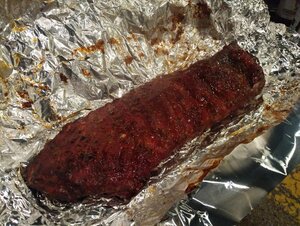
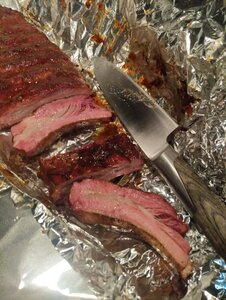
I’ve started work on a fairly close copy of Aaron Franklin’s backyard smoker. I came to appreciate Franklin’s emphasis on clean smoke through good airflow and fire management after my own frustration trying to smoke on a weber kettle and not getting the results I’ve come to know growing up with BBQ in Texas. I would have loved to order one of his pits, but since there’s what seems to be a multi-year wait list I started planning out my own build.
I work a day job as a 3D modeler / artist and love building things, so even though parts of this big project are a bit out of my comfort zone, I think it’ll be really fun and rewarding if I pull it off.
I joined my local makerspace for access to their metal shop and have been sourcing everything for a couple months. Here’s some info on what I’ve picked up so far :
I still need a little bit of ¼” plate, some angle iron, some ½” round bar, some square bar etc. Not much left really. Looks like it’ll be just a bit over $1000 in material. I’ve seen Franklin’s costs about $4k after shipping so if I can make mine of remotely comparable quality, I’ll make out pretty good!
Random fun build clip where I strapped a grinder with a brush wheel to a dowel to get the chunkier rust out of the inside of the pipes. Let the oscillation do most of the work for me.
https://photos.app.goo.gl/Hgtf3WhfBQ458xgc9
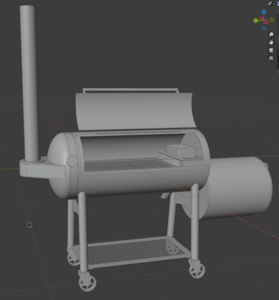
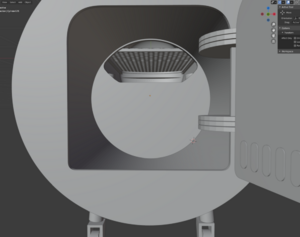
I've almost finished a 3D model of the smoker after many hours of grabbing screenshots and matching them to my 3D model as well as using known measurements to measure other parts. Really tedious! I still need to finish up the hinges some and triple check a few things but I think I'm close.
I've got a few questions I'll post soon and I'll keep ya'll up to date on the build!
I work a day job as a 3D modeler / artist and love building things, so even though parts of this big project are a bit out of my comfort zone, I think it’ll be really fun and rewarding if I pull it off.
I joined my local makerspace for access to their metal shop and have been sourcing everything for a couple months. Here’s some info on what I’ve picked up so far :
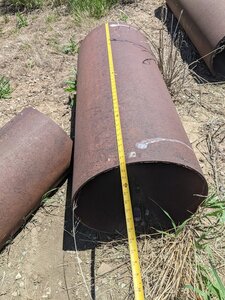
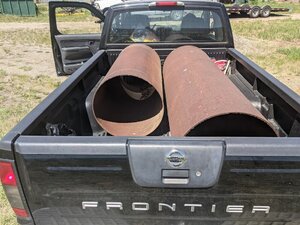
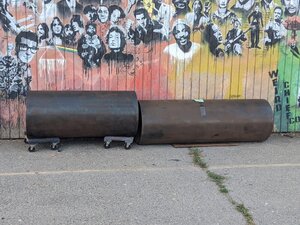
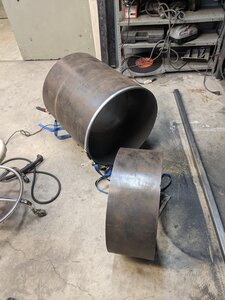
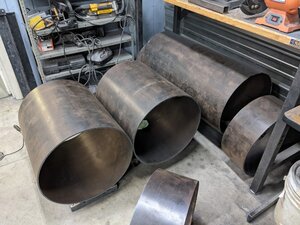
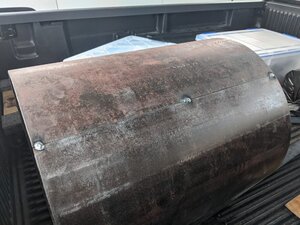
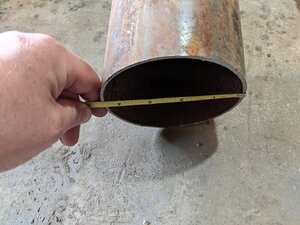
- Drove a few hours from Utah to Wyoming to get some rusty 20” x ¼” pipes in a field for $250 (way cheaper than the $1700+ cost to roll some steel locally! Steel prices are nuts right now). More than enough for my 40” cook chamber and 22” fire box. I cut and had a local shop roll one of the fire box pipes down to 18” ID for the inner fire box sleeve as semi-insulation.
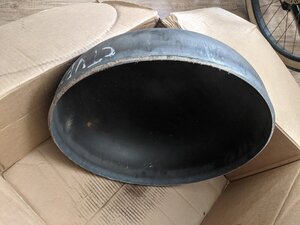
- Had a 20” elliptical head with a 2" straight flange made in Fort Worth, TX - $300 shipped. Cook chamber total length will be 47"
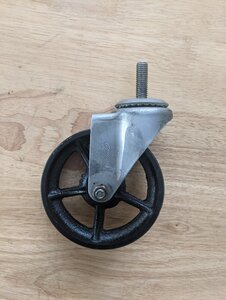
- Got some 5” steel and cast iron casters from casterconnection that look identical to what I see on Franklin’s prototypes - $100
- Four 2’x 2’ x ⅜” surplus steel plates for end caps and hinge plates - $240
- -4.5” smoke stack pipe from scrap for - $8
- -10ft of 2 3/8” pipe for legs. I think about - $90
- -A couple ¾” #9 flattened expanded steel grates - $30?
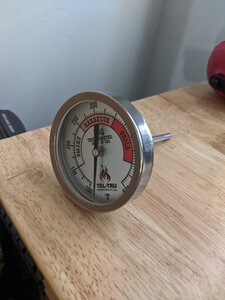
- A Tel-true 4" stem thermometer - $50
I still need a little bit of ¼” plate, some angle iron, some ½” round bar, some square bar etc. Not much left really. Looks like it’ll be just a bit over $1000 in material. I’ve seen Franklin’s costs about $4k after shipping so if I can make mine of remotely comparable quality, I’ll make out pretty good!
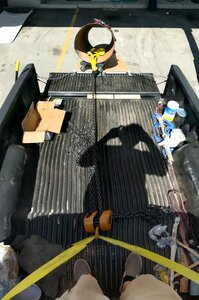
Random fun build clip where I strapped a grinder with a brush wheel to a dowel to get the chunkier rust out of the inside of the pipes. Let the oscillation do most of the work for me.
https://photos.app.goo.gl/Hgtf3WhfBQ458xgc9
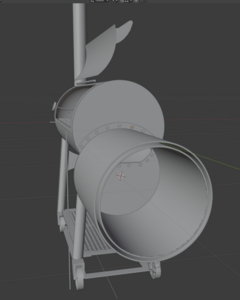
I've almost finished a 3D model of the smoker after many hours of grabbing screenshots and matching them to my 3D model as well as using known measurements to measure other parts. Really tedious! I still need to finish up the hinges some and triple check a few things but I think I'm close.
I've got a few questions I'll post soon and I'll keep ya'll up to date on the build!
Attachments
-
 3Dmodel.png274.9 KB · Views: 1,092
 -
 3Dmodel2.png219.5 KB · Views: 1,017
 -
 PXL_20210612_204047134.MP.jpg237.3 KB · Views: 909
 -
 PXL_20210612_212106549.MP.jpg192 KB · Views: 794
 -
 PXL_20210625_165000202.PANO.jpg132.5 KB · Views: 756
 -
 PXL_20210627_012623161.MP.jpg241.2 KB · Views: 732
 -
 PXL_20210714_035608678.MP.jpg156.9 KB · Views: 719
 -
 PXL_20210716_030034131.MP.jpg156.9 KB · Views: 741
 -
 PXL_20210722_202214489.MP.jpg116.4 KB · Views: 736
 -
 PXL_20210725_210212139.MP.jpg60 KB · Views: 734
 -
 PXL_20210727_021117678.MP.jpg166.7 KB · Views: 706
 -
 PXL_20210729_165110887.MP.jpg151.2 KB · Views: 733
 -
 PXL_20210618_170917567.MP.jpg167.2 KB · Views: 725
 -
 PXL_20210707_010749873.MP.jpg92.3 KB · Views: 729
 -
 PXL_20210723_141703490.MP.jpg95.8 KB · Views: 843
 Can't wait!