smiley
Fire Starter
Pictures of my first smoker build.
2 x 2 x 1/8" square with mitered corners. Here adding supports for fire box area.
Inner skins welded inside all 3/16" plate.
Back wall in place along with floor ( which also serves as a water tray).
Here, you can see the false wall welded in rear of smoker.
This allows smoke to enter cooking chamber from fire box.
This shows the 1 x 6 exhaust vent. (one on each side)
Ceiling fully welded.
Exhaust venting finished. Both sides joined together on top.
5" square tube to finish off the stack later on.
Grate slides build and welded in. Slides started out as 1 1/2" square
tubing w/one side sliced off to make a channel for grate to slide into.
Installing 2' fiber insulation to entire smoker. Double in ceiling.
Outside skin installed. 1/8" processed sheet steel.
Roof skin cut, shaped, and welded into place.
Smoke stack w/cap welded into place.
6" barrel hinges welded to doors..
Doors installed with 3/4" rope insulation installed.
Finished smoker with all grates in cooking chamber and cleanout
pan and charcoal grate in heating chamber.
Trailer finished and painted.
Smoker finished. Primed and painted.
Smoker mounted on trailer. You can see the 1 1/2" ball valves
used for draining water pan and air intake(one on each side of smoker)
Original pictures showed casters under smoker. But, smoker did not move
as easy as I thought it would, So, the trailer build was the only way to go.
Torsion axles and 2" tongue means smoker can now go anywhere.
LED lights and stained side boards are soon to follow.
This was about a 3 month build on my off time. I loved the build and
am already planning to start another build in the near future.
Just showing temp climbing in smoker. Surprisingly the digital thermometer
does not vary much from smoker thermometer.
First brisket sliced and ready to eat. Very tasty.
Good bark and great eating. Hope you all enjoy.
Thanks, Smiley

2 x 2 x 1/8" square with mitered corners. Here adding supports for fire box area.

Inner skins welded inside all 3/16" plate.

Back wall in place along with floor ( which also serves as a water tray).

Here, you can see the false wall welded in rear of smoker.
This allows smoke to enter cooking chamber from fire box.

This shows the 1 x 6 exhaust vent. (one on each side)
Ceiling fully welded.

Exhaust venting finished. Both sides joined together on top.
5" square tube to finish off the stack later on.

Grate slides build and welded in. Slides started out as 1 1/2" square
tubing w/one side sliced off to make a channel for grate to slide into.

Installing 2' fiber insulation to entire smoker. Double in ceiling.
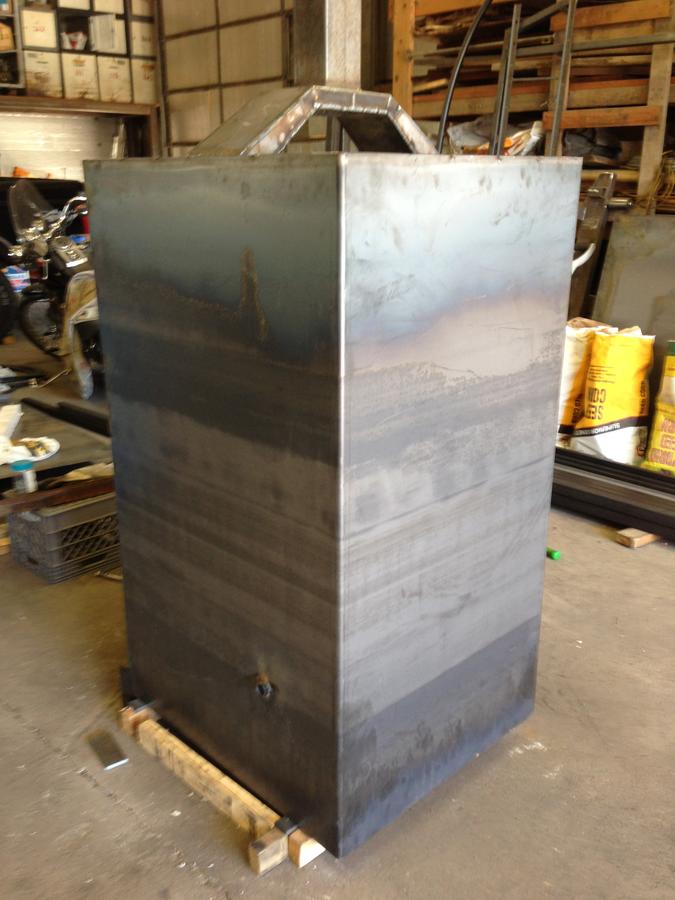
Outside skin installed. 1/8" processed sheet steel.
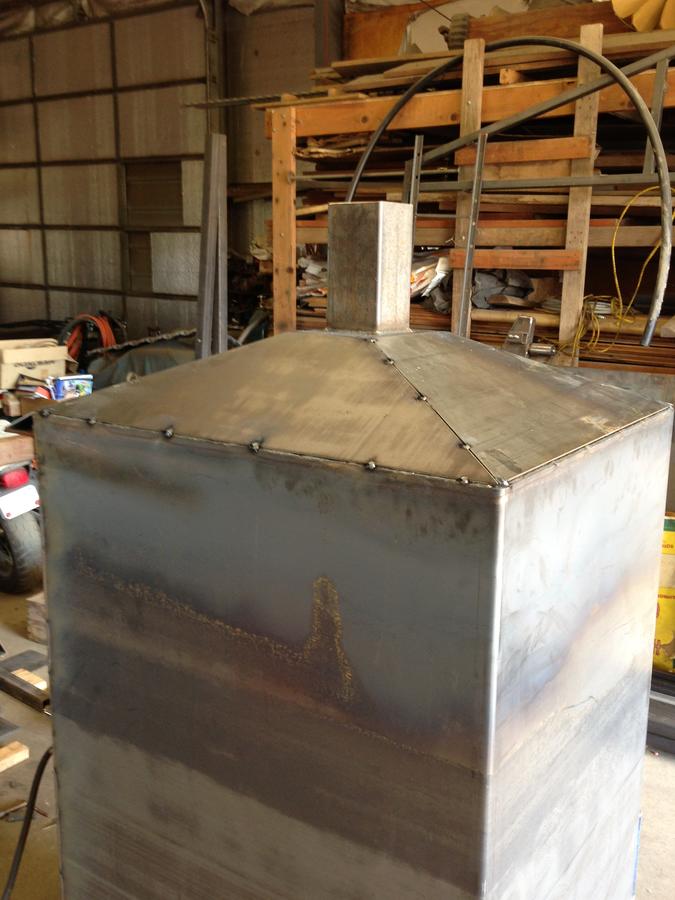
Roof skin cut, shaped, and welded into place.

Smoke stack w/cap welded into place.

6" barrel hinges welded to doors..

Doors installed with 3/4" rope insulation installed.

Finished smoker with all grates in cooking chamber and cleanout
pan and charcoal grate in heating chamber.
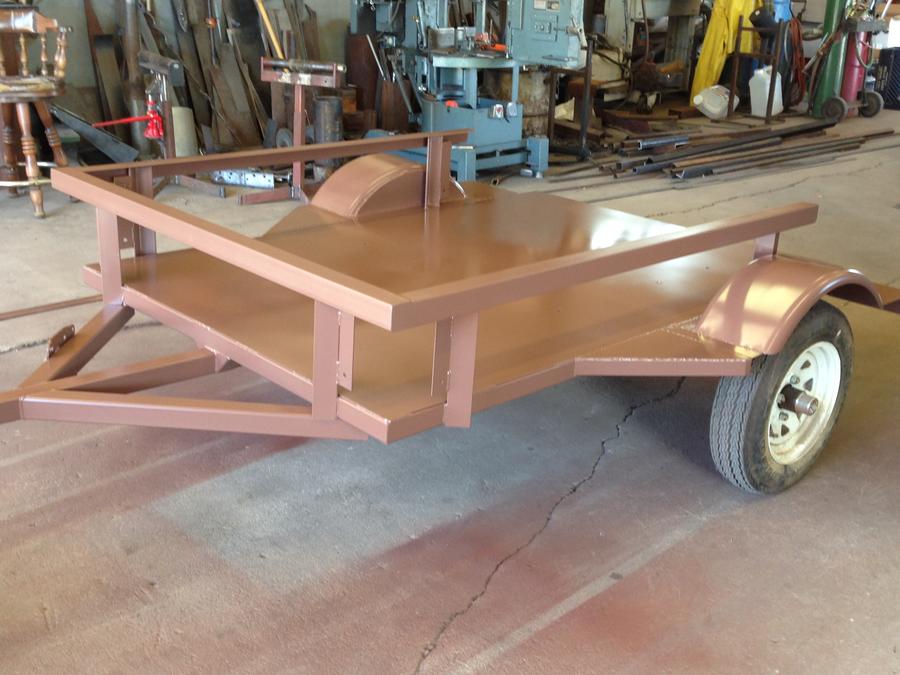
Trailer finished and painted.

Smoker finished. Primed and painted.

Smoker mounted on trailer. You can see the 1 1/2" ball valves
used for draining water pan and air intake(one on each side of smoker)
Original pictures showed casters under smoker. But, smoker did not move
as easy as I thought it would, So, the trailer build was the only way to go.
Torsion axles and 2" tongue means smoker can now go anywhere.
LED lights and stained side boards are soon to follow.
This was about a 3 month build on my off time. I loved the build and
am already planning to start another build in the near future.

Just showing temp climbing in smoker. Surprisingly the digital thermometer
does not vary much from smoker thermometer.

First brisket sliced and ready to eat. Very tasty.
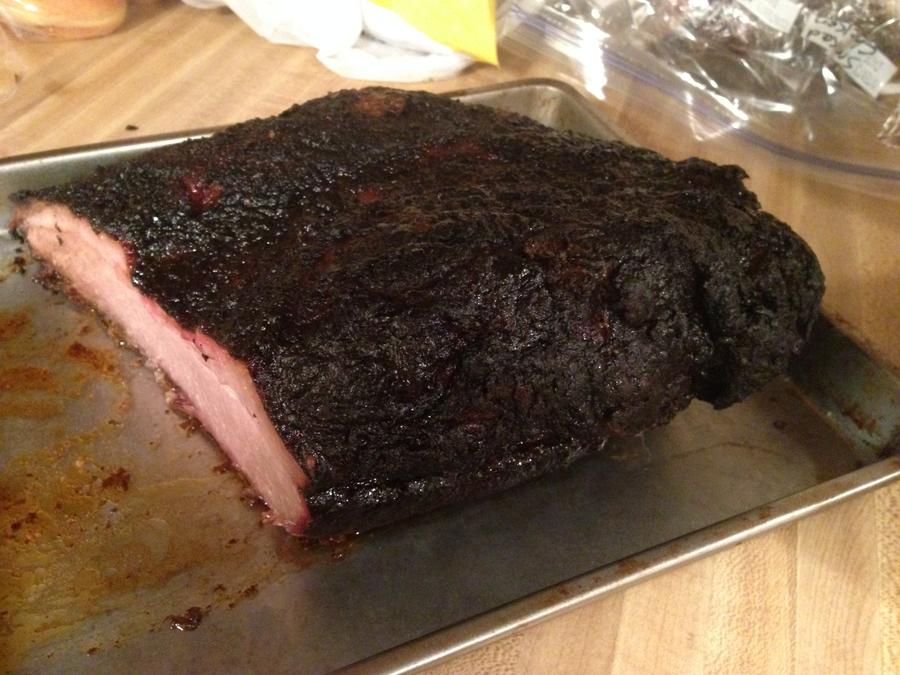
Good bark and great eating. Hope you all enjoy.
Thanks, Smiley

