36cu.ft. Cypress/ Hardie board Outhouse smoker build -pics. addded

  • Some of the links on this forum allow SMF, at no cost to you, to earn a small commission when you click through and make a purchase. Let me know if you have any questions about this.
SMF is reader-supported. When you buy through links on our site, we may earn an affiliate commission.

indaswamp

Epic Pitmaster
Original poster
Staff member
Moderator
OTBS Member
Apr 27, 2017
14,907
13,225
South Louisiana-Yes, it is HOT
Long time lurker and new member here. I got a lot of ideas for my new smoker from some of the members here so I do thank you for that. I was going to start a pic. heavy thread but just realized I am posting from a new computer. I will have to transfer them to my new computer. I have the pictures on another forum but can't figure out how to to post them. Can I use the url?
 
Last edited:
Why didn't I think of that??? Sometimes I over think things. LOL! Will post later this afternoon, first yard work before it rains.
 
Last edited:
Rain hit early. Might just be a shower, but it gives me time to post pics.!

Alright, I started this build mid February.

Day 1 in the wood shop; got both sides, the back, and both bottom and top front door braces finished.

 
Day 2

Assembled the smoker side panels and built the doors.

Laying on the back so we could fit the doors...


Bottom to the left, top to the right.


I had a scrap piece big enough so my uncle made a custom wood handle; his personal touch to the project. Not installed yet, will be the last thing I screw into place. He is working on a second one for the bottom door, it is not finished yet.


I left the boards rough cut just for looks. You can see the saw marks on the boards.
 
Those were unfinished boards that ran from 1 1/8~1 3/8" thick and 6 1/8~6 1/2" wide. The inside corner braces are cut off a true 2" X 8" board. I made true 2" x 2"s. $1 a board foot for the boards. I went ahead and added a second lower door so I can open it and check the fire/add wood chips without loosing heat had I had 1 large door. I had considered ringing the burner with fire brick but after initial seasoning cycle it was obvious that was not necessary.
 
Last edited:
So, after a 3 week hiatus due to a nagging shoulder/arm injury I was finally able to work on my smoker again. Concrete board installed, back and ceiling aluminum flashing installed, vents cut.

Looking up a the smoker ceiling.


Bottom view with fire door brace installed.


Installed the flashing on the left wall, The furring strips for the stainless steel rods will cover the flashing seams.


The aluminum pipe was just to help align the holes up.

 
With just enough light left one afternoon, I began working on the door.  It is so heavy with the hardie board on it that I decided to fab. up a Z support from the 1/8th inch aluminum I had. The Z will be attached to the wood door underneath the hardie board and flashing. The hinge bolts will go through the aluminum plate and that should be enough to support the weight of the door. I do not expect it to sag. Got it cut and prepped for welding before I ran out of daylight.

 
Got the door Z support welded along with the floor pan. Installed both.

Drilling bolt holes for the casters...


Installed and bolted in place...


Z channel welded out. I was actually able to pre load the support when I installed it, the flat bar pulled slightly when we welded it. Worked out for the better.


Installed and screwed down along with first layer of cement board...


I have a 1/4" air gap around the sides and door between the hardie board panels and the wood, both as insulation and fire protection.
 
Working on the fire door. The door is 14" tall X 32" wide. It is short, so instead of a Z brace, I just used a rectangle sheet of the aluminum, added a pad for the hinge bolts, and around the edges to get my 1/4" spacing. Then installed the cement board on top. Started working on the flashing but ran out of daylight.

fire door with aluminum installed...


Since I'm bracing the inside with aluminum, I'm not going to use the outside wood braces. I like the clean look better, plus, I used unfinished boards for the old style look, and aligned the edges flat on the inside for a good seal. The boards run 1 1/8~1 1/4 and really make the smoker look old school.
thumb.gif
You can see the saw marks on them which is what I wanted.

Down the road, I will add a meat shelf on the side and look into assembling the auto gas set up.
 
I think I have found the burner I am going to use for the auto system.


I can pipe the venturi to the outside of the smoker and use clear air for combustion. The venturi comes with a screen over the air intake, and optional needle valve.

This one might be too big for my application, but they make a smaller one. I'm thinking 15~20,000 BTU's should be plenty.
 
  • Like
Reactions: tmag
Hinges installed on smoke chamber door...


My buddy has a plate bender at his shop so that made bending the hinges easy.

Here is a close up of the hinges. I used (2) 1/4" X 3" lag bolts on the bend to keep the metal from flexing. It is solid. I predrilled the holes to the thread shaft size to help prevent the wood from cracking. Clamped it down good and tight prior to drilling, it's solid.


Smoke Chamber door installed on the smoker..

 
April 2nd:

Got the fire door hung, then I spent the next 2 hours game planning how in the hell am I gonna lift this sucker! Estimate the weight to be 360~380lbs., which is pushing the weight limit of the back 2 casters. Plus- I did not want to try and lift it on rollers and have it get away from me. So the plan was to block up the bottom high enough so that when it stands up, the casters are just off the ground. I rounded up some old lumber ends we keep around for blocks and such, got the bottom jacked up, then slowly started jacking up the top using a cinder block and a 4' piece of 4X4 for a lever, blocking it up as I go. Got the top ~2ft. off the ground and was able to lift it to stand it up from there. Had my neighbor come over to help pull out the blocks while I tilted the smoker.

Moment of truth...


The smoke chamber door is sagging...a lot, at least 3/8". I walked away to get a beer and think about it. Figured out that without the aluminum roof attached as a structural support, the top is torquing from the weight of the door. I'm going to have to square the top with screws in the corners and X some wire, then twist it in place true to square. I have some stainless steel wire that will work perfectly for this. Once the roof is secured, She shouldn't move or sag much at all. Can't install the latches until the roof is complete.

Pic. of the floor pan. I will drill a 1/2" hole in the center for a drain hole. The aluminum sheet got severely scratched at the boat shop by a fork lift. I had to clean it up with a tiger paw. We bought it @ cost to use for structural bracing on boats. It will serve well for this smoker. Seal welded 1 3/4" flat bar to make a box which fits tightly on the bottom. Bolted into place with stainless hardware.


I set the roof on to check my marks, and yep- it is out of square from the weight of the door.


Got an old burner donated to the cause form one of the firemen that works with my cousin, he had it in storage and never uses it. This will be a temporary burner until I figure out how many BTU's I need. I set it in the smoker with the fry pan which will act as a heat diffuser and smoke generator. Should work out nicely. BTW, 15" cast iron fry pan @ wal-mart; $12. Can't beat that for a smoker!

 
April 5th:

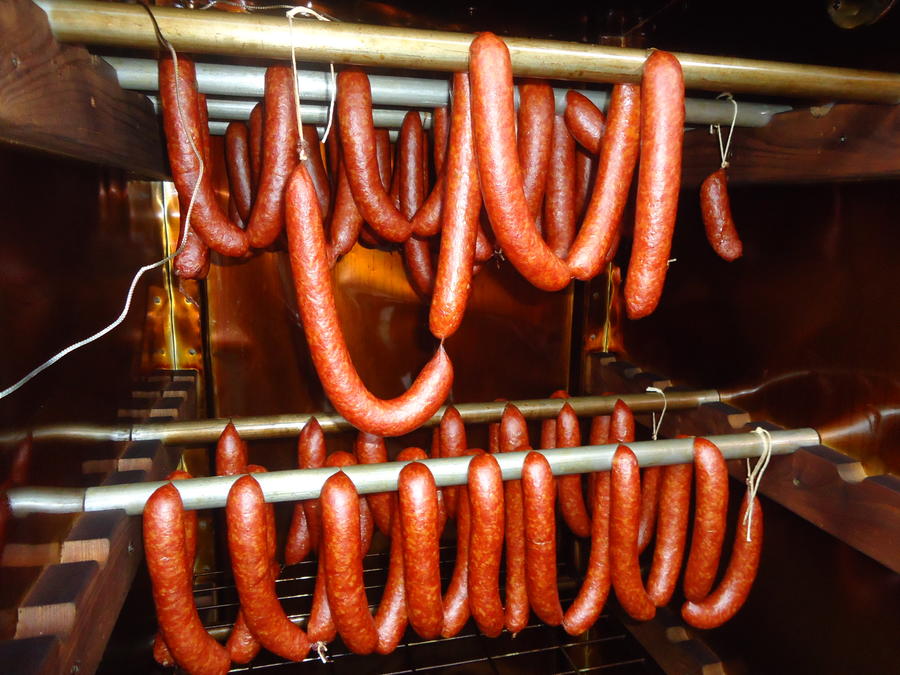
I can see the light at the end of the tunnel. Will finish tomorrow, then fire her up and season the smoker. May put some chickens on as they are on sale $0.69/lb. I also have some wild turkey legs and thighs I can smoke with the chickens.

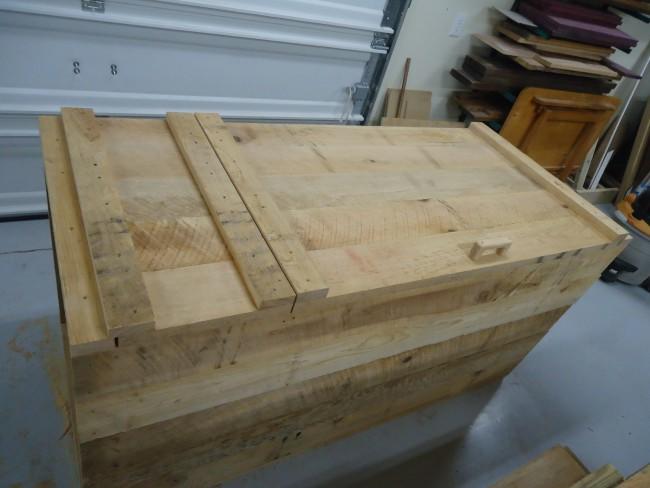
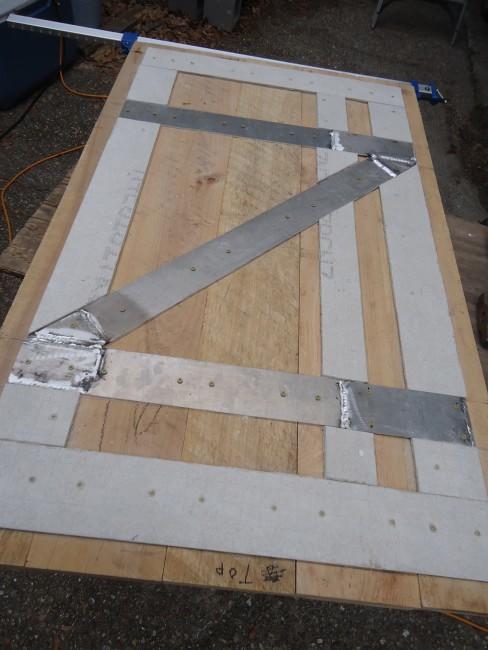
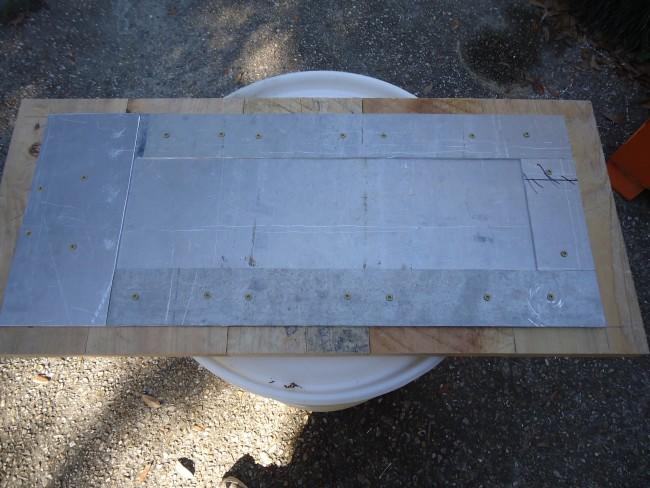
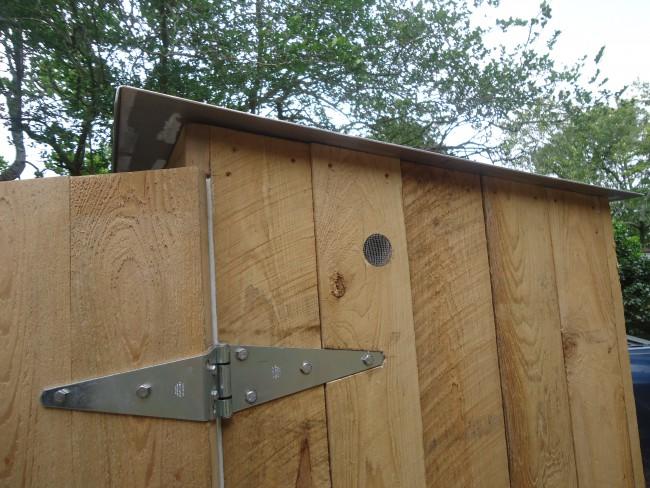
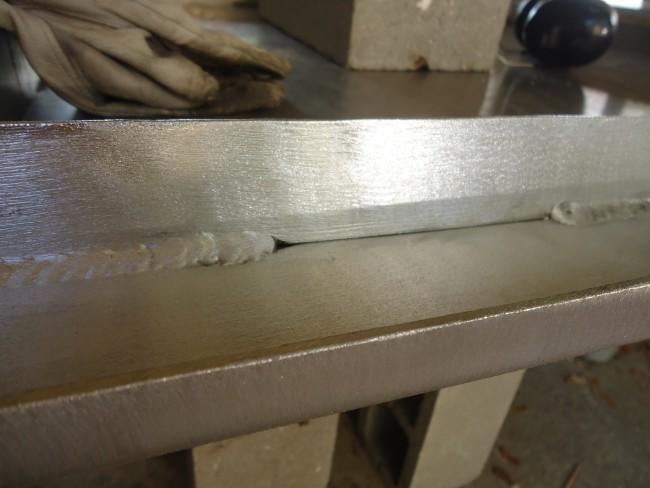
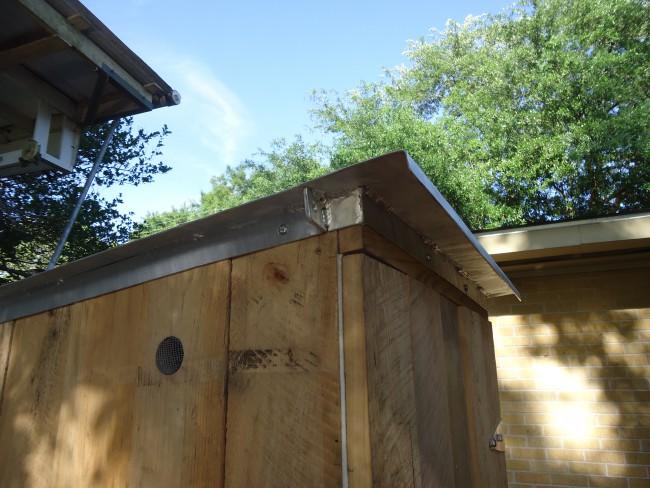
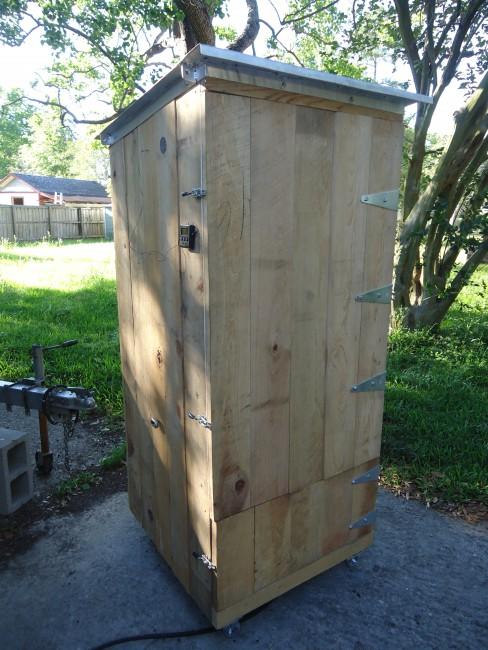
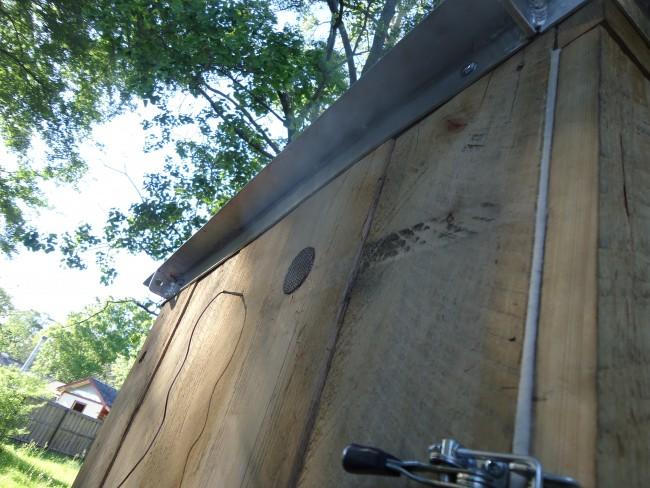
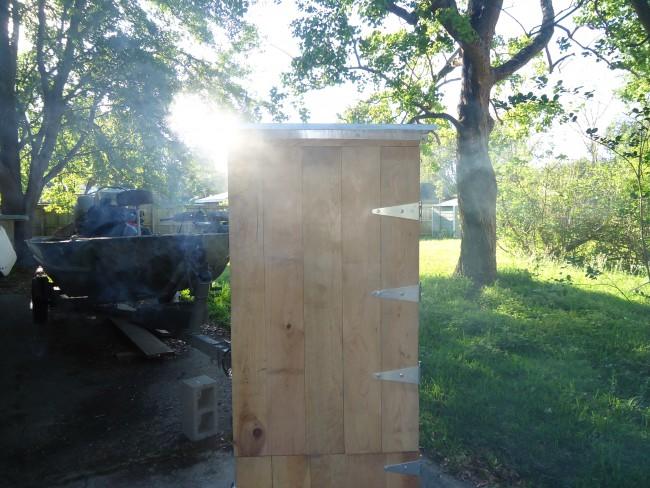
Got the roof finished and installed, edges grinded down, cleaned, brushed with wire wheel, then acid washed. drilled holes for the lag bolts to secure the top. While at lowe's buying the lag bolts, I ran across a 16" wide X 4' roll of fiberglass insulation with no paper backing for $3 bucks. Just enough for the 2" air space in the roof. Being that most of the heat would escape out of the top, figured that was cheap insurance for $3 bucks. I installed the insulation, then bolted the top on.

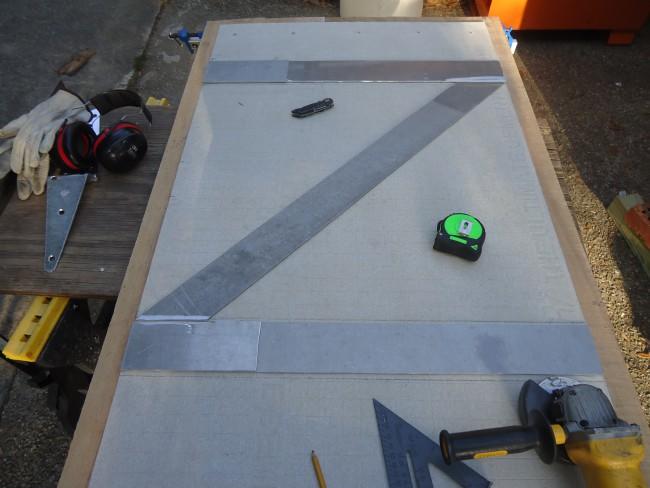
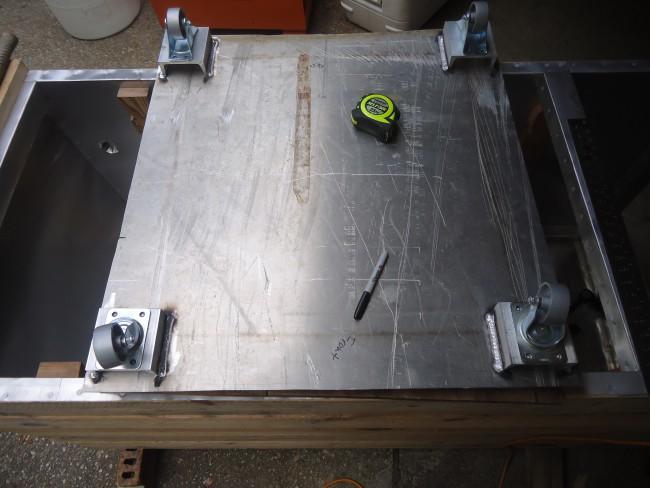
Aluminum roof cleaned and brushed ready to install...


I went with the brushed aluminum look to camoflauge all the scratches in the sheet from the fork lift. It came out looking really good.
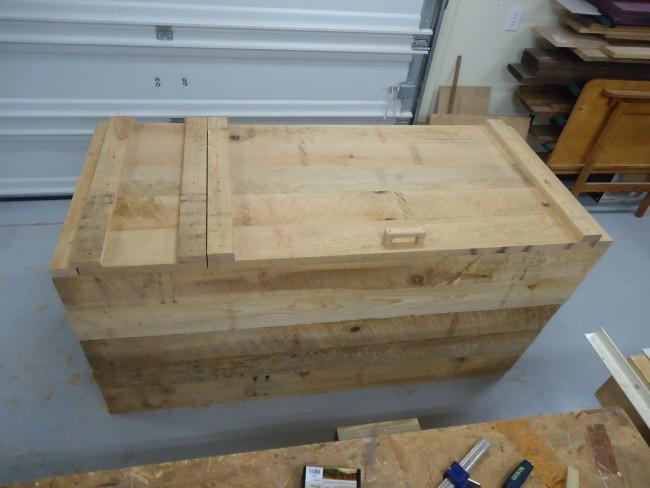
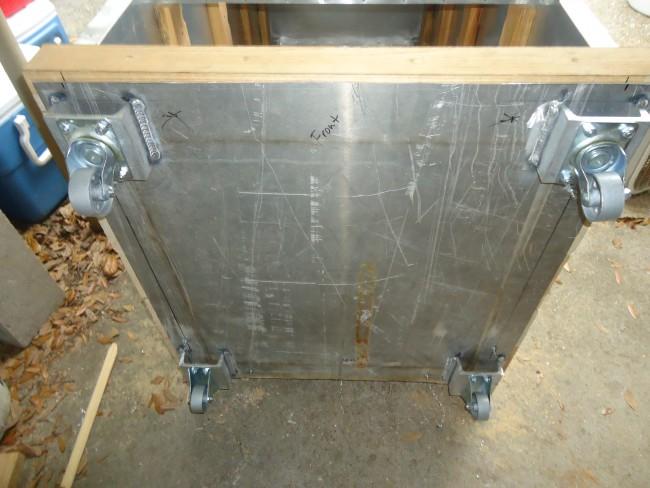
Installed...


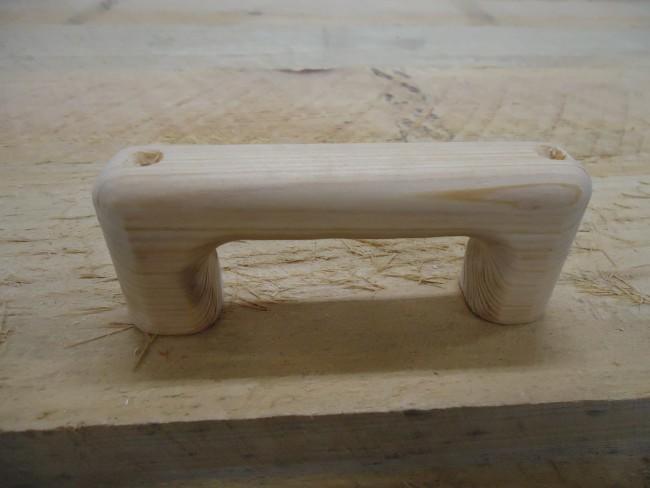
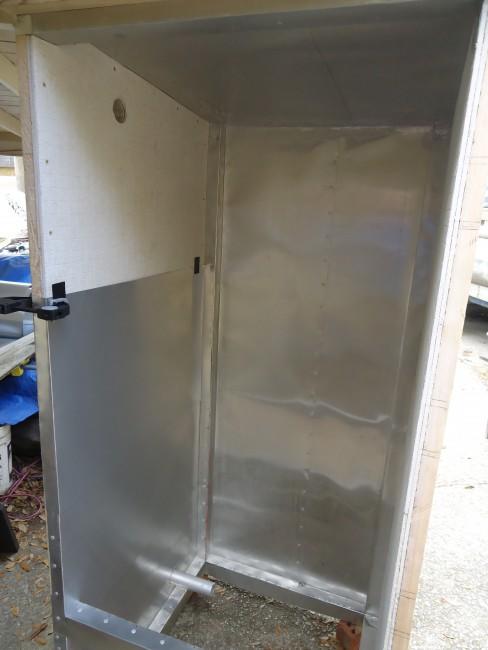
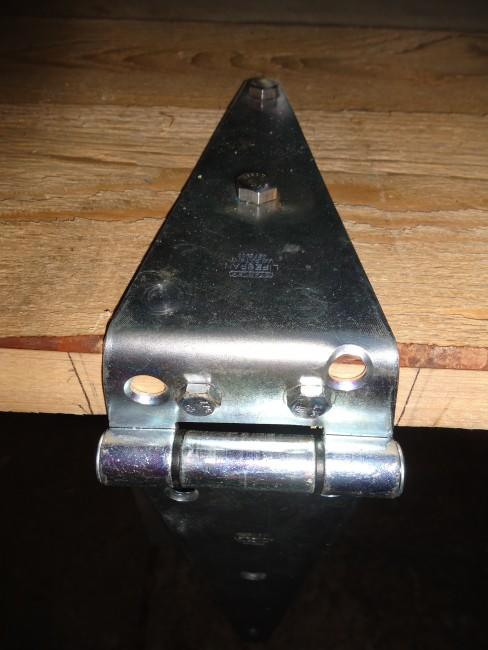
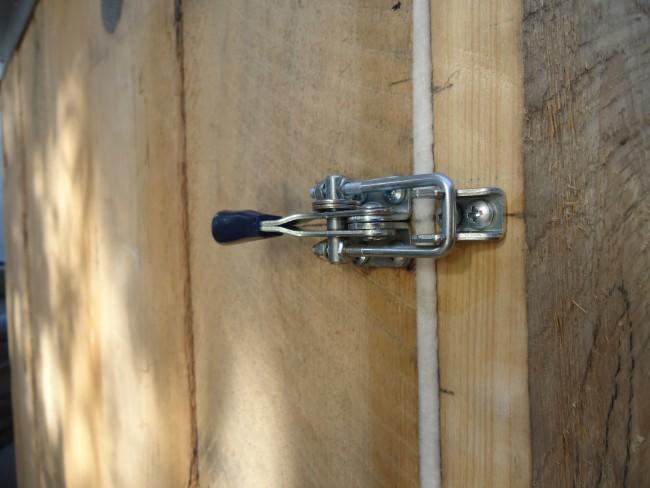
Compression latches installed...


Door seals very good.

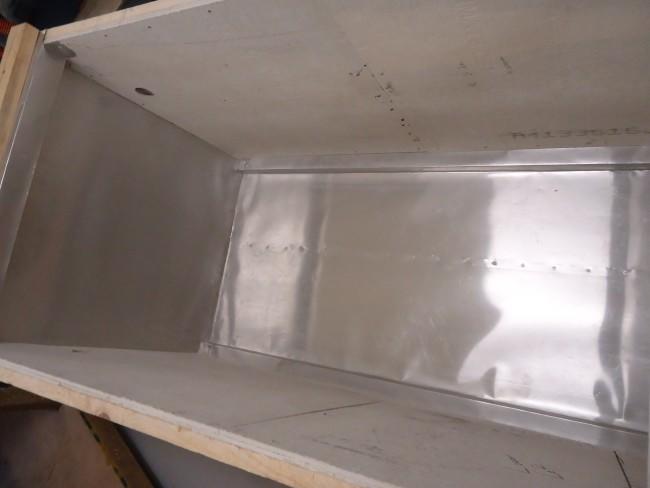
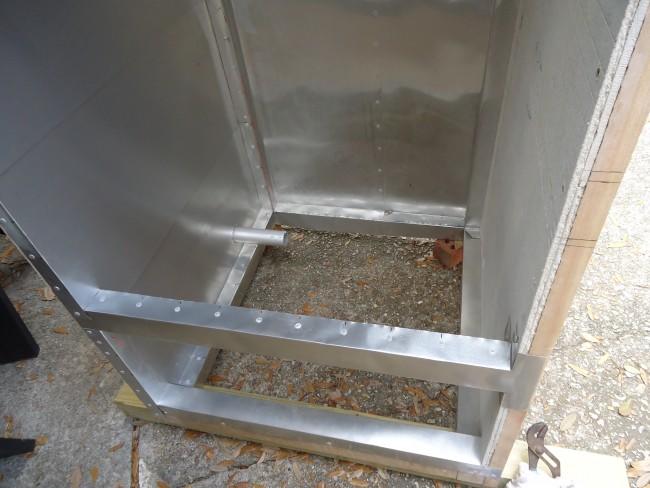
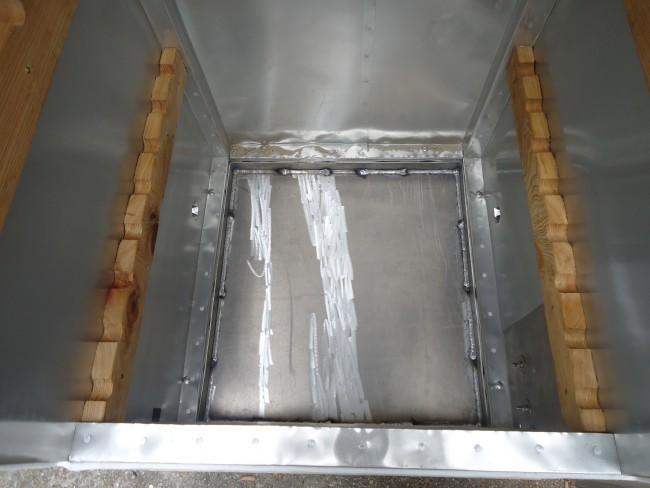
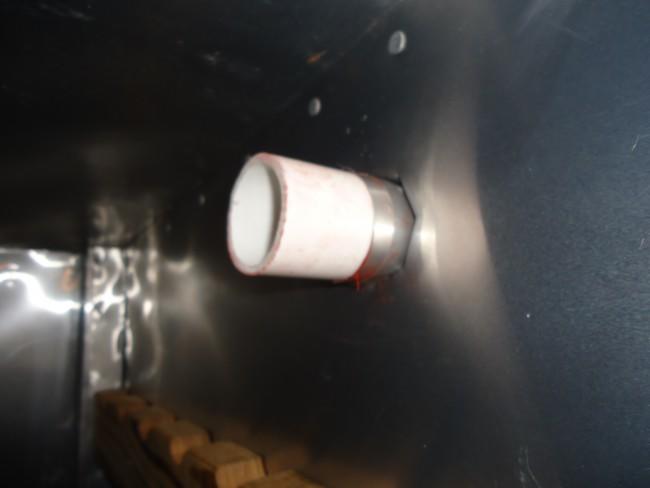
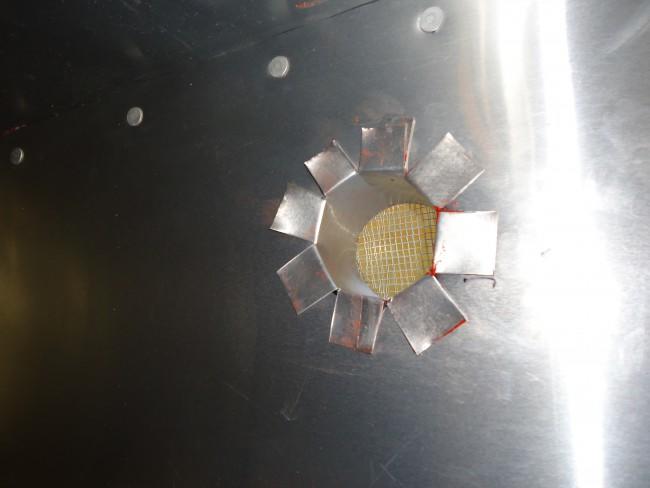
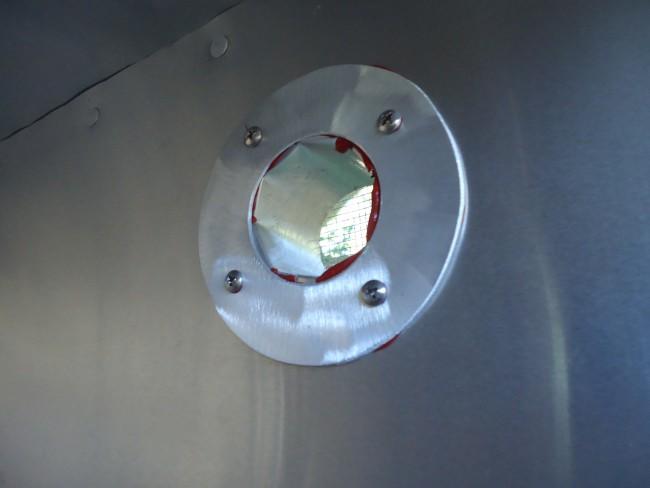
I cut 4 pieces of aluminum flashing 3" X 9 1/4" to install in the 2" vents. I applied high temp silicone then wrapped them into cylinders and taped them into shape with duct tape. slid them into the vent holes, then pushed in 4" drops of 1 1/2 PVC  (1 15/16" O.D.) to force them into shape and get good adhesion from the silicone. I will leave them in place until I am ready to fire the smoker up.


I'm going to cut slits down the end of the cylinder and bend the tabs over. I'm cutting some 4" doughnuts out of aluminum plate to make covers to go over the end of the vent to clean it up and get a good seal.

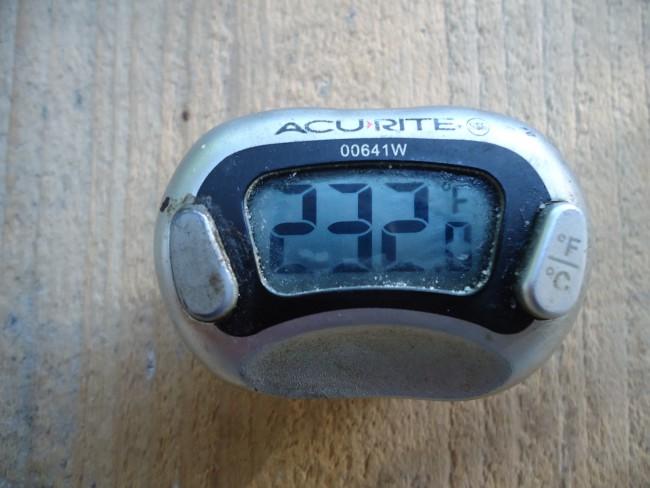
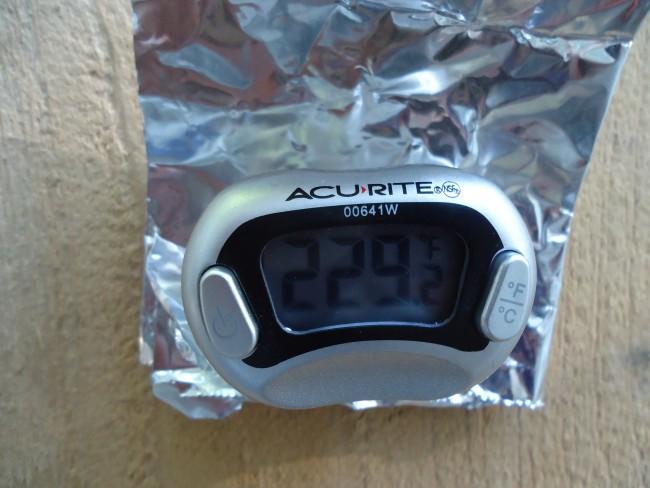
Tomorrow I need to make the covers, then drill some thermometer holes and she's ready to go.
 
April 6th:

So, I cut and bent the tabs down on the flashing vent cylinders...


Then I cut, cleaned, acid washed, and drilled the screw holes in the vent covers. Installed those with screws and food grade high temp silicone...


drilled some thermometer probe holes, removed the excess silicone from around the vent covers, vacuumed the inside, wiped it down and she is done. (still need to install the handles though).


Sprayed the inside with a little oil and added hickory wood pellets...


Then fired her up for the seasoning cycle...


She smokes like a champ! Very even heat once she warms up on the inside. Only 5*difference from top to bottom on the temps. Finished too late to smoke anything tonight, but tomorrow I'm putting wild turkey legs and about 10 chickens on the smoker.
thumb.gif


I'm really impressed with the way the hardie board holds heat, and the air gap between the hardie board and the wood really helps keep the wood temps down. The roof is so cool, it's barely warm even when the smoker is kicked up to 325*! Should cook very efficiently on propane. I'm stoked like a kid with a new toy!
laughing.gif
 
April 8th when I smoked 4 Boston butts...

After the meat has been on for about 2 hours and the inside temps have stabilized, before the meat starts sweating during the stall.

Top temp probe (level with the top outlet vent)...


Bottom temp probe (midway between the bottom and 2nd shelf)...


with a makeshift sun visor made out of aluminum foil so I can read the probe in the bright sunlight.

Meat probe...


Meat temp. on the left, set temp. alarm on the right.

When the meat hit the stall, top was roughly 10* cooler, but stabilized after the push through the stall and now sits 4~5 degrees differential.

I have much better digital thermometers on order. I bought a cheap one at walmart so I could start cooking that day. I will donate them to the firehouse when my new ones come in.
 
April 12th:

Got some 5/32" Stainless TIG wire along with some 1/4" Stainless round stock today to make some grates for my smoker. All I have to do is cut the pieces, lay it all out then heat the joints up with the TIG tip and fuse the rods together. I'll use the 1/4" round stock for the outside edges for strength.
 
SmokingMeatForums.com is reader supported and as an Amazon Associate, we may earn commissions from qualifying purchases.

Latest posts

Hot Threads

Clicky