foxman333
Newbie
This is my vertical smoker build from start to finish. I started with a rough sketch on a piece of lined paper and went from there. I was fortunate enough to have worked for a company that allowed me to use the shop and equipment to build the smoker (off the clock of course). I was also able to order the steel through them at their discount price. Total materials cost for steel was roughly 110$, and not including what I spent building the burners or other various odds and ends. .
The design started as two separate chambers connected by a pipe but was changed mid build to one solid unit. The entire unit was made from grade 50, 11 gauge steel. The smoker is double walled with insulation inbetween. In layers from the inside out, it is the walls of the inner chambers, then 1x1x1/8 square tubing, then insulation, then outer walls. I used the highest R rated pink insulation from home depot.
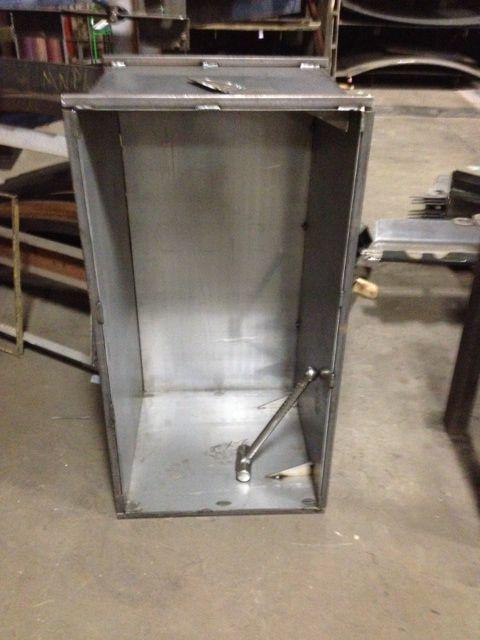
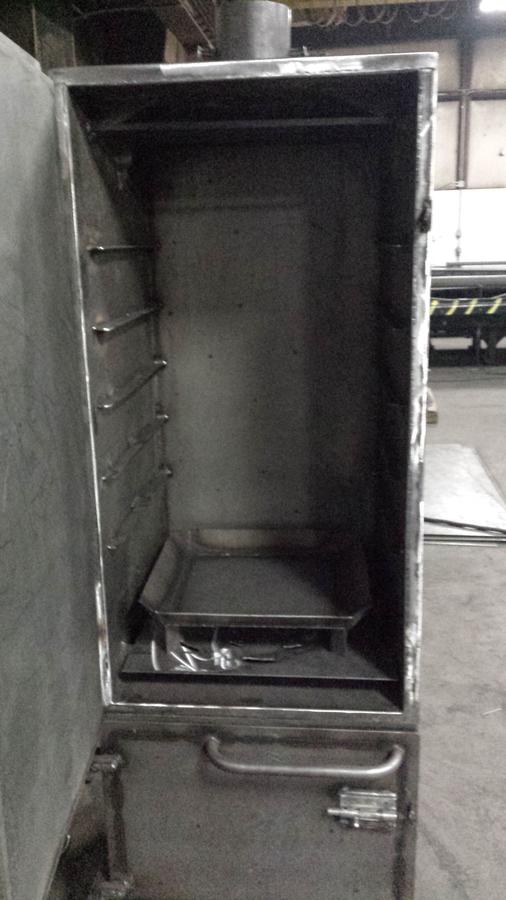
This is the rough inner shell of the cooking chamber. Once tacked together and framed, all the seams were welded on both sides. The goal was to do everything possible to prevent any grease from leaking through to the insulation inbetween the walls.
This is the top chamber mostly shelled out. Insulation is in and chimney pipe installed.
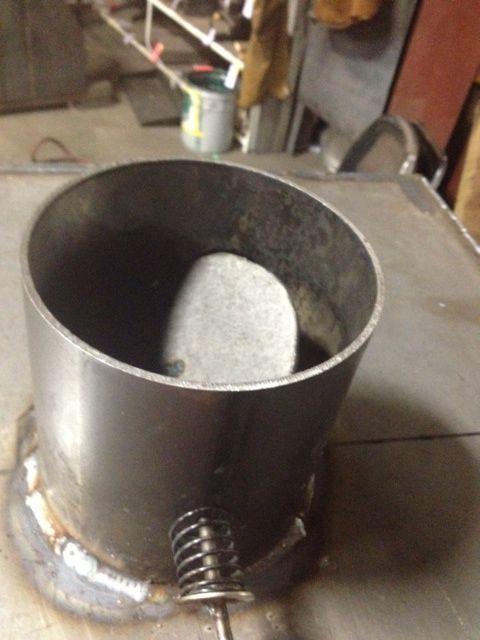
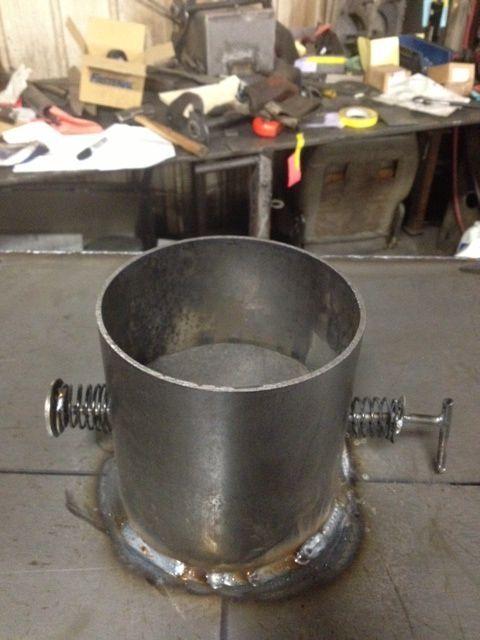
The chimney pipe and damper.
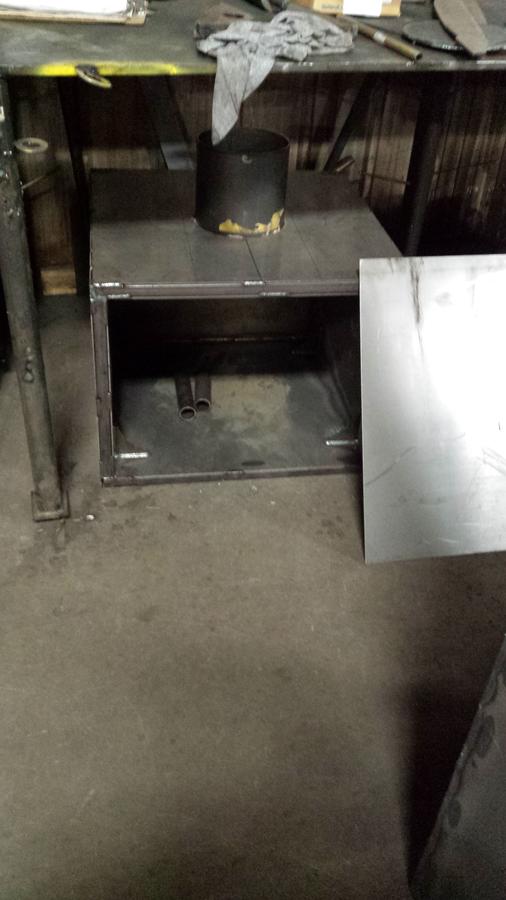
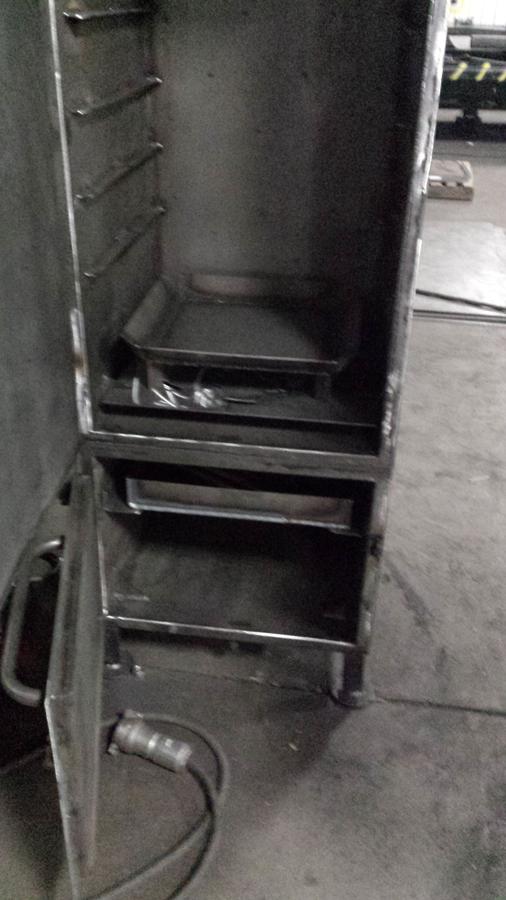
The bottom chamber after it has been shelled out.
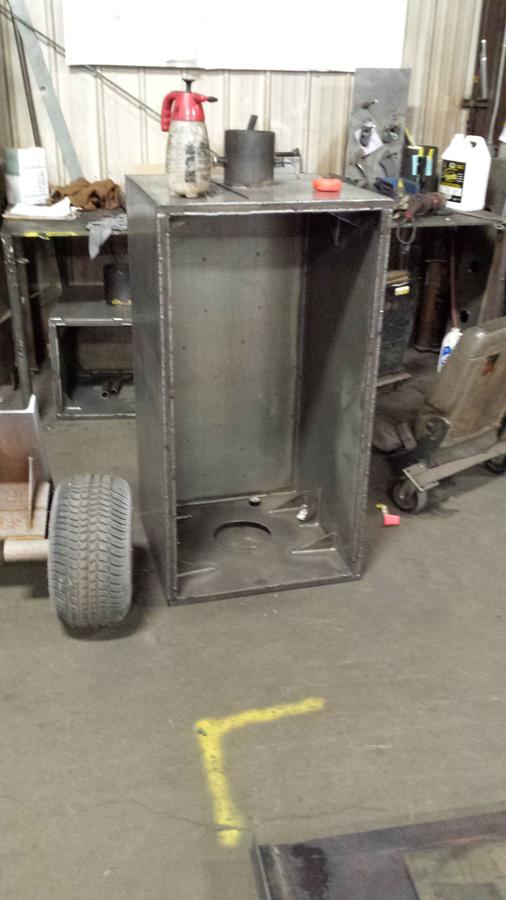
The top chamber, prepped to be mated with the bottom chamber.
The first design was that the top and bottom chamber were to be separated by an air gap and connected by a pipe. The final design eliminated the air gap. As it sits now it goes from the bottom up, lower chamber inner wall, insulation, a layer of steel, insulation, and then inner wall of top chamber. I believe this minimalizes any heat loss between the two chambers, but eliminates any unwanted transfer of heat also. This gives the top chamber a very consistent supply of heat.
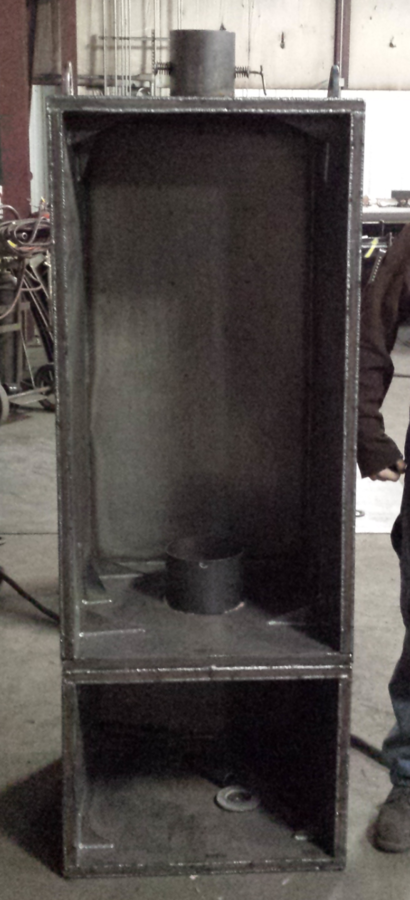
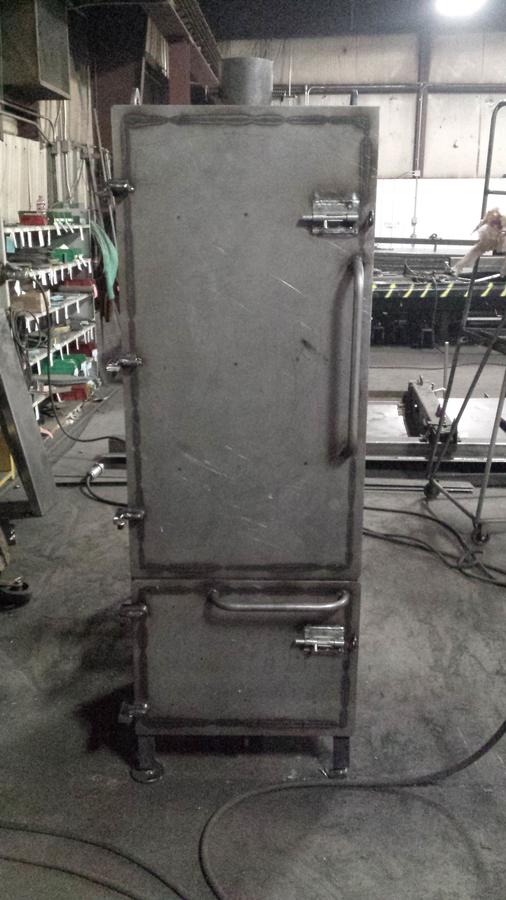
The top and bottom chamber roughly mated together.
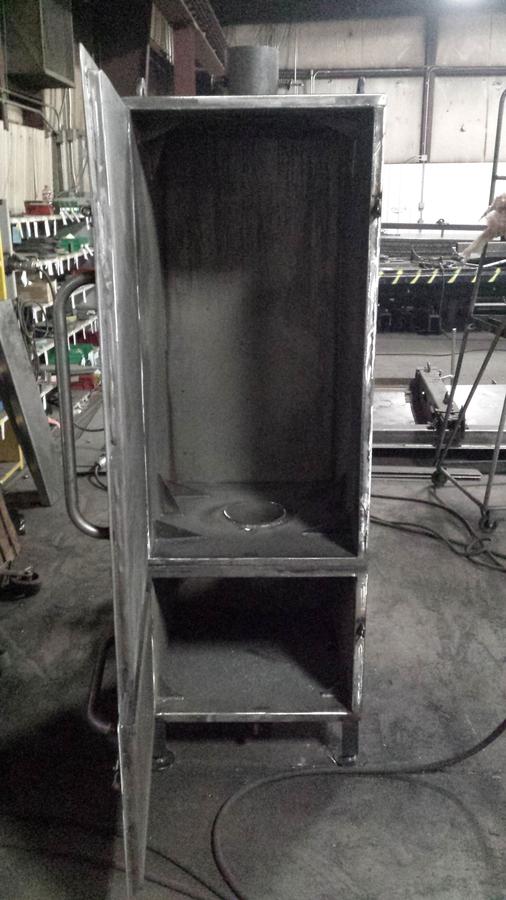
Things have been finely tuned and the doors have been hung. Now it is time for all the bells and whistles!
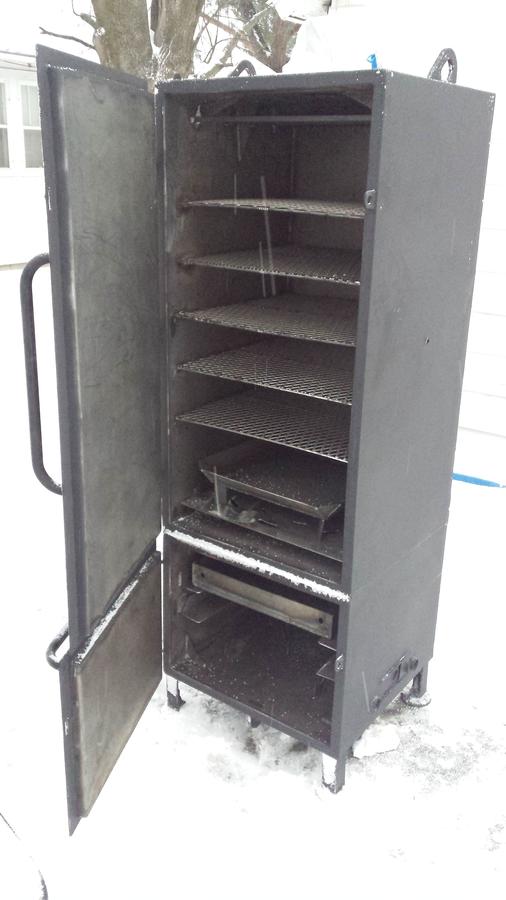
The chip pan, racks, diffuser plate, and water pan have all been made. Any questions about these ask away!
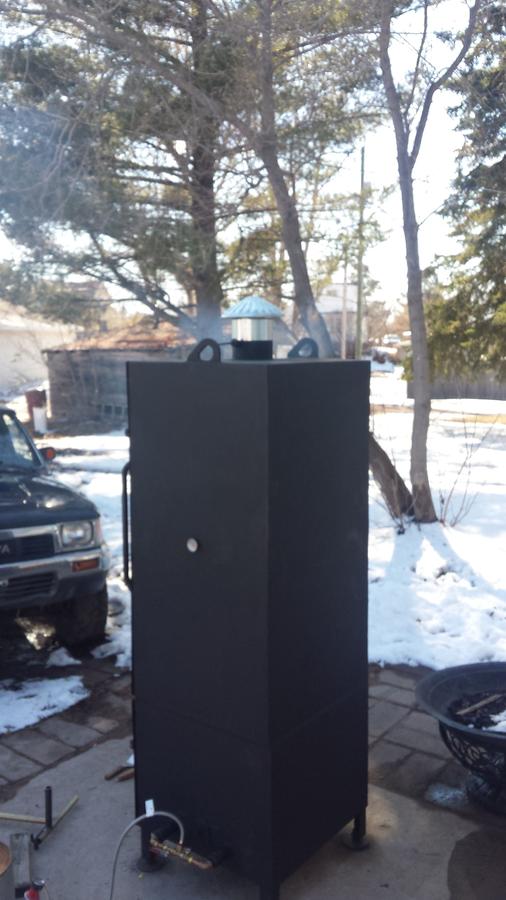
Got the outside painted. DO NOT PAINT THE INSIDE LOL. The inside is to be seasoned. I'll go over that later.
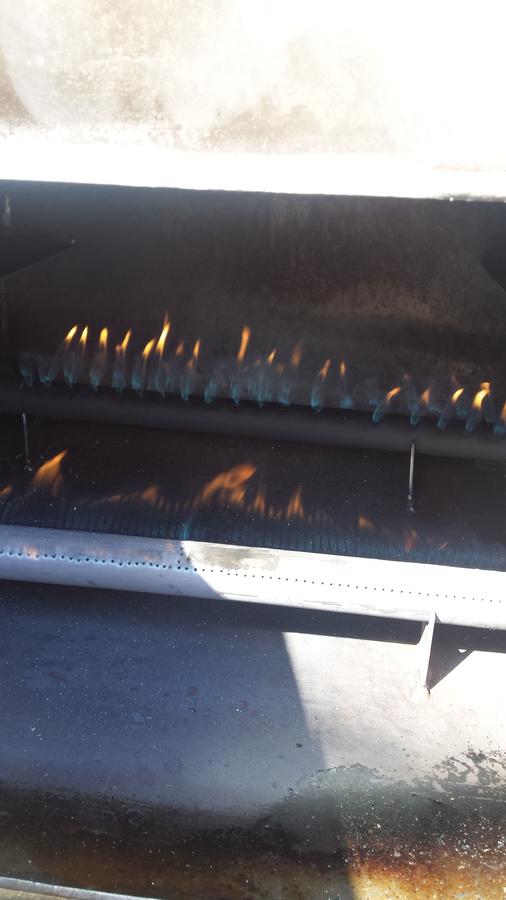
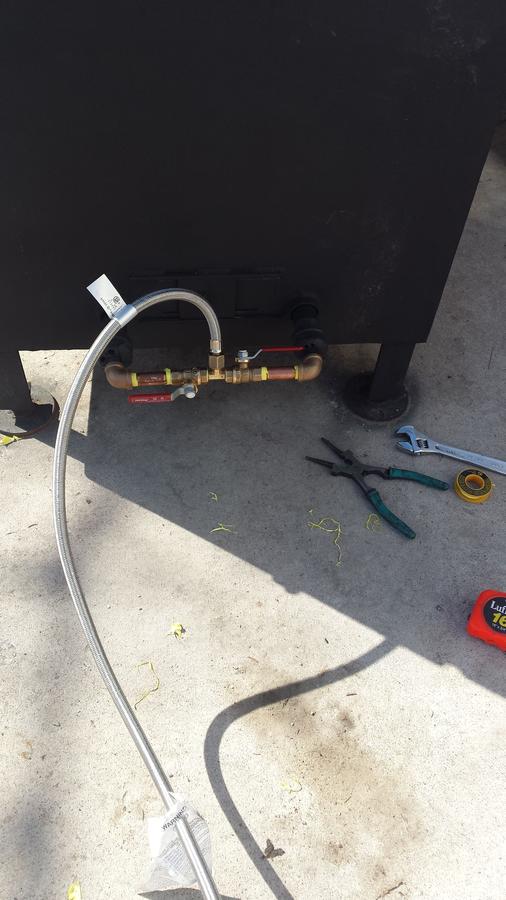
And now on to the burners!! I used 1" black pipe and standard end caps. Here is the link to where I got the instructions from!
http://www.linkswarm.com/journals/68351/making-fire-aka-boring-meep-pipe-burner-tuning/
As you can see, I had to go two different routes with the hole style and pattern with the holes in the burner. Long story, but it had to be done. I would most certainly recommend using a 1/16th drill bit and put the holes about a quarter inch appart. This ensures that when its lit, it stays lit . Either way both burners do their job.
Season the inside! Give it a good cleaning and decreasing, and then spray it down with cooking spray and run a few smokes through it.
I know I definitely missed a few things so ask away!
The design started as two separate chambers connected by a pipe but was changed mid build to one solid unit. The entire unit was made from grade 50, 11 gauge steel. The smoker is double walled with insulation inbetween. In layers from the inside out, it is the walls of the inner chambers, then 1x1x1/8 square tubing, then insulation, then outer walls. I used the highest R rated pink insulation from home depot.
This is the rough inner shell of the cooking chamber. Once tacked together and framed, all the seams were welded on both sides. The goal was to do everything possible to prevent any grease from leaking through to the insulation inbetween the walls.
This is the top chamber mostly shelled out. Insulation is in and chimney pipe installed.
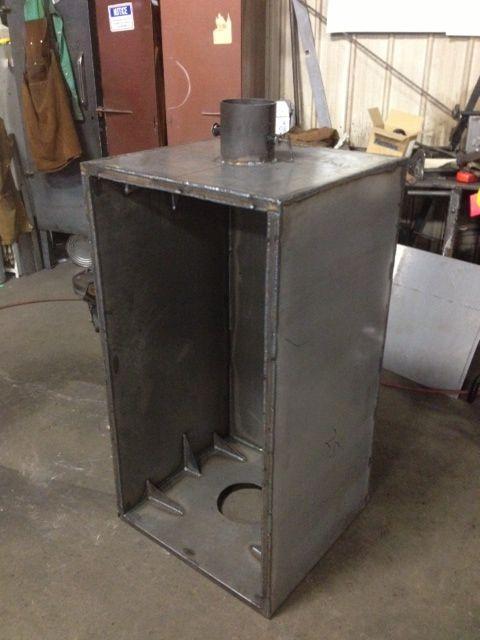
The chimney pipe and damper.
The bottom chamber after it has been shelled out.
The top chamber, prepped to be mated with the bottom chamber.
The first design was that the top and bottom chamber were to be separated by an air gap and connected by a pipe. The final design eliminated the air gap. As it sits now it goes from the bottom up, lower chamber inner wall, insulation, a layer of steel, insulation, and then inner wall of top chamber. I believe this minimalizes any heat loss between the two chambers, but eliminates any unwanted transfer of heat also. This gives the top chamber a very consistent supply of heat.
The top and bottom chamber roughly mated together.
Things have been finely tuned and the doors have been hung. Now it is time for all the bells and whistles!

The chip pan, racks, diffuser plate, and water pan have all been made. Any questions about these ask away!
Got the outside painted. DO NOT PAINT THE INSIDE LOL. The inside is to be seasoned. I'll go over that later.
And now on to the burners!! I used 1" black pipe and standard end caps. Here is the link to where I got the instructions from!
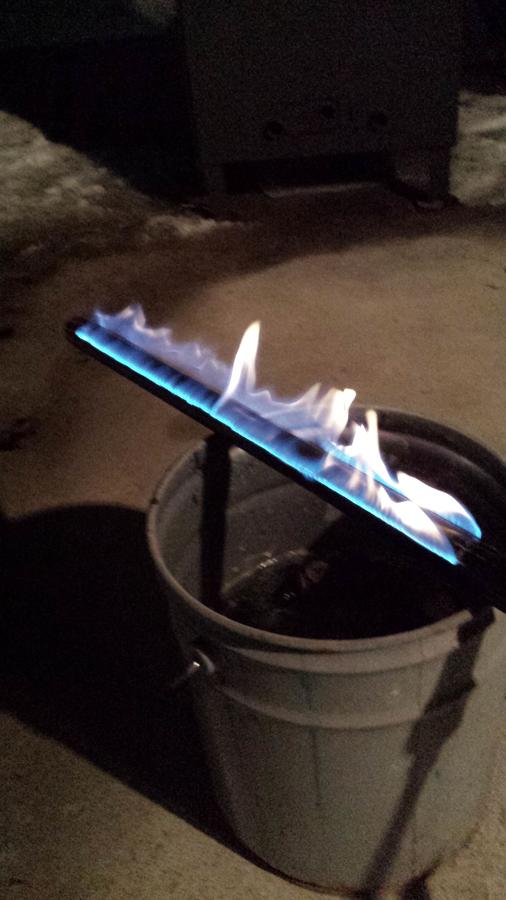
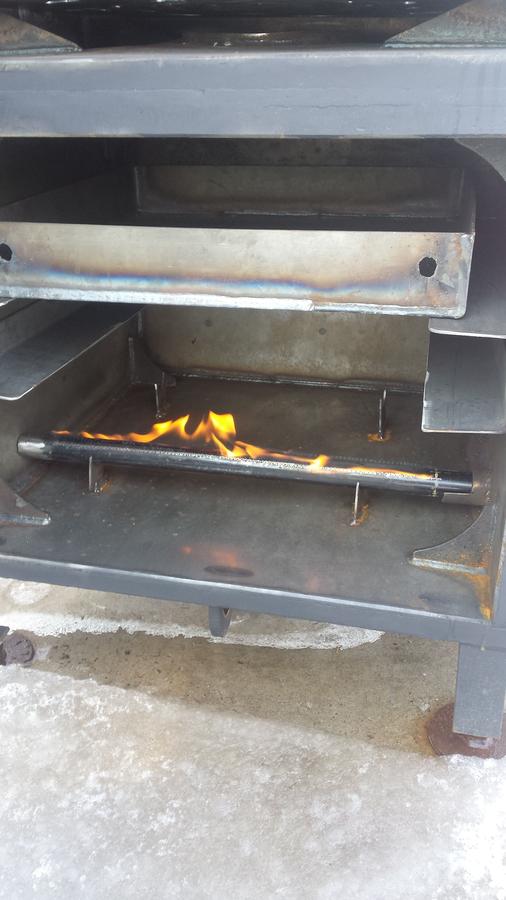
http://www.linkswarm.com/journals/68351/making-fire-aka-boring-meep-pipe-burner-tuning/
As you can see, I had to go two different routes with the hole style and pattern with the holes in the burner. Long story, but it had to be done. I would most certainly recommend using a 1/16th drill bit and put the holes about a quarter inch appart. This ensures that when its lit, it stays lit . Either way both burners do their job.
Season the inside! Give it a good cleaning and decreasing, and then spray it down with cooking spray and run a few smokes through it.
I know I definitely missed a few things so ask away!

