ZZ SMOKER
Newbie
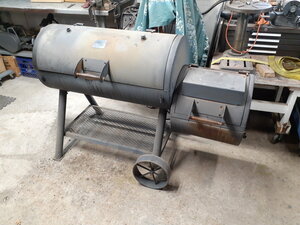
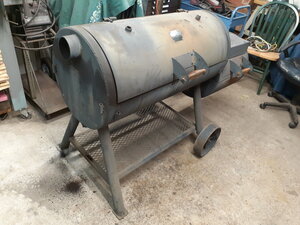
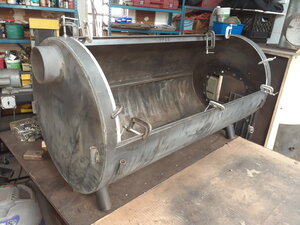
Hi all, first post in this forum. My BBQ and grilling skill's are ok but I'm new to smoking meat. I picked up a used Oklahoma Joe's Longhorn Smoker at a yard sale for $100. Planning on doing a restoration with mod's. I'm a machinist/fabricator by trade and have completed many metal projects at home. The past week I've been dismantling and cleaning the smoker.
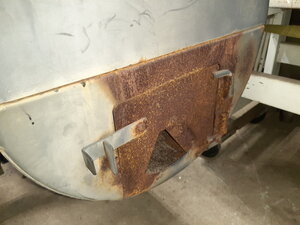
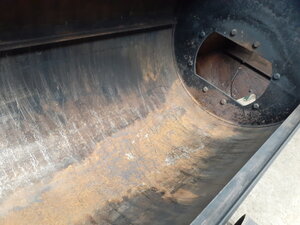
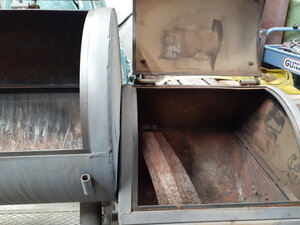
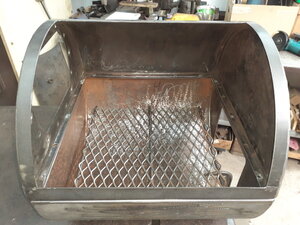
I realize OK Joe smokers are not the best quality smokers out there, but it's what I have and I'm going to try to make it perform a little better. So far I'm only in $100. The CC had a little rust in the bottom but no threw holes. The FB has a bit more rust but nothing completely rusted threw, I may have the lower part of the FB sand blasted.
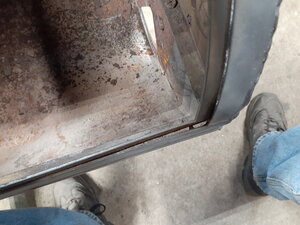
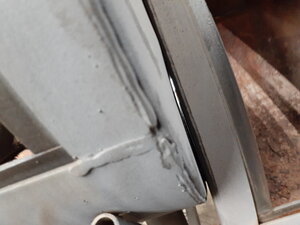
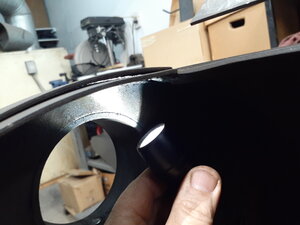
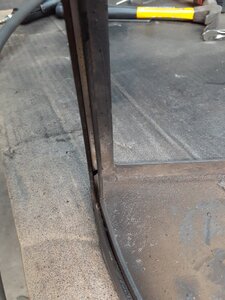
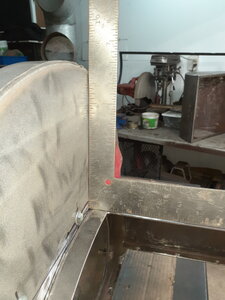
First off, my OK Joe smoker has a few problems right from the factory with poor fit up and weak welds around the FB and CC doors. There were 1/8th inch gaps between the flanges and the chamber. I may be trying to make a silk purse out of a sow's ear, but I have nothing but time right now, so I'll work on the smoker over the next month or so.
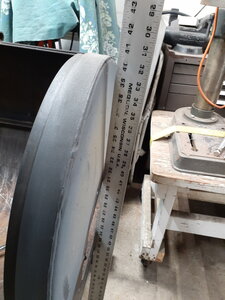
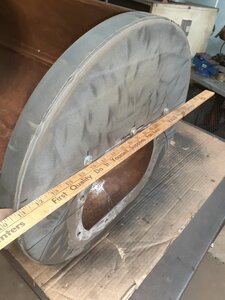
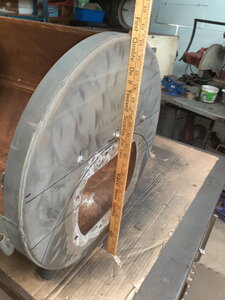
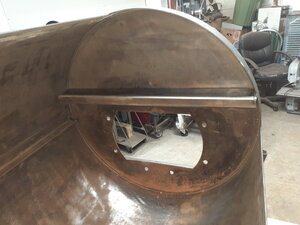
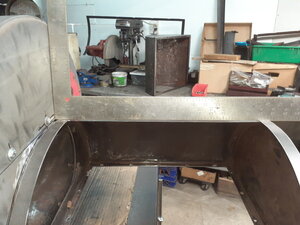
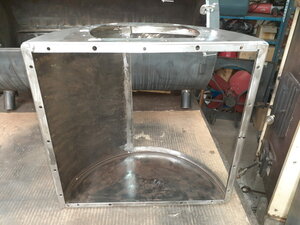
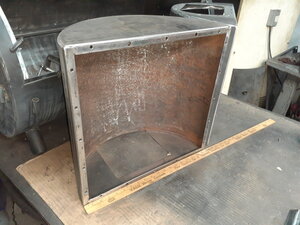
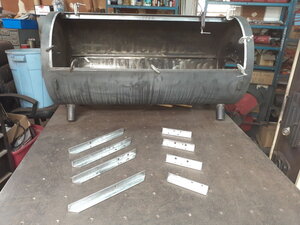
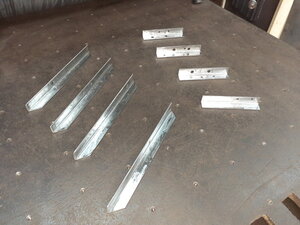
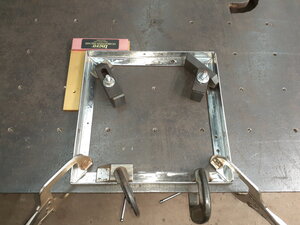
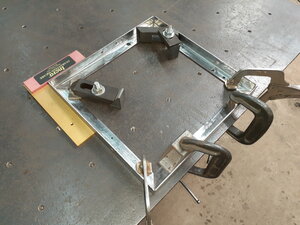
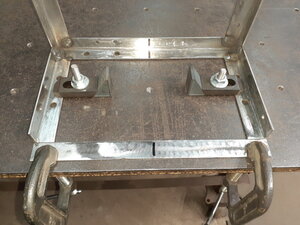
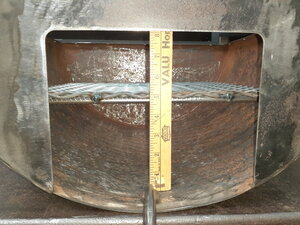
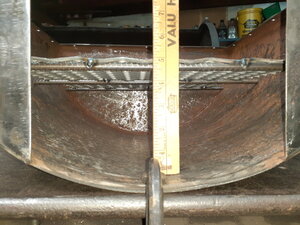
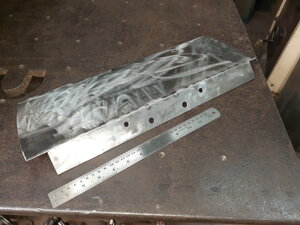
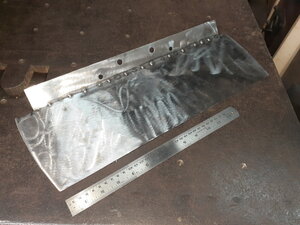
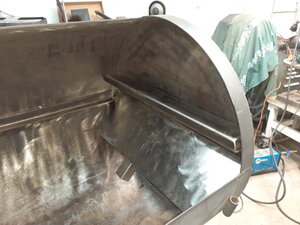
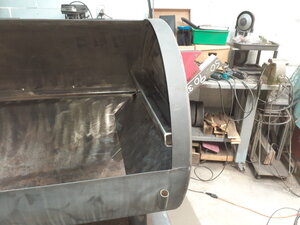
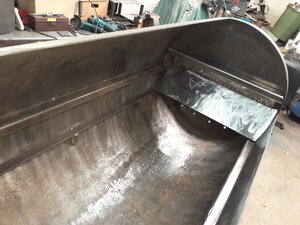
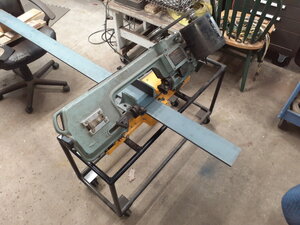
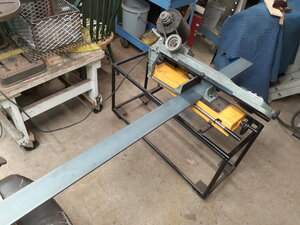
I started out by cutting off all 4 lid hinges and removing the metal strips(flanges that help the lid seal) that line the CC and the FB where the lids close. My plan is to replace the horizontal flanges with thicker straight(not warped) metal and reuse the curved/radius sections.
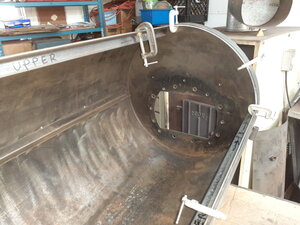
I've sanded the area's where the flanges get welded to the CC and FB down to clean shiny clean metal and plan to put sealant in between the CC and the flange and weld them in. I'm also replacing all 4 lid hinges. The goal is to minimize the leaks.
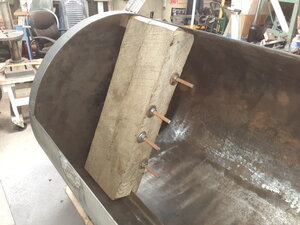
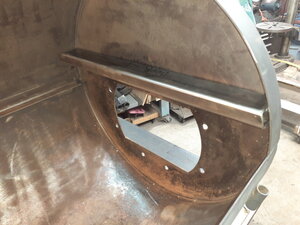
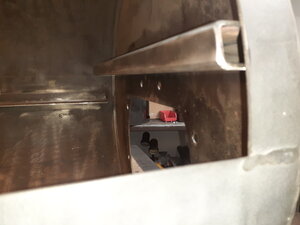
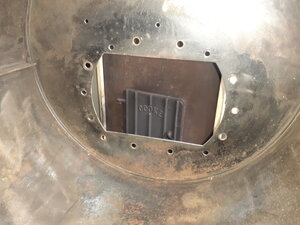
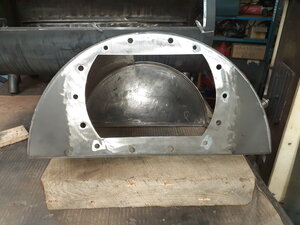
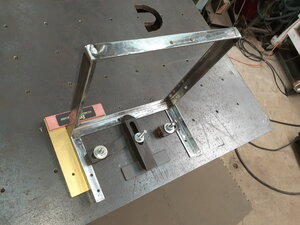
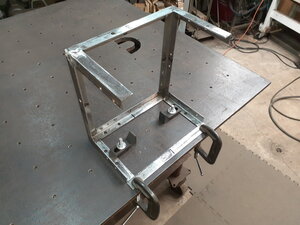
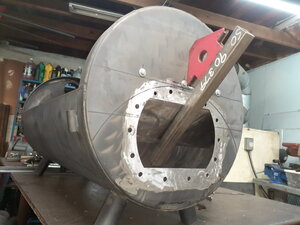
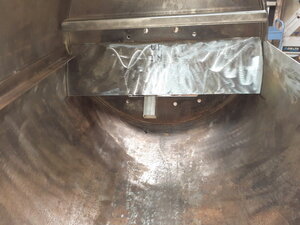
I've also drilled six additional bolt holes around the opening from the FB to the CC, lots of big gaps there. Once again sanded the two mating surfaces down to bare metal and will add sealant before tightening the bolts down. I've also drilled more holes for additional nuts and bolts between the upper and lower halves of the FB. I chose not to weld the firebox on.
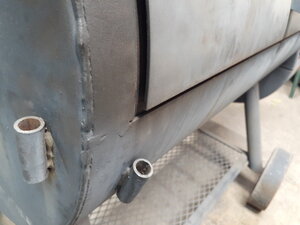
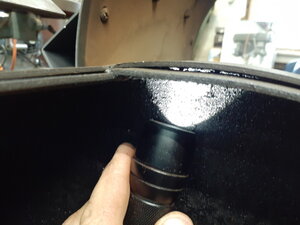
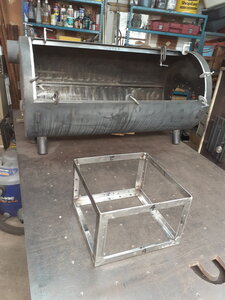
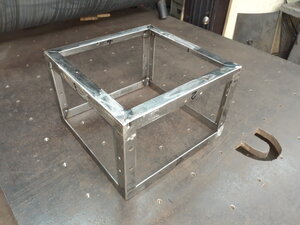
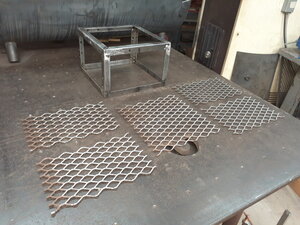
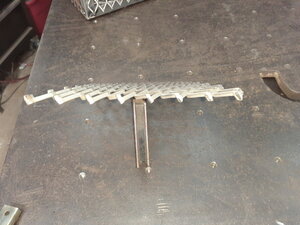
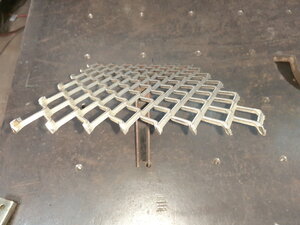
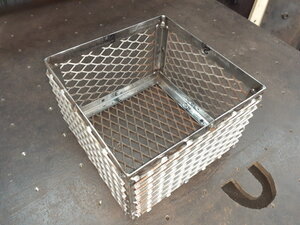
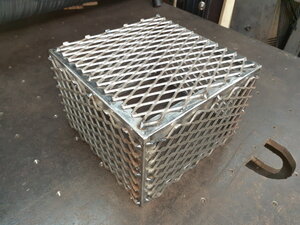
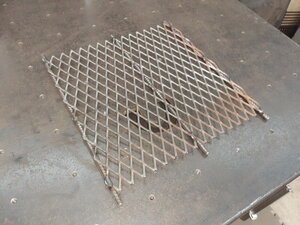
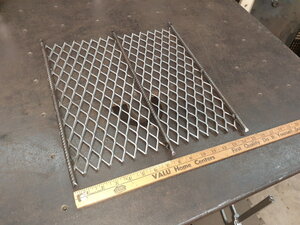
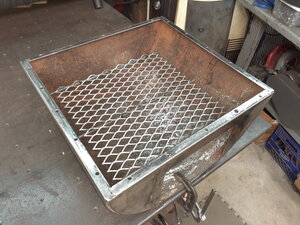
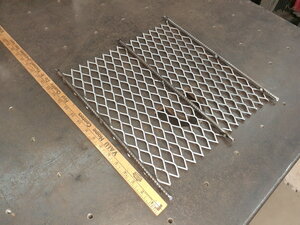
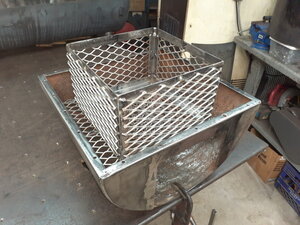
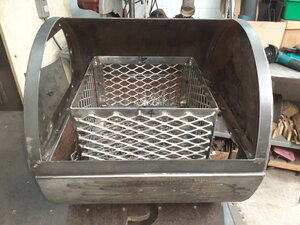
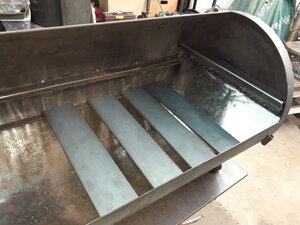
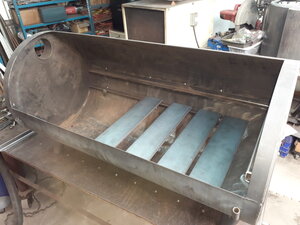
I also found a way to level out the FB(get rid of the droop). I'll explain that process later. I also cut the old FB ash door off and plan make a new one with thicker metal. Going for an air tight seal. Installing 3/8 x 4 inch steel tuning plates spaced across the CC and I'm going to move the smoke stack down to grate level. There will be toggle clamps on both lids and a fire resistant liner on the CC flanges. Also a raised expanded metal fire basket for the FB and full paint job on exterior of grill.
I've drawn it up in CAD to scale. There's a lot of great info in this forum on mod's to the OK Joe. Maybe I'm barking up the wrong tree with this build, but it's keeping me busy during the Covid quarantine. If I like smoking meat and I don't get discouraged right off the bat, I may upgrade to something a little better, or build one from scratch. Here are a few questions I have, any help here would be great. Thanks ahead of time...
(1) How far should the tuning plates be from the cooking surface/grill? I'm guessing 3-4 inches.
(2) Inside diameter of the smoke stack?
(3) Which bimetal thermometers?
(4) Which remote thermometer?
(5) Which hi temp paint for the outside of the grill?
(6) Which sealant for both lid flanges and 2 halves of the FB?
(7) I'm going with the pull type toggle clamps on both lids, which ones should I get?
(8) Which CC lid gasket and seal? I'm not putting a gasket on the FB lid, I've read that they just burn off.
I understand that all these accessories will add up. I may be better off buying a new better quality grill right from the start. I'll restore this smoker for now and see how the whole meat smoking process goes. Once again, thanks ahead of time for reading and helping out with the questions.
I realize OK Joe smokers are not the best quality smokers out there, but it's what I have and I'm going to try to make it perform a little better. So far I'm only in $100. The CC had a little rust in the bottom but no threw holes. The FB has a bit more rust but nothing completely rusted threw, I may have the lower part of the FB sand blasted.
First off, my OK Joe smoker has a few problems right from the factory with poor fit up and weak welds around the FB and CC doors. There were 1/8th inch gaps between the flanges and the chamber. I may be trying to make a silk purse out of a sow's ear, but I have nothing but time right now, so I'll work on the smoker over the next month or so.
I started out by cutting off all 4 lid hinges and removing the metal strips(flanges that help the lid seal) that line the CC and the FB where the lids close. My plan is to replace the horizontal flanges with thicker straight(not warped) metal and reuse the curved/radius sections.
I've sanded the area's where the flanges get welded to the CC and FB down to clean shiny clean metal and plan to put sealant in between the CC and the flange and weld them in. I'm also replacing all 4 lid hinges. The goal is to minimize the leaks.
I've also drilled six additional bolt holes around the opening from the FB to the CC, lots of big gaps there. Once again sanded the two mating surfaces down to bare metal and will add sealant before tightening the bolts down. I've also drilled more holes for additional nuts and bolts between the upper and lower halves of the FB. I chose not to weld the firebox on.
I also found a way to level out the FB(get rid of the droop). I'll explain that process later. I also cut the old FB ash door off and plan make a new one with thicker metal. Going for an air tight seal. Installing 3/8 x 4 inch steel tuning plates spaced across the CC and I'm going to move the smoke stack down to grate level. There will be toggle clamps on both lids and a fire resistant liner on the CC flanges. Also a raised expanded metal fire basket for the FB and full paint job on exterior of grill.
I've drawn it up in CAD to scale. There's a lot of great info in this forum on mod's to the OK Joe. Maybe I'm barking up the wrong tree with this build, but it's keeping me busy during the Covid quarantine. If I like smoking meat and I don't get discouraged right off the bat, I may upgrade to something a little better, or build one from scratch. Here are a few questions I have, any help here would be great. Thanks ahead of time...
(1) How far should the tuning plates be from the cooking surface/grill? I'm guessing 3-4 inches.
(2) Inside diameter of the smoke stack?
(3) Which bimetal thermometers?
(4) Which remote thermometer?
(5) Which hi temp paint for the outside of the grill?
(6) Which sealant for both lid flanges and 2 halves of the FB?
(7) I'm going with the pull type toggle clamps on both lids, which ones should I get?
(8) Which CC lid gasket and seal? I'm not putting a gasket on the FB lid, I've read that they just burn off.
I understand that all these accessories will add up. I may be better off buying a new better quality grill right from the start. I'll restore this smoker for now and see how the whole meat smoking process goes. Once again, thanks ahead of time for reading and helping out with the questions.