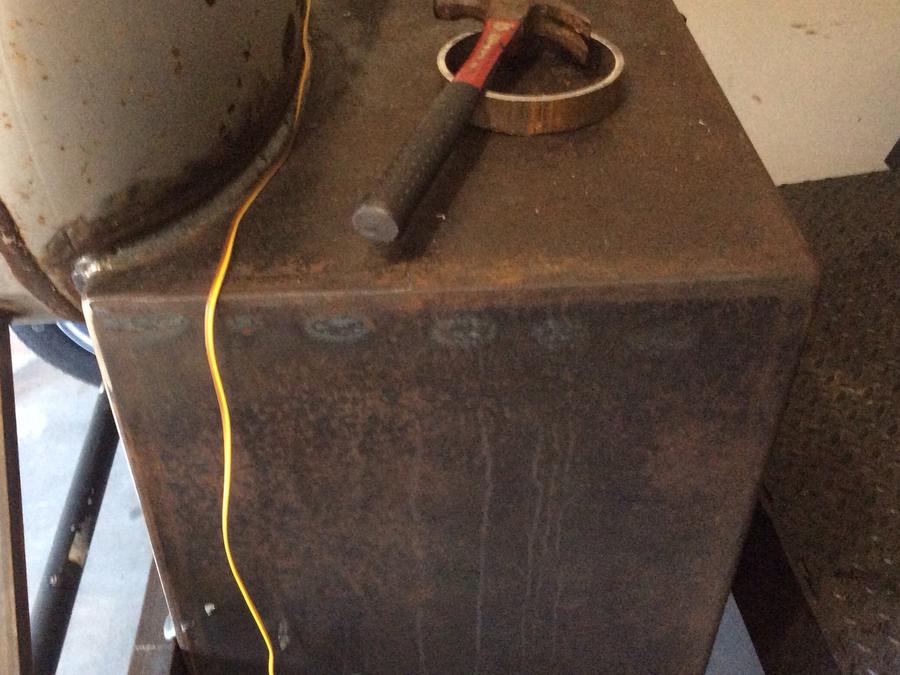
Ok, here we go.

  • Some of the links on this forum allow SMF, at no cost to you, to earn a small commission when you click through and make a purchase. Let me know if you have any questions about this.
SMF is reader-supported. When you buy through links on our site, we may earn an affiliate commission.
I actually have three different ideals for the burner design running through my mind. So I'm going to hold off cutting up the pipe just yet. A circle? An s shape caped on the end, or a m shape ? What would give me the most even flame?

Trying to decide what direction I want the flame pointing, in relation to the grease shield, and how I want to do the grease shield. So that will also effect my decision on the shape of the burner.

I'm leaning toward making a 36" x 12" to 14" rectangle ( but with rounded corners) and aim the flames slightly inward about one o'clock or so, the weld a piece of 1/4" flat bar directly to the pipe with it sloped so as the grease would run towards the outside, but place it so that the inner lip extends past the holes to protect them from drippings. But that would limit me to a single ribbon of flame, and less btu. Or I could do two lines of holes at 11 and 1 o'clock and raise the flat bar up about an inch off of the pipe and position it flat to protect both lines of holes. I've thought about angle, but just feel to be wide enough , it would trap too much heat and get too hot.

And do I want to heat the whole bottom rack, or just one side, or just the front? Hard for me to decide, and I'd really like to keep it to just one burner / burner control, with it located dead center in front of the tank level with the serving rack.

Anyway, still have plenty of other steps to complete, so I'll just push this part back a few weeks until I decide.
 
yeah, im leaning towards that, twin ribbons with sheild "top hat'ed 1" above. Probably center it in grill to stay as close to air intakes as possible.
 
 That door weight looks really cool.
popcorn.gif
 
Thanks Tobycat,

I didn't get anything really exciting done this weekend, so no new pics.

Just lined the inner walls of the firebox and made the firebox grate. And finished some weld beads here and there. Still working on the burner as we'll.

I did snag a couple of tanks, probably 1/8" wall, but clean and in good shape. I'll set them aside for maybe a couple of charcoal grills or something.

 
I wonder how that style reverse flow plate would work even if you didnt want the burner setup? Have ur drain in the middle and have all the drippings run to the center to drain? Its diferent and i like the looks and function of it. May help with my lack of tank end cap and having to use flat plate.
 
I've been doing my reverse flow pans like that for a while now, the key is to have the top of your firebox opening at the same height as the lowest point on the pan,...this along with a short deflector shield keeps the pan temperature more even along the length of the pan. Reducing the opening at the end of the pan where it enters the cooking section , holding more heat under the pan helps from loosing all you heat out of the exhaust. Then , as the heat comes out from under the pan, it's allowed to flow freely out a oversized exhaust, giving a cleaner flavor to the food. More like an open pit.

That's pretty much the basic design theory I try to use in my pits,

 
This has sparked my interest in a design ive never seen. Im gonna need some help figuring dimensions on my cook chamber tho. As far as how much from sides to center. My opening is going to be higher then the lowest point cause of how i designed my firebox BUT by the time i do the downward angle and add the additional baffle with air gap i should be right on point. And my exhaust is slightly oversized so with your theory it should work to my benefit as well.
 
Most, even the top name builders , count on the reverse plate to eliminate the hot spot at the firebox end of the cooking chamber. Problem is , they almost always install the reverse flow plate directly even with the firebox opening. As the air enters the bottom portion of the chamber, it has to turn right where it hits the plate. And anywhere hot air is forced to turn direction, it will create a hot spot, just like a river will eat away the bank everywhere it's forced to turn. You got to keep that in mind when designing the cooker and grab every bit of that heat and put it where YOU want it to be, and not where you don't.
 
If you look at my current build, ( closely at the weld marks) the open is quite a bit lower than the reverse plate, the firebox is double plated , with the plate installed at an angle, the there is a 6" defector plate installed even with the lowes point of the reverse plate.

 
Hoping it will help that my firebox has 2" of insulation everywhere too. Thats another reason it looks like my firebox is way high.
 
The area between the deflector and the pan is wide open from the bottom side, and bottle necking the opening at the other end of the plate should allow the heat to build up and even out underneath the reverse plate .

Using the calculator, I find the minimum size opening from fire box to cook chamber, and go about 20 % larger at the firebox! but only about 5 to 10 % larger at the other end of the plate. So as you can see, I'm not really trying to restrict the air flow, more like I'm letting more heat into the bottom of the chamber. With a normal reverse plate set up, this would make a huge hot spot, that's why I need so much off set.
 
Yeah, you got a nice set up started there, you should think about doing something similar with the pan. Just be careful of going too extreme with it or you might end up with what I call cold start issues ( where it's hard to get the air flowing right until the cooker heats up) due to so much horizontal air flow. That's why I go with such a tall firebox, .

Are you only putting the vents in the door?
 
Here is how im looking at doing mine but thinking of incorporating ur angled to center style.

Red is my firebox inlet and firebox to cookchamber inlet.

Green is reverse flow plate.

Blue is added deflector plate with 1" air gap.

Sorry dont mean to hijack ur thread with my build stuff. We can carry it over to my thread if you want.

vava5u7e.jpg
 
Can you put insulation in the deflector as we'll? You going to have air hitting it from both directions.

Also, if you don't mind a suggestion, my gut tells me it might could have some cold start issues.


Install a way to add some air directly under the center of the fire would help. Even just a 2" piece of pipe could be easily added with the help of a hole saw. Make cleaning out the firebox easier as well.
 
Looking at it again, with the angled to center pan, it would give it better air flow because it's higher at the front and back,.....I think you definitely should go with that style.
 
Well the grate level in the firebox will be halfway between the top and bottom of my inlets holes. Itll have 5 2x3 openings for inlet.
 
Yeah i think definitly gonna go that way with the sunken center piece. And yes i can insulate the deverter plate as well. Have plenty of insulation left over.
 
I buy this foam board at staples for like $6.00 a sheet. Works very good to make your patterns and a lot easier to fit than the steel plate. Cardboard works as we'll but tends to curl up at the edges, making it harder to be exact on your pattern. Foam board is close to 1/4 thick as we'll.

Good luck, looks like your going to have a really nice cooker when your done.
 
SmokingMeatForums.com is reader supported and as an Amazon Associate, we may earn commissions from qualifying purchases.

Hot Threads

Clicky