Most newer trucks have the backbone of the wiring installed at the factory. Usually there is a plug under the dash and the wires run to a bundle and taped off near the back end. You just buy the correct pigtail to go between the Prodigy and the plug under the dash and wire up the 7 pin plug in the back. Any U-haul or RV trailer store will be more than happy to wire both the truck and the trailer for you and the price should not be too steep if you are not comfortable doing it yourself.
If your truck already has a hitch it should have at least the wiring for the lights installed. You may only need the controller and the pigtail (it just depends on what you have though).
I have the original Prodigy, and I think they have two newer versions available now. They are proportional controllers, which means they apply breaking power proportionally to the rate of vehicle deceleration. Or if you slam on brakes because a car pulled in front of you, it will apply much higher braking force than if you brake normally. Here is a link to their Prodigy P2 which looks like the replacement for my 11 year old Prodigy model. They have some video clips there which might make the operation clearer.
http://www.tekonsha.com/content/products.aspx?lvl=3&parentid=1400&catID=1435&part=90885
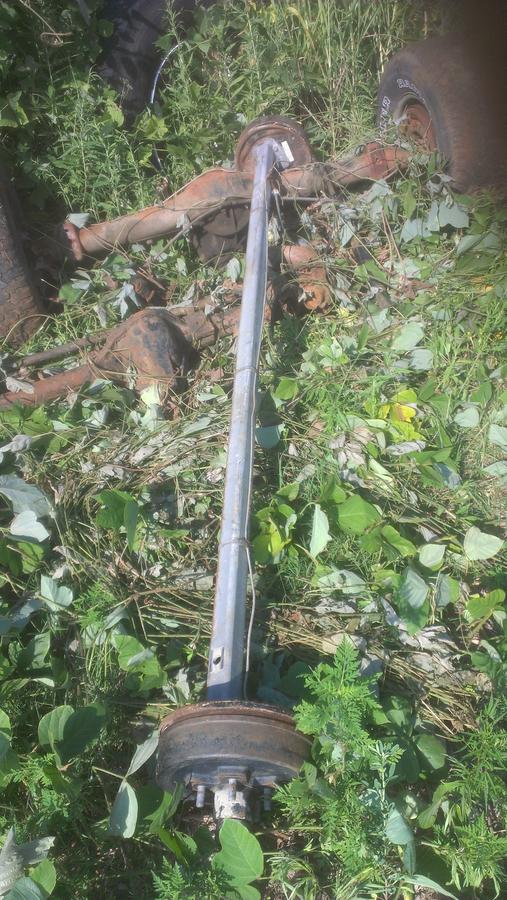
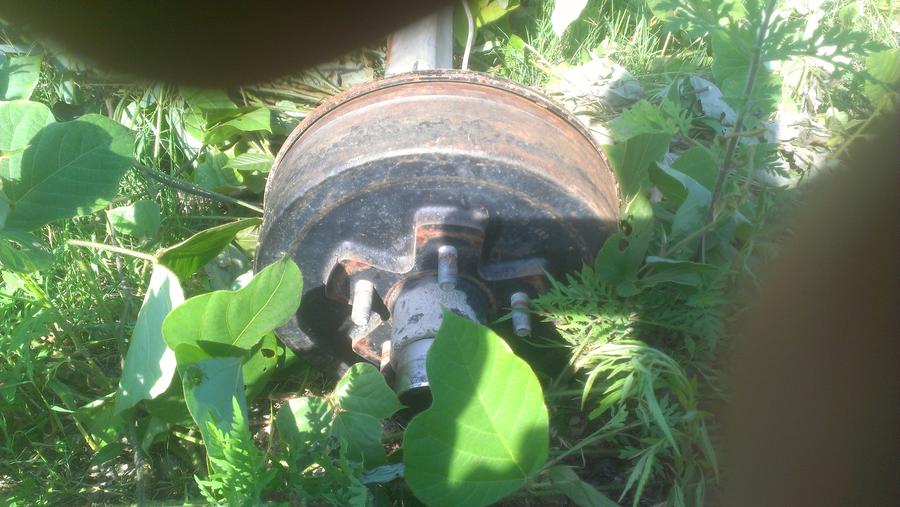
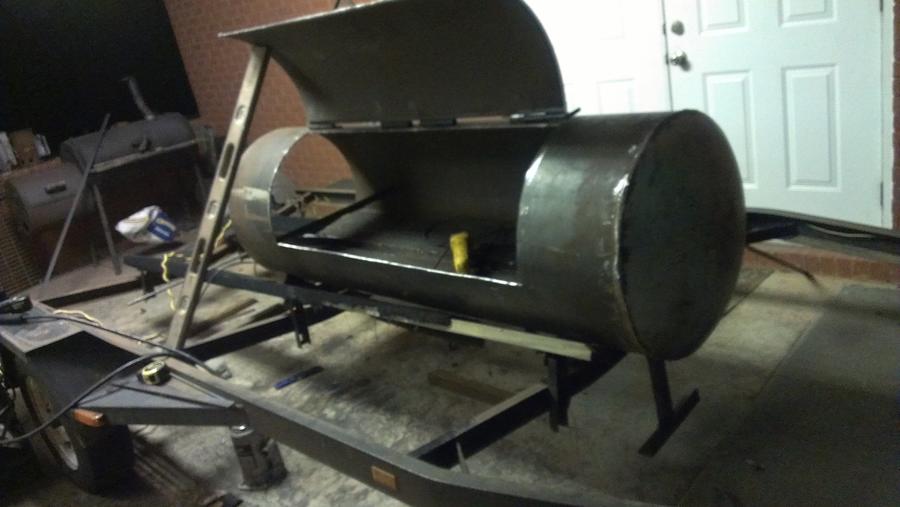
As to those two axles, you need to check the width to make sure they will work with your trailer. And you do know you will have to completely redesign the suspension and spring setup for the modified trailer with two axles from what you have now. Depending on how much of the brake system in those hubs is still good you may be better off to just buy a trailer or pay someone who does this for a living to modify your trailer. It just depends on your comfort level since you did not seem too sure about wiring.