Hi all,
I've been on these forums for about a half year now and I have to thank everyone for all the knowledge that gets passed around. The advice is great and all the recipes look tasty. I'm most surprised about all the questions which bring up things I never considered.
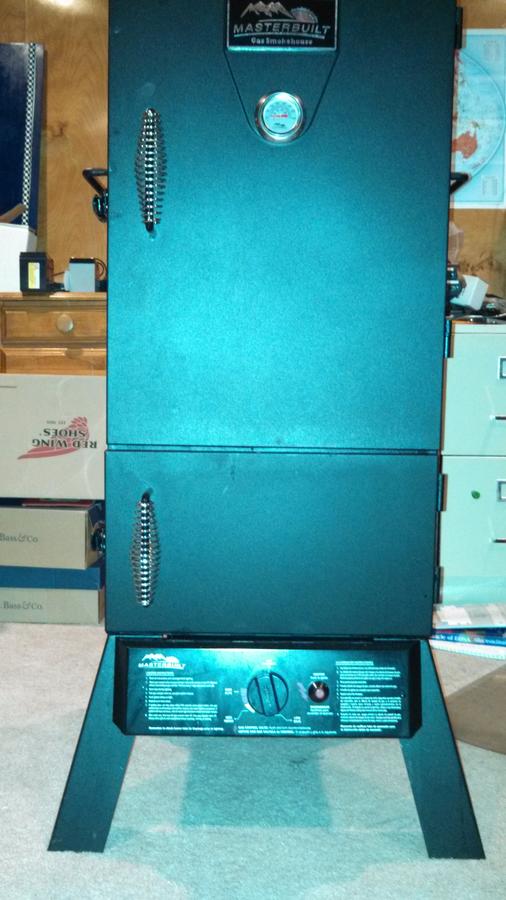
That said, my wife asked me to smoke something for our super bowl party this past weekend. Up until now, I've only smoked meat for me, her, the kids and 1 daring co-worker. I've pretty much been playing it by ear, using a nearly accurate meat probe and fighting the temp valve to no avail. So, I took the opportunity to prepare my Masterbuilt Dual Door smoker for my first real party.
I bought the Maverick ET-732 unit as well as the Bayou Classic Needle valve. Both are well worth the money. In addition I bought a lot of brass fittings, most of which, I now need to return to Home Depot as I wasn't quite sure what I needed when I bought them.
So here are some before and after pics of the needle valve install. I don't recall seeing anyone install it this way and I think it looks pretty clean. I checked for leaks afterwards and only had one small adjustment to make.
Step 1: Bring Smoker downstairs to work on it inside.. IT'S FRIDGID IN MICHIGAN!!!
Step 2: I decided on the valve layout and fitted it together. (Note the yellow gas tape. you guys probably already know this, but just in case. White tape will not hold up to gas) Only tape the iron pipe fittings (non rounded ends).
Step 3: All fit in.
Step 4: I tested the installation outside using radiant leak detector (thanks dad). If you don't have access to it, you can always use a bit of dish soap and water. I only had to tighten the bottom part of the flare nut (top right fitting). The smoker is sitting just out of reach of the elements. Ready for smoking in the sleet and ice and snow!
Notice the Maverick thermometer on top of my welding gloves.. If anyone knows of a nice way to hang it off the smoker handles, please let me know, and thanks again for all the advice.
By the way, I smoked a Boston Butt following Meowey's Basic Pulled Pork recipe and used SoFlaQuers finishing sauce recipe. It was the best meat I've ever made. I took the leftovers to work today and it was still a hit a few days later.
Thanks again guys!


