I've read with interest @TJohnson's thread about fast curing BBB, and thought I'd try his technique to make some pulled ham. I started with a 13 pound sleeve of pork cushions I got from Gordon's.
East sleave has 4 small cousions.
I selected the largest two for the ham, and the smaller two I just cooked for pulled pork sandwiches.
Todd said to slice a pork butt into 2" slabs for the bacon, so I did the same. The cousions were only a little over 4" at their thickest point,so I sliced them in half, keeping the matching tops and bottoms together. I then mixed the cure. I weighed to two matching slabs and used digger dogs calculator to figure the amount of cure#1 and salt to add. I put those into a 32oz salad dressing plastic jug and added an out 2" of maple syrup then fill with water, put the lid on and shook.
I then injected both slabs. Todd said to inject with 1/2 of the solution, but I couldn't get my little roasts to hold that much.
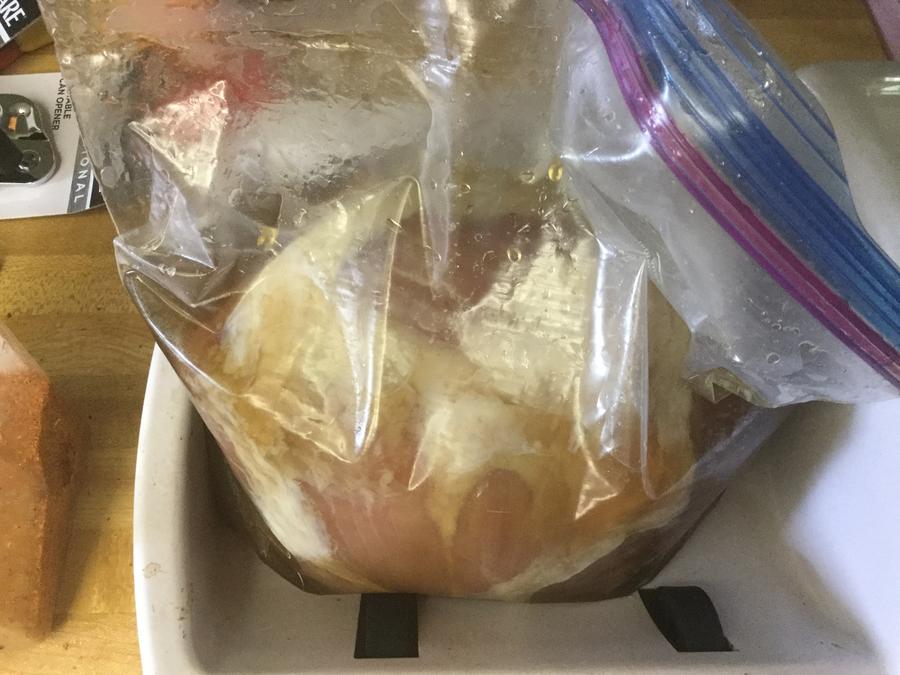
Then into the vacuum tumbler for 4 hours, then into zip lock bag and into fridge overnight.
I repeated all of this for the other chunk of meat.
The next day I rinsed the pieces off real well under running water. I did not soak them. I then reassembled the slices with butchers twine, slathering the inside surfaces with honey. I also drisled honey over the outsides a few times durning the cooking process.
Since the day was quickly passing by, I decided to smoke them at 275* in my MES with Pitmaster Choice pellets. I put both ham roasts and the plain roasts into the smoker on trays 2&3, switching the trays about half wat through. About 5 1/2 hours later they were at about 200* and done.
I sliced them across the grain about 1 1/2" thick, then Shredded the slices by hand.
I had actually foiled them (with honey and butter) for the last couple of hours, so I added the foil drippings and some beef broth to the shredded meat. The flavor is great! These cousions were the leanest I've ever gotten, so they all came out a tad dry, probably helped along by the higher temp. But the nice thing about shredded meat is that it's easy to rehydrate. [emoji]128515[/emoji]
I'm happy with the results, but now that the test is over, I think next time I'll use a butt.
Oh! Out of the 13 pounds of raw meat, I ended up with 7 pounds of shredded meat.
East sleave has 4 small cousions.

I selected the largest two for the ham, and the smaller two I just cooked for pulled pork sandwiches.

Todd said to slice a pork butt into 2" slabs for the bacon, so I did the same. The cousions were only a little over 4" at their thickest point,so I sliced them in half, keeping the matching tops and bottoms together. I then mixed the cure. I weighed to two matching slabs and used digger dogs calculator to figure the amount of cure#1 and salt to add. I put those into a 32oz salad dressing plastic jug and added an out 2" of maple syrup then fill with water, put the lid on and shook.
I then injected both slabs. Todd said to inject with 1/2 of the solution, but I couldn't get my little roasts to hold that much.

Then into the vacuum tumbler for 4 hours, then into zip lock bag and into fridge overnight.

I repeated all of this for the other chunk of meat.
The next day I rinsed the pieces off real well under running water. I did not soak them. I then reassembled the slices with butchers twine, slathering the inside surfaces with honey. I also drisled honey over the outsides a few times durning the cooking process.

Since the day was quickly passing by, I decided to smoke them at 275* in my MES with Pitmaster Choice pellets. I put both ham roasts and the plain roasts into the smoker on trays 2&3, switching the trays about half wat through. About 5 1/2 hours later they were at about 200* and done.
I sliced them across the grain about 1 1/2" thick, then Shredded the slices by hand.


I had actually foiled them (with honey and butter) for the last couple of hours, so I added the foil drippings and some beef broth to the shredded meat. The flavor is great! These cousions were the leanest I've ever gotten, so they all came out a tad dry, probably helped along by the higher temp. But the nice thing about shredded meat is that it's easy to rehydrate. [emoji]128515[/emoji]
I'm happy with the results, but now that the test is over, I think next time I'll use a butt.
Oh! Out of the 13 pounds of raw meat, I ended up with 7 pounds of shredded meat.

