Lakeeriesmoker
Newbie
- Apr 23, 2020
- 8
- 4
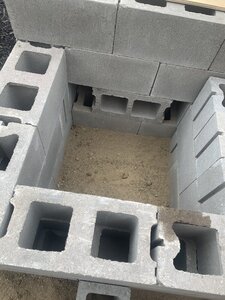
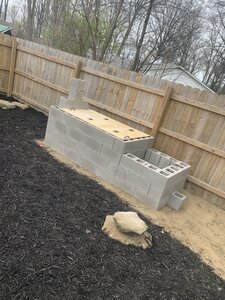
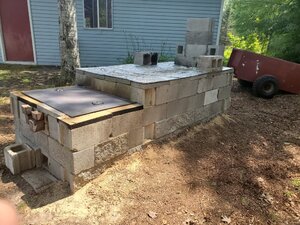
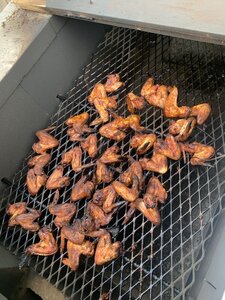
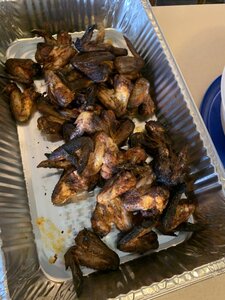
Ok so i have always used an electric smoker and decided to try something new. I wanted to buy a real nice trailer smoker but the wife was not going to allow that. I came across plans for a concrete brick smoker and said why not try it. 2 days later it’s done and I’m waiting to pick up the expanded steel grate and steel plate for the fire box with in the next day. I also still need to get the concrete block caps.
I’m debating on ordering a steel plate for the top of the pit also. Right now it’s plywood with a plan to add a heat shield to it but i can not find anything that would work.
has anyone ever used this design? I have seen quite a few and then seem to work great.
I need to get fire brick to line the sides of the fire box but other then that i cant think of anything else.
Any insight would be awesome!