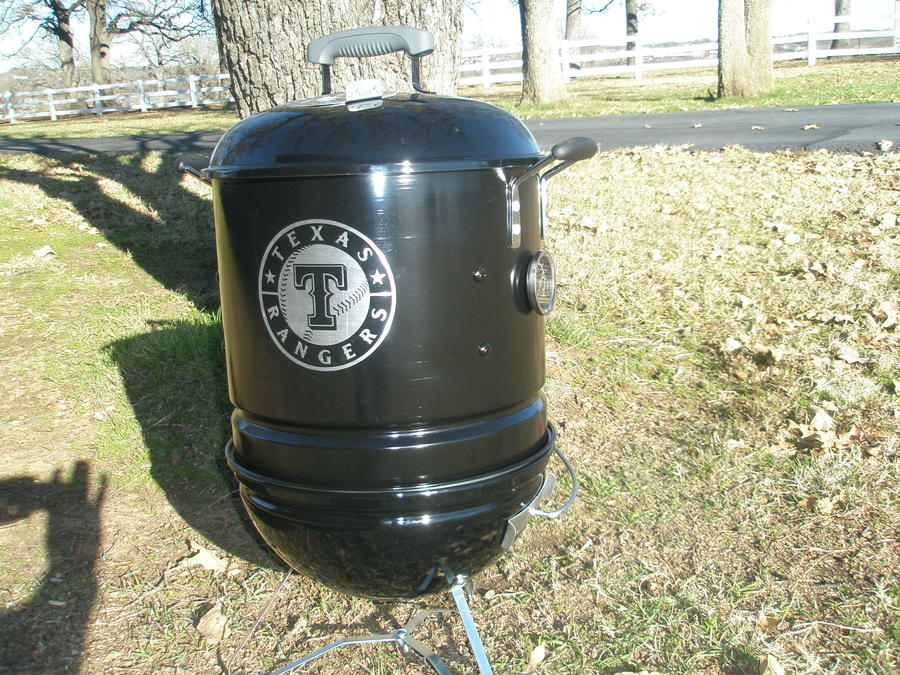
I've started my build this evening while waiting on a brisket to cook on my MES. I thought I'd post QViews of what I have done so far. I'll be sure to show the completion of my unit. Special thanks goes out to all the folks on this site for the assistance and motivation to start this little project.
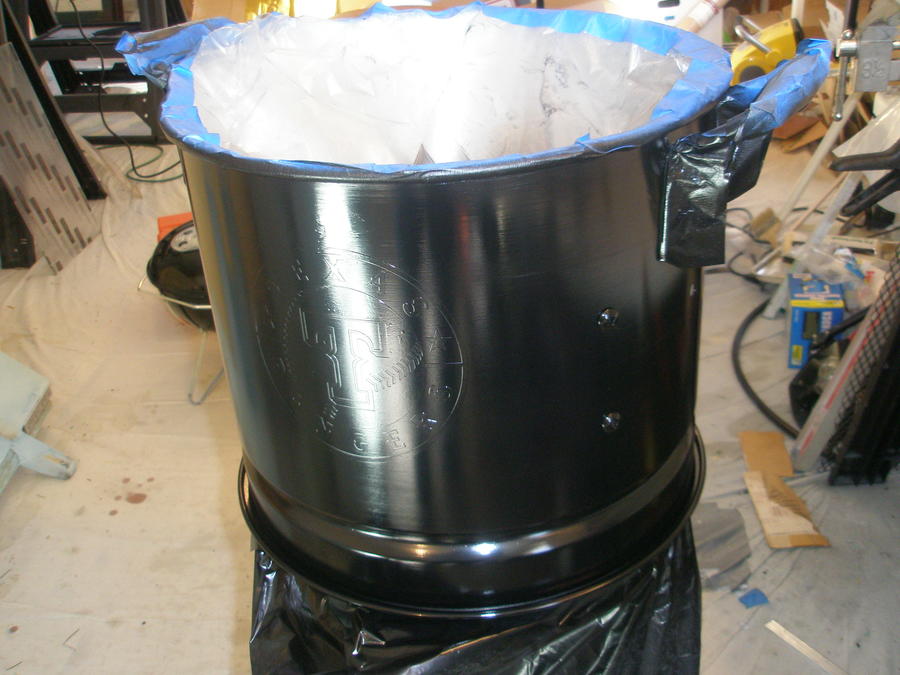
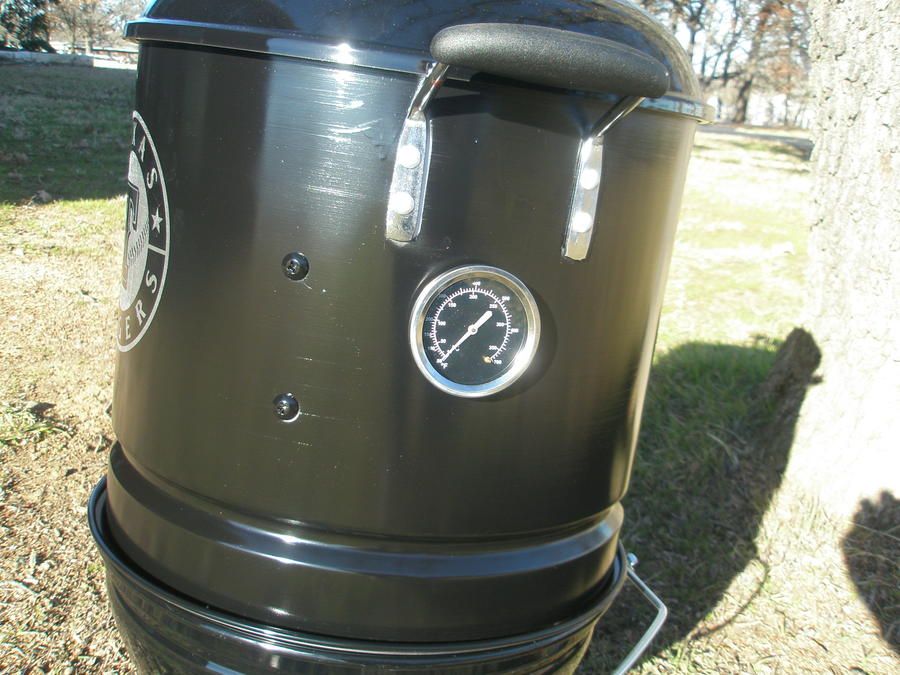
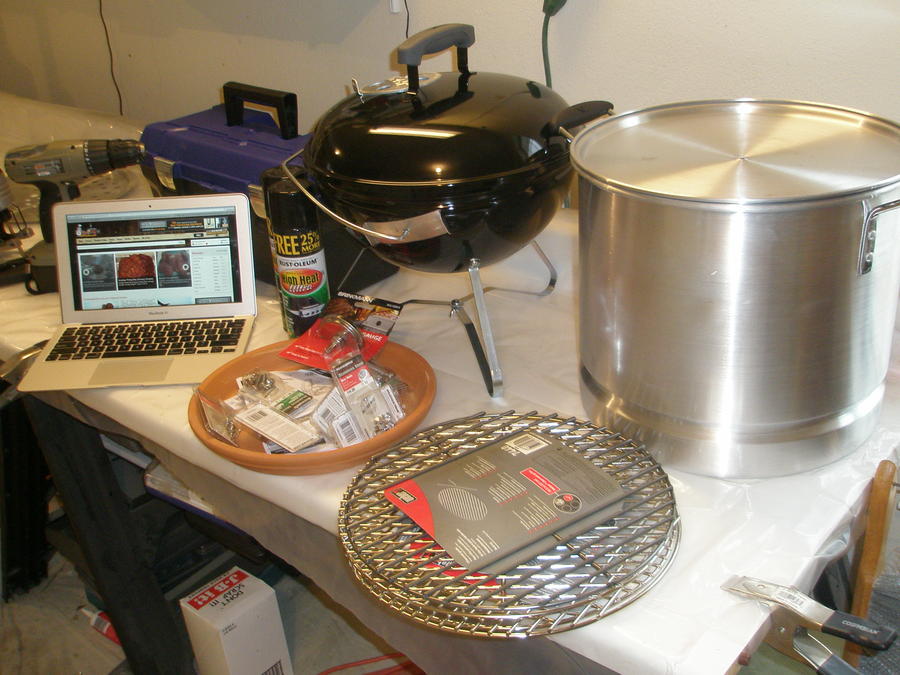
With the advise of others I chose the Smokey Joe Gold unit and the Vasconia steamer pot. Stainless hardware, thermometer and expanded steel sheet was all bought at the local big box home improvement store. I'll be more specific about the hardware as I go though my build process.
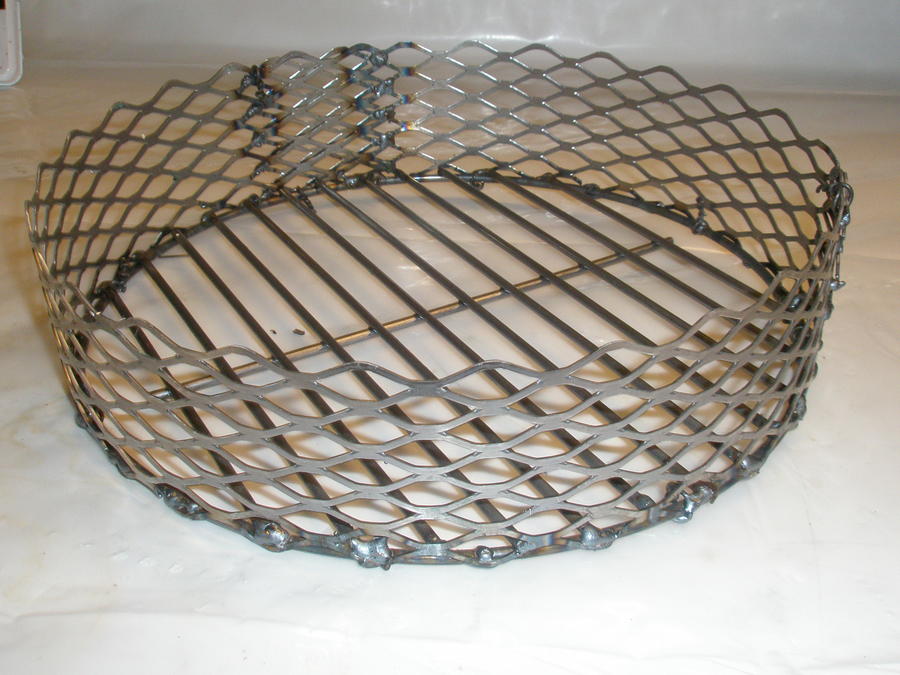
The first thing was to build the charcoal hopper. This is done by using expanded wire and cutting it to the 3" height. Wrap the Exp wire around the charcoal grate supplied with the Smoke Joe. I used rebar twist wire to hold it in place. ….Which would have been fine and held well. But my brother in-law has a welder close by so I asked him to spot weld the wire in place.
Some folks are attaching the lid of the Vasconia pot to the base. It fits perfectly on the lower half of the Smokey Joe. Doing this raises the pot about and inch higher and that will allow 2 things.
1 gives you a bit more room for charcoal in the lower half of Smokey Joe
2 gives you more area inside the pot to add another grate level if you would like.
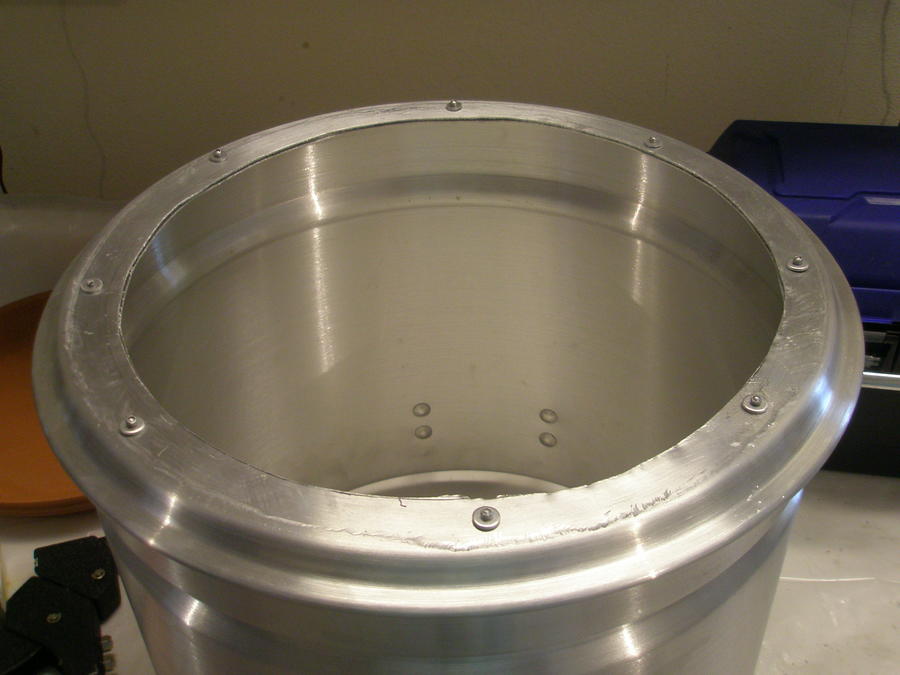
Some folks drill holes in the bottom of the pot and other simply cut the bottom out leaving about a 2" lip all the way around. I'm going to cut mine out.
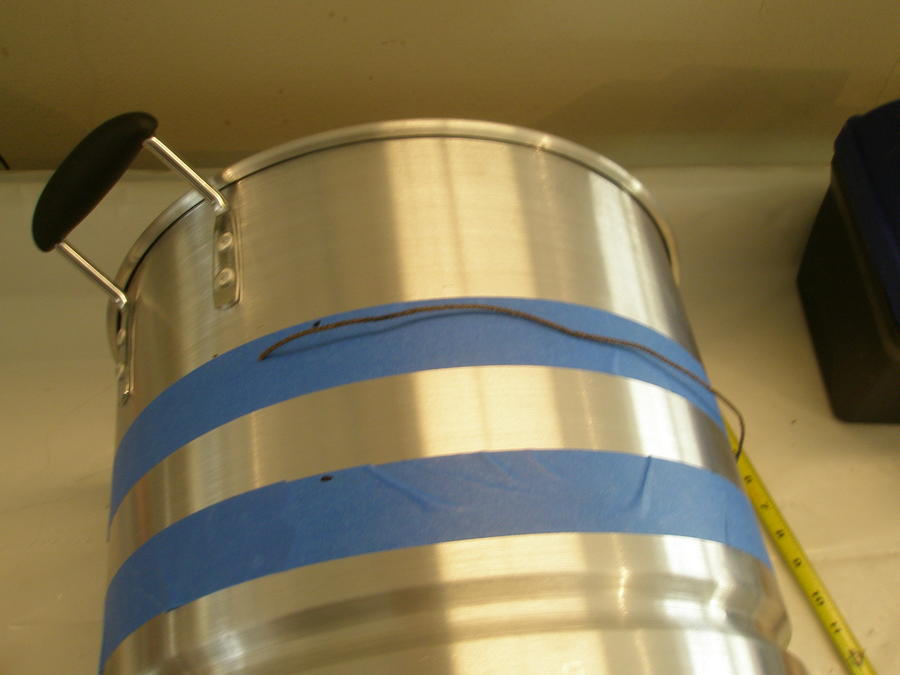
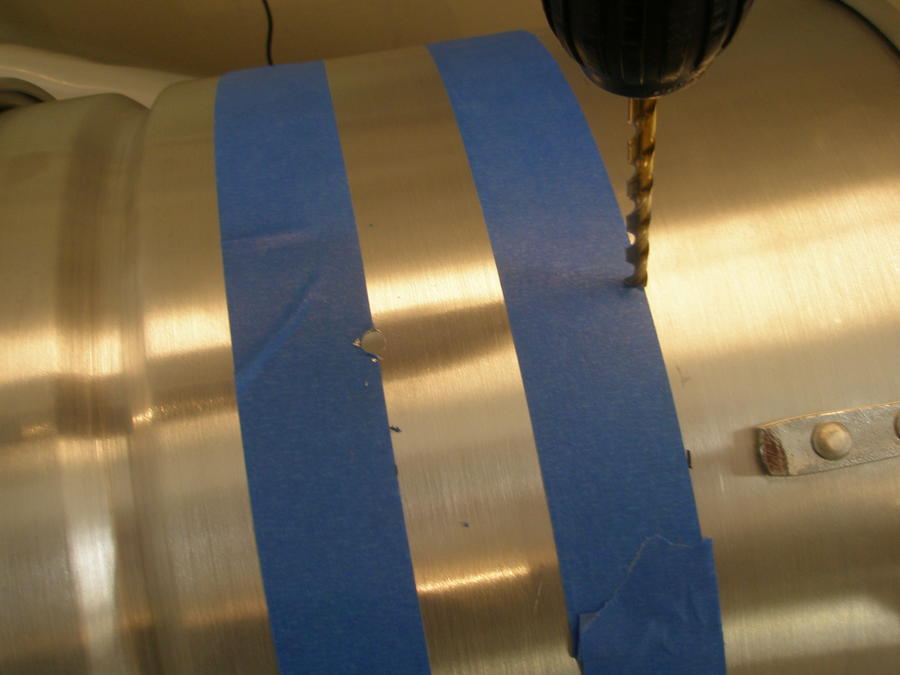
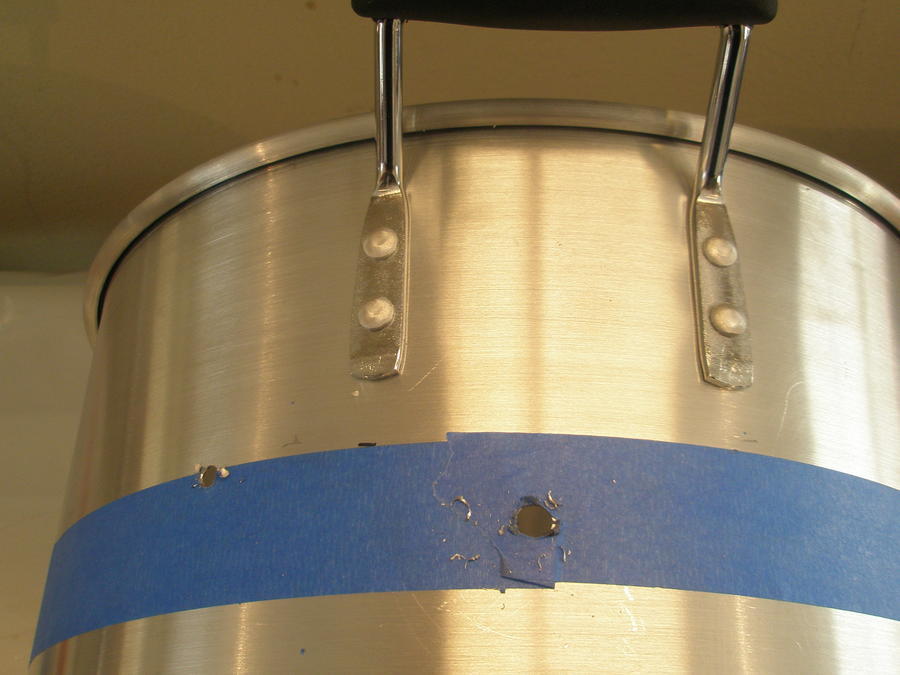
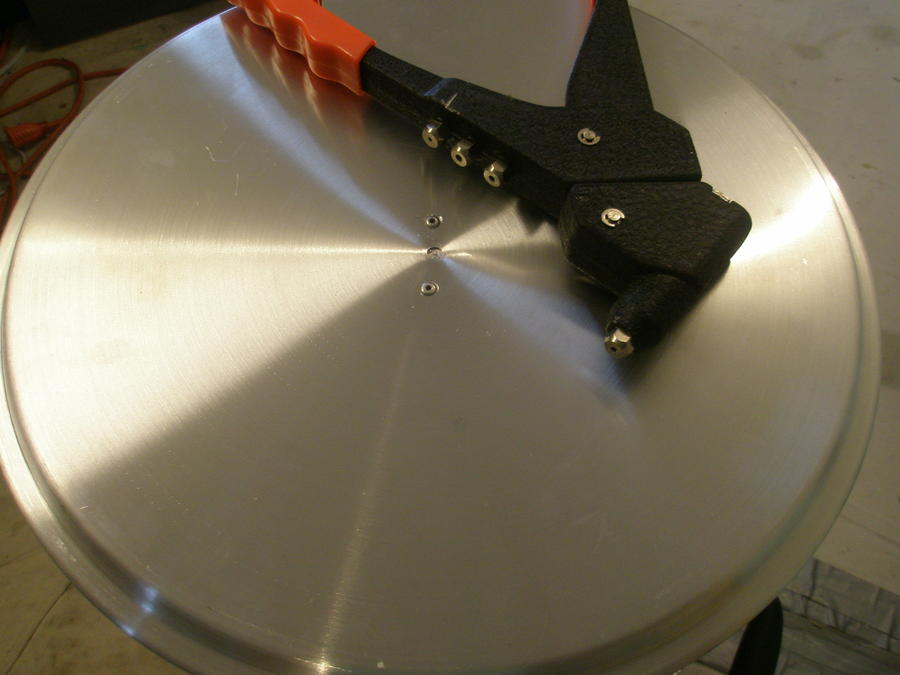
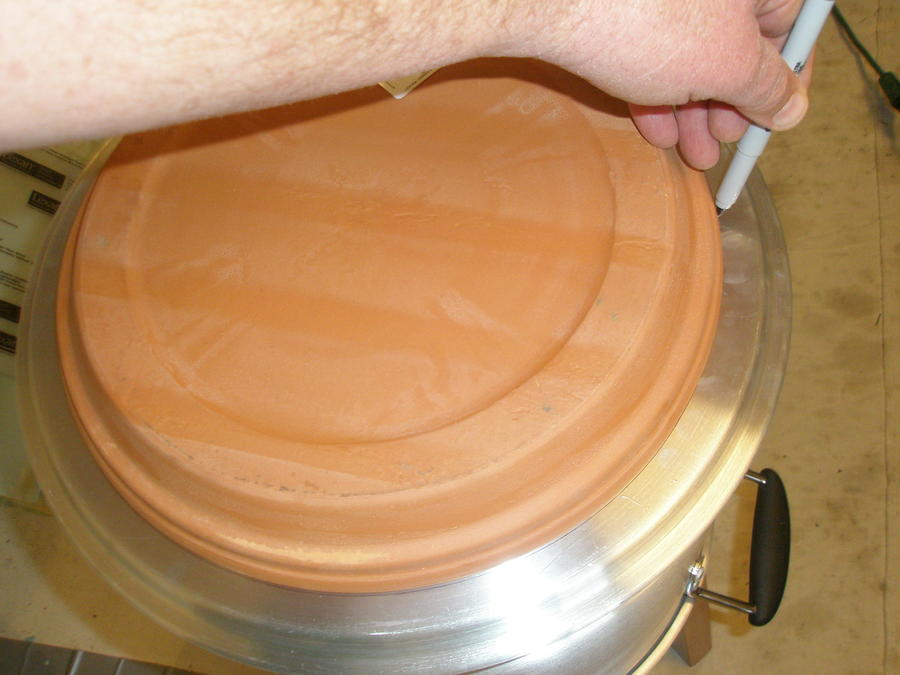
To only cut once I temporally pop riveted the lid to the bottom of the pot and drew my cutting circle.
Turn the 12" terra-cotta saucer upside down and us it as the template for your hole. Draw you cutting line with a pencil or sharpie.
After the bottom and lid are cut out I pop riveted the lid to the pots bottom lip.
i've read that sometimes the terra-cotta saucers ( used as a heat defuser) might crack if the base is not supported evenly. Because I want more room in my smoker I wanted to lower the terra-cotta defuser as much a I could. I didn't like the idea of bolts holding up the defuser. I wanted something a bit more solid.
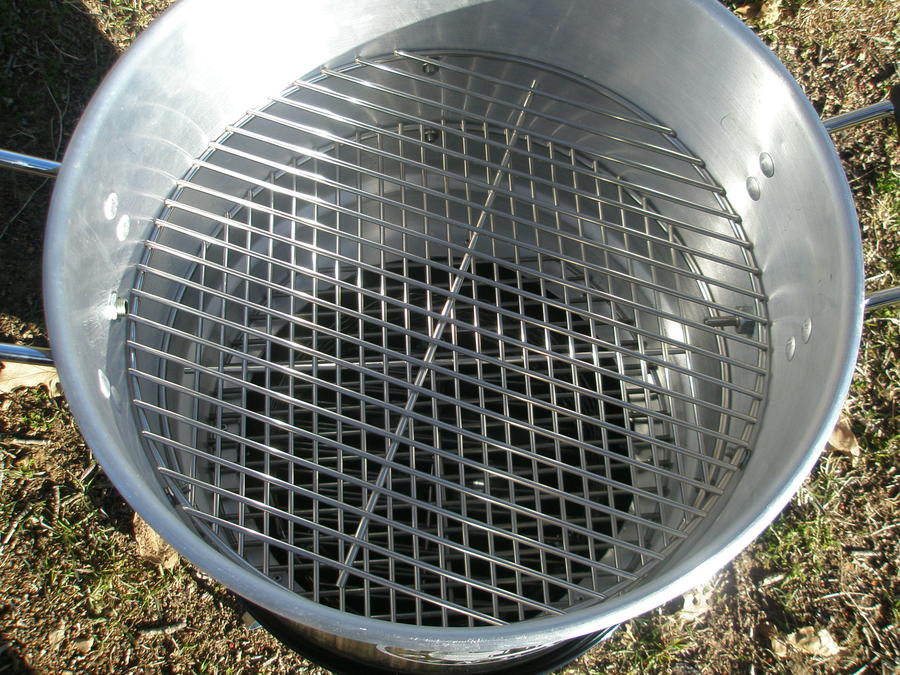
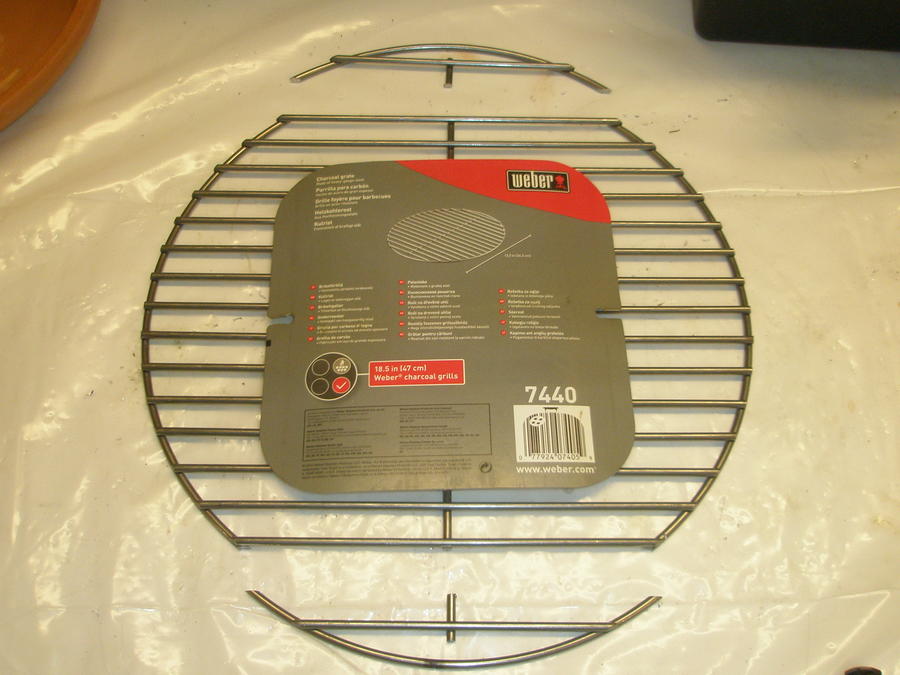
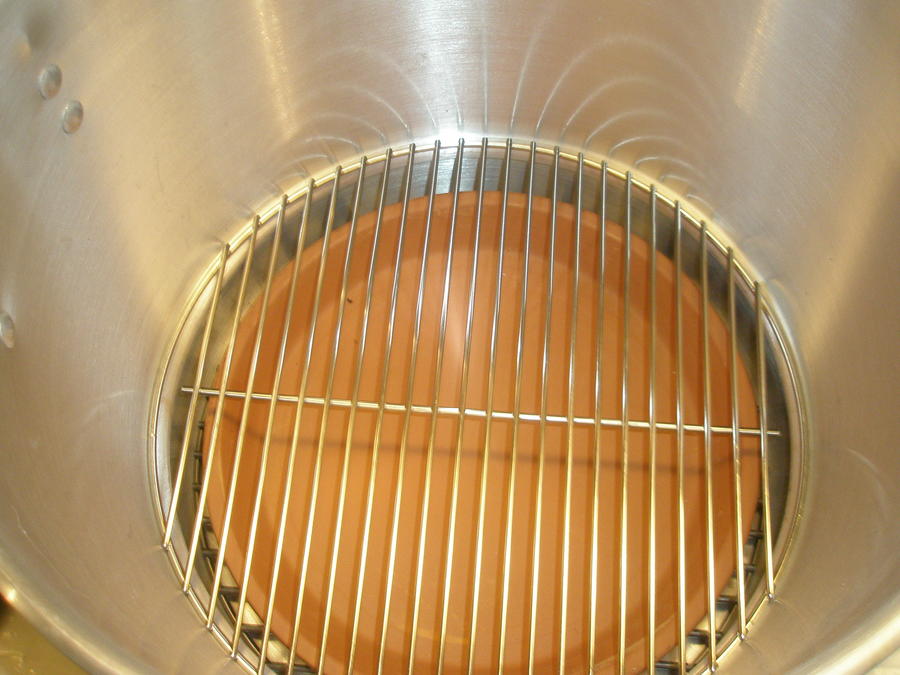
I bought a charcoal grate for a weber 18" kettle part #7440 (About $8) and cut the ends off so it would pass through the pots steamer plate ridge. You will want to cut the grate at the second cross bar as below. This creates a super strong and sturdy base for the smoker chamber.
The grate sits inside on the bottom lip of the pots bottom. A lot easier than drilling holes. Fast and simple.
Bottom grate in place with terra-cotta defuser in place.
With the grate in place and the terra-cotta defuser in this lower position there is now plenty of clearance in the pot for multiple levels of grates or grate adjustment.
As you can see with the terra-cotta defuser all the way to the base of the pot the steamer plate ridge inside the pot will have good clearance for the lowest grate level.
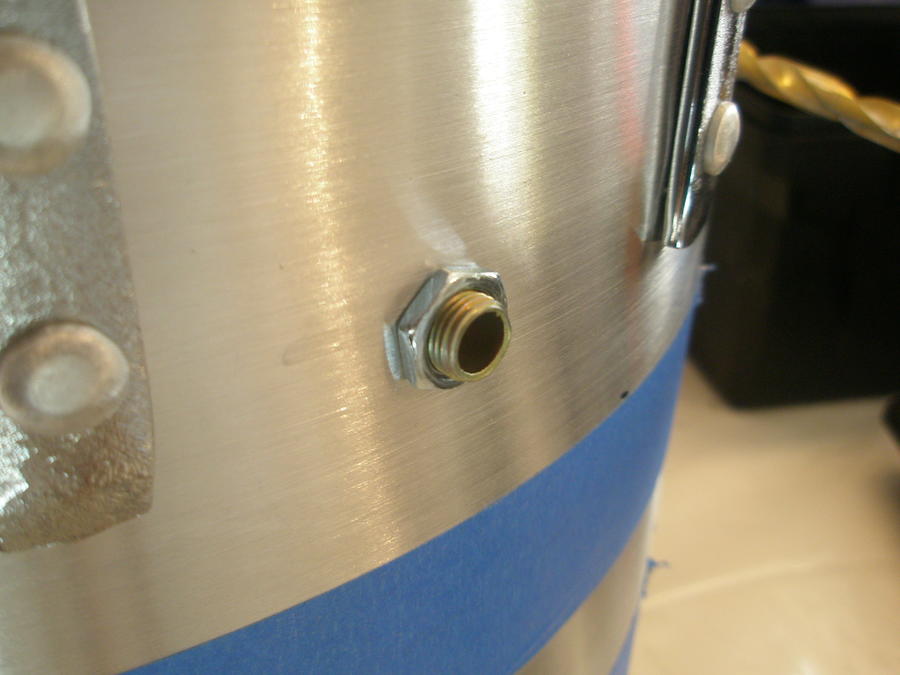
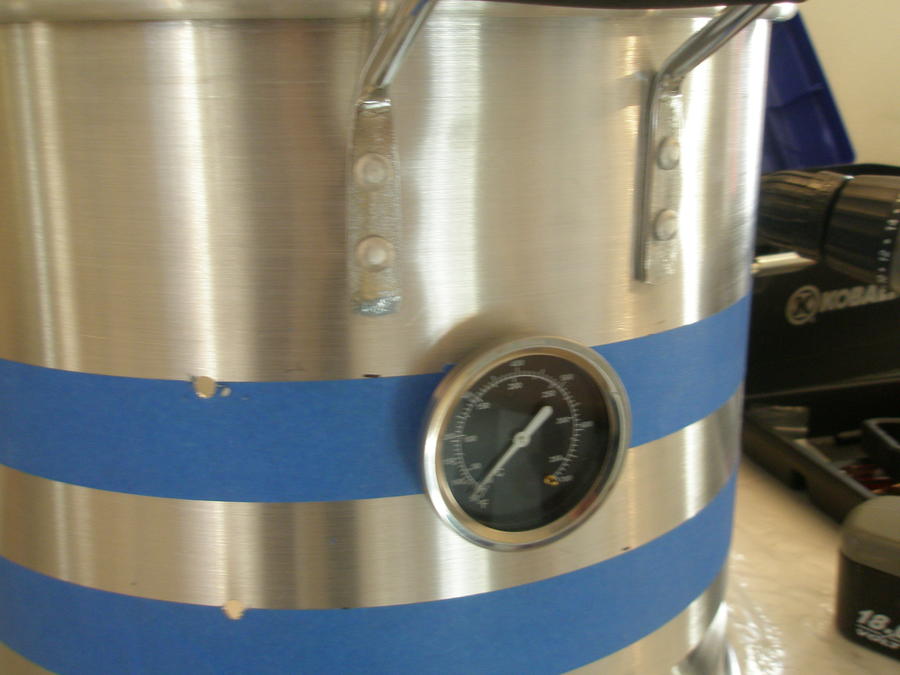
I'll be back later to show installation of the thermometer, upper grates and probe access bushing.
Brian
With the advise of others I chose the Smokey Joe Gold unit and the Vasconia steamer pot. Stainless hardware, thermometer and expanded steel sheet was all bought at the local big box home improvement store. I'll be more specific about the hardware as I go though my build process.
The first thing was to build the charcoal hopper. This is done by using expanded wire and cutting it to the 3" height. Wrap the Exp wire around the charcoal grate supplied with the Smoke Joe. I used rebar twist wire to hold it in place. ….Which would have been fine and held well. But my brother in-law has a welder close by so I asked him to spot weld the wire in place.
Some folks are attaching the lid of the Vasconia pot to the base. It fits perfectly on the lower half of the Smokey Joe. Doing this raises the pot about and inch higher and that will allow 2 things.
1 gives you a bit more room for charcoal in the lower half of Smokey Joe
2 gives you more area inside the pot to add another grate level if you would like.
Some folks drill holes in the bottom of the pot and other simply cut the bottom out leaving about a 2" lip all the way around. I'm going to cut mine out.
To only cut once I temporally pop riveted the lid to the bottom of the pot and drew my cutting circle.
Turn the 12" terra-cotta saucer upside down and us it as the template for your hole. Draw you cutting line with a pencil or sharpie.

After the bottom and lid are cut out I pop riveted the lid to the pots bottom lip.

i've read that sometimes the terra-cotta saucers ( used as a heat defuser) might crack if the base is not supported evenly. Because I want more room in my smoker I wanted to lower the terra-cotta defuser as much a I could. I didn't like the idea of bolts holding up the defuser. I wanted something a bit more solid.
I bought a charcoal grate for a weber 18" kettle part #7440 (About $8) and cut the ends off so it would pass through the pots steamer plate ridge. You will want to cut the grate at the second cross bar as below. This creates a super strong and sturdy base for the smoker chamber.

The grate sits inside on the bottom lip of the pots bottom. A lot easier than drilling holes. Fast and simple.
Bottom grate in place with terra-cotta defuser in place.
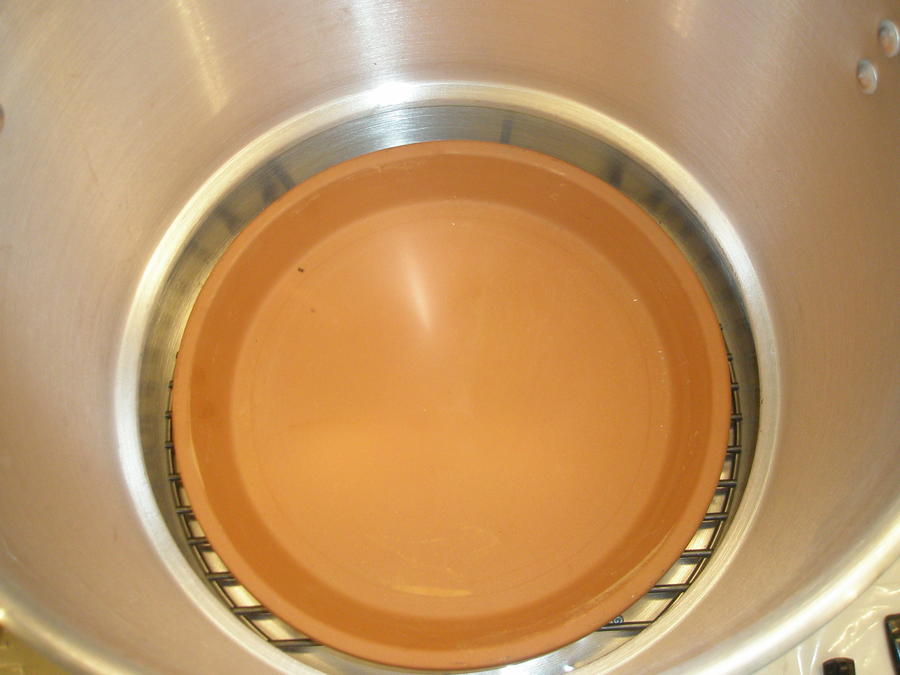
With the grate in place and the terra-cotta defuser in this lower position there is now plenty of clearance in the pot for multiple levels of grates or grate adjustment.
As you can see with the terra-cotta defuser all the way to the base of the pot the steamer plate ridge inside the pot will have good clearance for the lowest grate level.
I'll be back later to show installation of the thermometer, upper grates and probe access bushing.
Brian
Last edited: