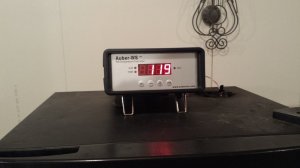
Auber controller added to my MES 30

  • Some of the links on this forum allow SMF, at no cost to you, to earn a small commission when you click through and make a purchase. Let me know if you have any questions about this.
SMF is reader-supported. When you buy through links on our site, we may earn an affiliate commission.

chopsaw

Epic Pitmaster
Original poster
OTBS Member
★ Lifetime Premier ★
Dec 14, 2013
17,670
17,399
OFallon Mo.
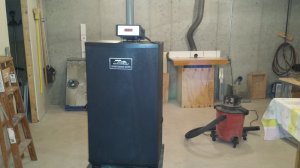
Well after 5 years of almost constant use , the on / off button was getting worn out . Talked to Tallbm and went with the WS-1510 elmp he recommended .
Brought the 30 into the workshop so I could get at it . The re-wire is really simple , but tallbm tallbm did all the leg work on that . I wanted to try to keep the change over clean . I don't care for all the hanging wires , also wanted it to look some what un changed . So heres what I did .
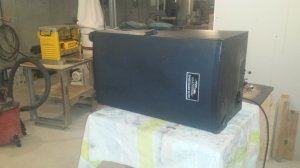
Got it where I could work on it .
20190115_153359.jpg
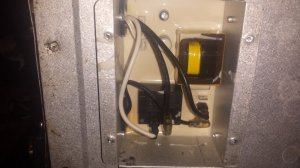
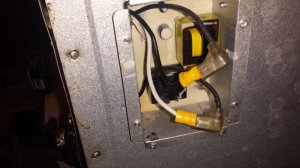
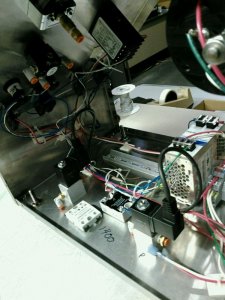
Opened the bottom and did the bypass
20190115_153338.jpg 20190116_121518.jpg
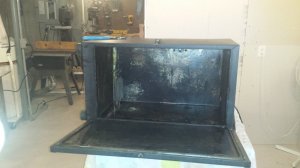
Tore all the guts out except the element .
Removed to old controller and took out the darn meat probe that's been in the way since the second time I used it . Saved the mounting parts .
20190115_200159.jpg
Test to see if it was workin .
20190116_125938.jpg
Wanted to come up with something so I didn't have to drop the probe thru the exhaust .
Also need to hide the extra cable and clean up the power cable .
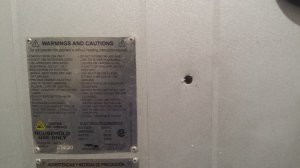
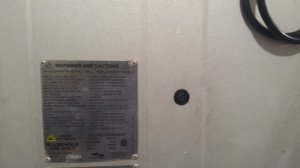
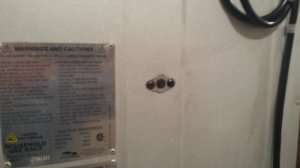
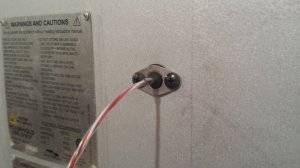
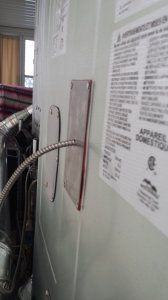
Drilled a hole in the back . Re-used the stock mounting parts from the meat probe .
20190116_153419.jpg 20190116_153436.jpg
20190116_154401.jpg 20190116_154522.jpg
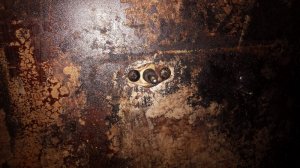
Same thing on the inside . Yes thats a rubber bushing . It came out of there so must be heat resistant .
20190116_154539.jpg
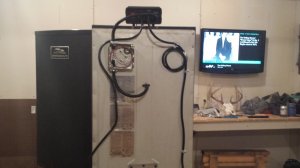
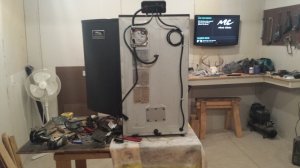
So I used a 4 inch box as a race way , and some plastic cover for the wire , and some 3/8 straps for the power cord .
20190116_162144.jpg 20190116_162123.jpg
All done just need to take it outside and see what it will do .
20190116_162628.jpg
 
Looks nice! I leave my chamber probes outside but bring the sensor in with the PID for crockpot Sous Vide. It's nice to bring in the controller after every smoke. The single step setup is nice vs. The program up to 6 step mode so I don't have to punch in minutes. Just flip the switch on and set your C-1 temp hit set and done.
 
Nice clean job chop.Here's what I've been building.If you ask about the pneumatic circuits I'd hav'ta keel ya,though I can say they run nitrogen that is heated,hence the controller(top center).
1450 -A.jpg
 
Nice job. I know you'll be happy with it. Did it on my Mes40. Memory alone on the PID make it an awesome worth while mod. Happy smoking!
 
20180427_140840.jpg
Here's the back of mine. Since there was no access port on my 40 for probe replacement that came with the unit. I cut one out and made one. Used the AC cord already on the unit for the element. Redid all the wiring. That was something as I never pulled the back off. The foam they use is like super glue and it would have gotten to damaged. So I snaked the wires though it. Took some time and planning and turned out nice.
 
  • Like
Reactions: Atl1530 and tallbm
Since there was no access port on my 40 for probe replacement that came with the unit.
Did yours have a meat probe ? The parts I used were inside on the ceiling , and outside under the original controller . The way you did it looks great . Do you leave the probe in then ? Also do you pull the probe into the middle of the smoker ?
 
I spent part of the day testing this , and auto tuned it last nite . Went from + / - 30 degrees to + / - 4 degrees . 35 outside temp some wind . No food in the box @ 275 .
dr k dr k your post in tallbm's thread 22 thru 24 was very helpful . So thanks for that . I have set it up with the ramp up , that's gonna be awesome for smoked sausage . I went thru alot of the settings and programing . Amazing what you can make this do . Really easy once you know how to get to the area to change values , and know what they mean and do . This thing is awesome . Got a ham to hang , might do it this weekend to see how it runs loaded .
 
  • Like
Reactions: tallbm
Looks good, I'll be doing the same to mine in the next couple months.
You won't be sorry . This thing is awesome . I have a ham ( Omak inlected butt ) hanging to dry at 120 . Been 120 for an hour . Not 119 not 121 ,, . I can't believe it . Probes on each side , TP-08 confirms the temp . Getting ready to hit it with some smoke .
 
Well after 5 years of almost constant use , the on / off button was getting worn out . Talked to Tallbm and went with the WS-1510 elmp he recommended .
Brought the 30 into the workshop so I could get at it . The re-wire is really simple , but tallbm tallbm did all the leg work on that . I wanted to try to keep the change over clean . I don't care for all the hanging wires , also wanted it to look some what un changed . So heres what I did .
Got it where I could work on it .
View attachment 385830
Opened the bottom and did the bypass
View attachment 385829 View attachment 385831
Tore all the guts out except the element .
Removed to old controller and took out the darn meat probe that's been in the way since the second time I used it . Saved the mounting parts .
View attachment 385832
Test to see if it was workin .
View attachment 385833
Wanted to come up with something so I didn't have to drop the probe thru the exhaust .
Also need to hide the extra cable and clean up the power cable .
Drilled a hole in the back . Re-used the stock mounting parts from the meat probe .
View attachment 385834 View attachment 385835
View attachment 385836 View attachment 385837
Same thing on the inside . Yes thats a rubber bushing . It came out of there so must be heat resistant .
View attachment 385838
So I used a 4 inch box as a race way , and some plastic cover for the wire , and some 3/8 straps for the power cord .
View attachment 385839 View attachment 385840
All done just need to take it outside and see what it will do .
View attachment 385841

Welcome to the world of the PID controller, that's one hell of a job!
Sausage, ham, bacon, steady temps, etc. etc. you cannot be stopped!

You also will be able to easily work on your smoker and keeping going for a looooooong time.
It's crazy how the PID and a little rewire make the MES 10X better performing then when brand new hahaha.

So the moral of the story is that if an MES starts to die (or you just want way better performance) don't buy another smoker, spend about the same price for an Auber PID controller, the little bit of effort to rewire, and boom you have something better than you could ever buy from the store!

I'm happy you are up and running. Great job!!! :emoji_clap::emoji_clap::emoji_clap::emoji_blush:
 
  • Like
Reactions: Bearcarver
So the wiring in my MES30 looks a little different from yours. my braided wires are blue and red instead of black. I think I need to connect my white & red wires together, and then my blue & black wires together. Would you agree with this?

So
mes wiring.jpg
 
So the wiring in my MES30 looks a little different from yours. my braided wires are blue and red instead of black. I think I need to connect my white & red wires together, and then my blue & black wires together. Would you agree with this?

SoView attachment 392252

Technically that should work just fine.
If you wanted to be most accurate the smooth Black wire should wire up to the colored wire that runs to the safety rollout limit switch wire (the switch then wires to the heating element).
The White wire would wire to the other colored wire.

Now, I would bet $1 that the:
  • Black wire goes to the Blue wire
  • White wire goes to the Red wire
I've wired up a few of these things and the colored wire that goes up and to the right generally goes to the rollout limit switch (Hot wire) and the other wire that goes up and left goes directly to the heating element (Neutral wire).
Disconnecting the wires from the heating element and using multimeter would confirm this but in any case you should be ok since the electrical circuit just makes a loop anyhow so if you got the wiring backwards I'm positive it wouldn't hurt anything.
BEWARE wiring Black to White. That would cut the entire MES out of the loop lol

I hope this info helps :)

Thanks! You pretty much confirmed what I was thinking was correct. Don't worry, I know not to put the smooth white & black wires together. Also, I went ahead and ordered the WS-1510ELPM PID controller today, so that should be here tuesday. Hopefully I'll be able to get that all up and running then.
 
  • Like
Reactions: chopsaw
Thanks! You pretty much confirmed what I was thinking was correct. Don't worry, I know not to put the smooth white & black wires together. Also, I went ahead and ordered the WS-1510ELPM PID controller today, so that should be here tuesday. Hopefully I'll be able to get that all up and running then.

Fantastic!!!
Now if you really want to bullet proof your MES I would highly recommend you replace the crappy connectors they use at the heating element and the safety rollout limit switch with Hi Temp stainless steel ones. These would work (not sure why they are so expensive right now):


I would also suggest getting some backup safety rollout limit switches as they are delicate and can be easily messed up when replacing the connectors. Get either of these EXACT ones. You may search and thing you have found cheaper ones but the ones you found are really a different configuration that does not work!!!!
300F switches

My preference would be the following ones so your Auber PID can go a little higher in temp during autotune without tripping the safety switch (350F limit and cheaper)

You don't need to do any of these things other than the rewire and the PID but it would bullet proof your system and you would have parts to fix it for quite a while :)
 
What is the Auder controllers ability to withstand weather? Or should I plan on bringing it insode each time after using the smoker? Mine should be here on tuesday.

I'm planning to build a hutch of sorts for my smoker today to give the unit a little more protection form the elements. I plan on it being enclosed on 3 sides, plus a roof. I just don't want my $150 investment in the auber to go to waste if it starts raining during one of my smokes.

You will want to keep it out of the rain.
I wouldn't recommend running an electric smoker in the rain but if you wan to protect it a little more I would cover it with a Tupperware dish.
That wont prevent water from running down the cords but it would keep water off the auber.

I have kept mine outside on the MES, BUT I also had a cover over the MES so it wouldn't get wet AND the MES was under a porch to keep direct rain off of it.

When in doubt just unhook it and bring it inside :)
 
SmokingMeatForums.com is reader supported and as an Amazon Associate, we may earn commissions from qualifying purchases.

Latest posts

Hot Threads

Clicky