Starting a build and have a few questions (pictures Added)(Q View now added)

  • Some of the links on this forum allow SMF, at no cost to you, to earn a small commission when you click through and make a purchase. Let me know if you have any questions about this.
SMF is reader-supported. When you buy through links on our site, we may earn an affiliate commission.
I agree with R W, and if you are concerned about legs spreading while you are getting the CC in position, you can always tack on a couple of temporary braces.

Gary
 
Thanks for all of the input everyone.

I will brace the stand.  I want some play in the legs for movement when I attach it to the CC if I squeeze it together it will lift the CC if I spread it apart it will lower the CC.  I am hoping that I will be able to get it level by using this play.  I will add the bracing right after the two are attached.

I decided to clean up my welds by using a milling machine instead of a grinder.  I will still need to grind it a little but it will not take as long.  The second picture is the after.


I also got a chance to cut the opening for the FB to the CC in the back plate of the FB.  I used my little Harbor Freight band saw and it worked much better than I thought it would.  GB

 
I got a little work done on the smoker over my 3 day weekend.  I cut a 4" notch to fit the FB into.


Working on the FB door the.


I attached the legs after I drilled the drain hole.  I welded the legs to the FB for extra support right now it seems very stable although very light on the end with out the FB.  I am hoping that the end plate will add some ballast to the light end.


I have a question now.  With this all being new metal do I have to burn it out?  And if so, should I burn it out before I cut the door out so I avoid warping the door.  Thanks for looking and any help GB
 
I would not worry about burning it out. There is usually a real light coat of rust preventative on new steel, but it will be mostly gone by the time you finish with all the welding. Just wash it out when your done.
 
Thanks rasimmo,

I will clean it out real well.  I am hoping to get the major work done in the next wee so I can use it over the week I have off over Thanksgiving.  I just need to find some longer periods of uninterrupted time.  Thanks again GB
 
I like the look of that build.... Did you find that the FB end was somewhat balanced or not? I'm thinking I may have to put mine on a trailer not only because the FB is HEAVY but I'm going to have in excess of 3ft of snow in the yard....
 
Alaska,

The balance right now is good it is a little heavy on the FB end but I think that it will get balanced out with the reverse flow plate and the end caps.  It moves around very easy on the casters that it is on, I can push or pull it around with very little effort.  Even though I do not need to worry snow where I live now I grew up in Northern Montana and understand what 3" of snow is like.  Now I live in sunny but windy southern California desert but I really miss Montana.  GB
 
I think I have no choice but to put it on a trailer so I can plow around it. Just had to mention sunny California.... It's 8 degrees today but we enjoy the cold as much as summers... Take a look at the build I'm doing. I got the top and sides of the door flange done but had to go to the hockey game...
 
Alaska looks good.  I remember the days of cold weather and I do miss them some but the older I get the less I want to spend much time at 25 below.  My blood has thinned a little I do miss hunting in the snow and ice fishing though.  Winter here is like fall back in Montana gets down to freezing at night then up to about 60 during the day.  Any way I would have put mine on a trailer too if I could drive into my back yard.  GB
 
I got a little bit done over the past few days but not as much as I wanted to.  I got the RF plate made but am still working on installing it.


My drain is 1" black pipe and I have a 1" to 2" black pipe flange with a V cutout to allow the angle iron to mate up with I will need to fill I a little with a weld but it should work.


The above picture is the top of the plenum where the chimney will attach.  My metal lathe worked really good to cut that out and get a good fit on the pipe. 

I was hoping to get more done but I did get some to the picky time consuming tasks done this weekend.  GB
 
I have had a few days to work on the bbq and thought I would post some pictures of my progress. I just noticed that the date on the camera is a few years off. Below is a picture with the reverse flow plate and the rails to hold the cooking grate and the cutout for the door.


The next picture shows the plenum and the chimney in place. the plenum is not the most fancy thing in the world but I found precut gussets and the top at the metal shop so it was easy to make I hope that it works ok.  The dampener for the top of the chimney can also be seen sitting on top I found some simple hinges to use to mount it to the top of the chimney.


Below is what it is looking like with out the door on and the other end welded on.  now I need to make the handles and cooking grate hope to finish by the end of the weekend.  I am starting to look for wood and found out I can get oak, almond, and various citrus woods locally.  I am leaning towards the oak or the almond but open to suggestions for the seasoning and the first few cooks.

 
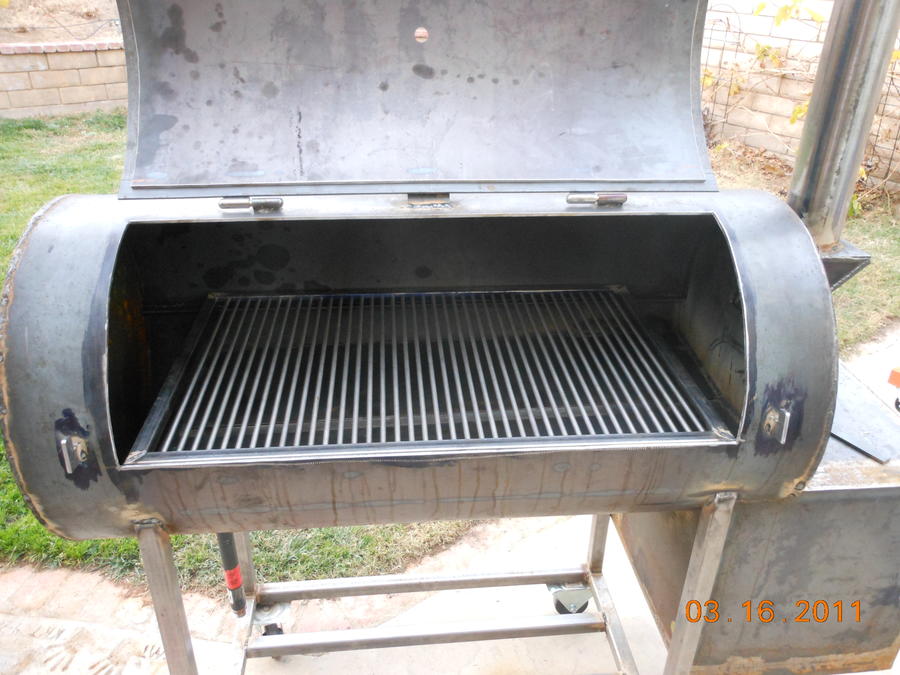
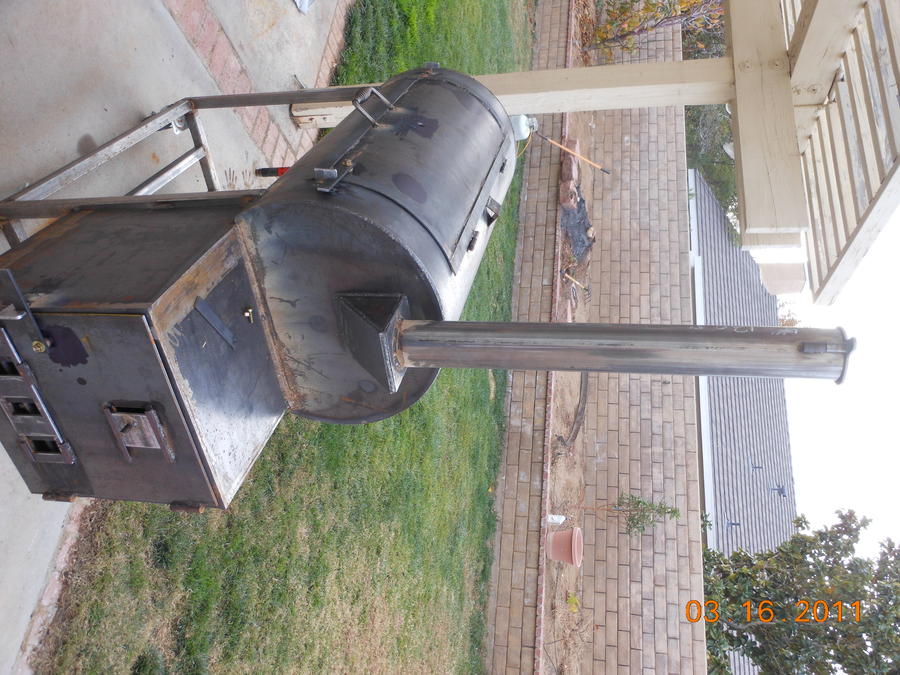
Good morning, I think your smoker is looking very good. I am not familiar with or had the chance to use almond wood, I am assuming you are out in California ?  Here in East Texas we use a lot of oak, hickory, and pecan because of the availability a little further west getting toward Dallas quite a lot of mesquite, on occasion I try to get some peach (quite a few Peach growers around here. and a little cherry. I like cooking with fruit woods when I do chicken, and fish and sometimes a pork shoulder, mostly  I use oak & hickory . For your first burn in I would go with oak, I would season with a mixture of bacon grease and cooking oil in a spray bottle. Spray everything inside the cook chamber get you fire going again and let it go. Maybe get it up to 300 - 350 for a little while, then when it starts coming back down, check the CC and spray it again and just let it go for several hours. You will have a seasoned pit. You can also use spray oil like Pam or the store brands it works. I am just an old school fan you can't beat bacon or bacon grease. Actually on a couple of smokers we did, after seasoning the CC real good and letting it heat for a while we loaded up the racks with bacon ends and cooked them till crispy. As for your first cook think about what type of meat you want to cook and the flavor you want and go with that type wood.

Let us know with pictures how it turns out. Again very nice smoker.

Gary
 
Well it rained most of the day yesterday and most of my work is outside so no work go done on the smoker.  I did go and get a 1/2 cord of oak to use in it though so the day was not a total bust.  While I was at the place I got the wood I looked at a latch on a wood stove and think that it might work on the smoker so I will try to make it today.
 
SmokingMeatForums.com is reader supported and as an Amazon Associate, we may earn commissions from qualifying purchases.

Latest posts

Hot Threads

Clicky