jweller
Fire Starter
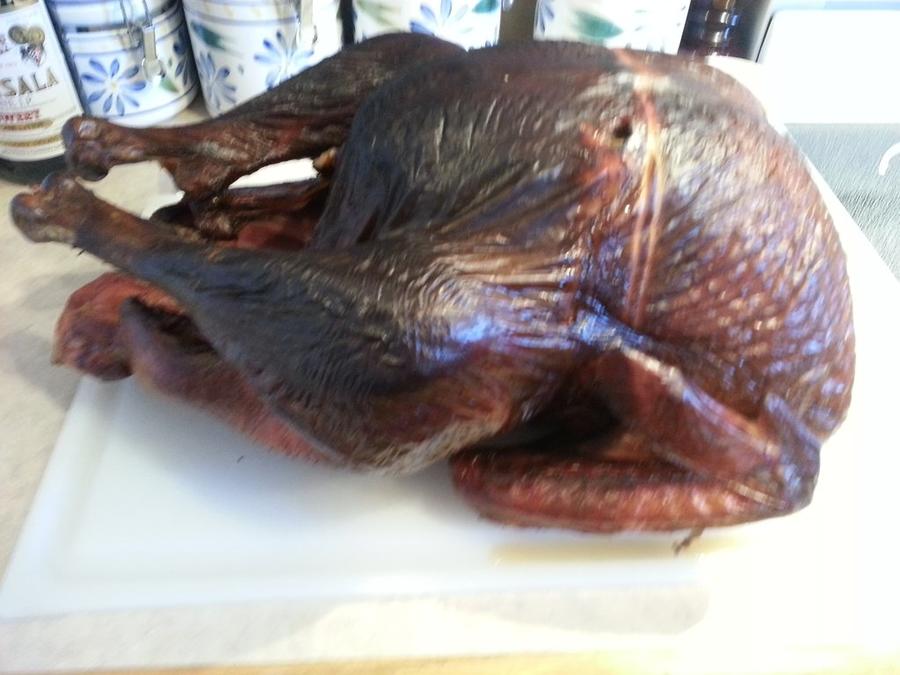
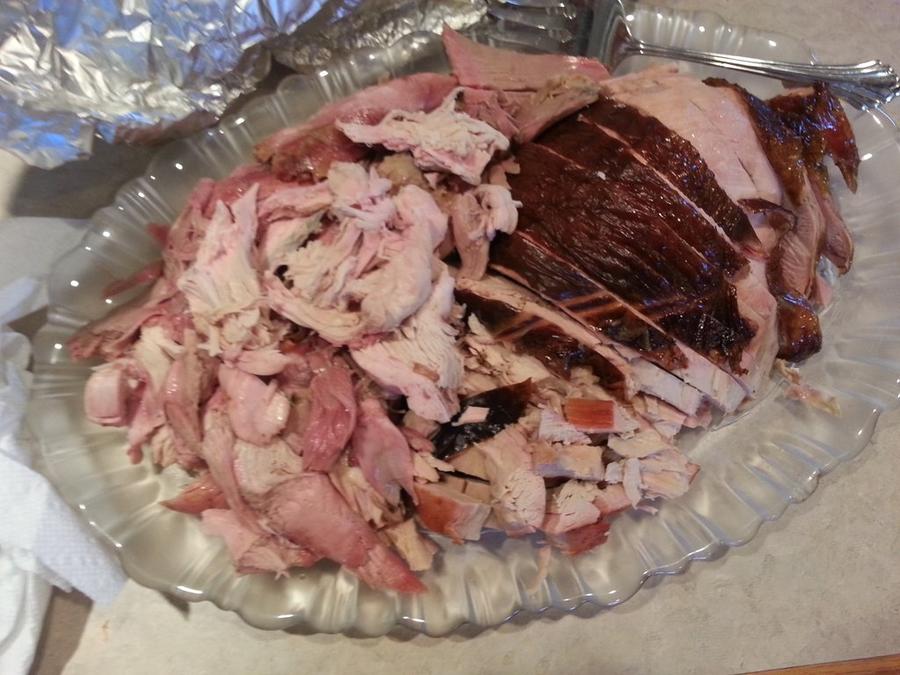
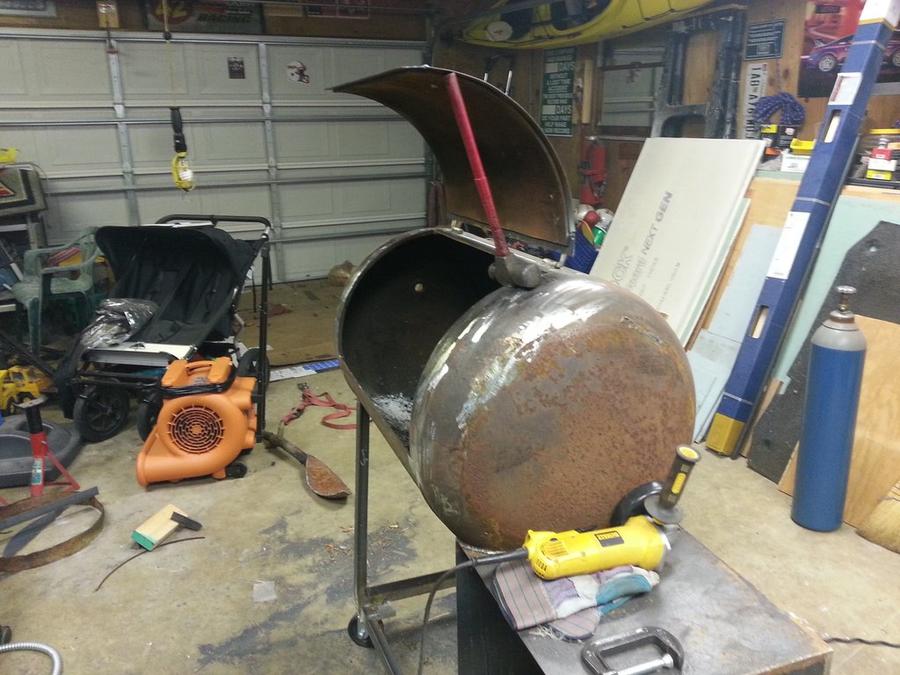
So the side firebox fell off my CharGriller, a victim of rust. Thanksgiving is coming and there's turkey to be smoked. I've had a propane tank hiding behind my shed, just waiting for a build. My next door neighbor has helped out and let me use his plasma cutter, along with providing some technical assistance, since he welds professionally. The tank is 57 gallons, and I'm not putting it on a trailer, at least for now. Just some wheels to roll it about. I'm putting the FB door on the front so that it will take up less room on my patio.
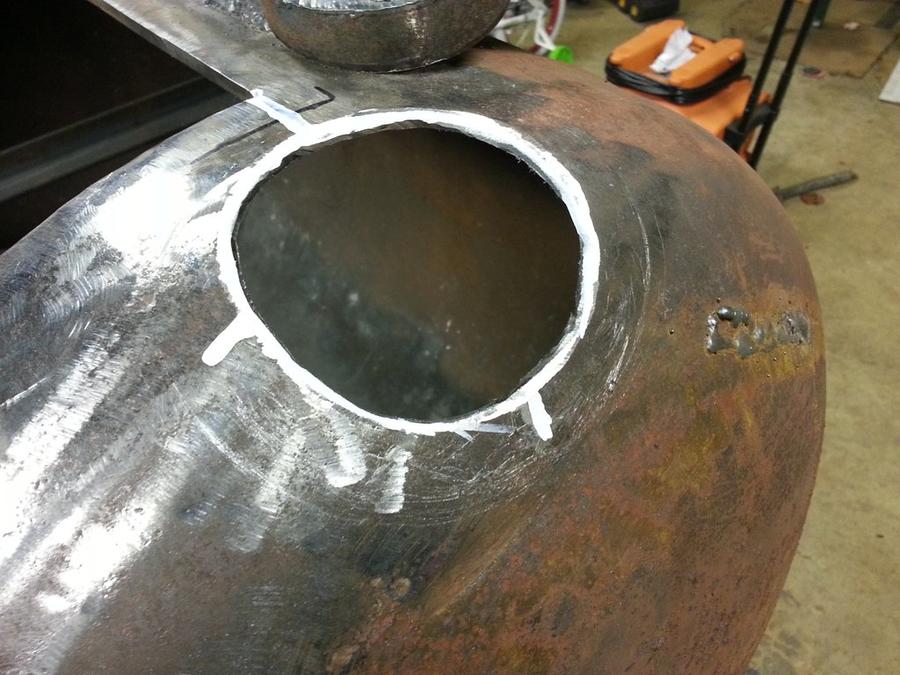
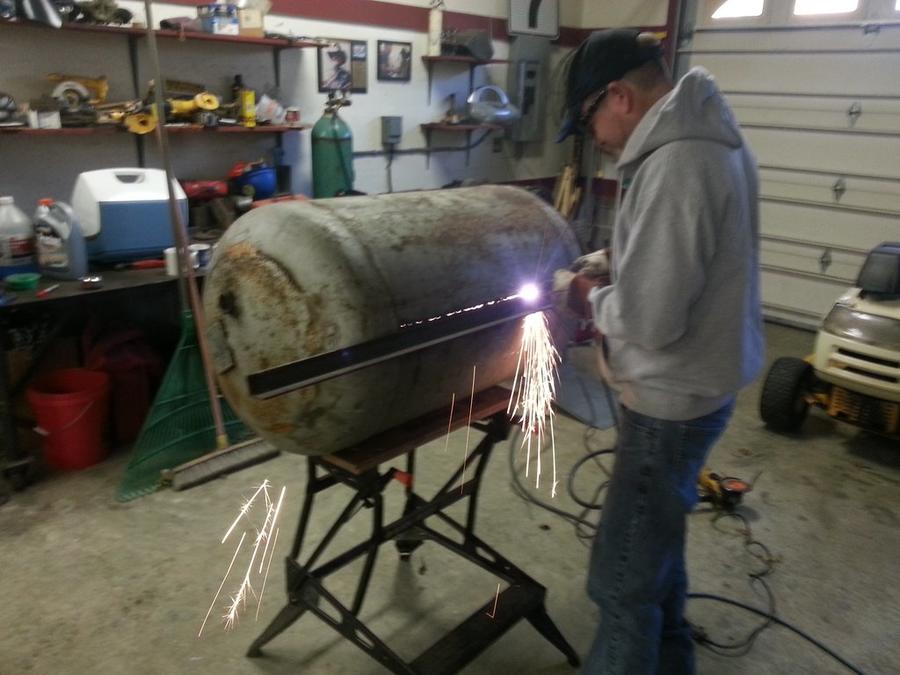
cutting the door
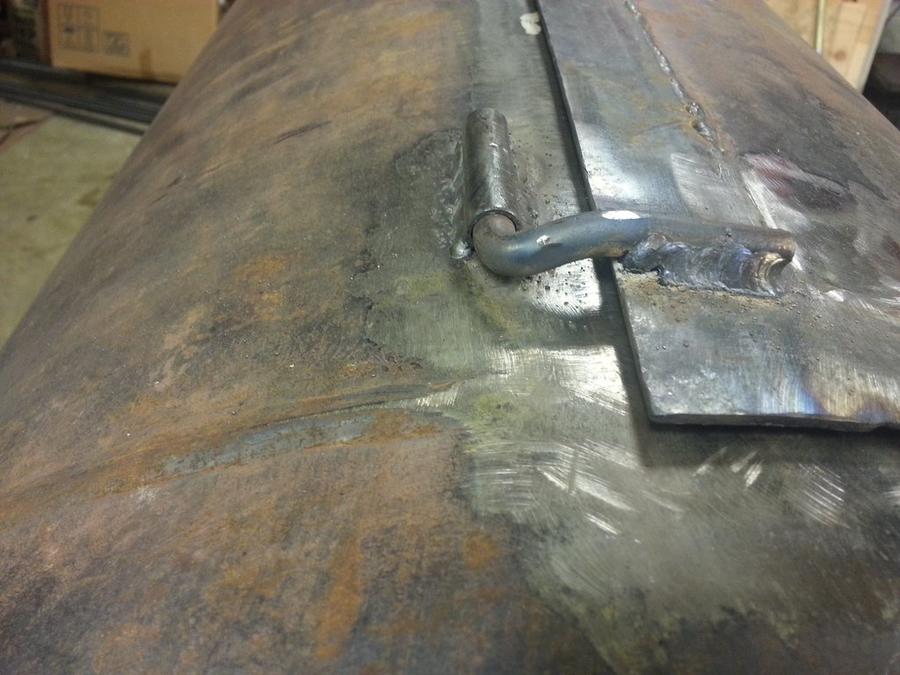
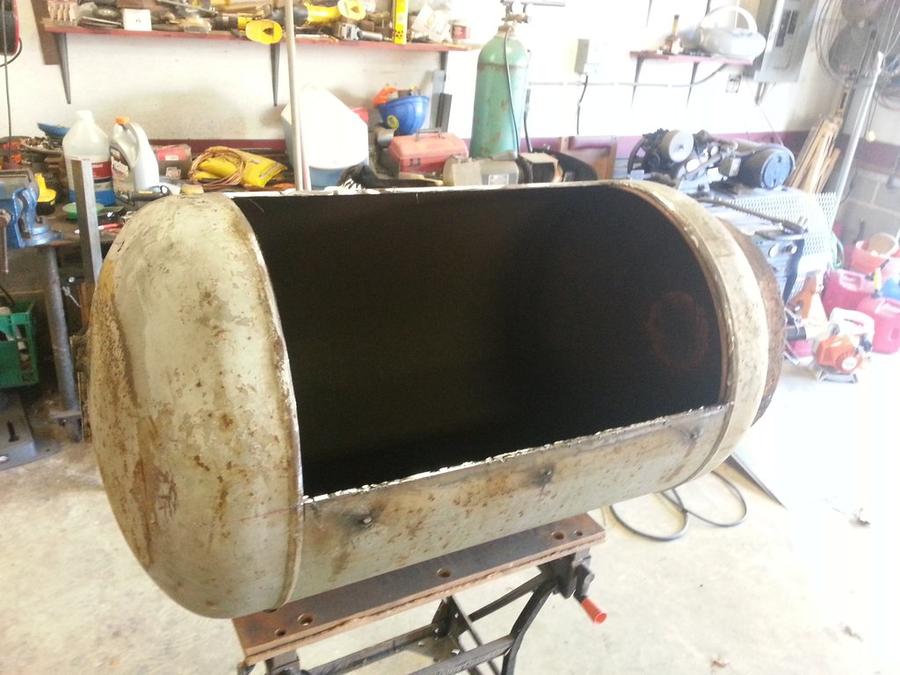
Door cut
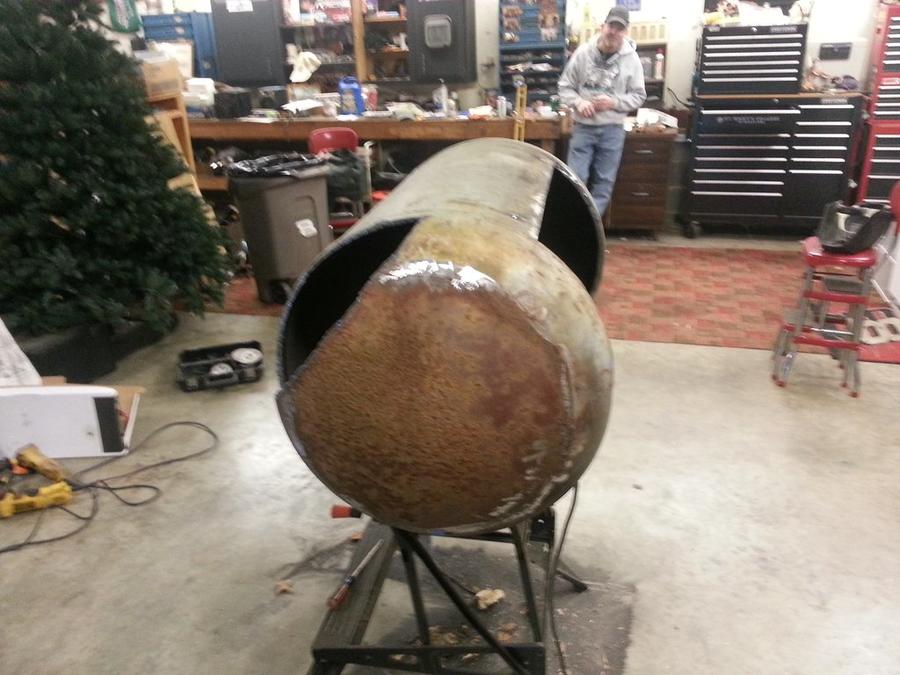
firebox cutout as well
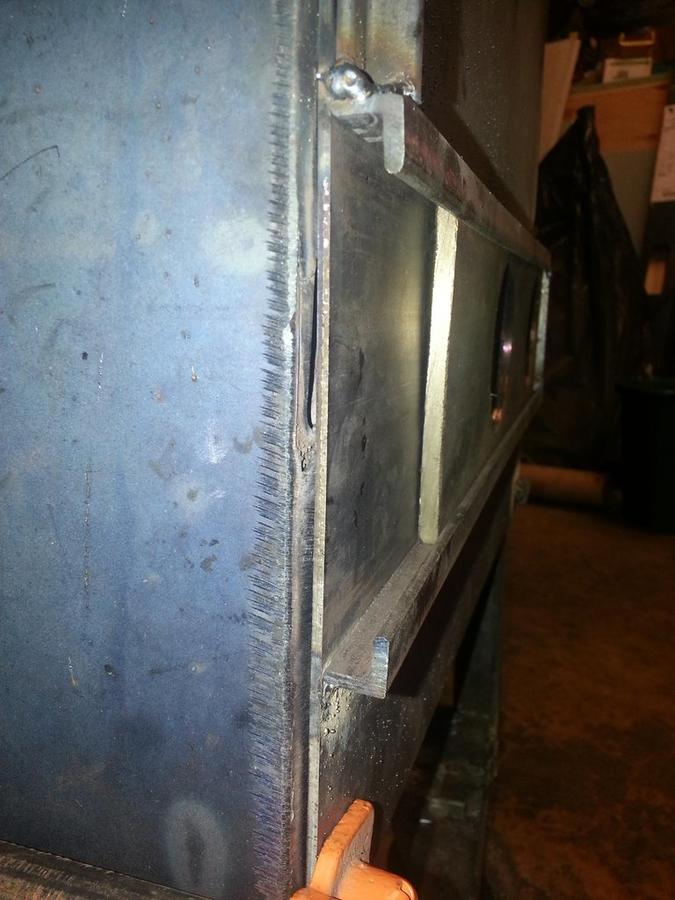
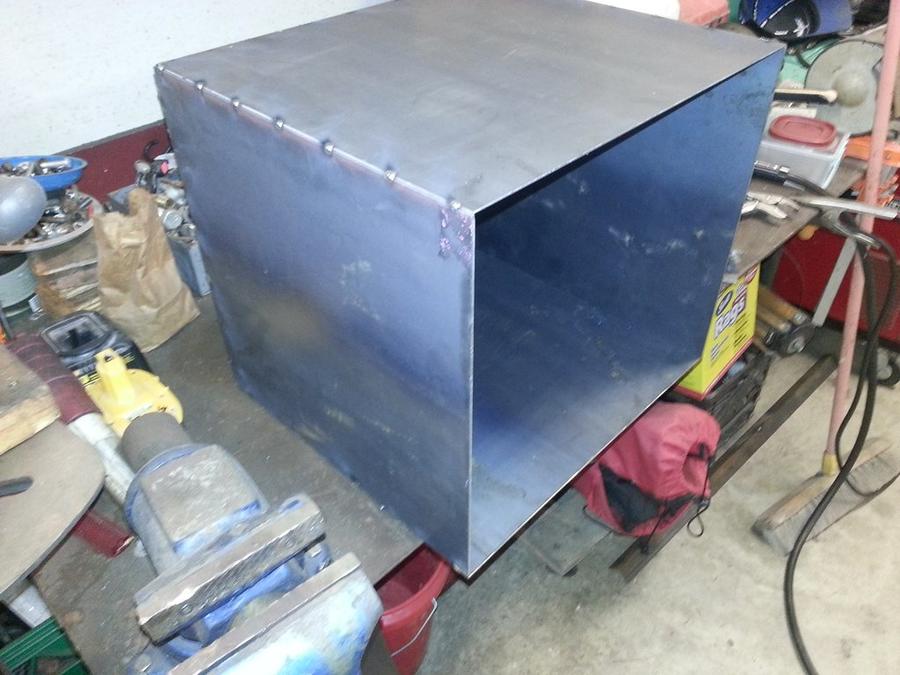
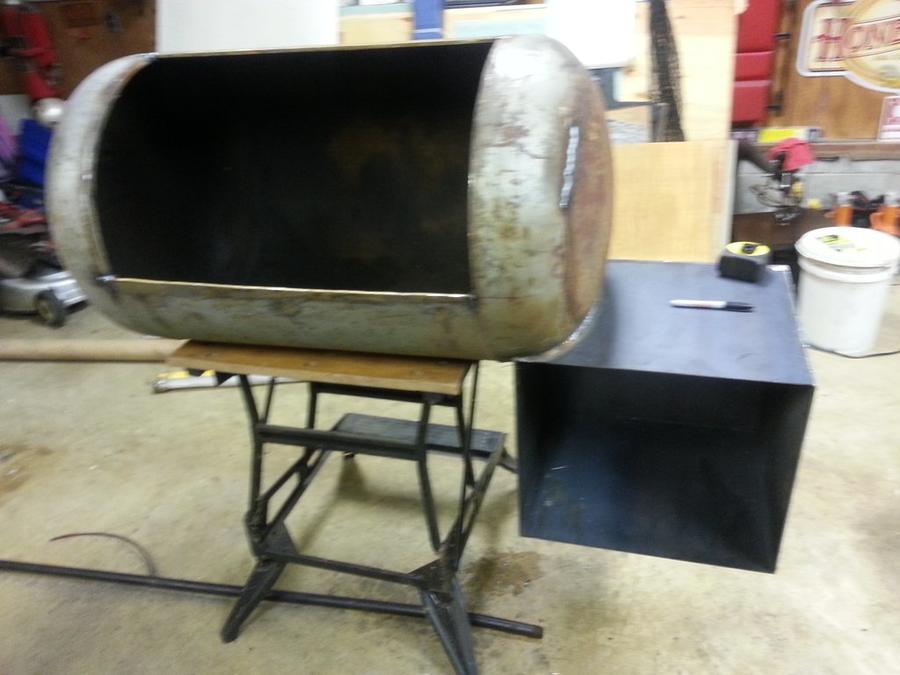
firebox started
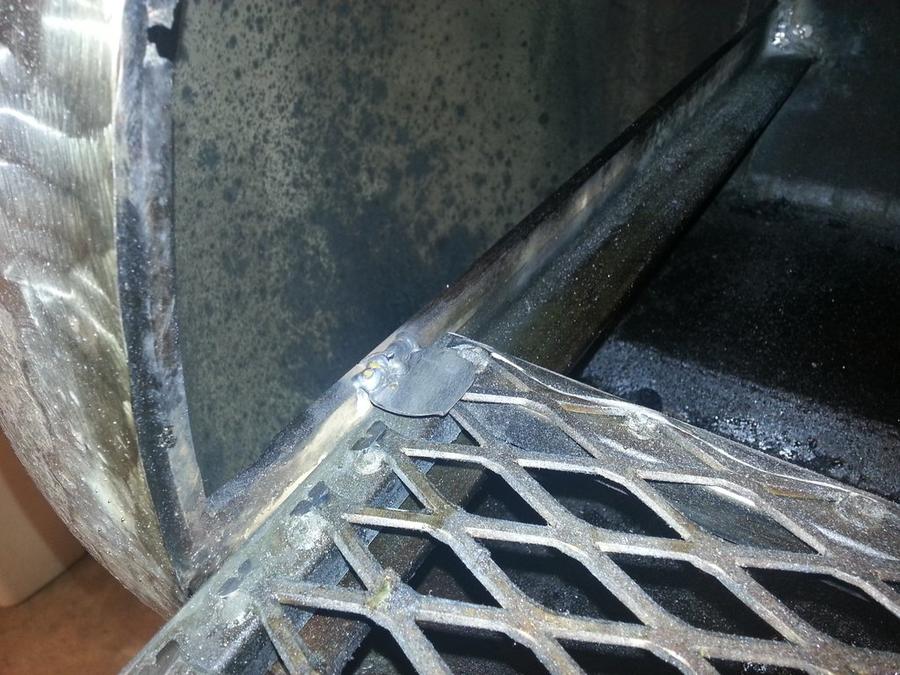
and welded on
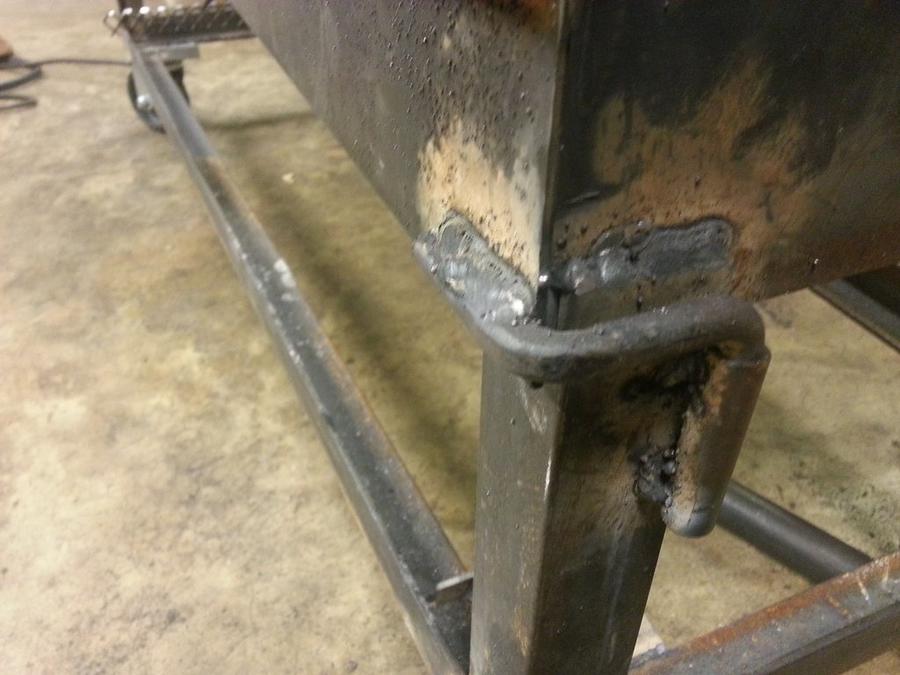
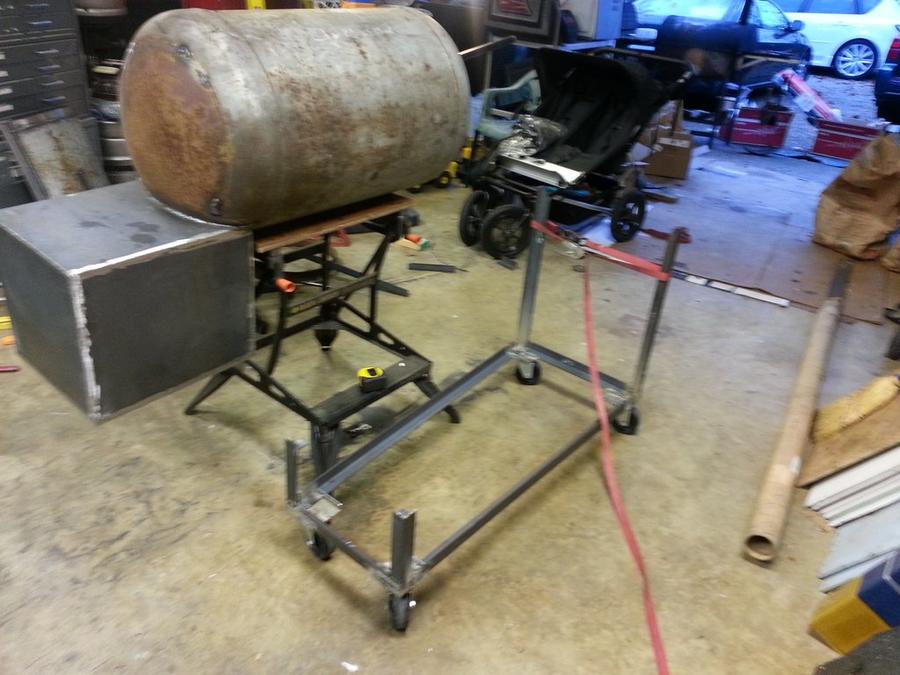
wheels ready
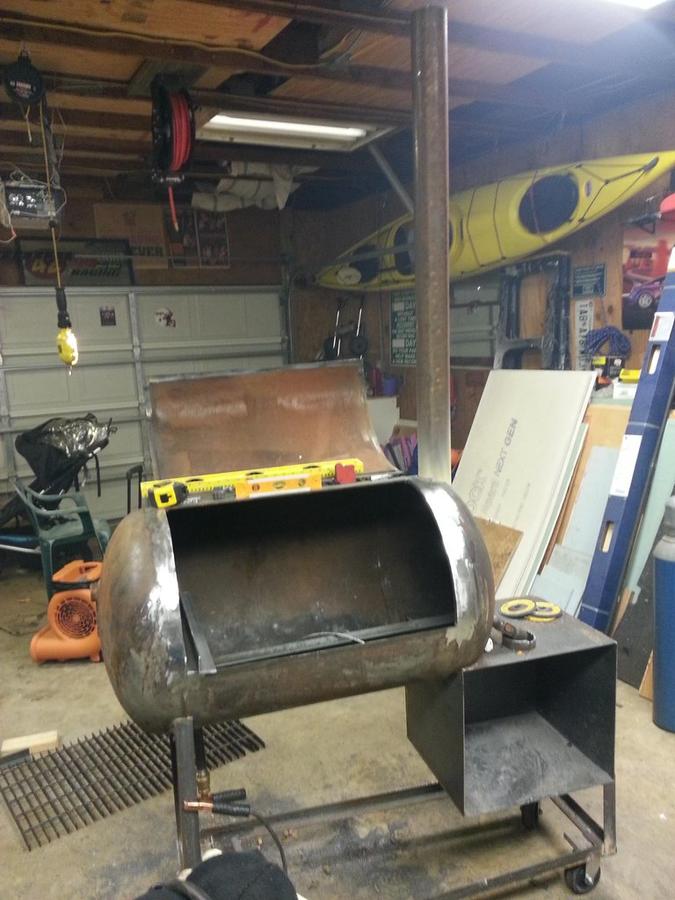
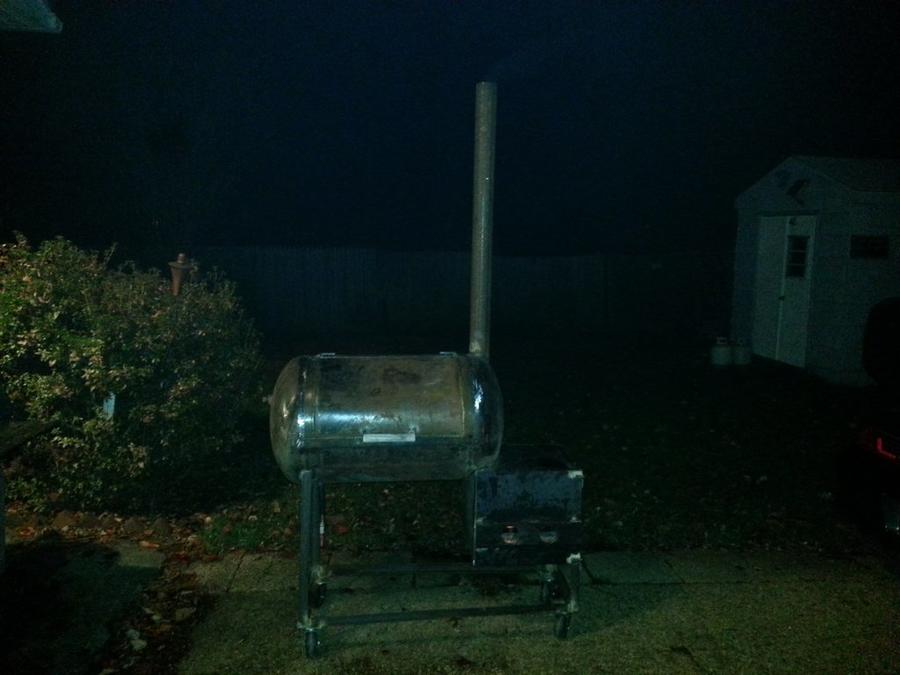
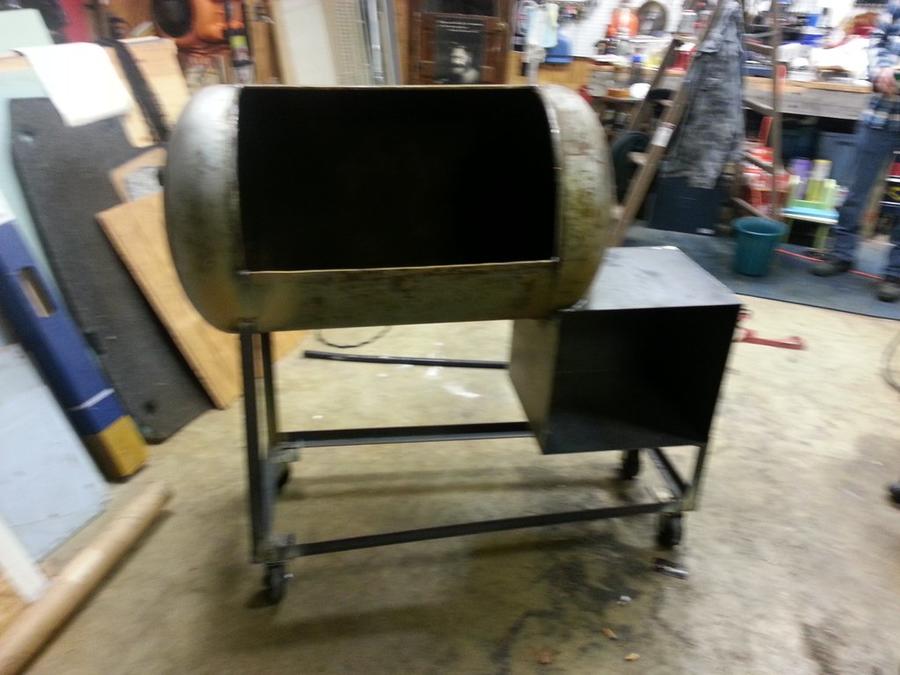
and it's rolling
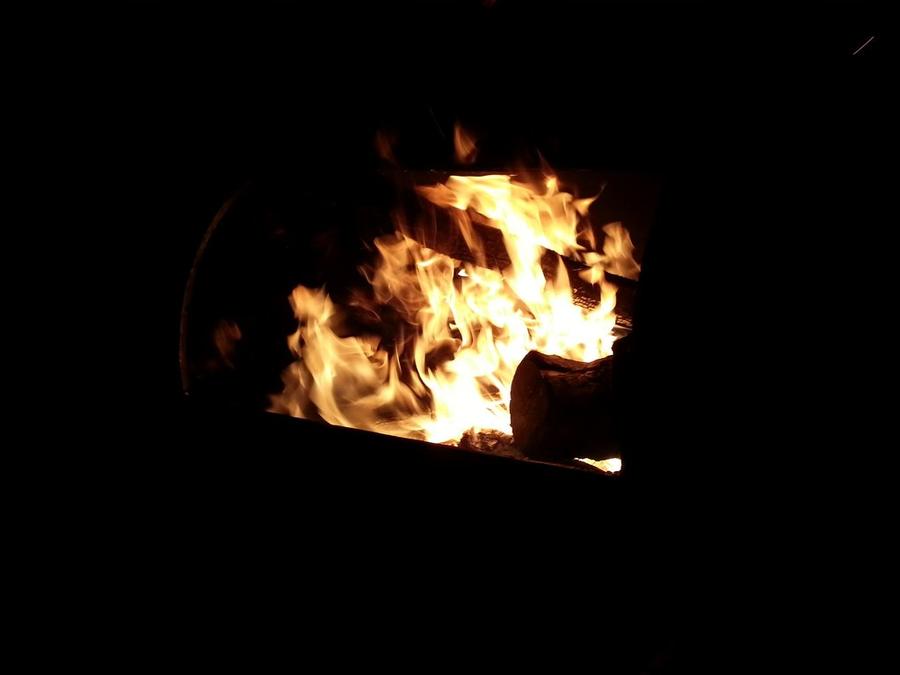
Finally. Burning that gawdawful smell out.
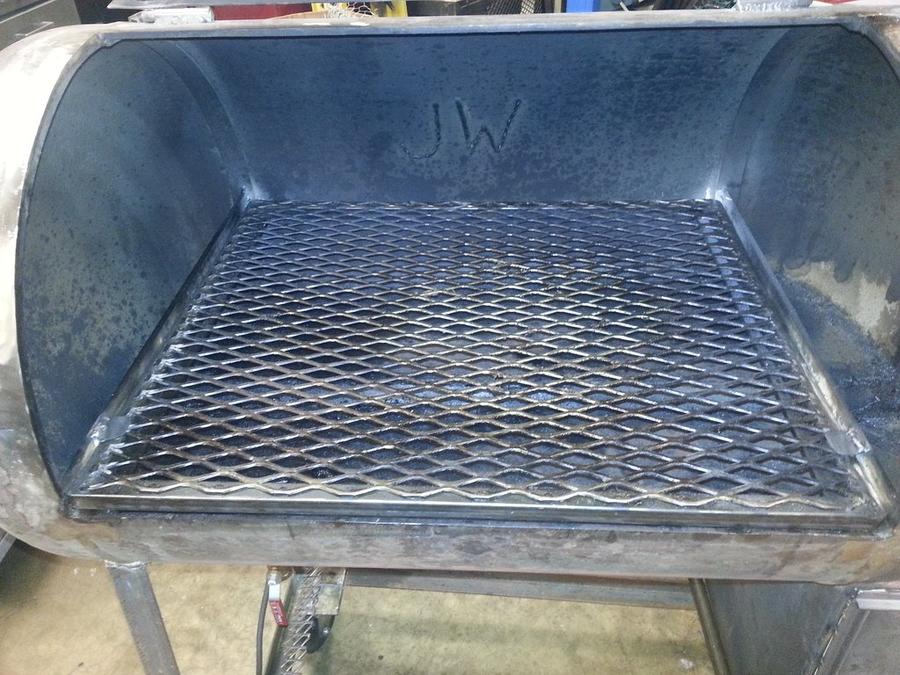
and the door is on
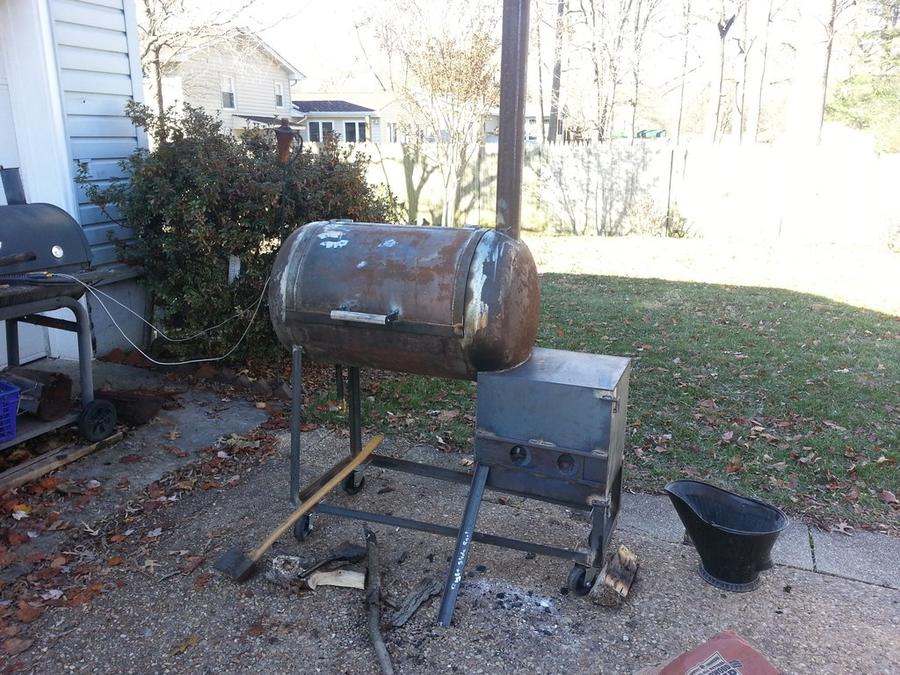
So thats where she sits. I've got to figure out exactly what I'm doing with the door for the firebox. I've got some ideas, but nothing in stone. Probably going to depend on what I can get from the scrap dealer. one of the big questions I've got is how high to put the vent for the firebox. I've read that it's not recommended to put it below the fire grate, to keep ash from blowing through, but should I put it at the same level of the fire grate, or just above it. The other plan is to put the RF plate at the same level as the top of the firebox, but I'm not sure if thats quite correct. I've got 10 inches from the bottom of the tank to the bottom of the door opening. and the FB is about 6 inches up, so that leaves me 4 inches from the RF plate to the cooking grate. Any thoughts on that?
cutting the door
Door cut
firebox cutout as well
firebox started
and welded on
wheels ready
and it's rolling
Finally. Burning that gawdawful smell out.
and the door is on
So thats where she sits. I've got to figure out exactly what I'm doing with the door for the firebox. I've got some ideas, but nothing in stone. Probably going to depend on what I can get from the scrap dealer. one of the big questions I've got is how high to put the vent for the firebox. I've read that it's not recommended to put it below the fire grate, to keep ash from blowing through, but should I put it at the same level of the fire grate, or just above it. The other plan is to put the RF plate at the same level as the top of the firebox, but I'm not sure if thats quite correct. I've got 10 inches from the bottom of the tank to the bottom of the door opening. and the FB is about 6 inches up, so that leaves me 4 inches from the RF plate to the cooking grate. Any thoughts on that?