Newb making custom smoker out of 275 gallon tank - Updated with heavy Q-VIEW!

  • Some of the links on this forum allow SMF, at no cost to you, to earn a small commission when you click through and make a purchase. Let me know if you have any questions about this.
SMF is reader-supported. When you buy through links on our site, we may earn an affiliate commission.

trizzuth

Smoke Blower
Original poster
Apr 20, 2012
136
14
Southcoast Mass
What's up meat smokers!  This is such a gem of a website, I can't believe I never came across it before.  Here's how I got into this:

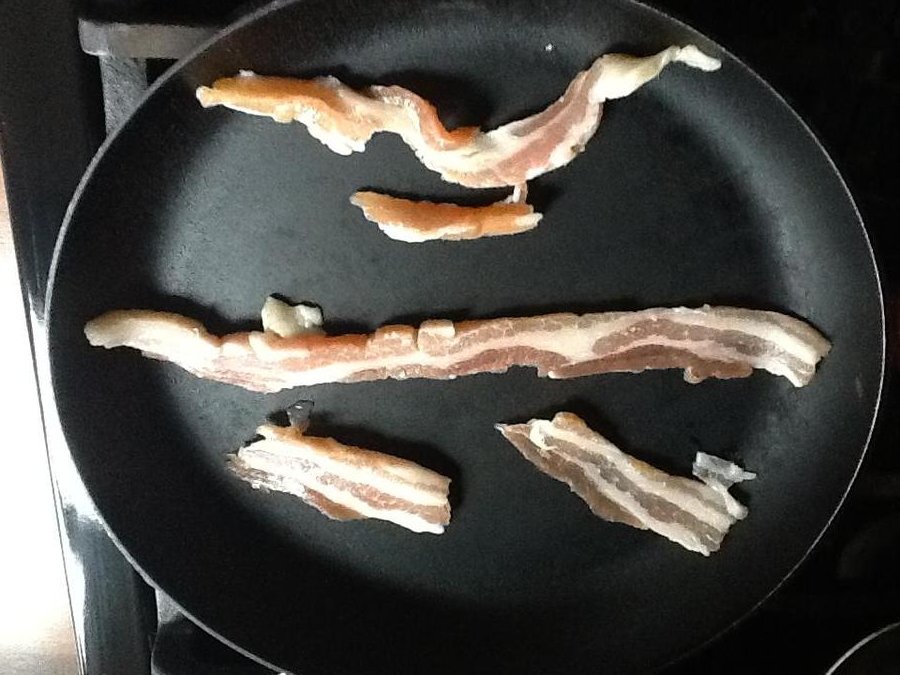
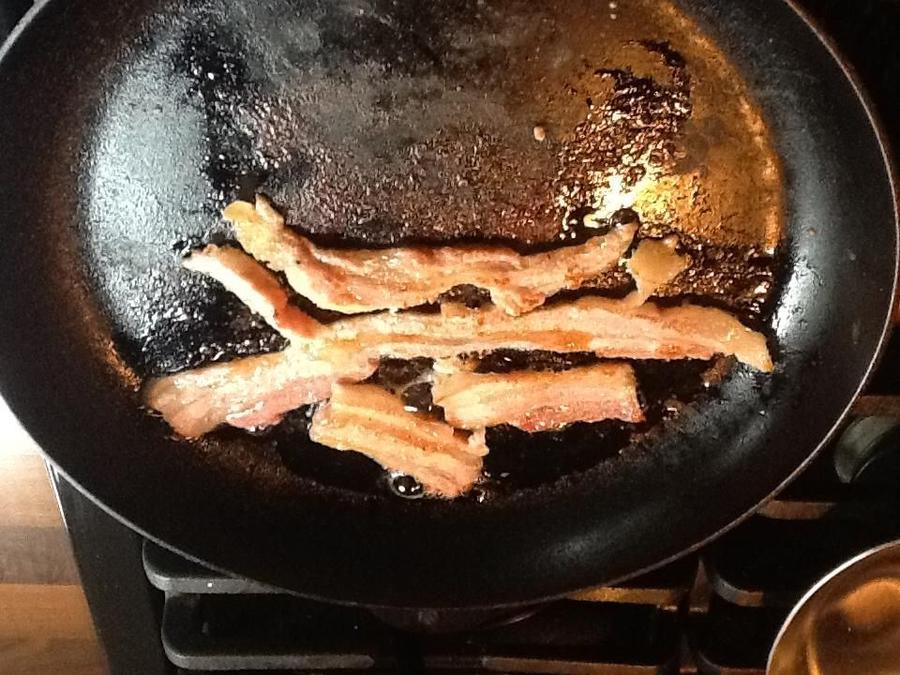
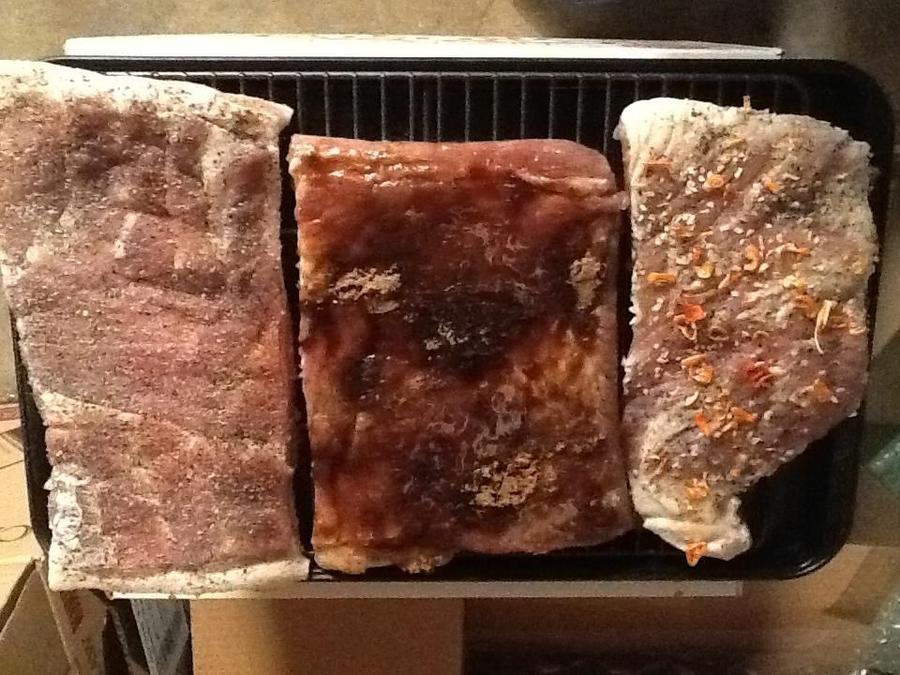
Converted oil heat to gas about 2 years ago, removed 275 gallon tank and put it in my back yard, wife tried to sell it with no luck, so my mind started churning as I had a small taste of what this can turn into by smoking about 100+ lbs of Chourico with my father in law in his back yard.  We used an old porch swing frame and installed some bars going across so the chourico could be hung.  Had a long slender fire all across the bottom and covered it with a canvas tarp.  Worked pretty darned well for what it was, but the only problem was that because the heat was not really "indirect" the sausages that were on the bottom got a bit to much heat, but man they were still delicious!  

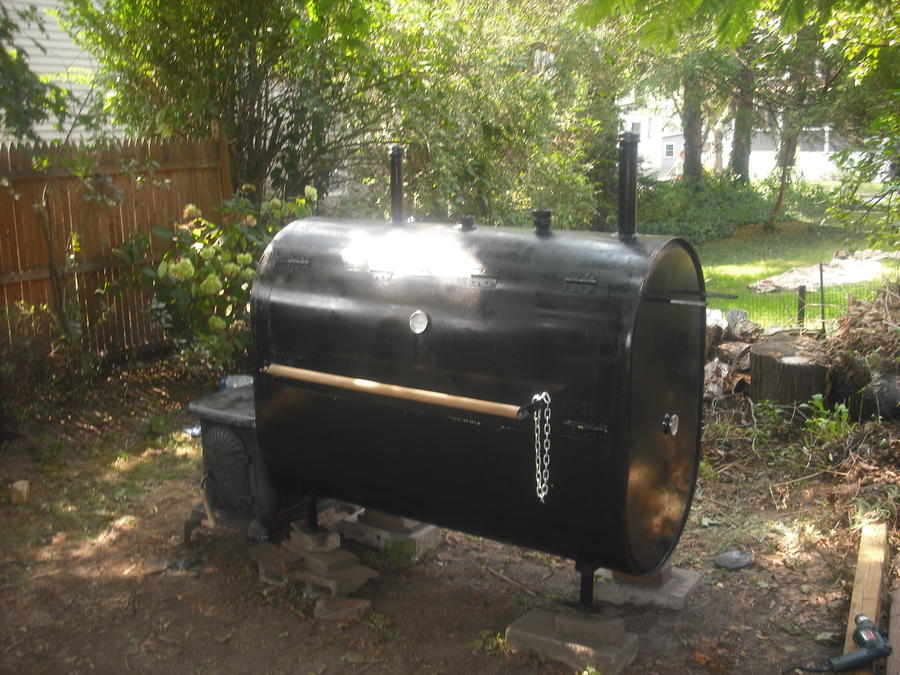
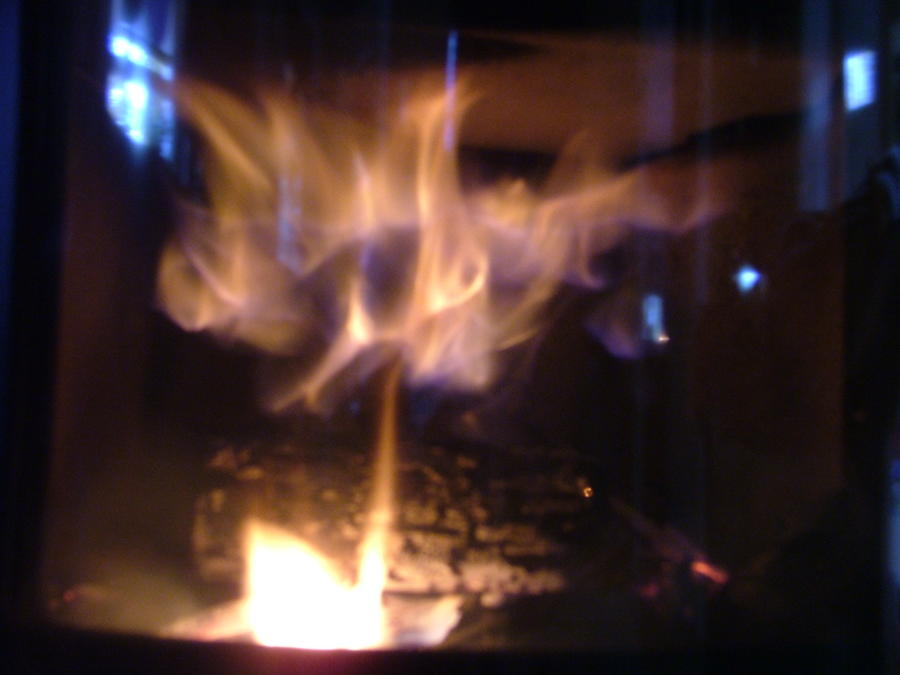
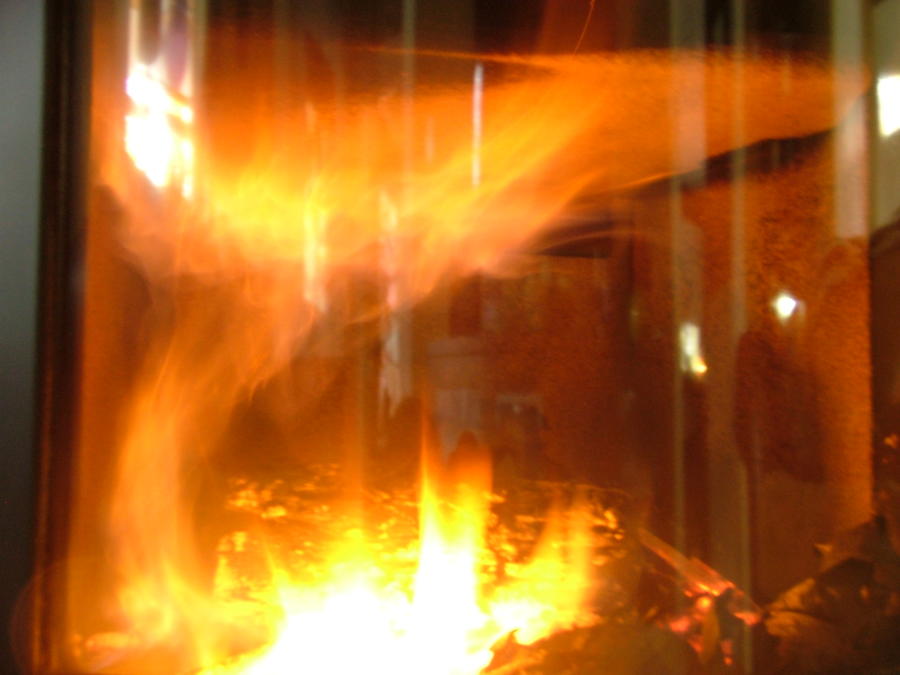
So far I have thoroughly cleaned the tank, set an enormous raging fire in there after I cut the door out (went through a gigantic pile of brush and the flames were all they way up to the top and out of the tank), then pressure washed the inside, and immediately lit another super hot fire in there as well.  Totally cleaned out now, smells like normal wood fire in there, no signs of oil residue anywhere.  Have the door hinged up with handle, thermometer and one smokestack.  Going to get two more for the other two fittings on top of the tank so my flow is good.  

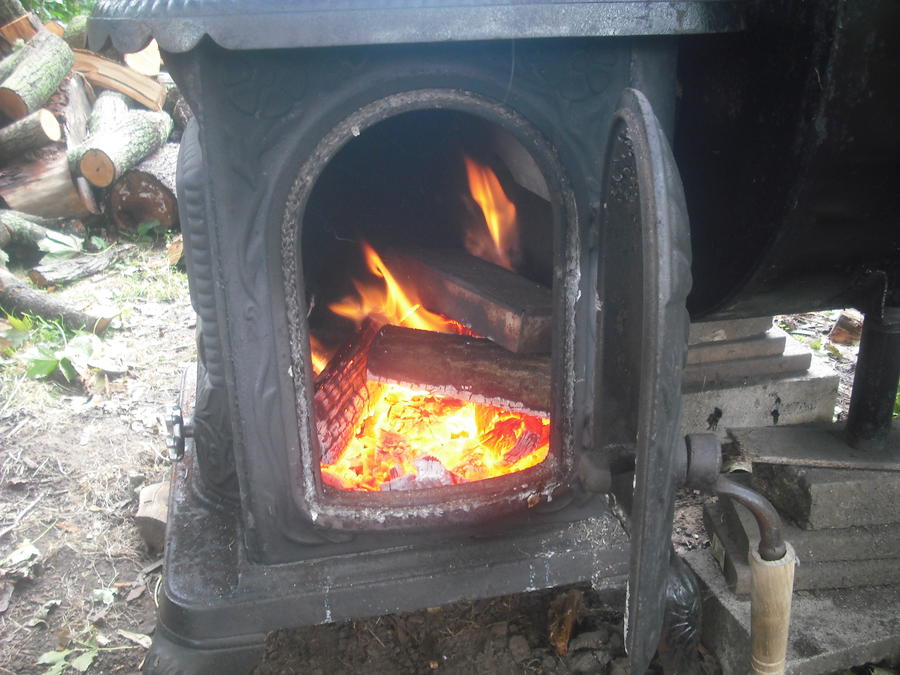
I have an old wood stove that I am going to put outside the tank that will have it's exhaust going in near the bottom for good flow of smoke and so i can control the fire really well.  Excited to fire her up for her maiden voyage, but still have a lot of work to do.

Need to buy or fabricate grates somehow and wanted to put some rods across the top for smoking chourico.  Have a buddy who's brother can weld, so I am bent on buying supplies and sending him the materials and measurements, or trying to buy existing grill racks online somwhere and making them fit.  I want to have a long rack that goes the length of the tank a bit below halfway mark, and rods above that horizontally for sausage.  

Any suggestions on what to do for the rack? what is my cheapest/best option at this point?

Great forum with tons of excellent information here!

P.S. tank I'm working on is in my avatar
 
Last edited:
Tizz.... hows the smoker coming.....  I saw you made some bacon....   Dave
She's all done Dave!  Here are lots of pics to enjoy.  Best part about this is that I managed to do this with NO WELDING.  I know, sounds sketchy, but it works very well!  From start to finish here's what I did:

1. Took a sawzall with metal blade, drilled a few holes into the corners and just went at it free hand! I was amazed that I cut the opening so straight.

2. Took large metal piece out and cleaned all residual oil out as best as I could with rags and then power washed the inside.

3. Burned about 4-5 VERY HOT fires in there, had some piles of brush I needed to get rid of, so I got the fire nice and high, all the way up to the top and in every corner of this tank.

4. Once the fires were done, the inside smelled only of a nice campfire :) 

5. Power washed it again once more and then let it dry out nice.

6. Very carefully I drilled more holes along the top edge of the tank and the door and bolted on my hinges.

7. Drilled some more holes and bolted on the handle.

8. Went to Lowes and figured out what size pipes I needed to extend the existing openings on top for the three smoke stacks complete with caps.

9. Used a drill and grinder to cut V shapes in the top of the sides of the tank, two on each side so I could put some long angle iron all the way through the tank to the other side for hanging sausages and meats.

10. Cut up some more angle iron (4 pieces) to wedge inside the tank below the door that would be strong enough to hold a grate.

11. A friend of mine picked up a small piece of expanded steel for me that is my grate for now, I will eventually get one that fits the entire length, but for now it does the job nicely.  Also drilled two more holes and added two temp guages, one on the front of the door and one on the far side, a bit lower.

12. Had my brother in law help me lift that 400lb old wood stove out of my basement and over next to the smoker.

13. Got the tank up on some bricks/concrete blocks so it was level and high enough so that it would connect to the wood stove as close to the bottom as possible.

14. Approximated the size of the stove exhaust hole, and went to work again with a sawzall and drill to cut the round hole for the exhaust.

15. Slid the stove over and into the exhaust hole and surrounded it with fiberglass rope used to seal wood stove doors normally, so it was nice and tight with no leaks.

16. Covered the outside with spray-can rust converter and then high temp black paint.

17. Then I test fired her up with some pork shoulders and ham hocks.  Came out really good for the first time!

Since then I have made about 120lbs of home made chourico with my Portuguese In-laws that came out quite smoky, but that was because I was using wood as my main fuel source AND adding chips and it was just too much smoke overall and a bit too much heat.

I then did another test by making a charcoal fire inside the tank right near the wood stove opening and adding chips to that.  Had some steel head trout in there that I had cured to make some smoked trout dip.  MY LORD that was amazing!  MUCH better heat and smoke control doing it this way.  I am fairly confident that I could now have a charcoal fire in the wood stove and add chips as needed and the smoke output would be much more controllable.  

Last, I purchased a 6x8 AMNS and did 3 slabs of bacon and my Virginia Country Ham, only using the AMNS, opening the door to the wood stove so air could flow into the tank and kept only one chimney open with the cap slid off just a little bit.  Worked great!  Bacons came out really good, but after about 7 hours of smoke, I think they could have had a bit more.  Ham was in there for 7 hours too, and the next day for 8 and I am going to put her back in there again today for about 8 hours if I can and she should be good to hang for 4 months and mature.

Enjoy the pics and feel free to ask me any questions, lots of ideas in my head with this, minimal tools used, tons of approximation and overall, it came out pretty good!


Smoker looks like it cooks well... food looks good....   applause all around....    The cast iron stove looks like it should be in a museum....    Dave
 
Smoker looks like it cooks well... food looks good....   applause all around....    The cast iron stove looks like it should be in a museum....    Dave
HA! funny, that cast iron stove was in my house when we bought it in 2007, had the word "Comforter" on the front with some nice detailed birds, etc.  Heated the house up nice, but unfortunately was sitting on top of this gigantic brick hearth that took up half of our living room!  So we left it for awhile and used it and eventually decided to move the old stove out, remove the brick and get a new Danish modern wood stove that is extremely efficient.  Proud to say that I did all that work myself, many measurements and reading codes, etc because we wanted to put the new stove onto the floor using only a large thin metal plate.  I SWEATED out the building inspection, and when he came, he took one look, said to me "Looks good, you're all set" and left! HA!  all that sweat for nothing, but it was all worth it to get to see the upside down waterfall flames every day in the winter!  I did research that old wood stove online and found a few more examples, made in New Hampshire, and they were selling for around $100 or so, so I said screw it, I am keeping it for the fire box for my oil tank smoker, and now she sits. 

Of course I have pics to go along with this story!

First, old wood stove and hearth taking up half the living room when we started renovating the house ourselves, then a pic of the old wood stove in there after we renovated, and last final finished product of new Rais Mino stove with steel plate and the most amazing wood stove curved glass fire view ever!  Added a few pics of the flame and ghost flames this thing produces from burning the exhaust gasses due to it's crazy baffle system, not catalytic converter in this stove, just the way the air flow is designed, it recycles the smoke and burns that too!  It truly is amazing, when you see the flames in person it's unreal.


Nice remodel...  
icon14.gif
 ....
 

I built basically the same unit 20 years ago, but used an insert fireplace, originally had a rotisserie, but found it was not needed.

Worked great, once did a whole 35 lb. lamb, and a "dressed out turkey at 40 lbs." at the same time.

Also had a second rack under the main rack, so that I could put aluminum roaster pans with water, or other liquids, under the meat and make it childproof cooking.

Later installed a 2" pipe manifold with 2 holes at 2 " intervals along the bottom length of the unit for higher heat barbeque of beef hip roasts, etc.

Just inserted a large roofing propane rosebud tip into the opening on the end. Used a soupcan to close it when not needed.

The old girl lasted 20 years,but sadly,I made the decision to scrap it, as it is no longer repairable, and I don't do the big parties anymore


.

Just last week,I made my first "UDS", and it worked flawlessly.

Thanks to info on this site!!!!
 
UDS looks great!

Bertha is covered in 24 inches of snow right now :(  might have to dig her out this afternoon and get my ham smokin again!
 
SmokingMeatForums.com is reader supported and as an Amazon Associate, we may earn commissions from qualifying purchases.

Latest posts

Hot Threads

Clicky