smokingrk
Smoke Blower
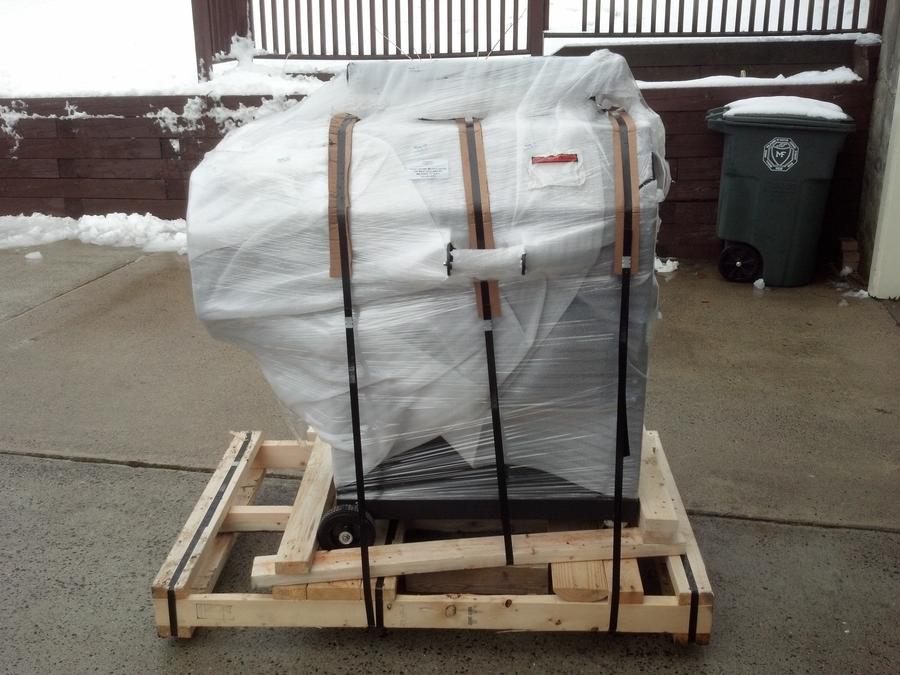
After a long wait and some research, pulled the trigger on the Yoder
it arrived in the mess of wet snow and sleet ...but then the sun came out
Uncrated and not a scratch on it -
All parts inside wrapped nicely
Taking it off the pallet by myself was not easy but used some boards removed from packaging...
Our dog Java helped ,looks like he's saying I'm smelling something cooking.
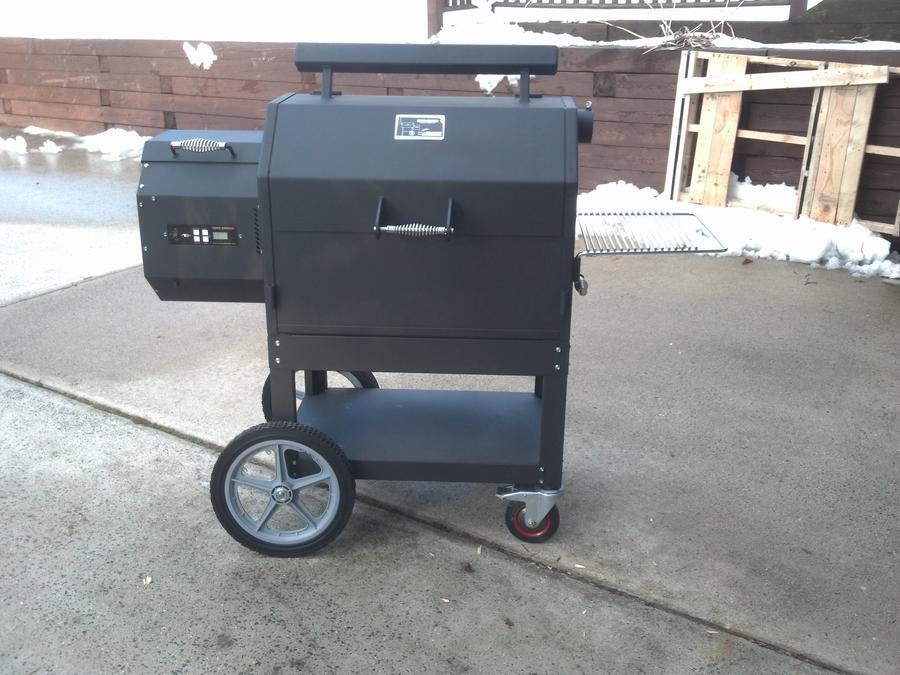
First mod was wheel change, there was no way the original wheels were making it thru
our grass and hill
Easy change
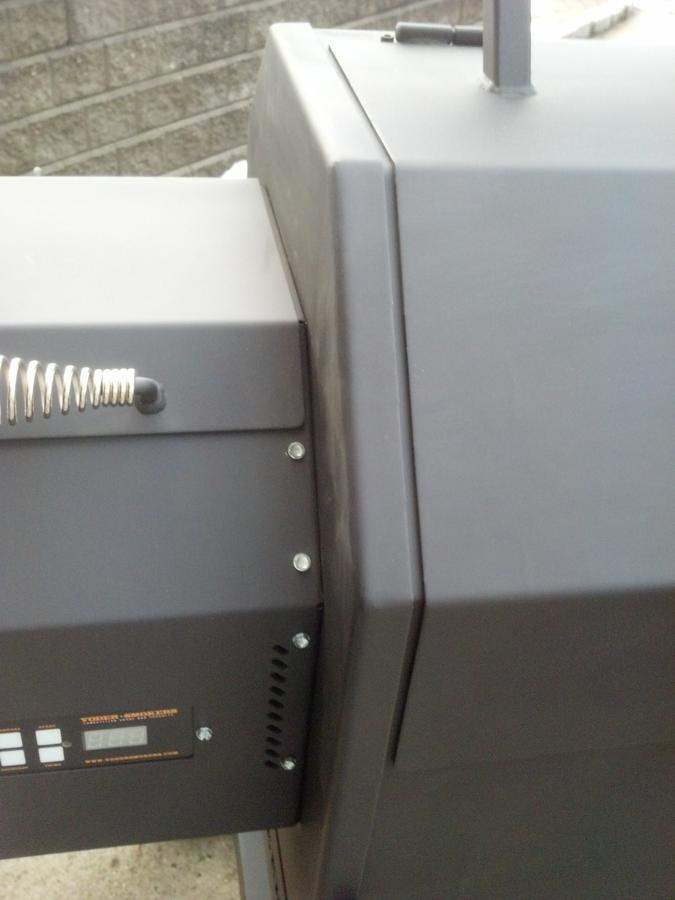
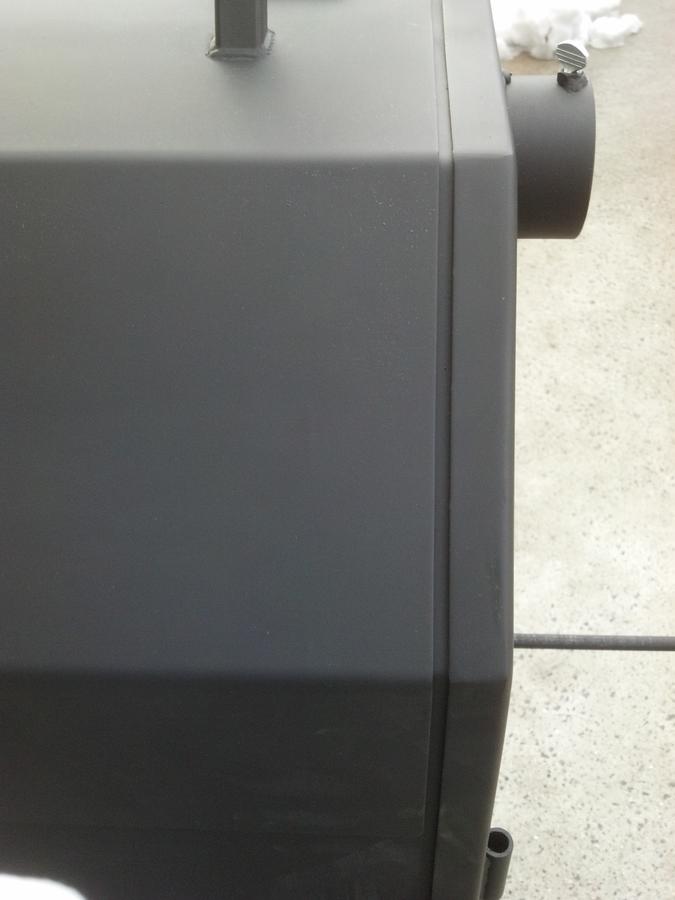
Wanted to point out that the seams on the door and contact seal is almost perfect.
Great job in assembly and welds
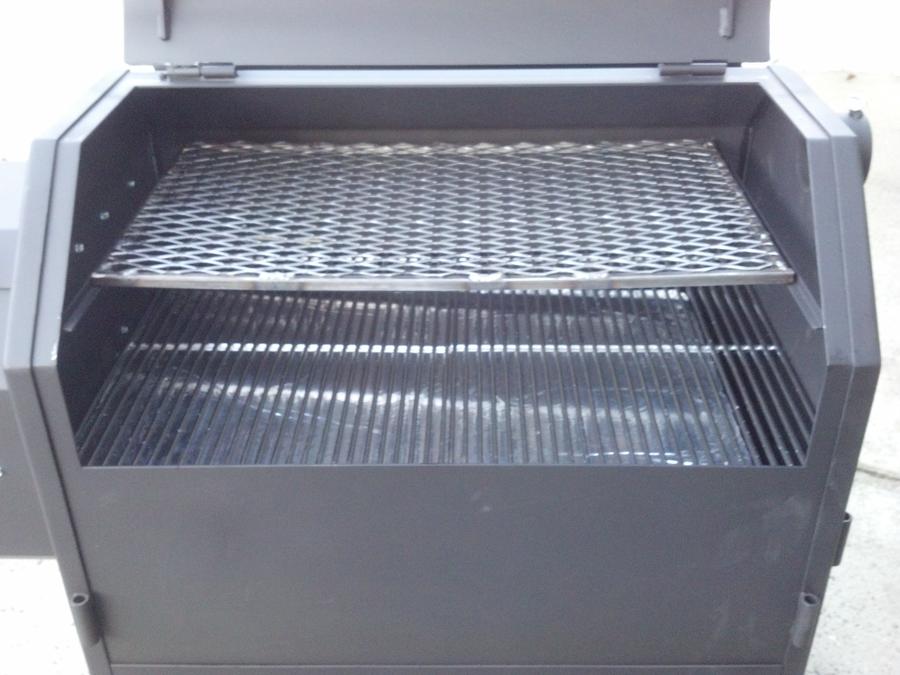
Grates installed and ready for burn-in
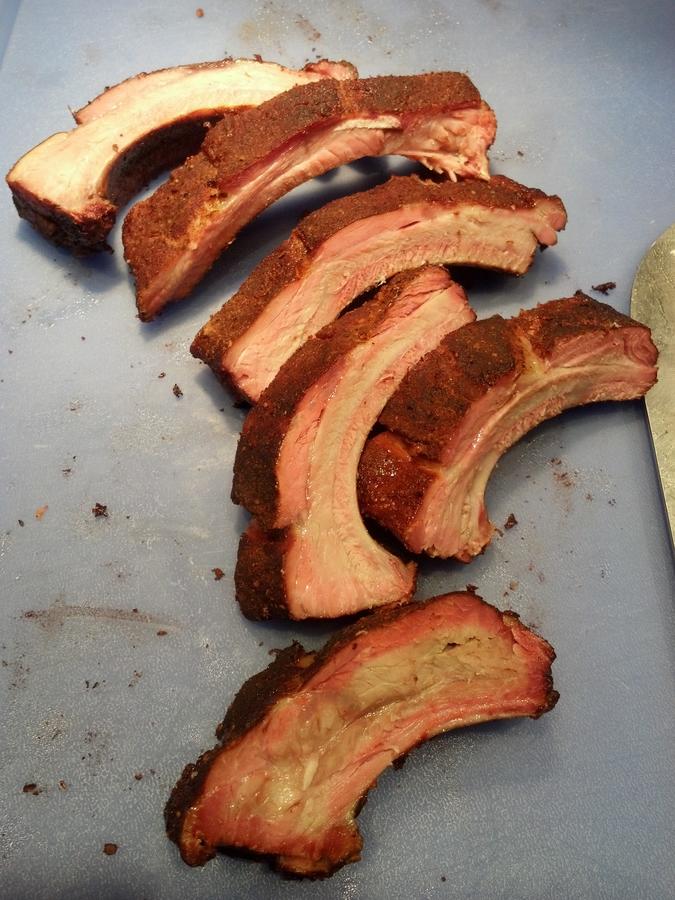
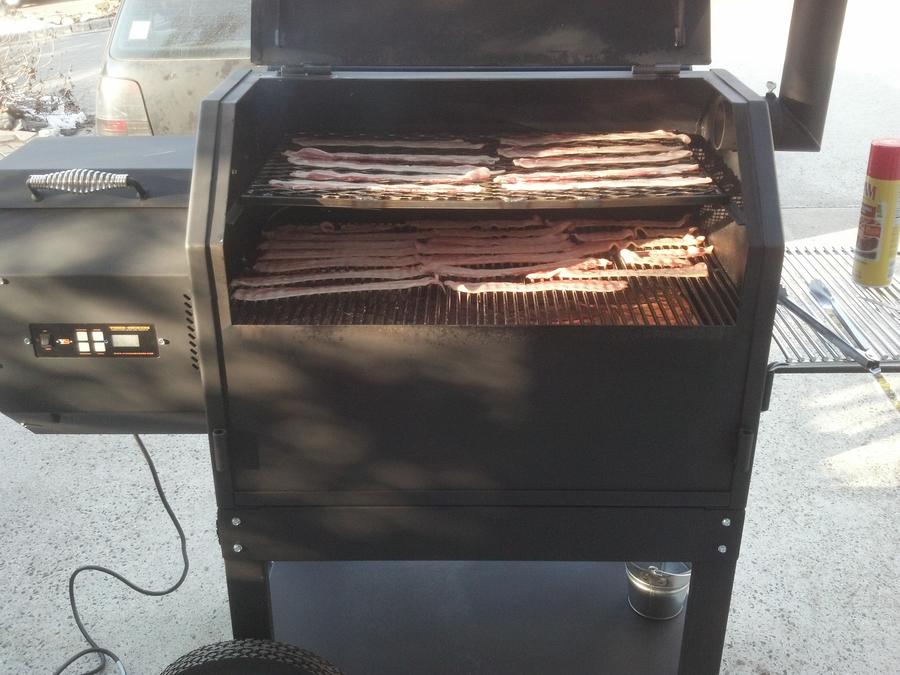
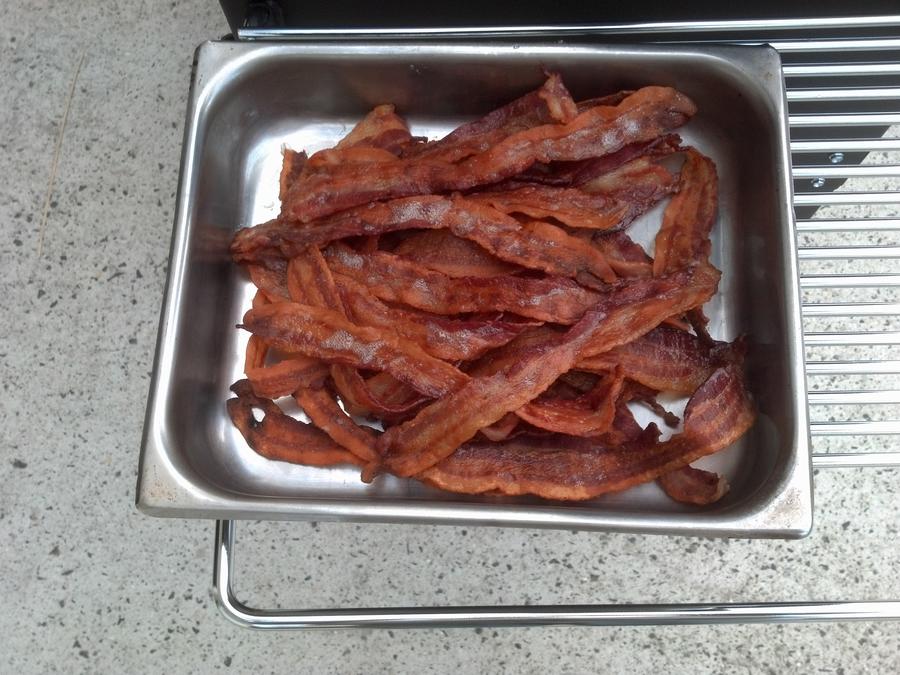
Did the burn in, added bacon as first cook to season...
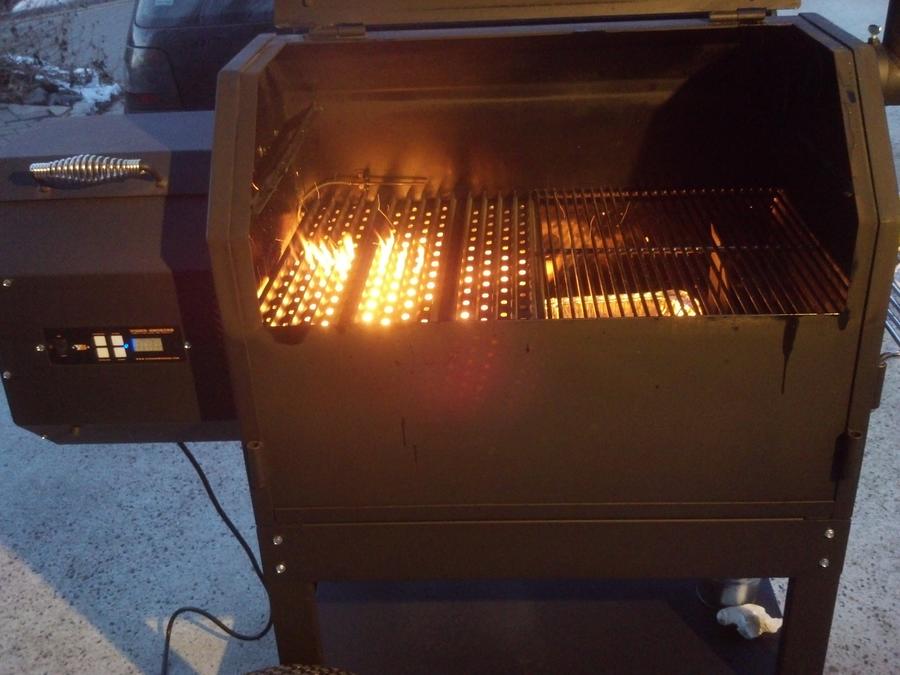
Removed heat deflector and left side grate and add grill grates, fired it up to 600 F
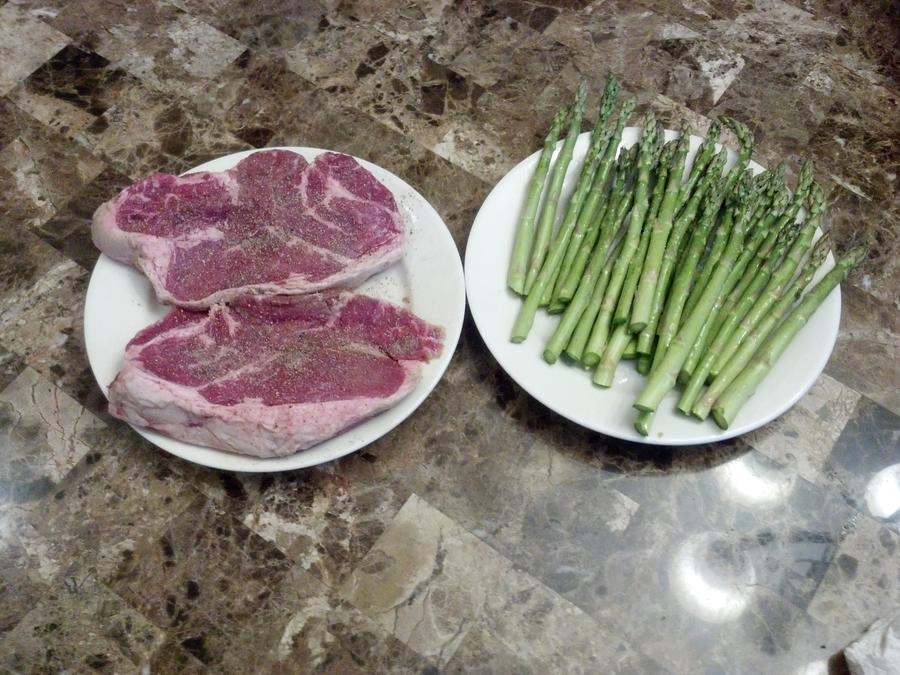
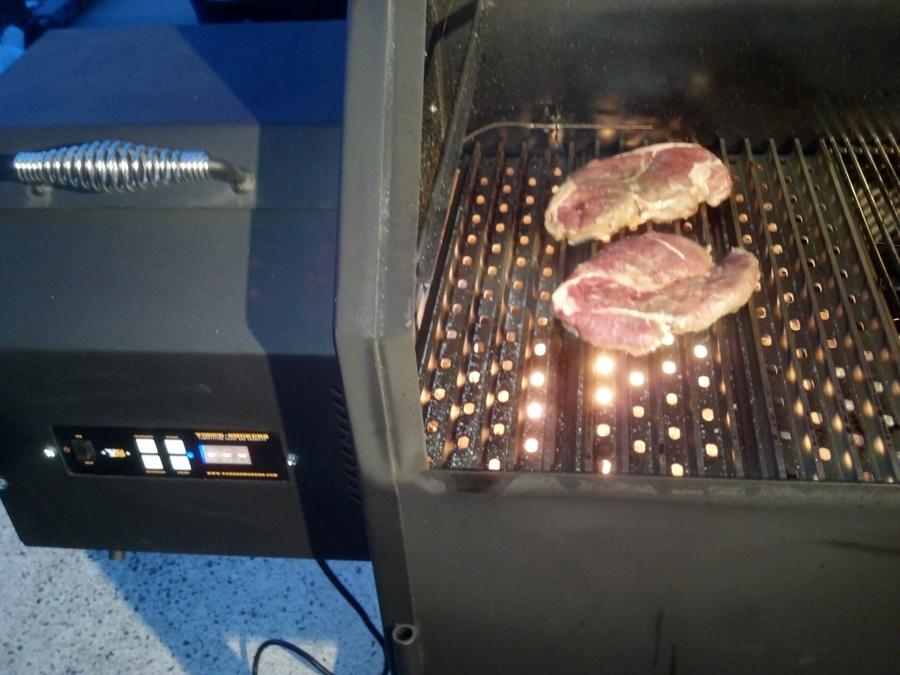
12 min later steaks went on...
Finally dinner...timed it from lighting to dinner plate 35 minutes! steak had great flavor with touch of smoke, as did the asparagus
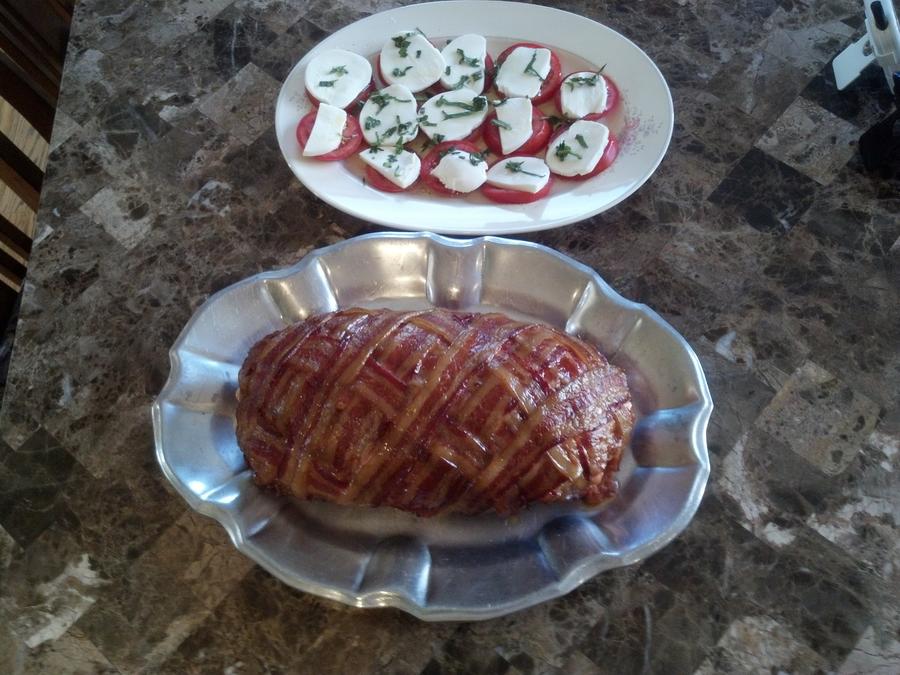
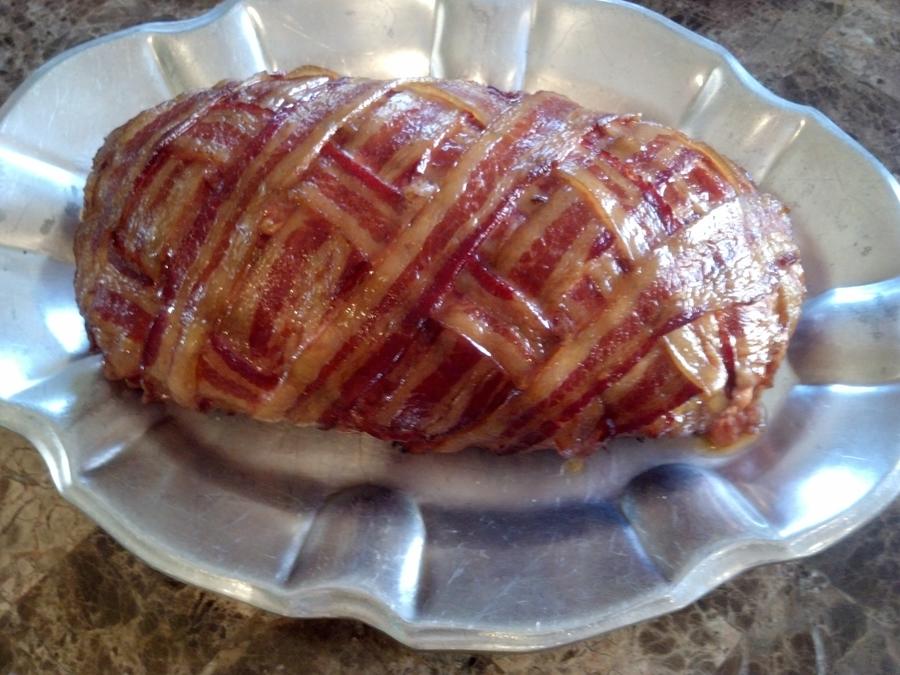
and added it all to some tortellini...
Apologies did not take shot of steak after cutting.
Will post next mod for temp probes, tomorrow or Saturday.
Anyone in Northeast have a good distributor for wood pellets?
Ordered some on line but shipping basically doubles the price.
Hope you enjoyed the pics!!
it arrived in the mess of wet snow and sleet ...but then the sun came out
Uncrated and not a scratch on it -

All parts inside wrapped nicely

Taking it off the pallet by myself was not easy but used some boards removed from packaging...
Our dog Java helped ,looks like he's saying I'm smelling something cooking.

First mod was wheel change, there was no way the original wheels were making it thru
our grass and hill

Easy change
Wanted to point out that the seams on the door and contact seal is almost perfect.
Great job in assembly and welds
Grates installed and ready for burn-in
Did the burn in, added bacon as first cook to season...
Removed heat deflector and left side grate and add grill grates, fired it up to 600 F
12 min later steaks went on...

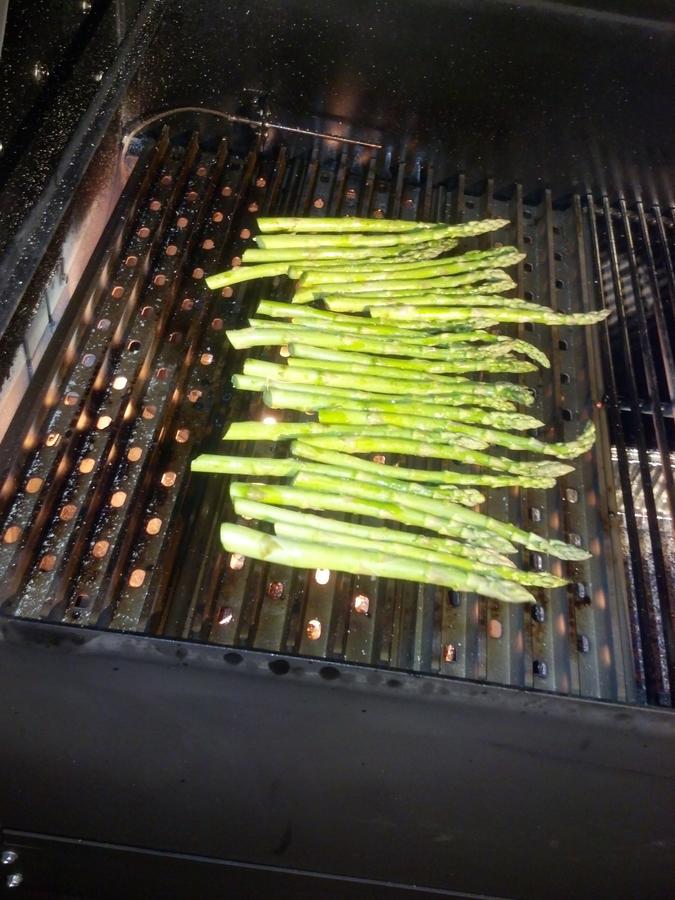
Finally dinner...timed it from lighting to dinner plate 35 minutes! steak had great flavor with touch of smoke, as did the asparagus
and added it all to some tortellini...
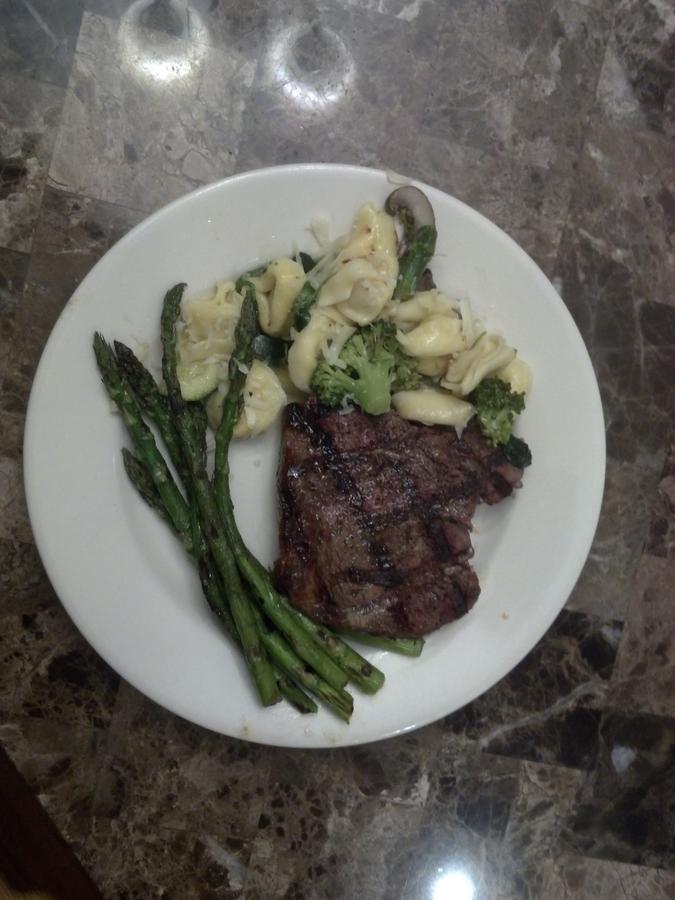
Apologies did not take shot of steak after cutting.
Will post next mod for temp probes, tomorrow or Saturday.
Anyone in Northeast have a good distributor for wood pellets?
Ordered some on line but shipping basically doubles the price.
Hope you enjoyed the pics!!