Need Help With A New Reverse Flow Build 275 gallon

  • Some of the links on this forum allow SMF, at no cost to you, to earn a small commission when you click through and make a purchase. Let me know if you have any questions about this.
SMF is reader-supported. When you buy through links on our site, we may earn an affiliate commission.
 
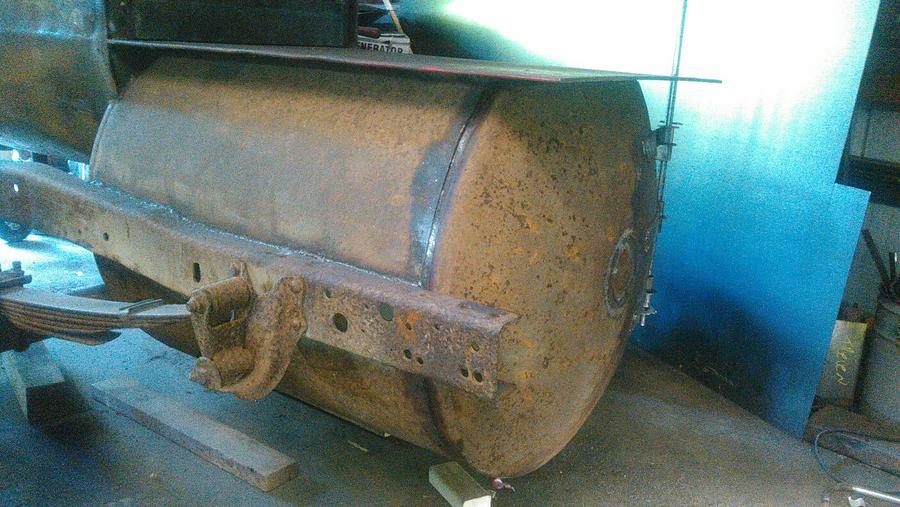
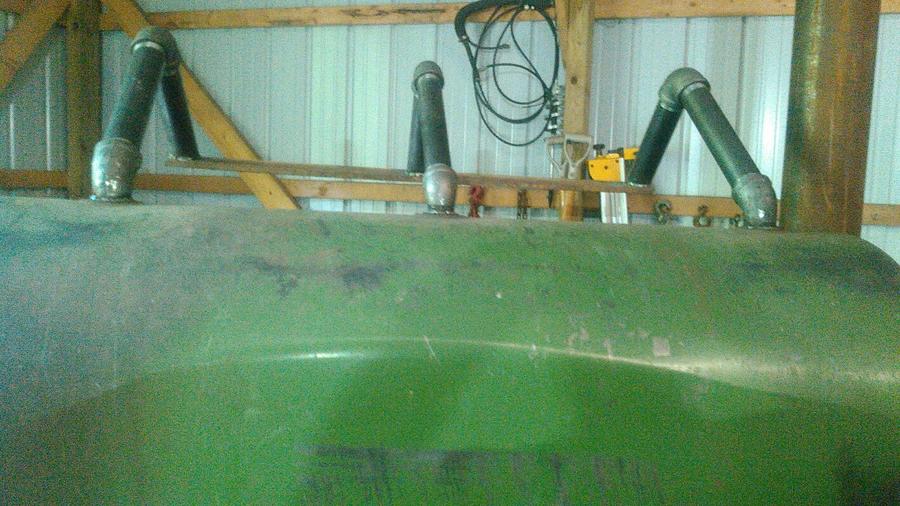
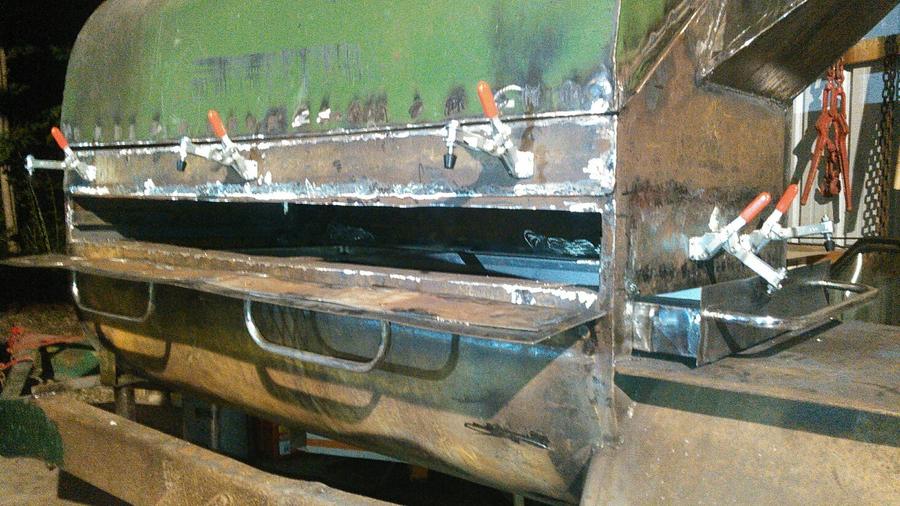
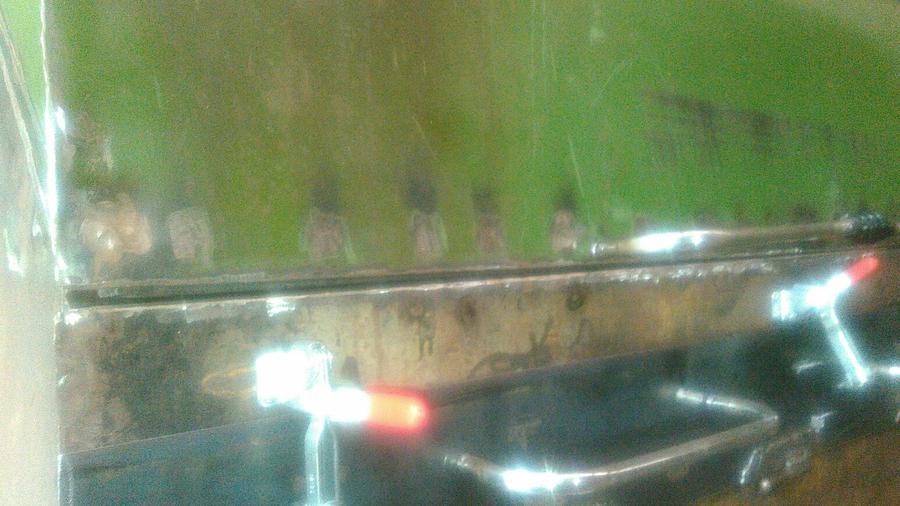
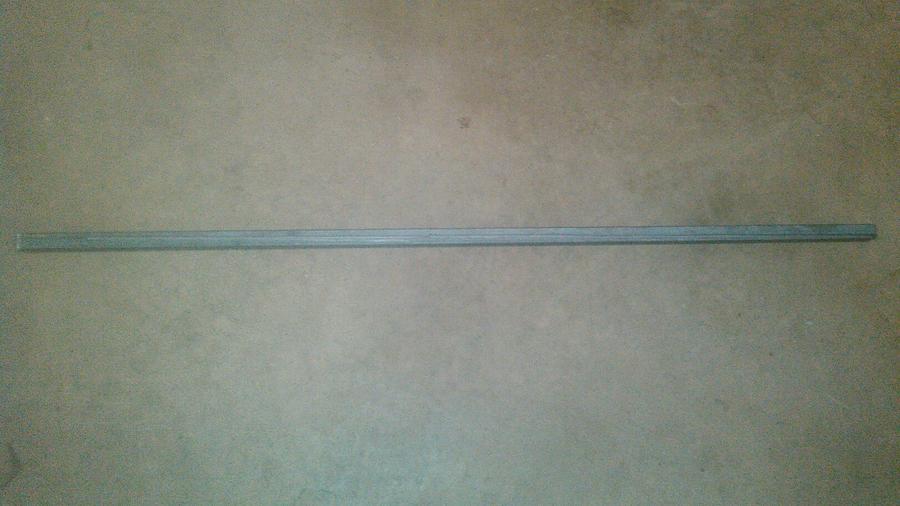
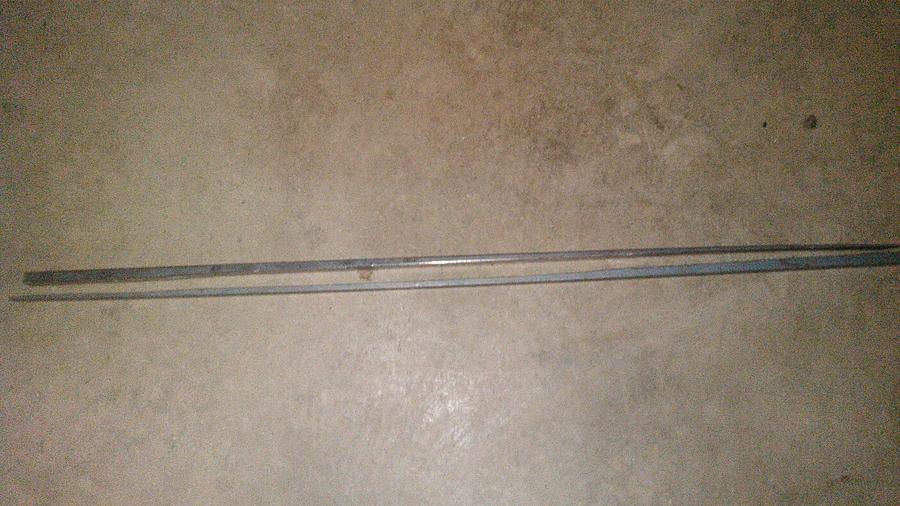
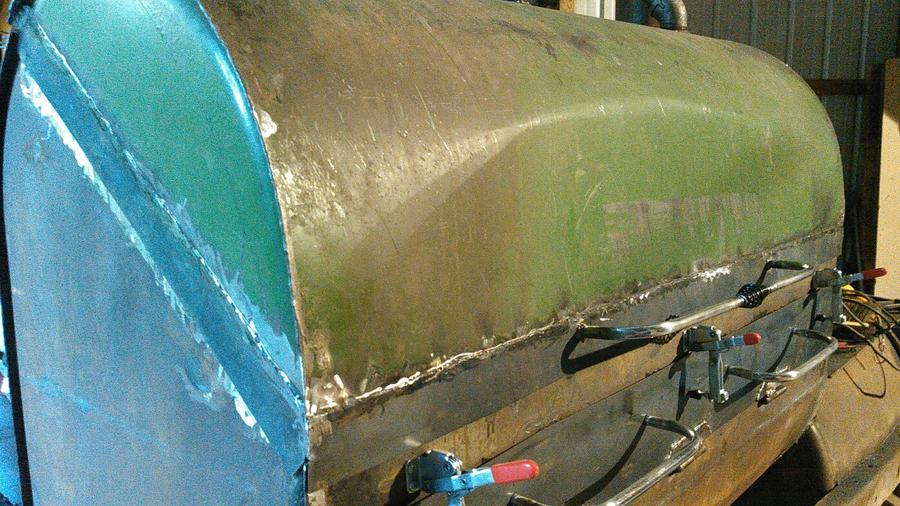
Yes, it'll fit out the door. The photos may be a deceptive, but the stack is only about 39" long. It was that length when I pulled it out of the scrap bin and will need to be cut down about an inch to get the 38.194".  Since its near the top of an already tall 275 gallon tank, I won't be worried about smoke blowing in my face from the chimney.      
I'm by NO MEANS WHATSOEVER an expert but I wouldn't think you'd have to worry about cutting an inch off your stack to get the number from the calculator. Dave or one of the other experts would know for sure but I thought one of them said in my thread for my build that numbers don't have to be exact just pretty close to operate effectively. Just  a thought.
 
 
.... I wouldn't think you'd have to worry about cutting an inch off your stack to get the number from the calculator. ...
 Exactly right.

Most of the numbers from the calculator can be considered minimums, with no problem going bigger within reason. A little bit shorter or taller on the stack is OK, but we try not to go shorter than 30" on most larger smokers. The stack height will be just fine going taller than the calculator recommendation.
 
  • Like
Reactions: tykenn28
Thanks for the information.  I wasn't going to trim the stack down until I determined how the draw through the smoker was working. A quick measurement shows the top of the stack to be 8' 3" off the ground.  I'm going to move the axle to the other side of the leaf springs and may change to a smaller tire in order to drop the grate height, so the stack height should drop also.  The grate height and the ground clearance are both important considerations.  
 
I was slowly working on the smoker and was even slower to take and post photos.  While working on it last week, it shifted, rolled, and pinned my arm.  It was a strange occurrence as its very stable, but I had the racks out and the firebox door open, so I think the weight was unevenly distributed to the rear. In short, I shattered one of the bones in my arm and am recovering.  No sympathy needed as I've been racing, wrenching, building, and involved in all sorts of physical activities for many years with no broken bones, when on many occasions I deserved them. 

 
I found an old well tank of some kind that I turned into the firebox.  Its round shape made for some challenges, but its at least 1/4" thick and should be plenty strong.  It was difficult to weld to over the cold winter months and continued to draw moisture even after being preheated.  I have never had welding training, which is evident in my stick welding.  I'm learning how to MIG weld on this build, which appears to be easier.  I purchased the trailer after the tank, so I measured many times to make certain the tank would just fit between the frame rails. 


The fire rack still needs some expanded metal on the top, but is made out of 1" steel round bar.  The price was almost the same as the 1/2" bar and I've had fireplace racks warp in the past, so I figured I'd go big.  It can be lifted out, but its heavy and stays in place due to the curved firebox sides.  The section of the top that I cut off for the RF place, was trimmed and is now the ash pan.  I need to add handles to it, but it's also heavy and will help protect the bottom of the firebox.


Last edited:
When I attached the firebox to the cooking chamber, I folded the lower portions of the cooking chamber down into the firebox instead of cutting them completely off.  It may cause some increased friction for the air flow, but I thought it was a good way to create more welding surface to connect the two chambers.


Last edited:
As you may recall from the first posting, the previous owner had a water pan or ash pan that ran the full length of the smoker and had a rack just above it that sat inside the pan.  I have now shortened that pan, which will be a water pan for me.  It slides out to the right of the cooking area on top of the 1/4" RF plate and over the firebox.  The rack that was just above it is being moved to the front of the smoker as a second rack that is above the water pan and below the main upper rack. 


The previous owner who started this project did not pay attention to whether or not things were square or straight.  As a result, it has been challenging to try to get surfaces to line up as all sides of the tank go in and out and the corners are not 90 degrees. The lid has proven to be particularly fun and is still a work in progress.  The lid was cut at a strange angle, so the hinges are high, making the top heavy (I can offer X-ray evidence of it's weight) and awkward to open.  I added a counter weight set up that also works as a stop for the top.  I may add some more weight to the rear flat bar, but it helps a lot.


Since the rack that was in the water / ash pan that pulled out to the right side is now pulling out the front, I cut an opening in the front and added metal framing to support it and allow it to slide in and out.  I also took the two top racks that each covered half the grill area and welded them together into one large rack as I'm planning to do whole hogs on this smoker.  In the photo below, you can also see inlet side of the plenum and chimney.  Again, the previous owner's top angle and heavy framing around the cooking chamber opening made the process of adding the plenum more difficult than it would normally be.  Please understand, I'm not complaining about the prior owner as I knew what I was planning when I purchased it. I'm just pointing out that every decision made quickly affects decisions and plans that follow. 

 
Last edited:
Bummer about the arm, but great progress on the smoker.

You really only need one arm to weld
icon_smile.gif
 
A little update.  The water pan flange, handles, and latches are done. The front lower rack door is done with the hinges, handles, and latches all in place.  I need to buy some gasket material for the doors and top.  I've read some information on the forum, but almost every suggestion has been identified elsewhere as a problem. I'd like something 1/2" wide and self adhesive would be ideal, but not required. If you've found success with a particular gasket or suggestions, please let me know. Thanks in advance.


Since putting the top on, there has been a large gap on the left front corner.  I tried several things before, while, and after the hinges were welded on, but I was only able to lessen it and not eliminate it.  It appears the top must have twisted or was used as a speed bump in front of a Jenny Craig clinic before it came into my possession. Anyway, I decided my best option was to add metal flat stock to fill the gap.  I'm not an expert, but the steps I used are below in case they will help someone else. (The photos are from my cell phone and some aren't as clear as they should be.  Sorry for that.) 

Gaps before:


I held 5/8" bar stock inside the smoker and traced the gap with a pencil. I then darkened the line with a marker and cut to fill the area:


After lots of trial fitting and grinding to get the best fit, I clamped and spot welded it in place.  I spot welded both the inside and outside to prevent it from twisting.  I then welded the entire outside seam and added some additional spot welds to the inside.


I did the same process for the gap on the side and grinded them smooth.


It may not be perfect, but I'll take less than a 1/16" gap over a 1/2" gap.  I plan to use some gasket material and trim the edges with metal to protect the gasket and further help seal it.   
 
Last edited:
The top trim is on.  Despite the uneven smoker sides and top, a little extra grinding, hammering, and planning all seemed to work well as the trim looks to fit well.  Due to the top's design, I was unable to trim the upper rear area near the hinges, which I anticipated. I'm still waiting on gasket material to arrive, but will probably try to address smoke leaks before installing it. 


I finally got around to adding two supports under the smoker.  They both hold the cooking chamber weight and tie the two trailer side rails together.  I was able to come up with a way to use the original tank legs after moving the rear set more towards the center.  I know the tank leg design must be strong as they have held the weight of 275 gallons of heating oil for many years, but the brackets less stout than I would have designed.

 
The next challenge is the firebox inlets.  My firebox door is curved, so I planned to take some 4" x 4" square tubing and placing it horizontally with sliding closures in a very similar fashion as most square firebox builds.  However, because of the round firebox and trying to get the lower inlet at least partially below the fire grate, the 4" x 4" square tubing will not give me enough inlet area.  I'm considering cutting the needed inlet area into the curved door surface and then try to bend some metal to the door contour to use as closures.  If anyone has any ideas or suggestions, please throw them my way.  Below is the firebox I have to work with. 


Last edited:
Unfortunately, I think side inlet sliders would be tough to get to under the frame rails and would be partially blocked by leaf spring shackles.
 
If you can get your hands on some 3 x 3 angle iron, you could put two pieces together like channel... I__I, cut some slits to inset them into the dome, then cut and plate the ends and cut holes in the now 6" flat. It wouldn't be too hard and it doesn't look like your dome curves much that wouldn't be taken up by the 3" angle sides. Does that make sense? I don't think it would be hard for you to do it that way and you would get a flat area to mount your vents against. Channel would be ideal, but finding it may be a challenge, I have some 3 x 6 angle scrap pieces, where are you located?
 
BO, afternoon...... there should be 2 sets of air inlets in your firebox.... one air inlet under the wood grate and one across from the FB/CC opening......

RadioGuy provided a GREAT PICTURE of what you should be trying to accomplish....
 
Last edited:
SmokingMeatForums.com is reader supported and as an Amazon Associate, we may earn commissions from qualifying purchases.

Latest posts

Hot Threads

Clicky