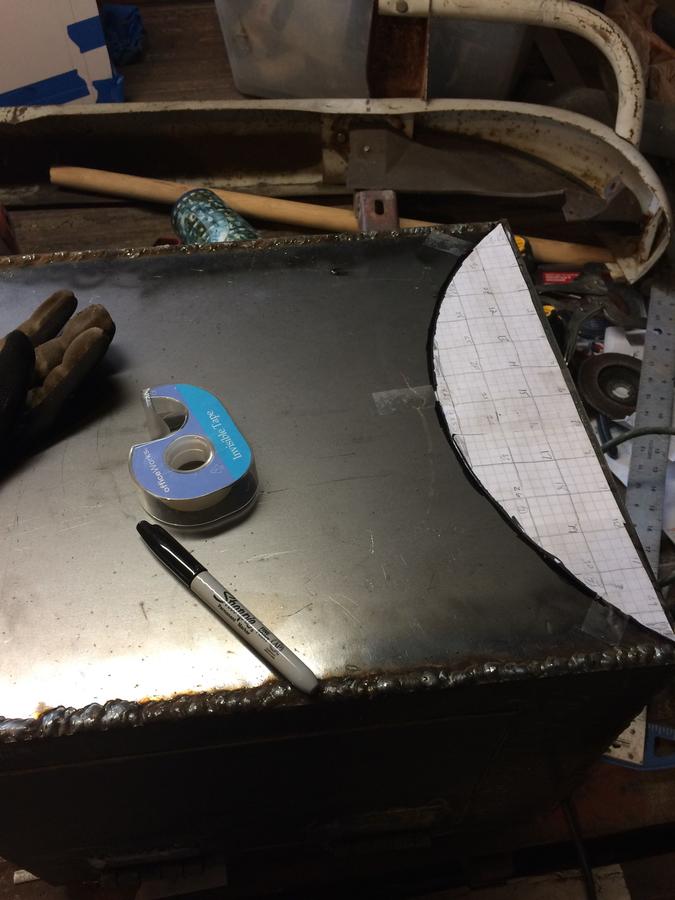
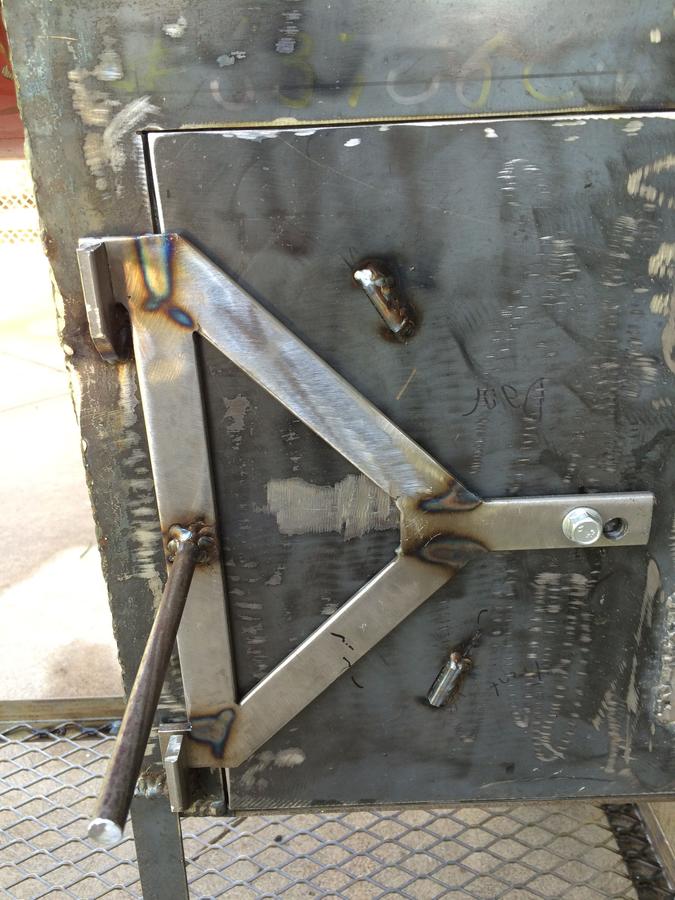
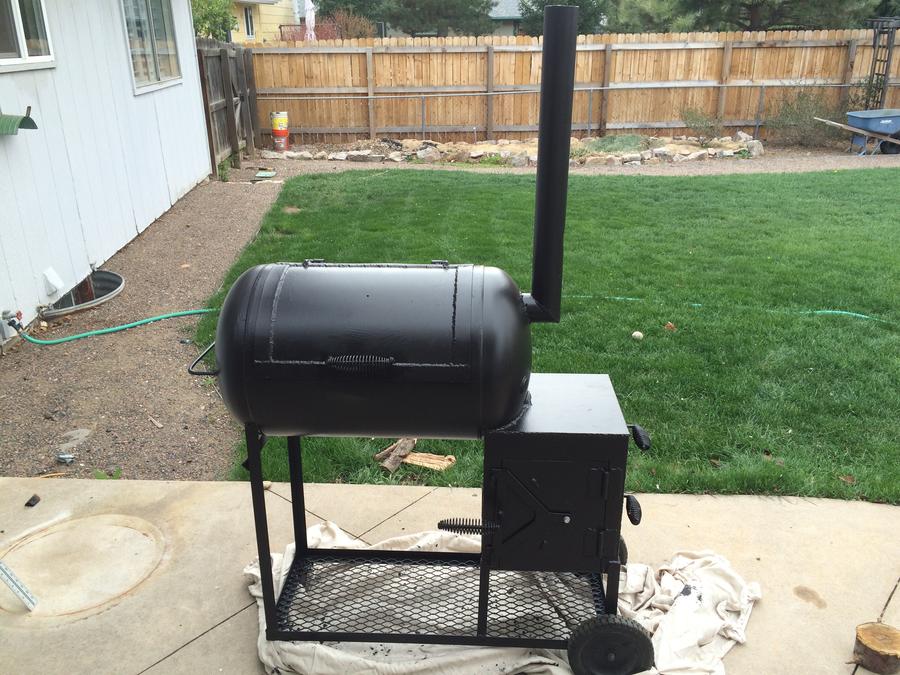
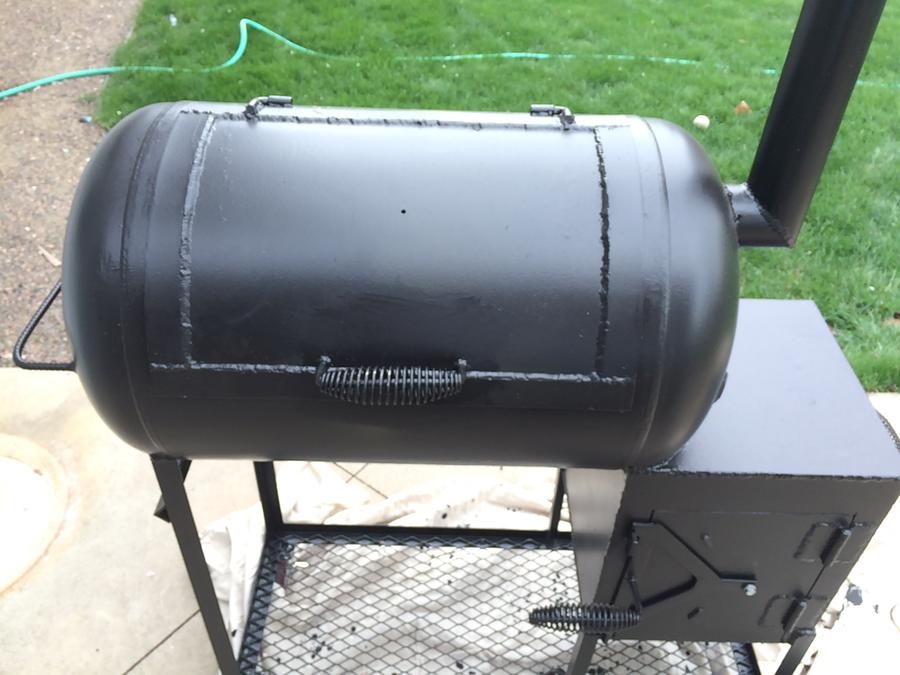
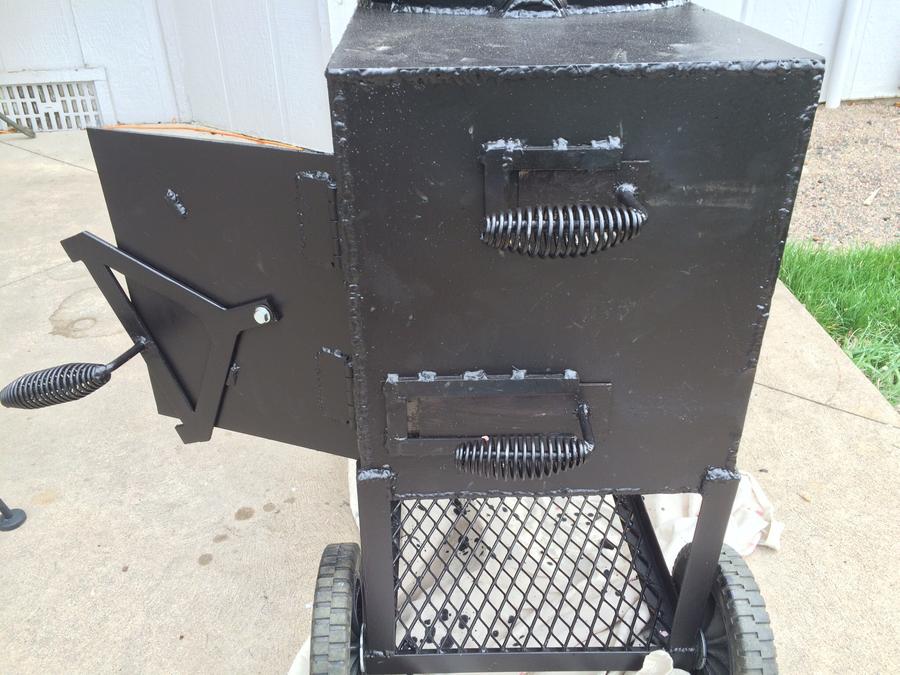
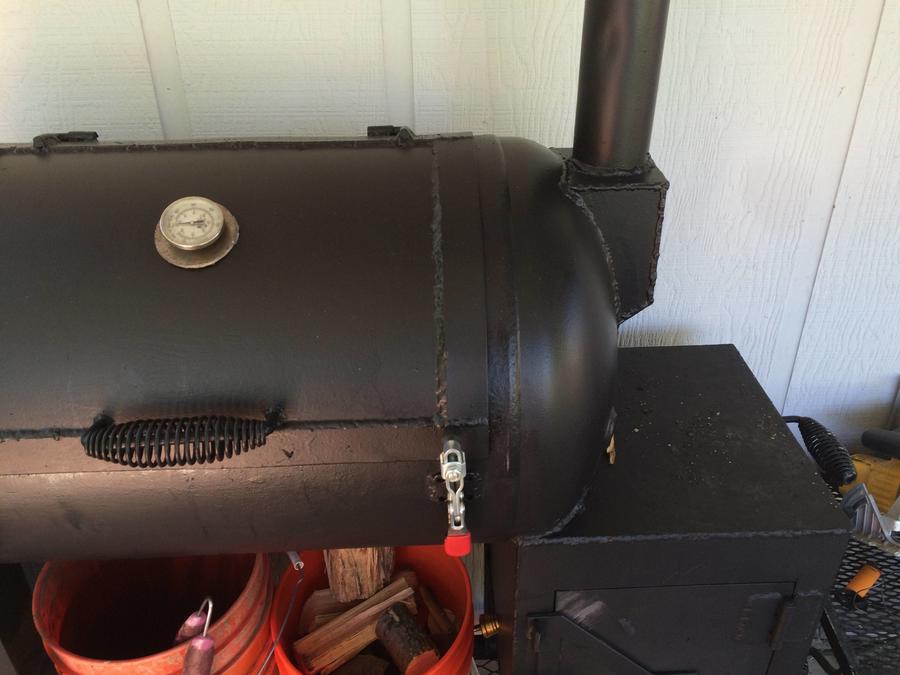
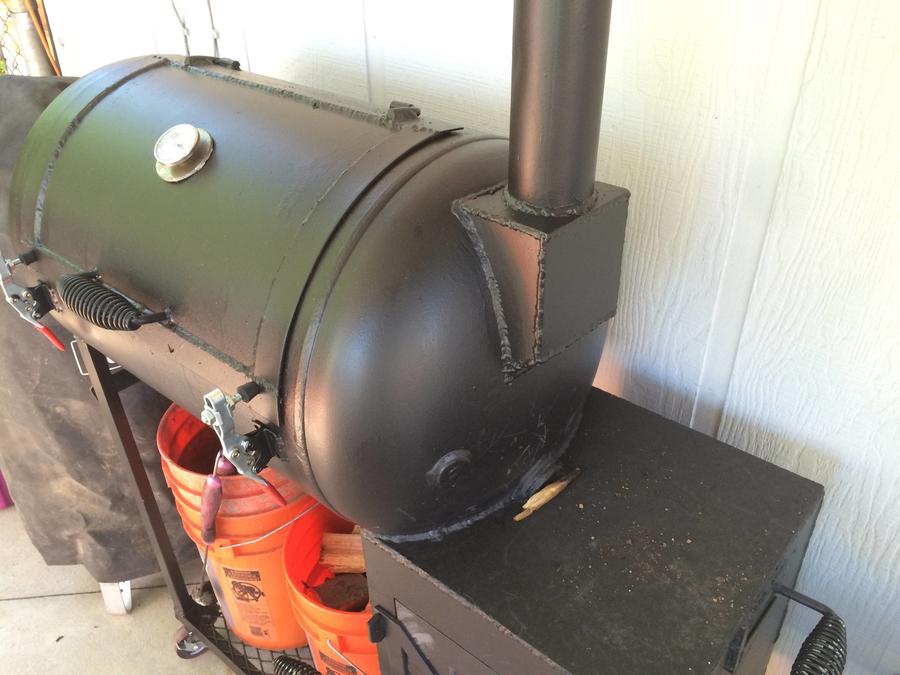
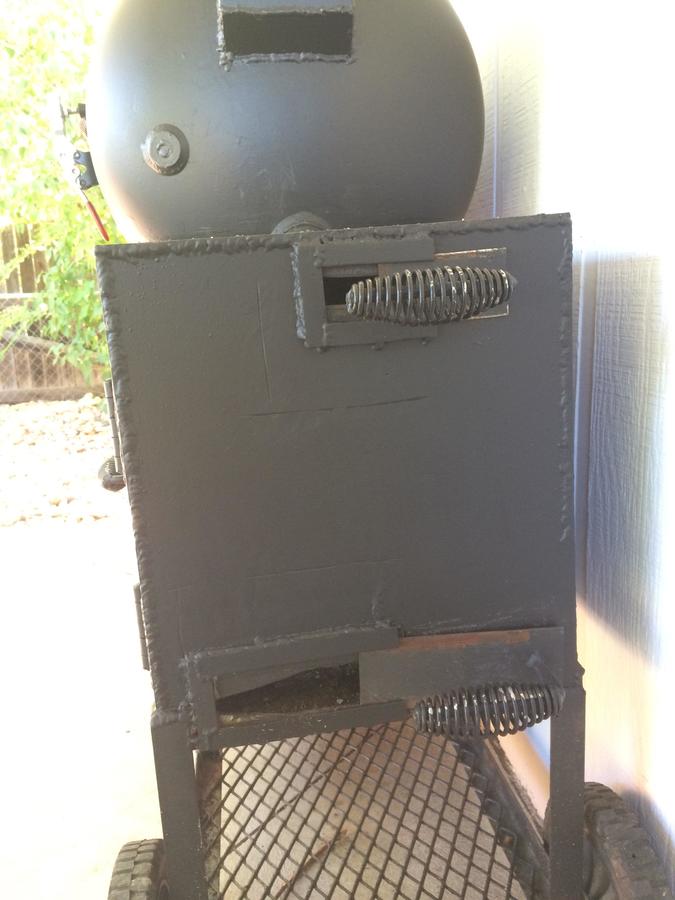
Thanks. One more question for clarification. Because it exits the side about 6" from the top of the cc, does the pipe length start at the top of the cc which would actually make the exhaust tube 36" in lenght Or do I just do 30" from where the pipe starts its vertical ascent? Instead of a box then the round tube on the side, I think I'll just use the round tubing all the way.
-
Some of the links on this forum allow SMF, at no cost to you, to earn a small commission when you click through and make a purchase. Let me know if you have any questions about this.
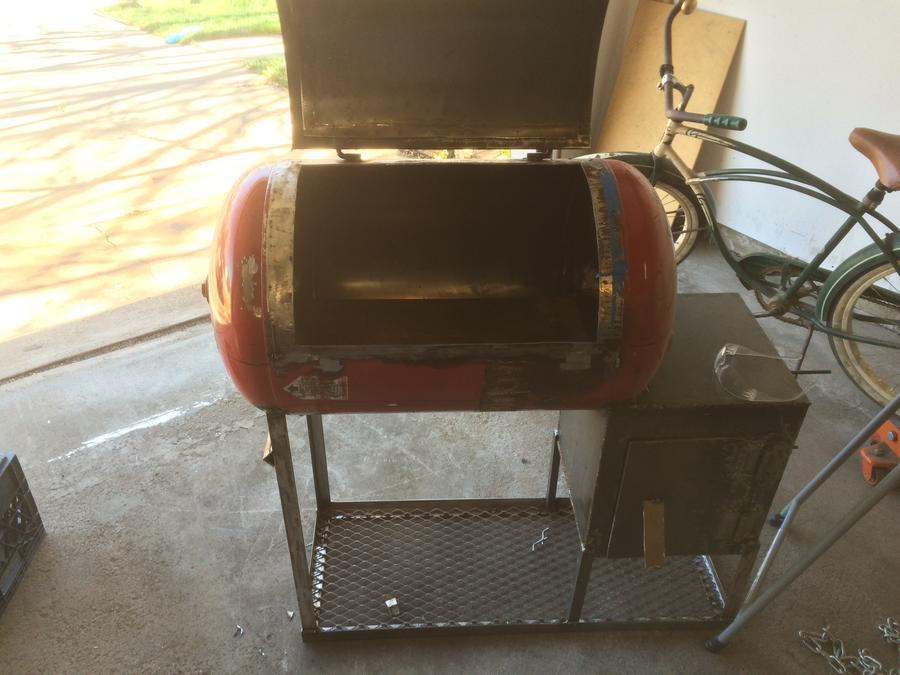
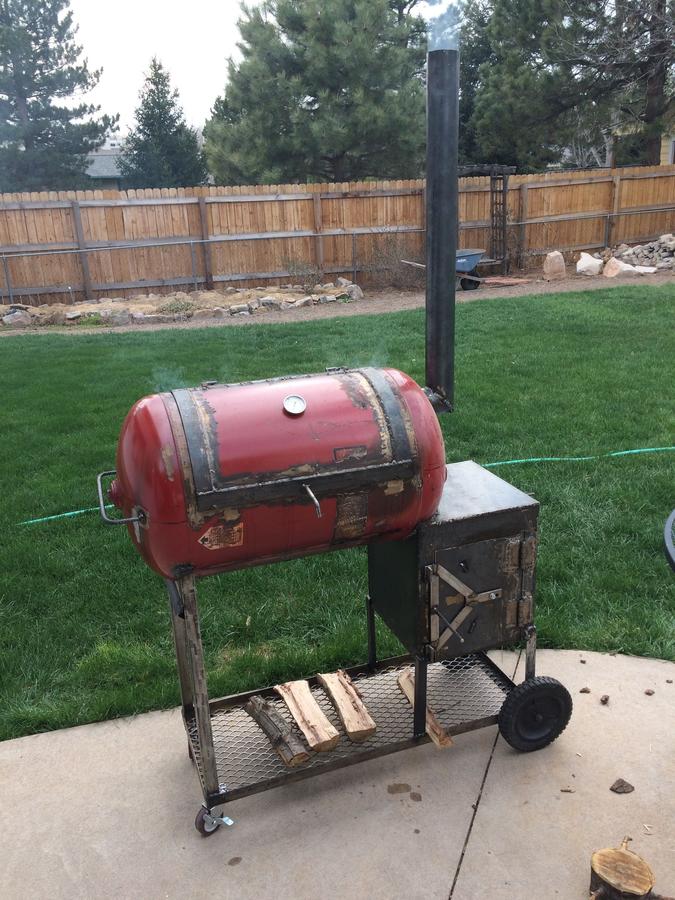
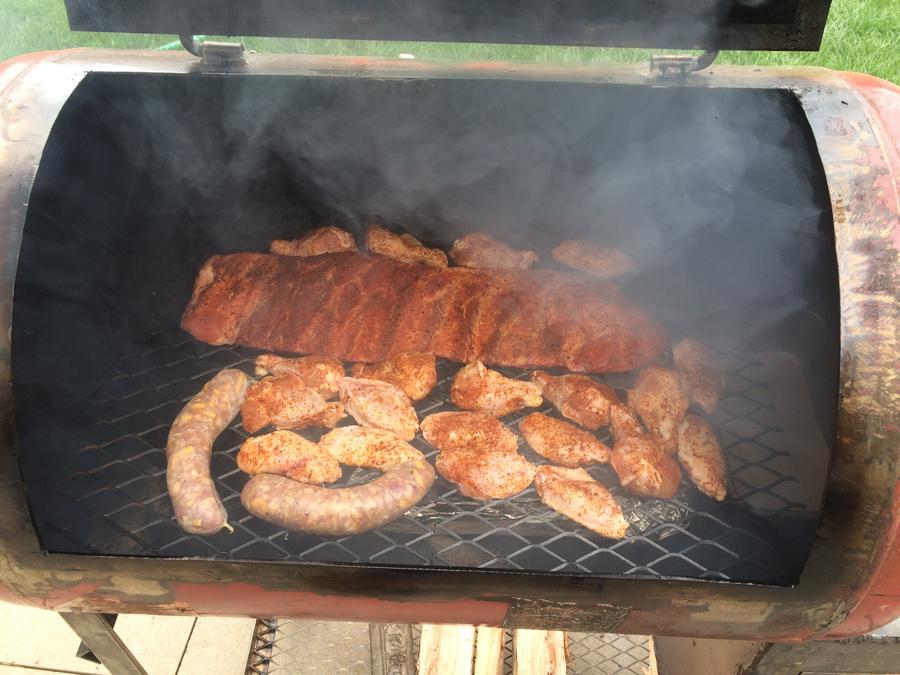
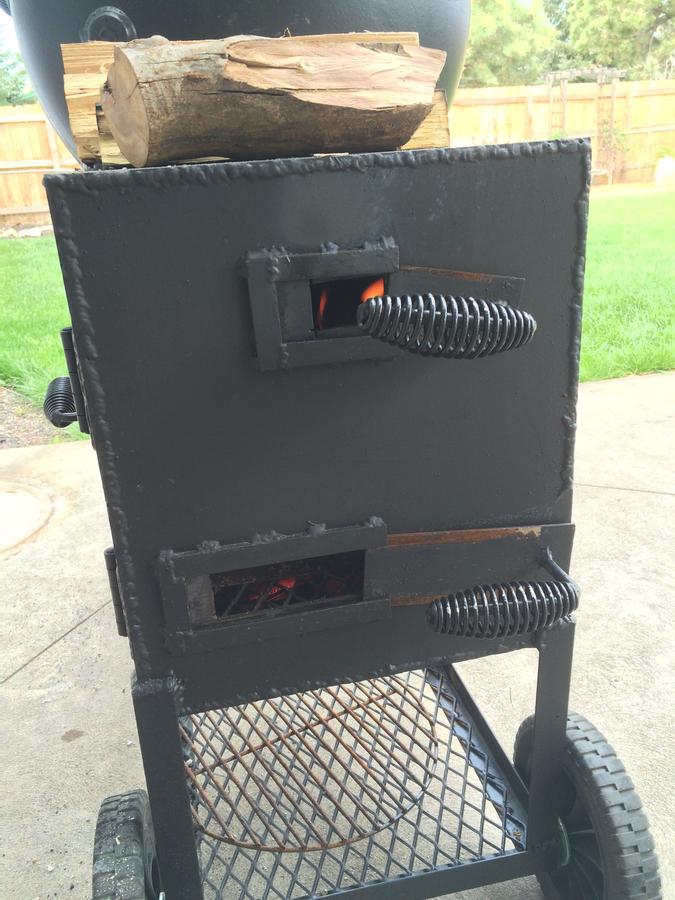
My first build, help me please! reverse flow
- Thread starter busmania
- Start date
SmokingMeatForums.com is reader supported and as an Amazon Associate, we may earn commissions from qualifying purchases.


SmokingMeatForums.com is reader supported and as an Amazon Associate, we may earn commissions from qualifying purchases.
Similar threads
SmokingMeatForums.com is reader supported and as an Amazon Associate, we may earn commissions from qualifying purchases.

SmokingMeatForums.com is a community of barbecue and outdoor cooking enthusiasts dedicated to smoking meat.
© 2004-2026 SmokingMeatForums.com