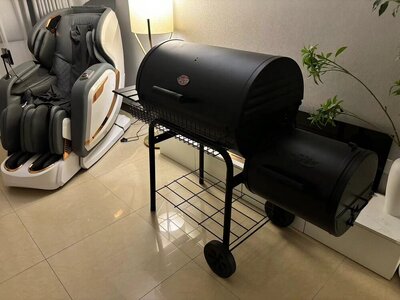
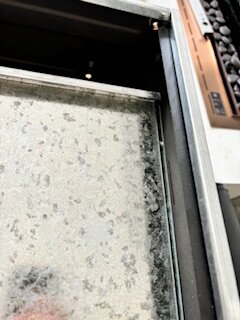
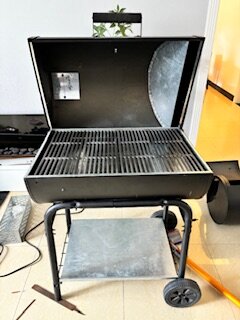
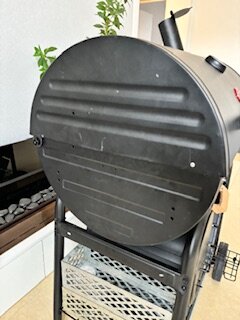
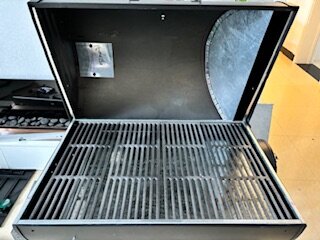
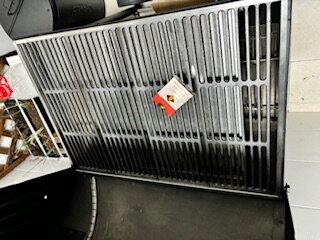
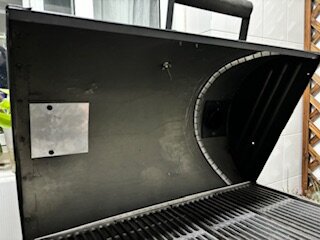
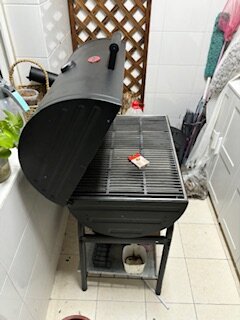
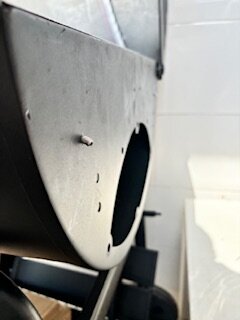
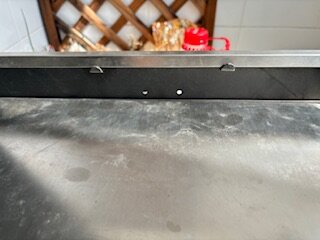
So I found this cheap beauty on a second hand website. I know most say to stay away but I do fancy my chances with this one. I plan to install a big deflector plate in the bottom and change the chimney to the opposite side giving the effect of reverse flow. I’m also going to install another baffle in the hood to keep the smoke nice and low in the cook chamber. This smoker cost 400rmb for the actual bbq and then 360 for parts fabricated. I feel lucky this bbq was only ever used once and it shows the guy who owned it didn’t really know much about American style bbq and smoking meat. So when I saw it I snapped it up with only the intention of seeing if it is possible to turn a cheap offset into a reverse flow smoker. With the price of proper smokers here in the 10s of thousands of rmb I decided to roll my sleeves up, it was all just for fun. Hold my beer! I’m getting it done!
Modding a 2nd hand cheap offset
- Thread starter BLB
- Start date
-
Some of the links on this forum allow SMF, at no cost to you, to earn a small commission when you click through and make a purchase. Let me know if you have any questions about this.
You are using an out of date browser. It may not display this or other websites correctly.
You should upgrade or use an alternative browser.
You should upgrade or use an alternative browser.
SMF is reader-supported. When you buy through links on our site, we may earn an affiliate commission.
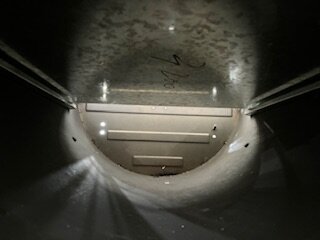
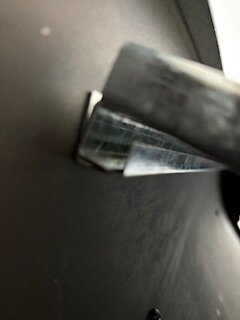
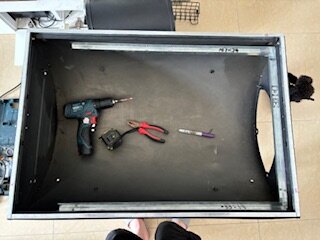
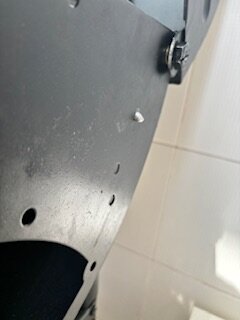
Here is the thick deflector plate I’m hoping it will serve as a heat stabilizer and force the smoke to the opposite end. I had j bar fabricated to hold it in place. I used self tapping screws while setting it up then I swapped them out for pop rivets. The plate itself was returned on three sides to hopefully work as a baffle so all the smoke goes to the opposite end without escaping through gaps. The opposite end from the fire box was bent upwards offering the smoke a good exit into the cooking chamber. It also doubled as a handle for easy installation and removal. My aim is to make it as temporary as possible just in case I do want to use the easy dump grilling system that came with this setup.OK, I'm in. Let's see what you do...
Attachments
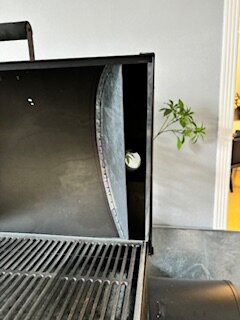
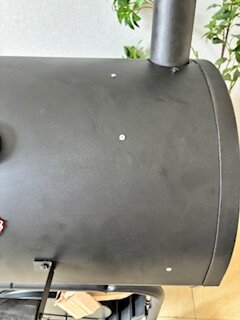
As for the hood I wanted to try and keep the cooking chamber as square as possible and decided to install a plate in the hood so the smoke would stay as low as the grates as possible while still drawing smoke from front to back. I’m not sure if there will be any positive or negative outcomes of this design but I just wanted to try something different rather than having the pipe com down inside the chamber. I ordered a patch piece for the old hole where the chimney was and moved it behind the new plate. There are still gaps that I need to seal up later and if anyone has any ideas about sealing I would much appreciate it. I was planning to use high temp rubber gaskets to seal the lid when it closes but I’m now thinking about just firing it up to see if it needs them or not. I installed 10mmx10mm L bar around the top interior with the sides I only used one pop rivet at the front so it can pivot while opening and closing. I may put another in the middle to tighten it up a little but the back cannot be fixed because of how the lid swings open. I made a small miscalculation while drilling the hole for the chimney so I’ll need to take a couple of cm off the chimney brace but it’s no biggy.
Attachments
Welcome, Do you know to not use galvanized metal where heat will get to it? it can make folks sick, good luck with the upgrades but I would have drove it for awhile and then decided what it needed,
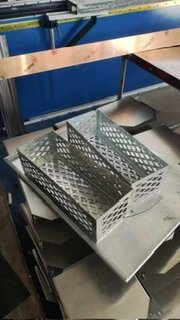
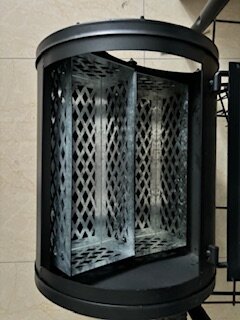
My thinking is if I make two minion method boxes I should be able to have one box as a stable low temperature and use both together as a stable higher temperature setting. The boxes still need a bit of work and I’m thinking about pop rivets to finish those off two. I would weld them but my welding guy has moved and I haven’t found another guy yet.I went with two fire boxes to see if I get better temp control
Really? That was the first thing I asked when ordering it. I said high temp food grade and didn’t think about researching that. Time to get studying againWelcome, Do you know to not use galvanized metal where heat will get to it? it can make folks sick, good luck with the upgrades but I would have drove it for awhile and then decided what it needed,
Also what do you mean by ’I’d have drove it a while’? And thanks for the heads upReally? That was the first thing I asked when ordering it. I said high temp food grade and didn’t think about researching that. Time to get studying again
Welcome, Do you know to not use galvanized metal where heat will get to it? it can make folks sick, good luck with the upgrades but I would have drove it for awhile and then decided what it needed,
All of these modifications are going in the trash. Galvanized metal should not be used for anything related to eating. I will not even wash galvanized metal in my kitchen sink after reading the things I have read. Thank god I shared pictures on here and had @mike234 spot I was using galvanized. My family are safe and I hope everyone who doesn’t know about the risk of using zinc coated metal does do their own research or even better post questions in the forums before actually fabricating their mods.
No harm no foul . You have it figured out now , and know not to use it .
I had an older Char- griller Pro . No mods to it , and took a lot of fire tending . It made great food though .
You can make a basket out of expanded metal if needed . I struggled to keep temps up in mine .
So it was full on fire most of the time .
If that has the cast cooking grate in it , get them cleaned up , then season them . Use vegetable oil and run at 300 or so for 30 minutes . Then let it cool down . Recoat and do it again .
After that get it running and see what it wants to do , likes . Then get something to cook . Maybe a shorter cook at first . Chicken thighs and some store bought smoked sausage .
I had an older Char- griller Pro . No mods to it , and took a lot of fire tending . It made great food though .
Run it as is before doing any mods . That way you will have a baseline for " improved " or not .Also what do you mean by ’I’d have drove it a while’? And thanks for the heads up
You can make a basket out of expanded metal if needed . I struggled to keep temps up in mine .
So it was full on fire most of the time .
If that has the cast cooking grate in it , get them cleaned up , then season them . Use vegetable oil and run at 300 or so for 30 minutes . Then let it cool down . Recoat and do it again .
After that get it running and see what it wants to do , likes . Then get something to cook . Maybe a shorter cook at first . Chicken thighs and some store bought smoked sausage .
banderson7474
Smoking Fanatic
For the cost of that chair, you could buy 5 of those smokers haha!!! Good luck. A cheap add on is getting a grill gasket for the inside of the lid. Amazon sells it for under 20$ and it helps keep the smoke from escaping around the lidSo I found this cheap beauty on a second hand website. I know most say to stay away but I do fancy my chances with this one. I plan to install a big deflector plate in the bottom and change the chimney to the opposite side giving the effect of reverse flow. I’m also going to install another baffle in the hood to keep the smoke nice and low in the cook chamber. This smoker cost 400rmb for the actual bbq and then 360 for parts fabricated. I feel lucky this bbq was only ever used once and it shows the guy who owned it didn’t really know much about American style bbq and smoking meat. So when I saw it I snapped it up with only the intention of seeing if it is possible to turn a cheap offset into a reverse flow smoker. With the price of proper smokers here in the 10s of thousands of rmb I decided to roll my sleeves up, it was all just for fun. Hold my beer! I’m getting it done!
That’s the wife’s, anything can be justified there. I’m only in this for the learning of it so far. Hope I’ll learn a lot and end up throwing down for a decent smoker soon. I’ve learned a lot so far but was totally lazy in material research. Great lesson to learn before firing her up.For the cost of that chair, you could buy 5 of those smokers haha!!! Good luck. A cheap add on is getting a grill gasket for the inside of the lid. Amazon sells it for under 20$ and it helps keep the smoke from escaping around the lid
Turning a cheap offset into a reverse flow smoker is a fantastic idea, and it’s great to hear you’re tackling it with enthusiasm. Installing a deflector plate and moving the chimney are smart modifications that should improve the heat distribution and smoke flow. Given the cost of proper smokers, your DIY approach is both clever and budget-friendly. Can’t wait to hear how it turns out—sounds like you’re on your way to creating a top-notch smoker on a shoestring budget! Hold that beer and get to work!
After hours of drilling and snapping multiple bits I feel a small progress. I can’t believe how hard this 304 is to drill. I slipped and stabbed my finger with a broken bit because of applying so much pressure while drilling slowly.
Attachments
Slowly getting it all togetherAfter hours of drilling and snapping multiple bits I feel a small progress. I can’t believe how hard this 304 is to drill. I slipped and stabbed my finger with a broken bit because of applying so much pressure while drilling slowly.
Attachments
I managed to get my pop rivets to bend downward in case water gets in. You can see the the support for the heat detector between the smoker and the deflector. This was riveted one also the old bbq rack has been removed and the clips now hold a 1cm x 1cm 304 bar to seal the smoker better.
Attachments
SmokingMeatForums.com is reader supported and as an Amazon Associate, we may earn commissions from qualifying purchases.
Similar threads
- Replies
- 11
- Views
- 2K
- Replies
- 6
- Views
- 715
- Replies
- 4
- Views
- 641
- Replies
- 38
- Views
- 4K
- Replies
- 37
- Views
- 5K
Hot Threads
-
Analog gauge vrs digital gauge ?
- Started by Smokin Okie
- Replies: 33
- General Discussion
-
Mett - Would you? Could you?
- Started by PolishDeli
- Replies: 27
- General Discussion
-
Featured My Dry Cure Bacon attempt
-
Featured Brisket point end and Baby backs .
-
Hey Gents/ Gal's, anybody come across this?
- Started by D Jenkins
- Replies: 15
- Blowing Smoke Around the Smoker.


