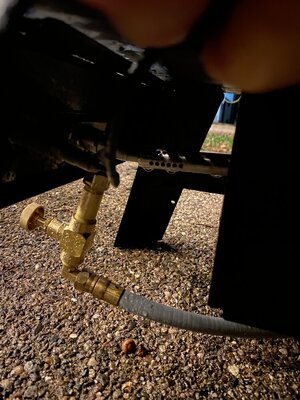
I found a square cast iron pan on Amazon that fits perfectly. Except, I switched to a tube smoker. I found that I had a hard time keeping the wood smoking at lower temps for salmon and cheese. Additionally, the chunks don’t burn consistently, causing your temps to fluctuate. I filled my pan with sand and moved the tube outside the cabinet. Things are more stable now.
-
Some of the links on this forum allow SMF, at no cost to you, to earn a small commission when you click through and make a purchase. Let me know if you have any questions about this.
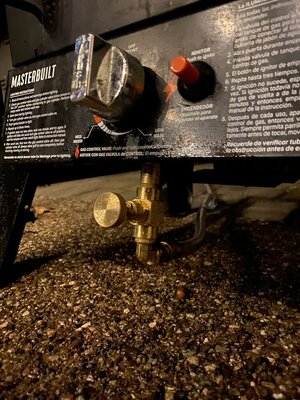
Masterbuilt Vertical 2 door Smoker Mods
- Thread starter chadnicoletti
- Start date
SmokingMeatForums.com is reader supported and as an Amazon Associate, we may earn commissions from qualifying purchases.


SmokingMeatForums.com is reader supported and as an Amazon Associate, we may earn commissions from qualifying purchases.
Similar threads
SmokingMeatForums.com is reader supported and as an Amazon Associate, we may earn commissions from qualifying purchases.

SmokingMeatForums.com is a community of barbecue and outdoor cooking enthusiasts dedicated to smoking meat.
© 2004-2026 SmokingMeatForums.com