NDIceMan72
Newbie
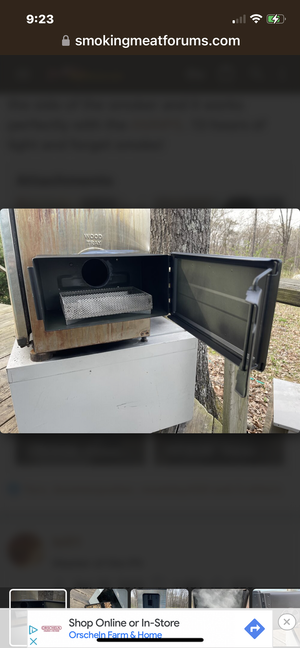
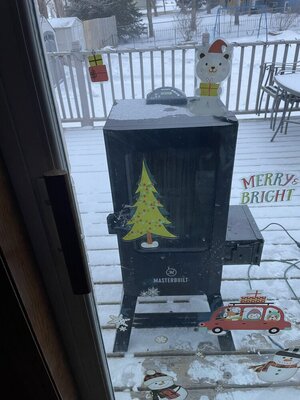
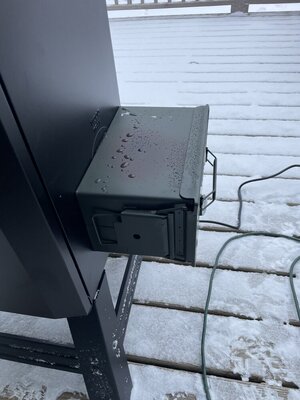
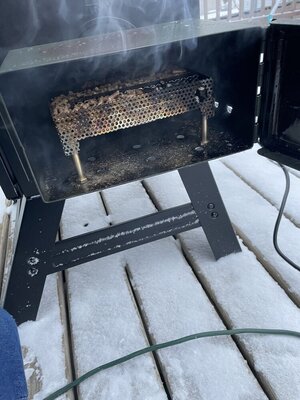
Hey all, so I just got my 30” MES and have been searching about the mailbox mod. I’m gonna use an ammo can and I saw one thread where it was mounted directly to the chip loader hole on the side of the smoker. But I see most of the setups that the mail box is below the chip loader hole and plumbed up to it. My question is, does the box need to be mounted lower than the hole? I’d like to mount it right to the hole and call it good if that will work. I ordered up a pellet tray also for inside the box. What are your thoughts/experiences? Thanks