Whats up everyone!
Finally got into smoking after being on these forums for the past few months and would like to share my ECB SmokeNChill. I have to say I really considered getting a WSM right off the bat but was convinced the Brinkmann would do the job just fine. So last week I picked one up for 40 dollars and over the course of the week performed the following mods. Total build cost was 62 dollars.
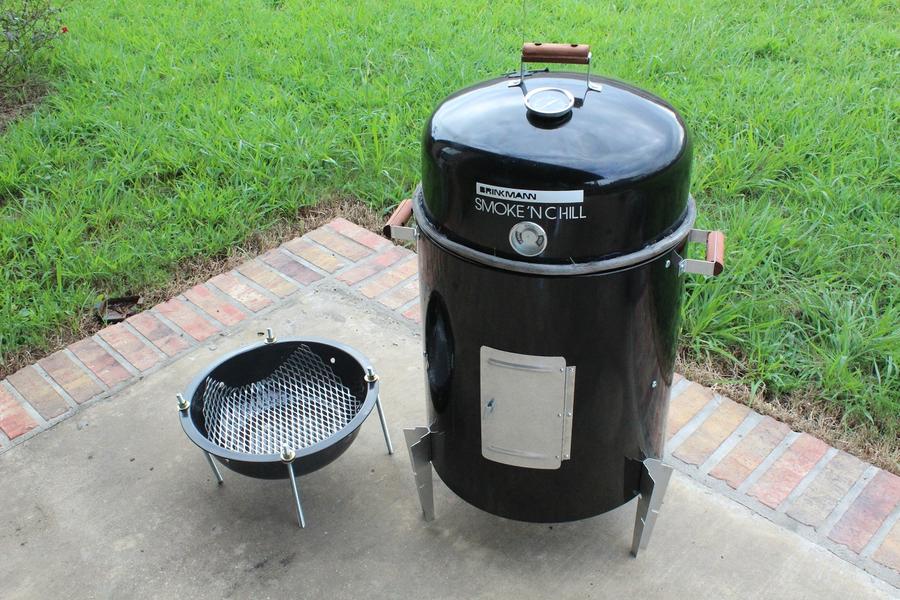
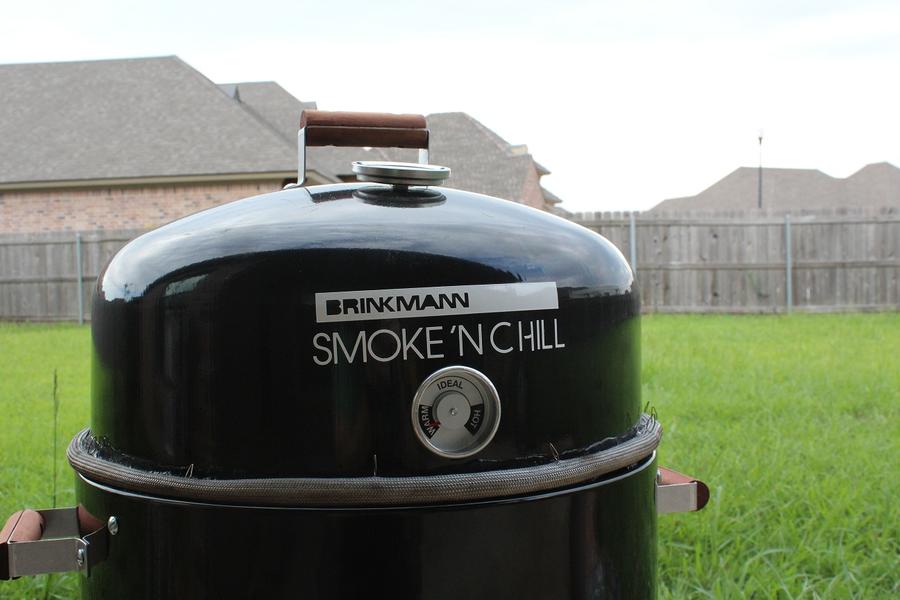
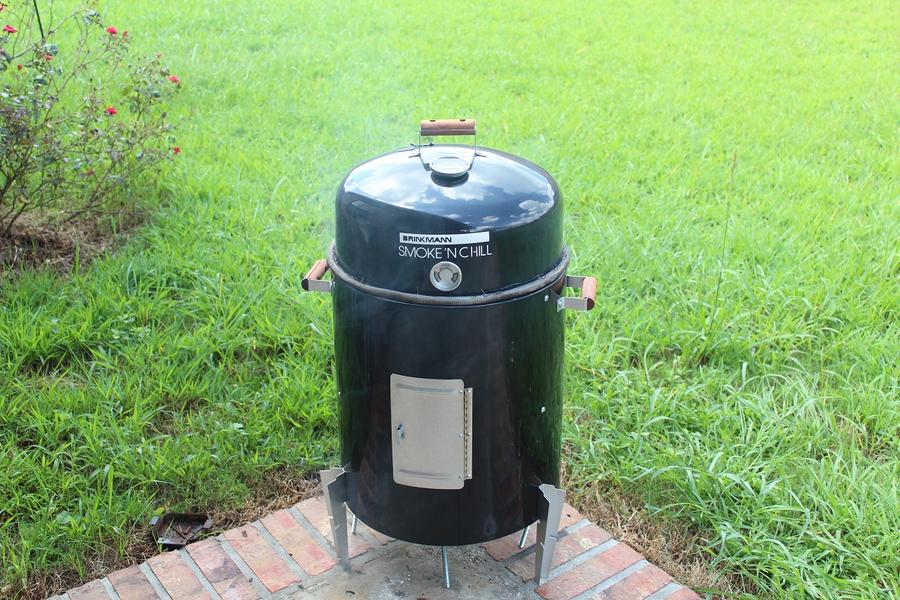
First up is the grill complete with mods.
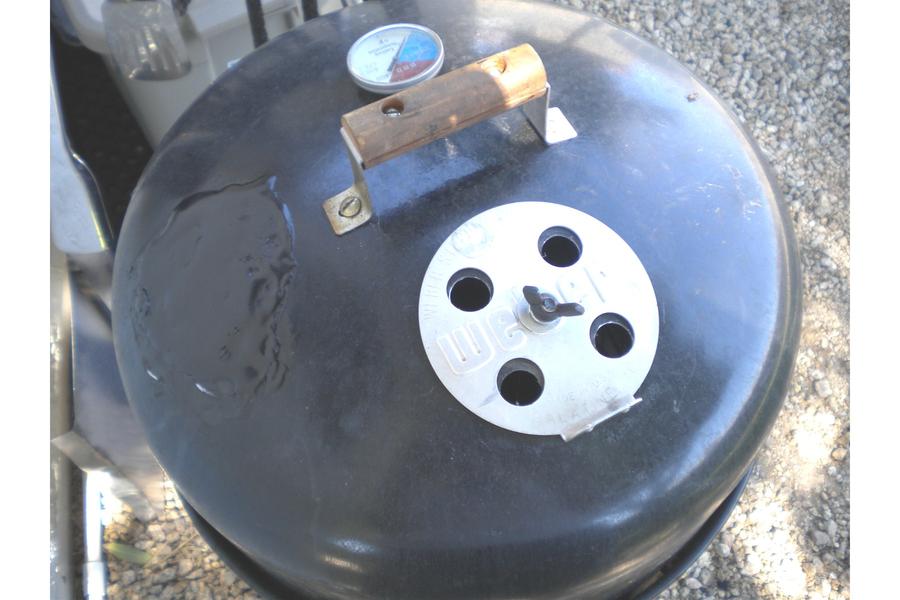
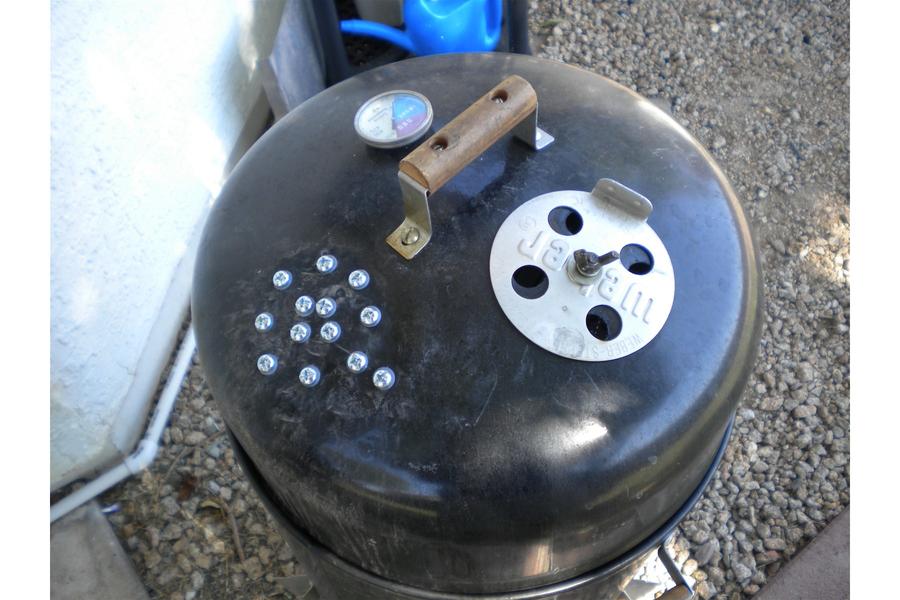
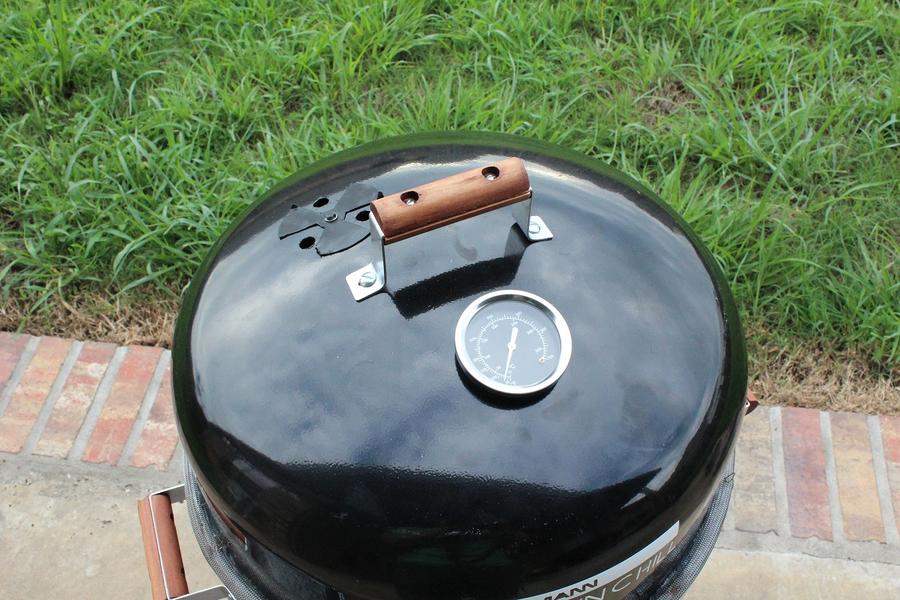
Next we have the vent I made at work (0 dollars) and the temp gauge (8 dollars) from Home Depot. The vent holes are 3/4in. Funny thing was in the paint locker at work was some grill paint (0 dollars), so I was able to match the vent with the grill.
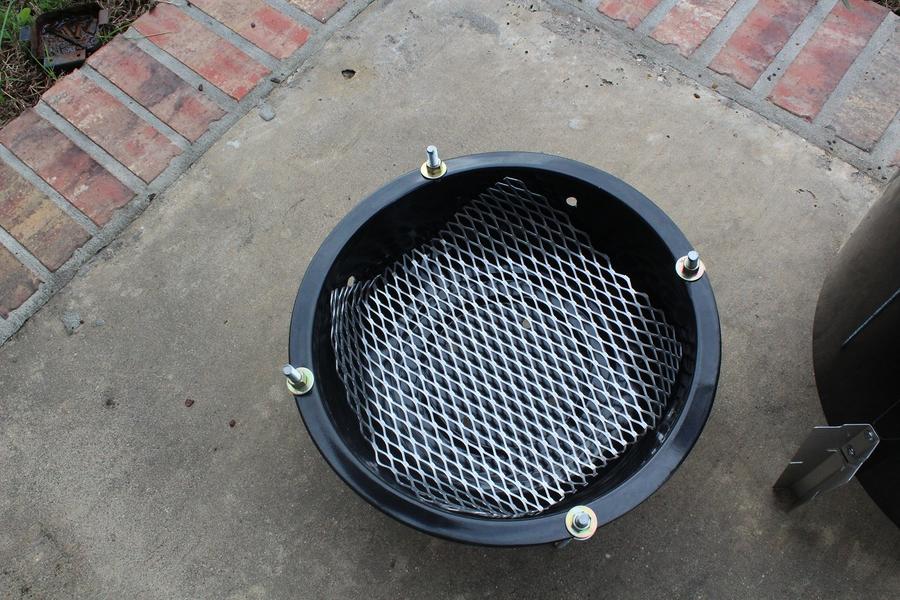
Again from Home Depot I picked up some expanded metal (12 dollars), which I cut in half, and some 3/4in threaded rod (2 dollars) for the legs. I plan on replacing the expanded metal with something a little more stout when I can.
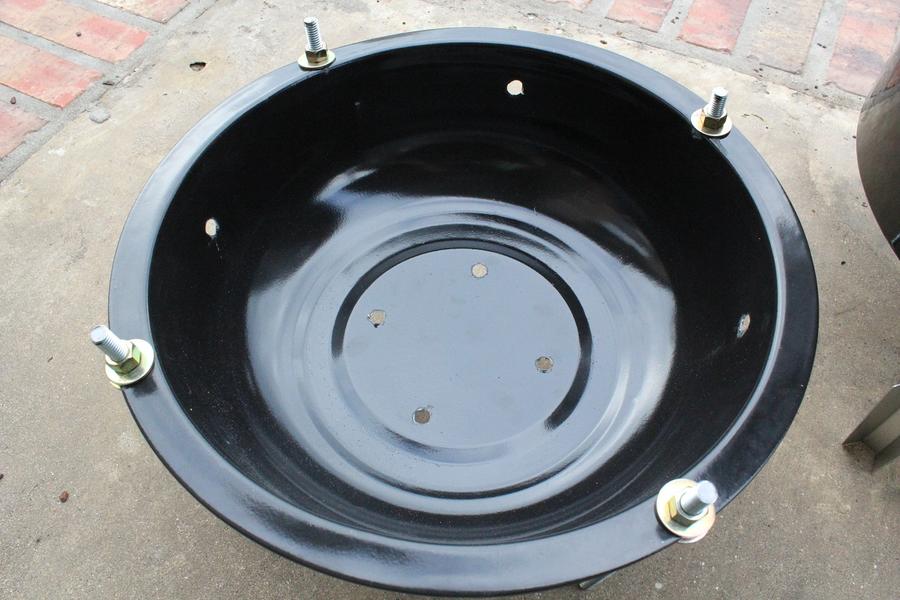
I drilled 4 3/4in holes in the bottom of the fire pan and 4 3/4in holes in the sides to get some nice airflow. I also made a vent cover for the bottom hole but do not think it will be necessary.
Someone at work was getting rid of an oven so I was able to get the stove gasket (0 dollars) to seal off that nasty gap between the lid and the body. I also was able to get some high temp silicone adhesive (0 dollars) from work.
8:00 AM I greased the inside and fired up the grill with some hickory and applewood. She came up to almost 300deg before adjusting the temp and held steady at 220deg for the last 5 hrs dropping in temp only when I had to add water to the water pan.
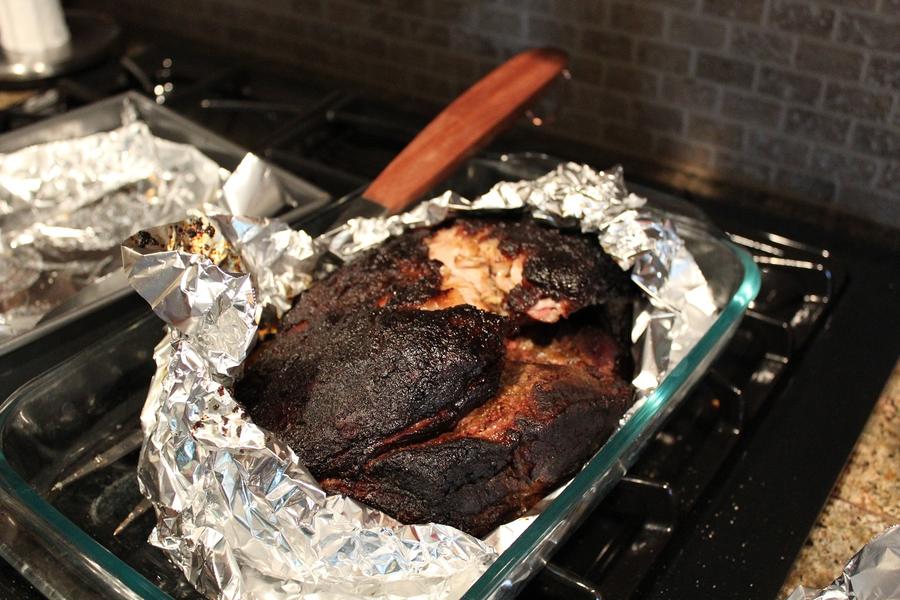
9hrs later I had a delicious pork butt.
Final thoughts. I left room to add another vent at the top and a vent cover for the bottom, but do not think these mods will be necessary. The only thing I would change would be making less holes in the meat when injecting and watching my food temp a little more closely. I think a probe thermometer will be my next purchase.
Love the community any questions are welcome!
Finally got into smoking after being on these forums for the past few months and would like to share my ECB SmokeNChill. I have to say I really considered getting a WSM right off the bat but was convinced the Brinkmann would do the job just fine. So last week I picked one up for 40 dollars and over the course of the week performed the following mods. Total build cost was 62 dollars.
First up is the grill complete with mods.
Next we have the vent I made at work (0 dollars) and the temp gauge (8 dollars) from Home Depot. The vent holes are 3/4in. Funny thing was in the paint locker at work was some grill paint (0 dollars), so I was able to match the vent with the grill.
Again from Home Depot I picked up some expanded metal (12 dollars), which I cut in half, and some 3/4in threaded rod (2 dollars) for the legs. I plan on replacing the expanded metal with something a little more stout when I can.
I drilled 4 3/4in holes in the bottom of the fire pan and 4 3/4in holes in the sides to get some nice airflow. I also made a vent cover for the bottom hole but do not think it will be necessary.
Someone at work was getting rid of an oven so I was able to get the stove gasket (0 dollars) to seal off that nasty gap between the lid and the body. I also was able to get some high temp silicone adhesive (0 dollars) from work.
8:00 AM I greased the inside and fired up the grill with some hickory and applewood. She came up to almost 300deg before adjusting the temp and held steady at 220deg for the last 5 hrs dropping in temp only when I had to add water to the water pan.
9hrs later I had a delicious pork butt.
Final thoughts. I left room to add another vent at the top and a vent cover for the bottom, but do not think these mods will be necessary. The only thing I would change would be making less holes in the meat when injecting and watching my food temp a little more closely. I think a probe thermometer will be my next purchase.
Love the community any questions are welcome!
Last edited: