chuckles
Meat Mopper
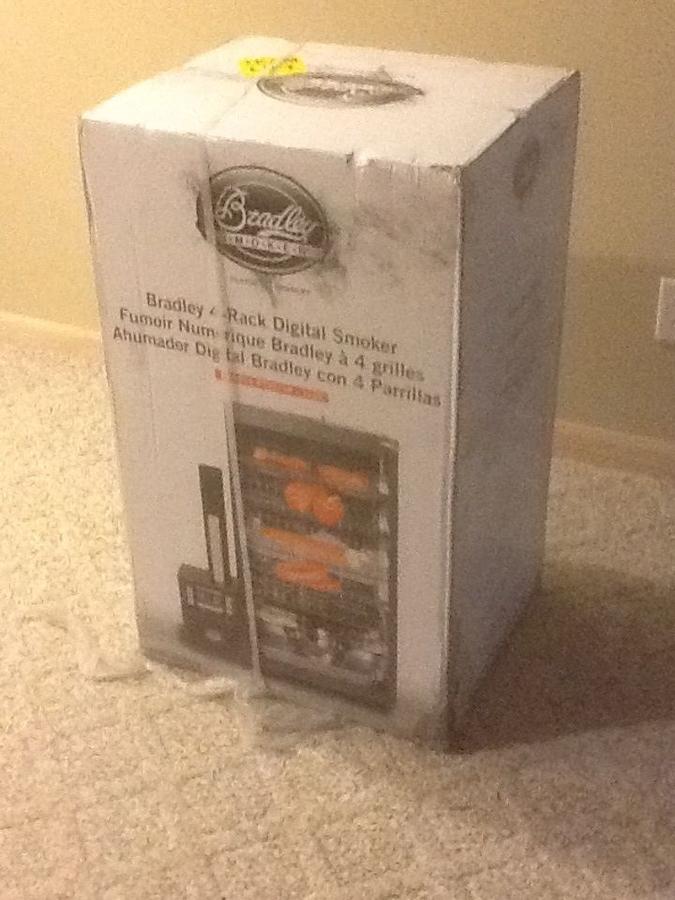
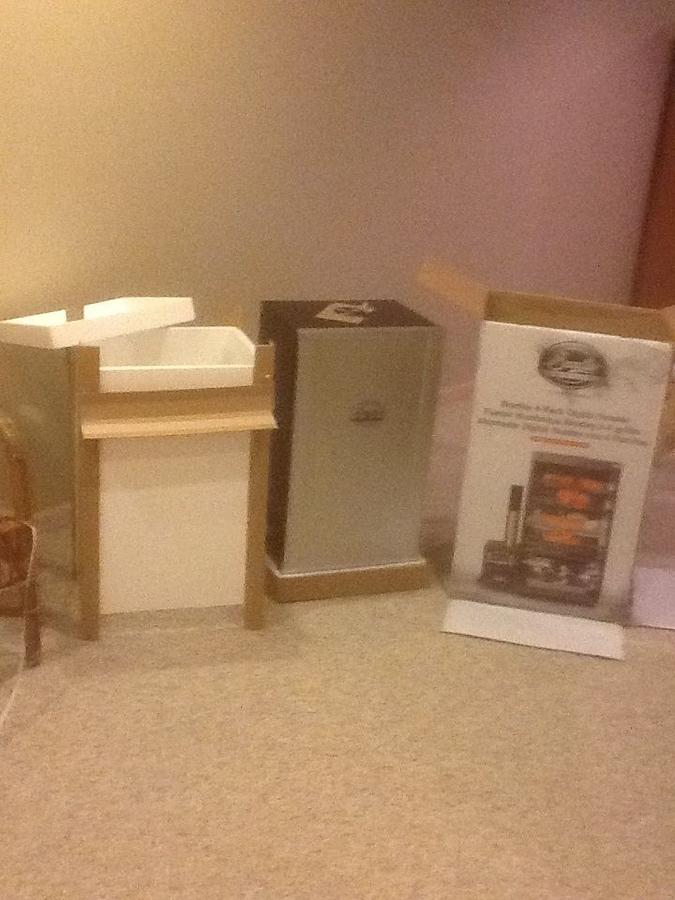
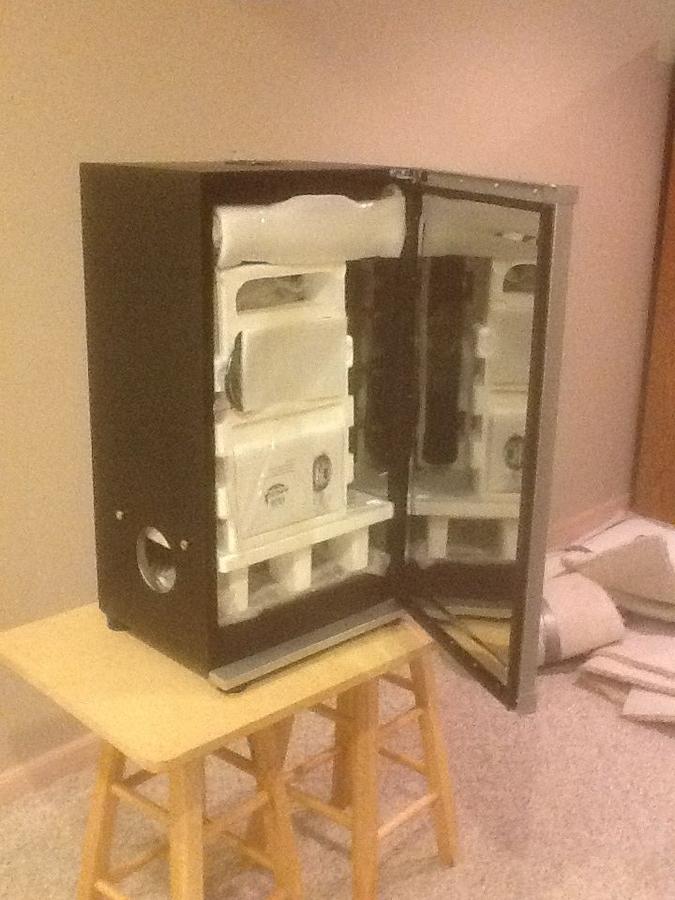
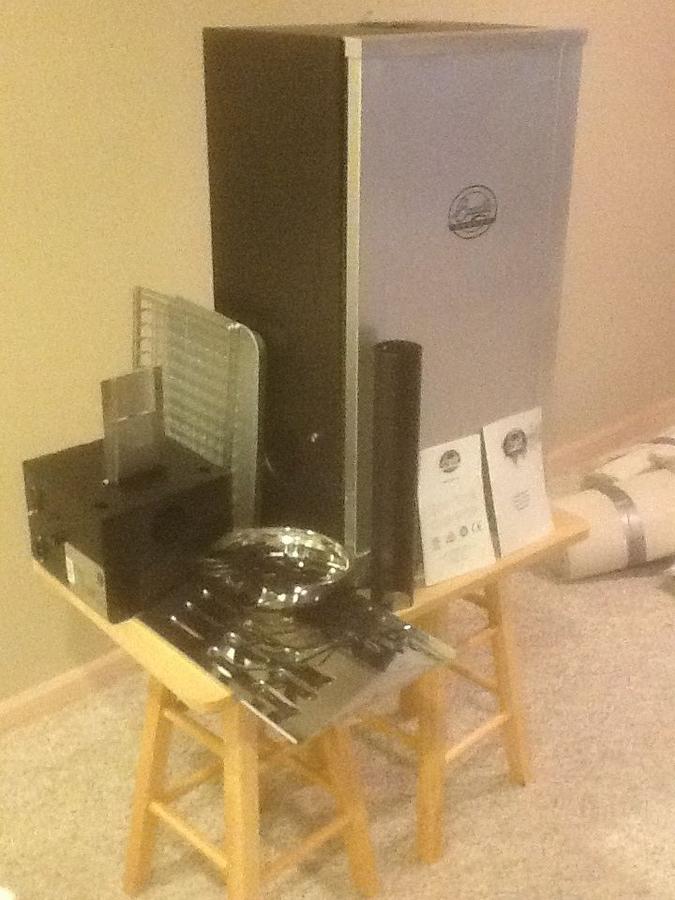
Bradley packaging is well designed and does a great job of protecting the smoker. Smoke generator and all other parts are all contained inside the smoking cabinet protected by custom molded expanded bead foam. This keeps everything nice and tight and prevents parts from rubbing against each other. Tip: open the box upside down, fold one flap back and then turn it upright. The box will lift right off and the smoker is upright.
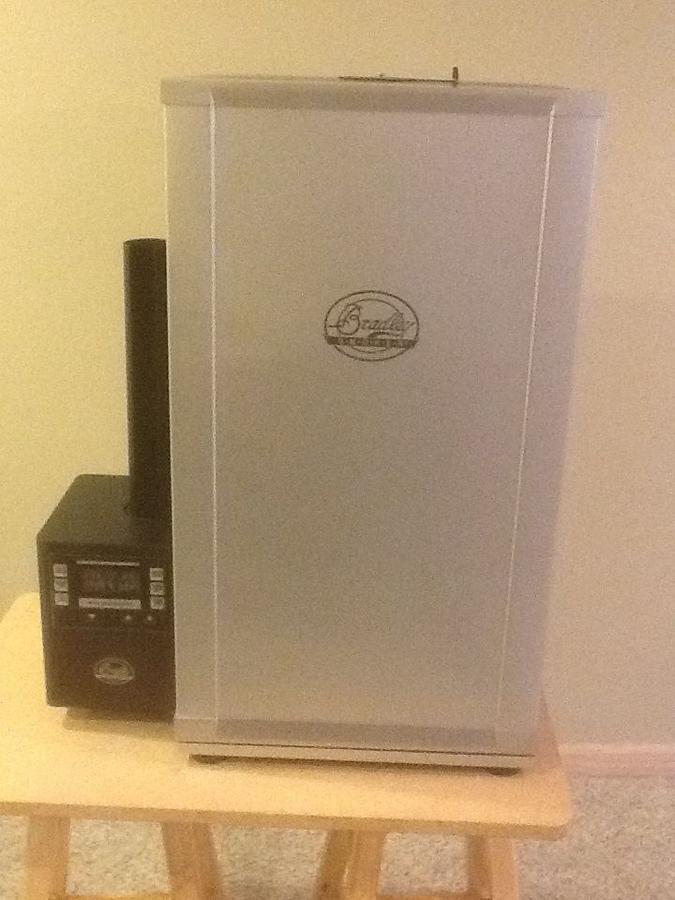
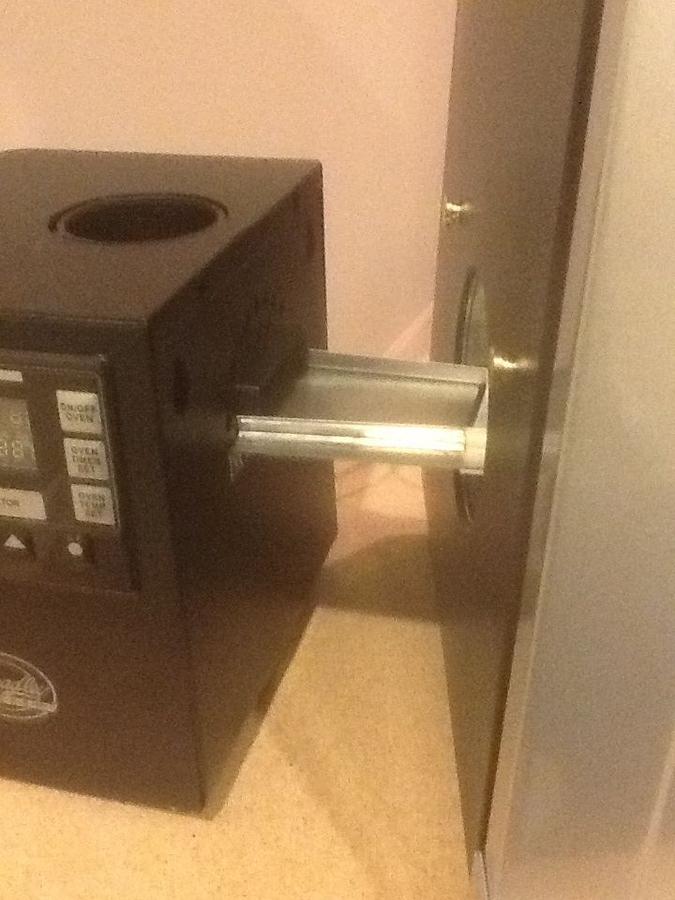
Once all the parts are unloaded and removed from their foam and plastic bags, assembly takes less than 5 minutes. No tools required. The smoke generator attaches by sliding the bisquette burner into it's hole on the left side of the cabinet and slipping the two keyholes in the right side of the smoke generator over a couple of metal studs mounted above the burner hole on the left side of the cabinet.
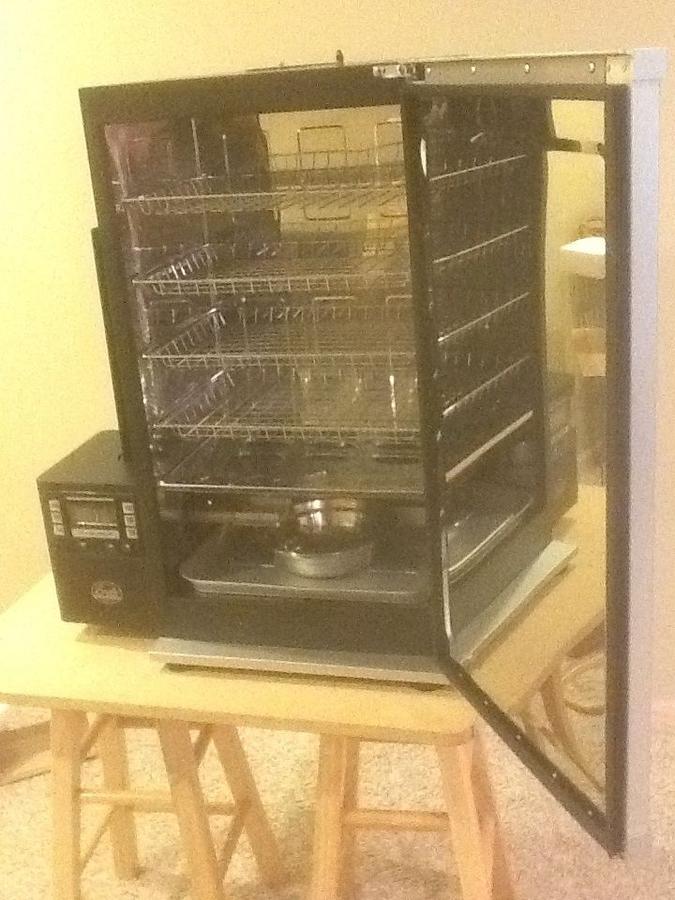
Wash and dry the pans, drip tray and the racks and slide them into the cabinet. The drip tray goes in with the point of the tray pointing downward. Slip the tray over the first brass pin, under the middle pin and over the rear pin.
Place the bisquette feeder tube into the hole in the top of the smoke generator. Plug the sensor cable and short power cord into the back of the cabinet and the smoke generator and the long power cord into the back of the cabinet. Thats it.
Once all the parts are unloaded and removed from their foam and plastic bags, assembly takes less than 5 minutes. No tools required. The smoke generator attaches by sliding the bisquette burner into it's hole on the left side of the cabinet and slipping the two keyholes in the right side of the smoke generator over a couple of metal studs mounted above the burner hole on the left side of the cabinet.
Wash and dry the pans, drip tray and the racks and slide them into the cabinet. The drip tray goes in with the point of the tray pointing downward. Slip the tray over the first brass pin, under the middle pin and over the rear pin.
Place the bisquette feeder tube into the hole in the top of the smoke generator. Plug the sensor cable and short power cord into the back of the cabinet and the smoke generator and the long power cord into the back of the cabinet. Thats it.