Some of the links on this forum allow SMF, at no cost to you, to earn a small commission when you click through and make a purchase. Let me know if you have any questions about this.
You are using an out of date browser. It may not display this or other websites correctly. You should upgrade or use an alternative browser.
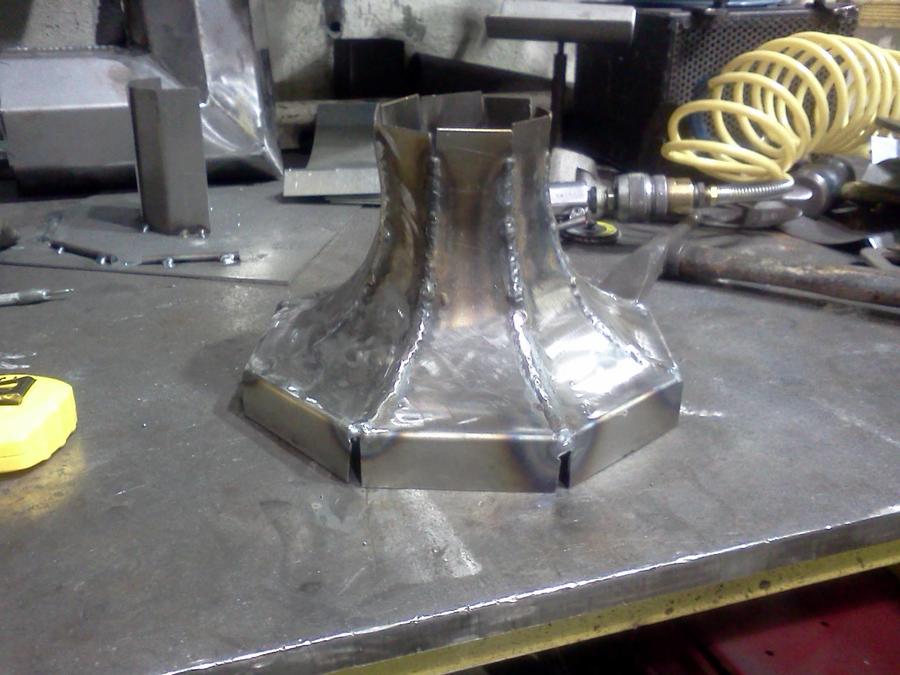
I finished one cap. I just gutta buff the welds down, and make some brackets to connect it to the stack. I have to figure out if and what I want to mount on top to give this some sort of character to kinda accent everything.
Wow where does the time go? Been puttering around with smokestack, a cap and fire box. I have put a plan together for finishing this before spring. I hope!
I need to transport everything to a shop that will let me use their welders, and have the room needed to work on everything at once.
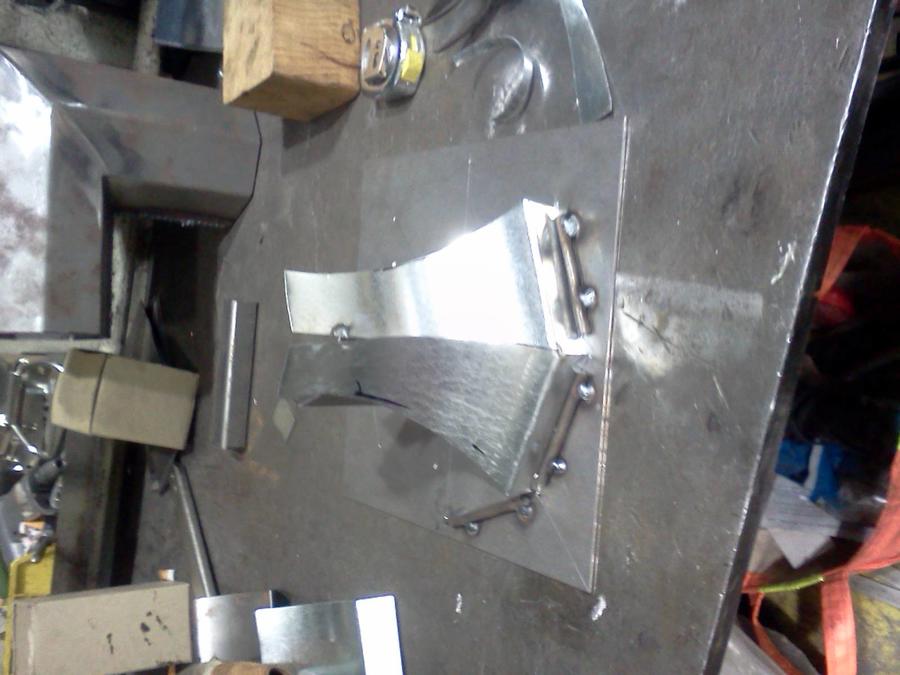
Next for the filler pieces. 2" strip, I marked at 1 1/2" intervals and scribed points 90degrees. Then at the top I came in 3/8" on each side, lined top points with bottom points and scratched each.
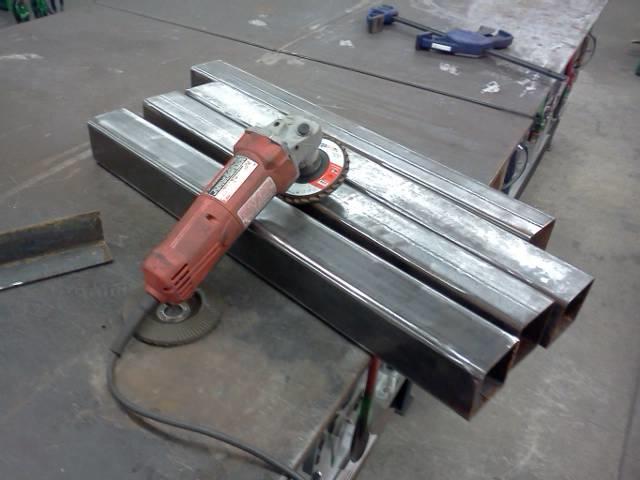
Smoke stacks are getting there. I'm trying to figure out what style damper I want to install. Like a blast gate, or spin style damper? Hope to finish these 2 tomorrow!
Ok, back to work on this! I've transported the smoker to the Apprentice training center. Here I'll have all the equipment to complete my project, Just as long
as I don't get in the way of Instructors teaching the classes.
I used 3"x3" 54" long tube steel. I left it short by 8" on length to accommodate the firebox that is gunna be installed fish mouth style. Once I install firebox is installed,I'll add to the stand accordingly to carry all the weight. The smoker is 22" wide, and I added 1" to set it down on 1 1/2" x 1 1/2" tube steel that are spaced 18" apart.
Notice the smoker overhanging. The Firebox will set back to that point, and I'll frame the stand to carry the weight (and it is Heavy being double walled)
This site uses cookies to help personalise content, tailor your experience and to keep you logged in if you register.
By continuing to use this site, you are consenting to our use of cookies.