Thanks for the table, Sonny E, It will come in handy. Yes, I did talk to Steve at Smokin-It. He told me the model I have could not be upgraded to his digital controller. I have had a lot of trouble with built-in temp controllers in the past, so I think having a separate controller is more convenient for me. If it breaks, I'll just get another. I love the smoker.
Sm0kin, the wiring is easy. At lot easier than wiring up one with a separate relay. A couple of words on safety: Solder your 'spliced' wires and cover them up with shrink wrap, and observe the polarity (Hot/Neutral). The small side of the receptacle (Socket) should be wired to the wire the diagram shows as 'L' It did not come with a fuse but I will put one in later. The neutral side is labeled 'N', and of course the 'G' wire should be connected to the ground screw on the bottom of the receptacle.
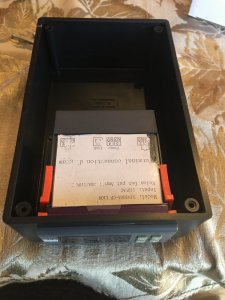
If you are like me, I can read a schematic diagram pretty well, but when I try to translate to wires and components, sometimes it just doesn't compute.
It helped me to break it up into four separate steps:
1. From the male plug that plugs into the wall receptacle (the power source), run the HOT wire (the smaller blade) to the controller Pin 1 & Pin 3.
2. From the male plug that comes from the wall receptacle, run the NEUTRAL (the larger blade) to the controller Pin 4 and to the larger NEUTRAL blade on the wall socket you will use to supply power to the smoker.
3. Run a wire from the controller Pin 2 to the HOT (small blade) of the wall socket you will use to supply power to the smoker.
4. From the plug that comes from the wall receptacle, run the GROUND wire to the ground screw on wall socket you will use to supply power to the smoker.
The sensor has no polarity. Recheck your work several times before you plug the male plug into your power source.
If anyone sees an error in my description, please respond.