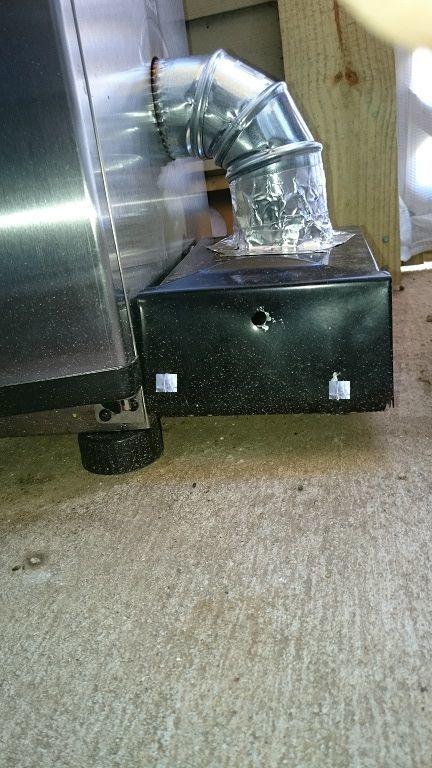
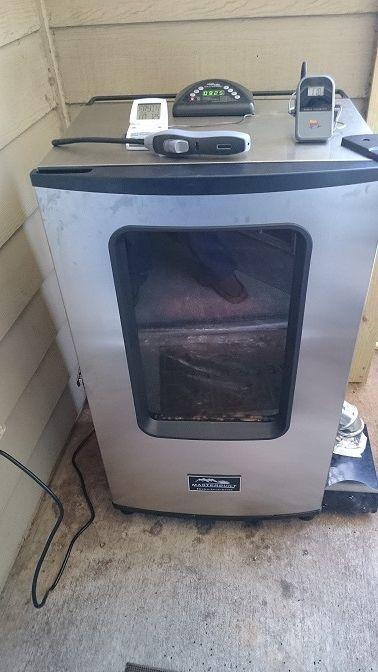
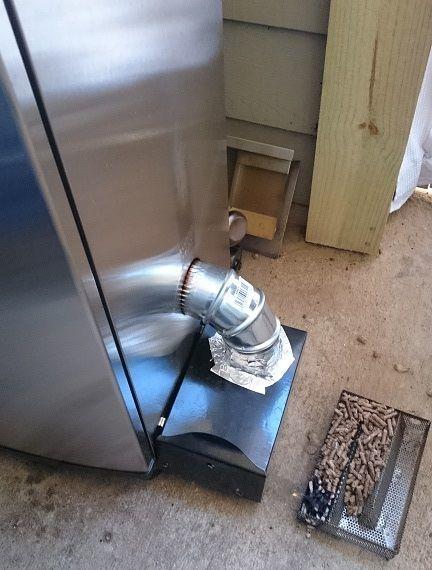
I'm in the planning phases of replacing my MES 30" 20071117 smoker's controller with a Raspberry Pi so that I can set up remote monitoring, alarms, and more complex control. It seems relatively simple... the controller is connected to the body via just four wires. When I opened up the controller, I found that they're labeled +5V, TEMP, GND, and HEAT. +5V and GND are easy enough, but I'm wondering if anyone else has done anything like this with this model before and can provide any insight into the working of TEMP and HEAT.
I'm assuming TEMP is the input from the internal temperature probe. My best guess is that it comes in as a 0-5V analog signal.
HEAT will be the output to the heater. This is the one I'm most curious about. Is it just a 0/5V on/off signal to a relay controlling the heating element? Some sort of analog thing? If the former, does it PWM to try to maintain constant temperature, or just turn it on and off periodically like a home thermostat?
I'm seeing if I have the components available to test these, so hopefully if no one else knows or has seen this information anywhere yet, I'll be able to figure it out and post what I find.