Always best to try and get worst and or hardest jobs out of the way first. But you're making progress... even if it doesn't feel like it.
Ryan
Ryan
Follow along with the video below to see how to install our site as a web app on your home screen.
Note: This feature may not be available in some browsers.
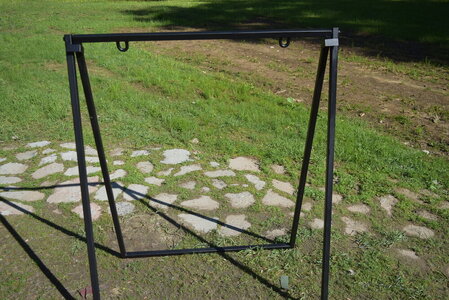
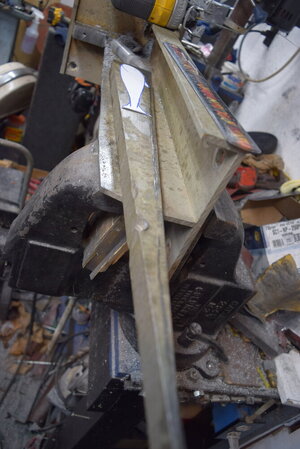
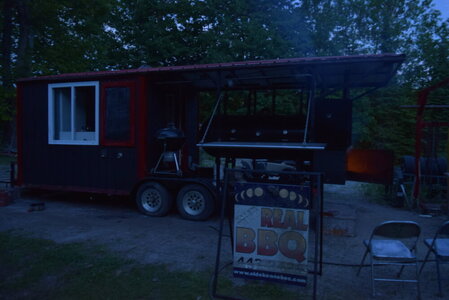
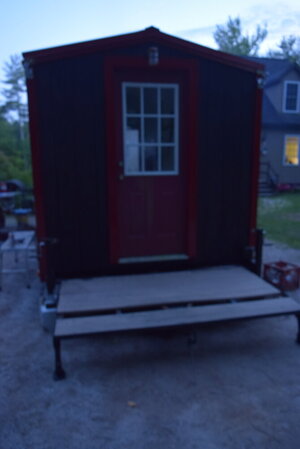
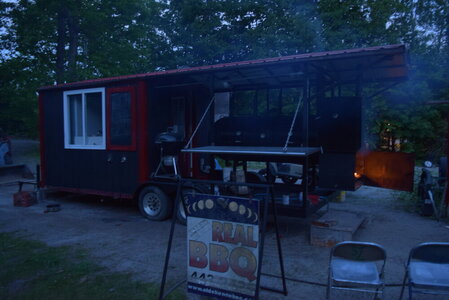
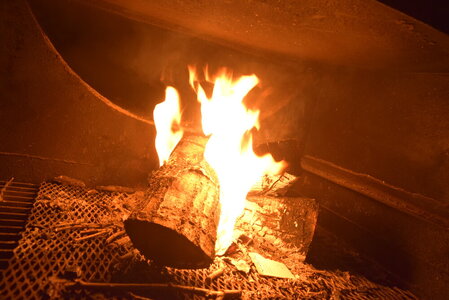
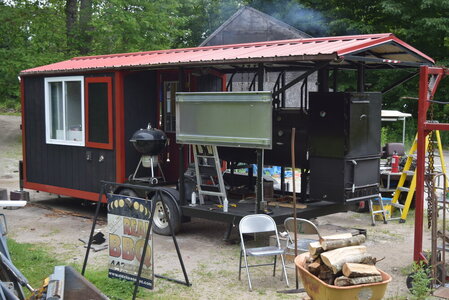
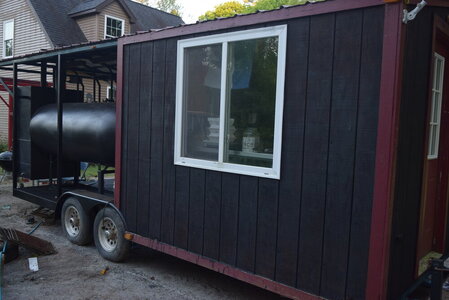
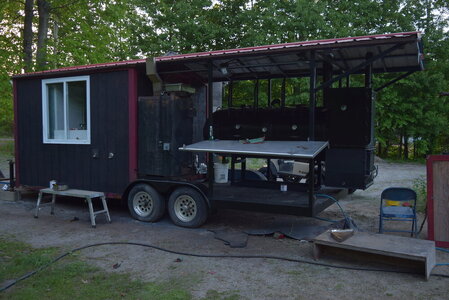
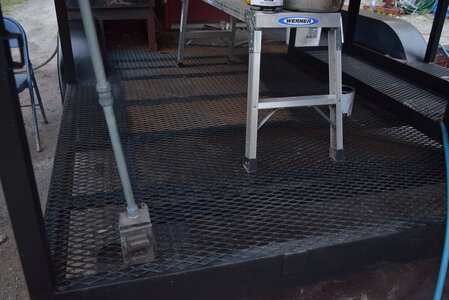
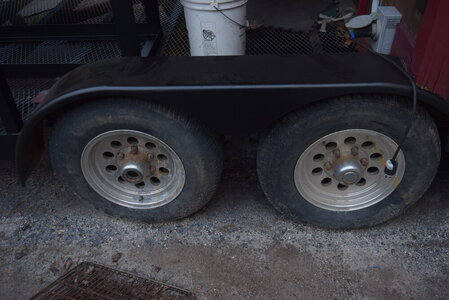
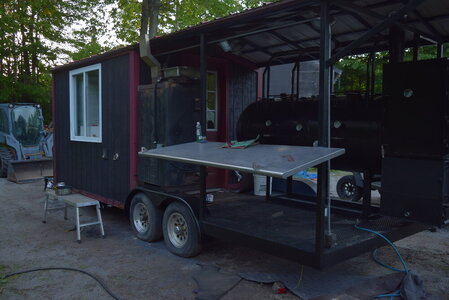
I've got one more tough day left. I'm at the rear axle now, there's about 4 more x-members, and then the tongue left to do 'right'. I 'stained' the siding yesterday, after I did a test spot. I'll get some pics once the sun's all the way up.Always best to try and get worst and or hardest jobs out of the way first. But you're making progress... even if it doesn't feel like it.
Ryan

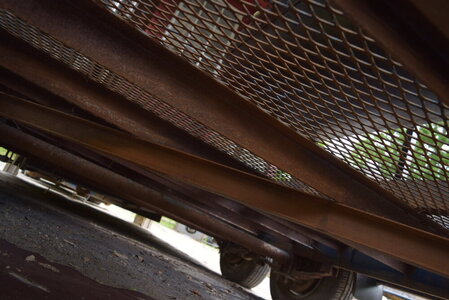
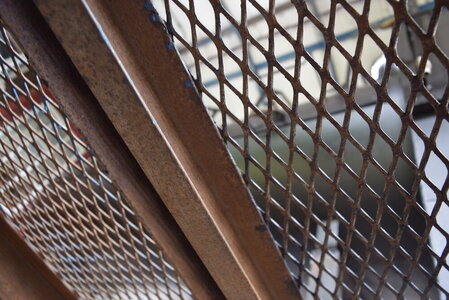
I hear you on that, right next door in Nova Scotia. The salt can sure eat up anything metal.It's rusty, but not MAINE rusty
Oh nice! I took a boat ride up/ over there once. The weather wasn't the best, but it was a fun ride, and the slot machines had a great time eating up a lot of our change that night..I hear you on that, right next door in Nova Scotia. The salt can sure eat up anything metal.
You are doing great , and I also love the way Trim clad or Rustoleum ( I think I heard now all one big happy family ) covers and floats out smooth.
David
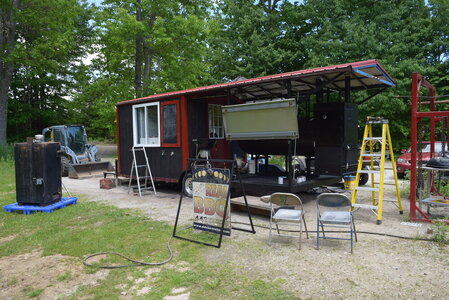
Thank you!! If there's a home stretch here, I think I'm on it...Lots of progress and the paint/stain looks nice!
Keith
Thanks. He's a tough old dude. I really think the chemo is going to keep him around for a lot longer, but either way, we'll do this thing, and the 'party' up right for him.Man that is really coming along nicely! And glad to see the FIL still has a good appetite.
Jim
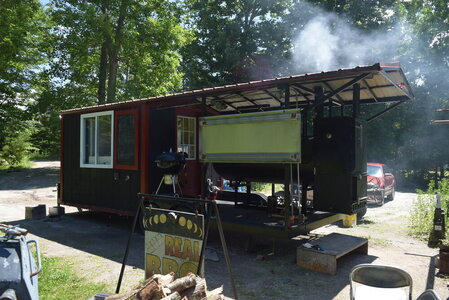
Finally! Haha. I already see everything else I want to do to it now...Getting it done!
Jim
Thank you! It seemed to take so long, but now that it's done.. (for now anyway) It's like "Well, that wasn't all that bad..."Looking good . . .


SmokingMeatForums.com is a community of barbecue and outdoor cooking enthusiasts dedicated to smoking meat.
© 2004-2026 SmokingMeatForums.com