grupe
Newbie
- Nov 20, 2010
- 26
- 10
Yet another smoker build out of a fridge. Most of the info I am going to post came from other threads on the forum, but it thought I would show you what I am doing. I do want to note that this one was built with no fancy tools (no wire feed welder, plasma torch, normal torch, etc).
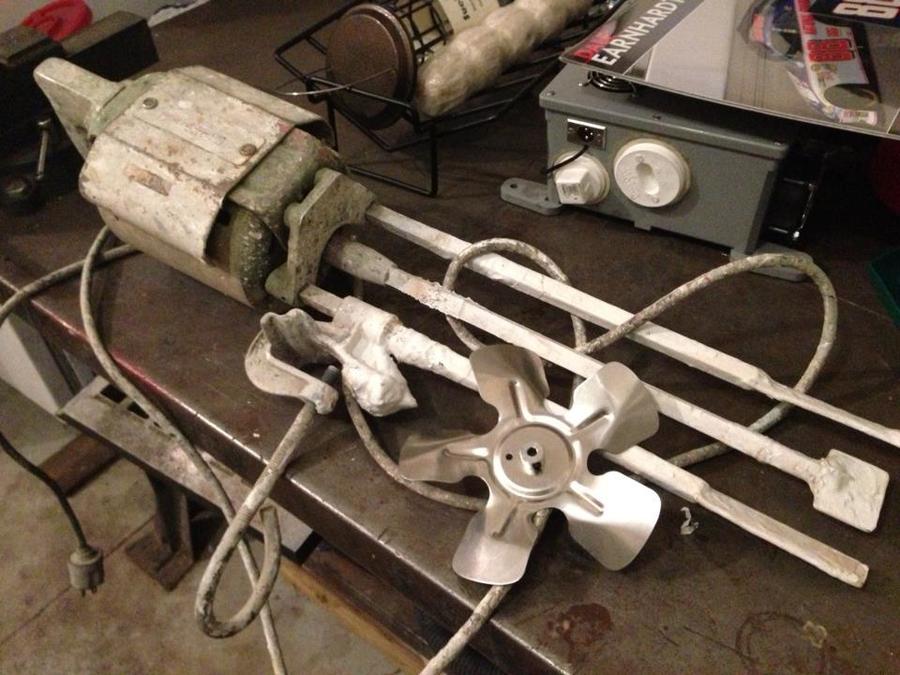
Locating a fridge to use was not nearly as easy as I thought it would be. After keeping an eye on CraigsList and posting a want add on Craigslist for three months, I gave up. I knew my dad had an old fridge in the barn back home that had not been used for years. He was busy harvesting so it took him a while to confirm that the inside was in face metal. After that, the race was on to get it back to my place. I got one of my buddies to pick it up when he was back in the area.
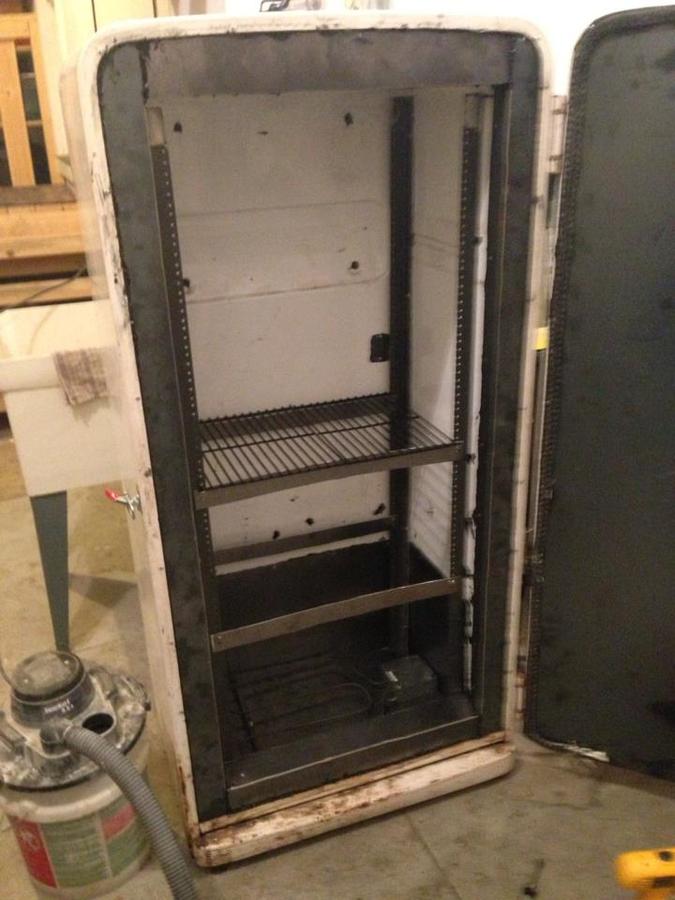
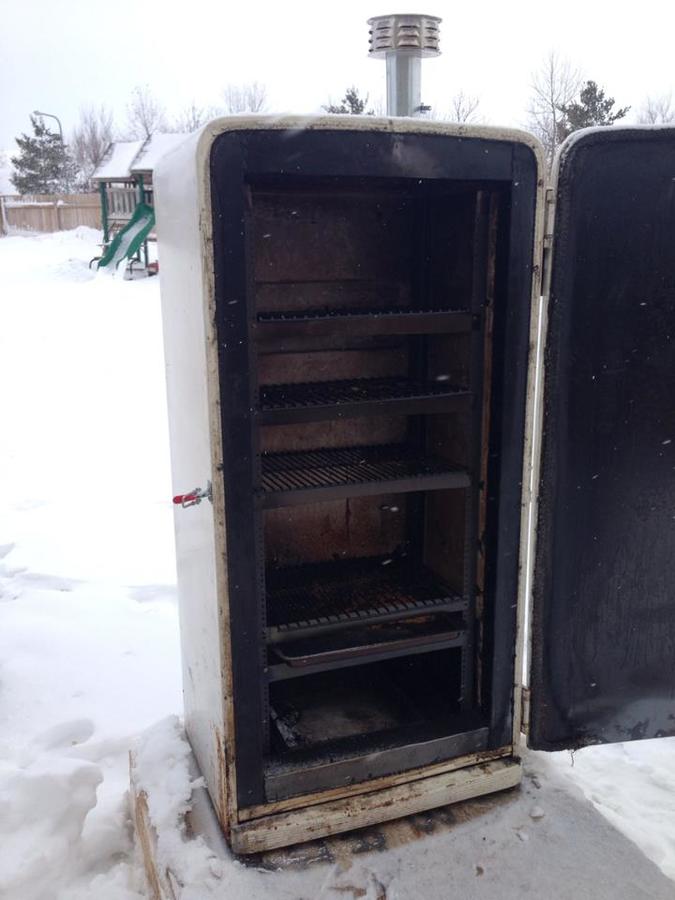
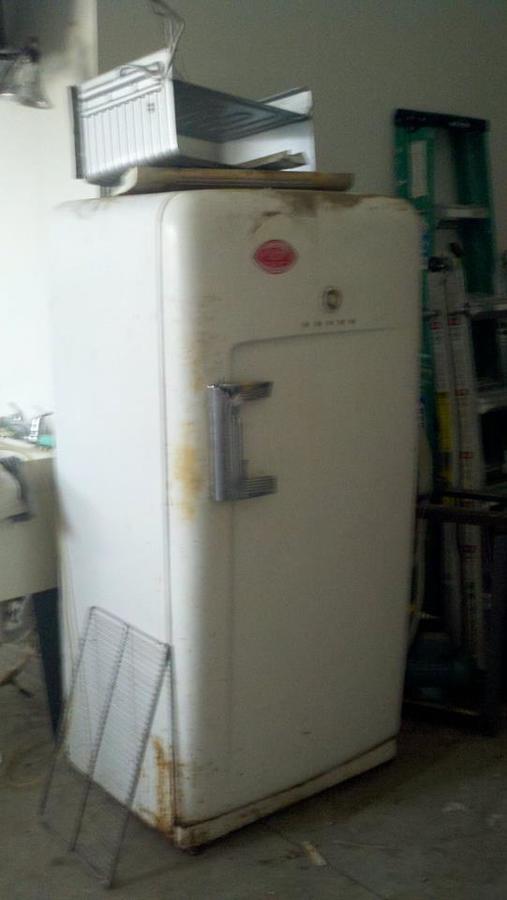
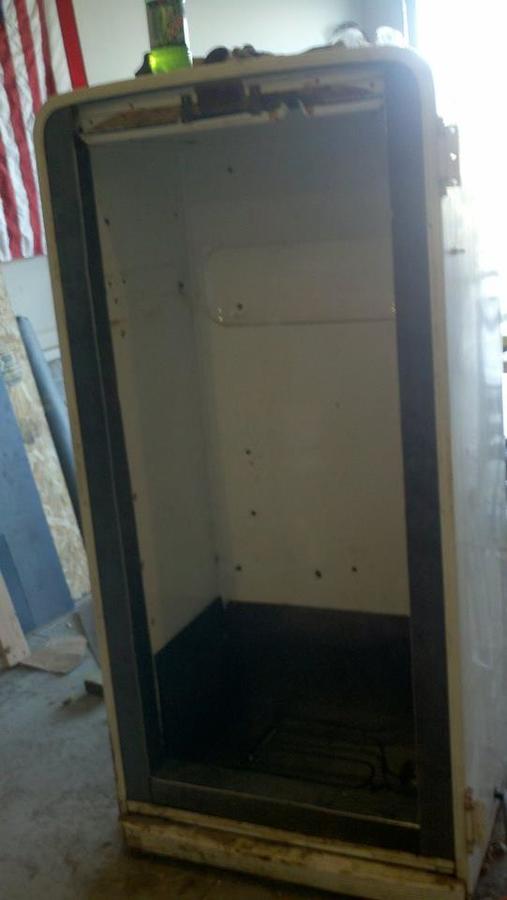
Here is what she looked like when she got to my place. We had already removed the compress and the freezer.
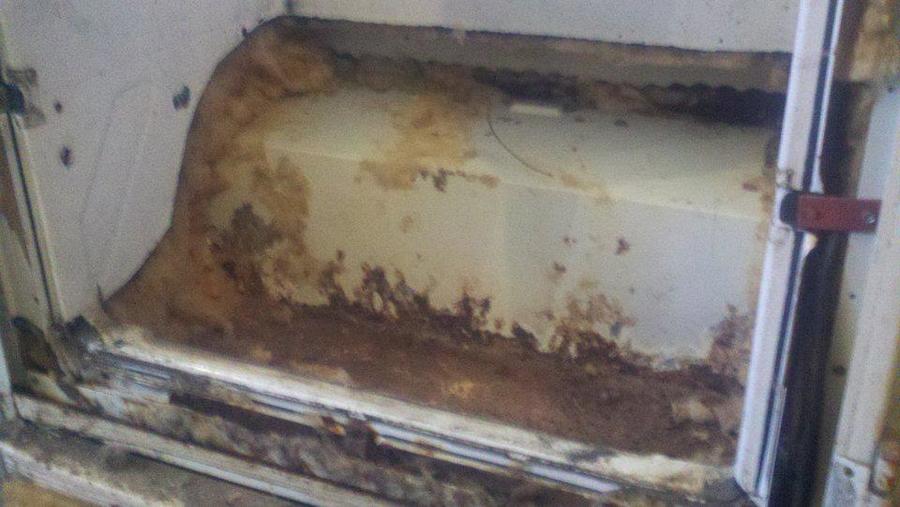
And here is a picture of the inside. The greenish/blue stuff around the outside seemed to be some kind of plastic so that would need to go.
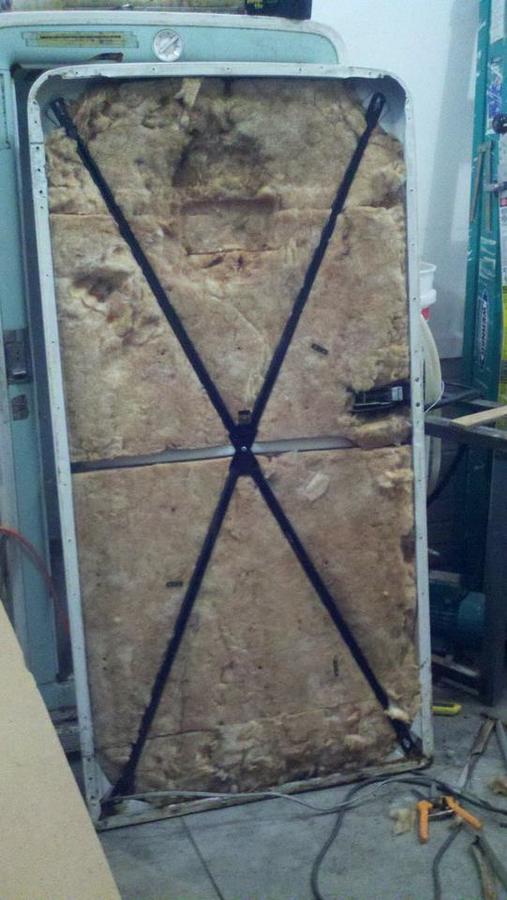
Here is a pic of the inside of the door after removing the plastic stuff.
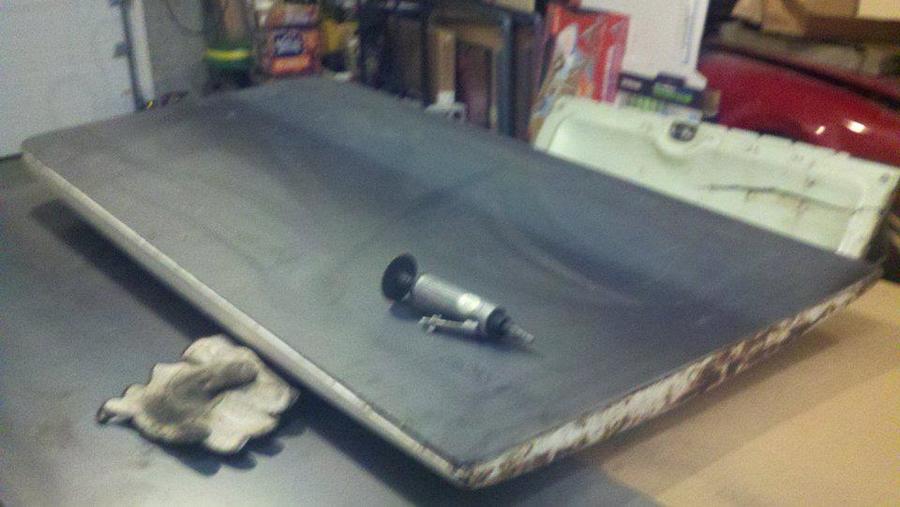
Next step, find some meal. I located a 4X8 sheet of 16 gauge black steal at a locale fab shop for $62.50. I picked it up, traced around the door with a pencil (use caulk if you have it), fired up the air compressor, oiled up the cut off wheel and an hour later I had the sheet cut for the door. For all of you that are wondering, I used my $10 harbor freight cut off wheel to cut all the metal for this build. I know it is slow and painful, but it is what I have at this point.
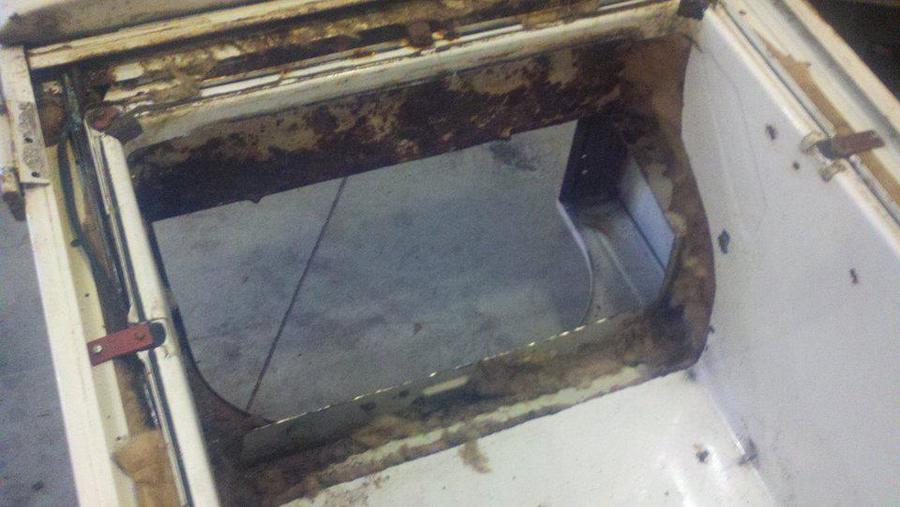
On to the floor. I cut it out using the same process. I hadn’t thought about it a lot, but there was another sheet of metal under it with.
Next I put her on her back and cut out the other piece of the floor.
Up until now, everything was super easy. Just mark and cut. You don’t need to do a great job as what you cut out is going to get covered up. The next thing up is building the angles for the side and top and building a new box to go in the base. I didn’t really have money in the budget for one sheet of metal so I spent at least a few minutes making sure I knew how I wanted to cut the remaining metal so I wouldn’t run out.
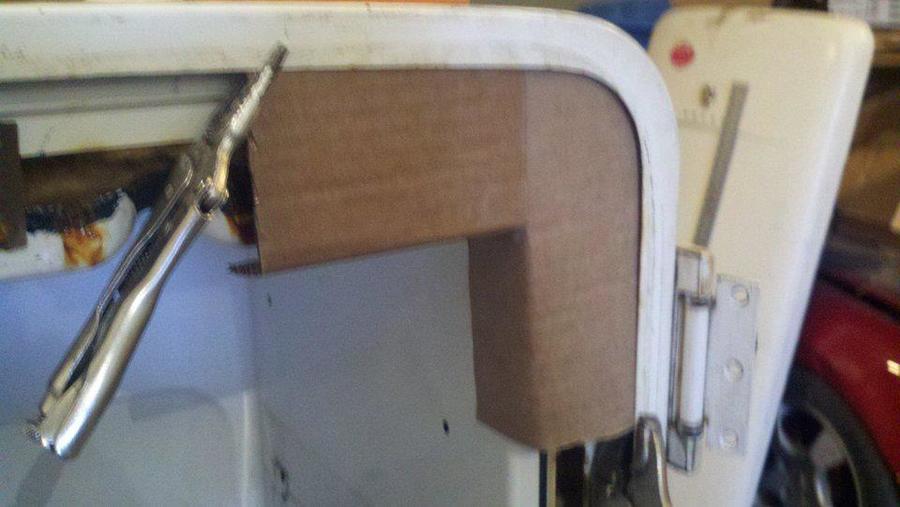
Now something they don’t talk about on the forums, sometimes the most important tool you can have is some scrape card board. Building templates out of cardboard will save you a ton of time and wasted material. Here is how I built the form for the one corner.
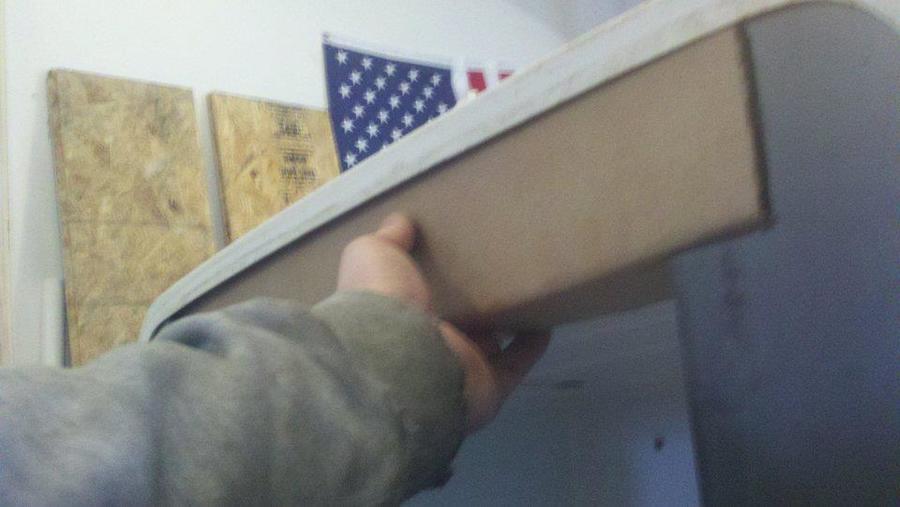
And here is a template for the top
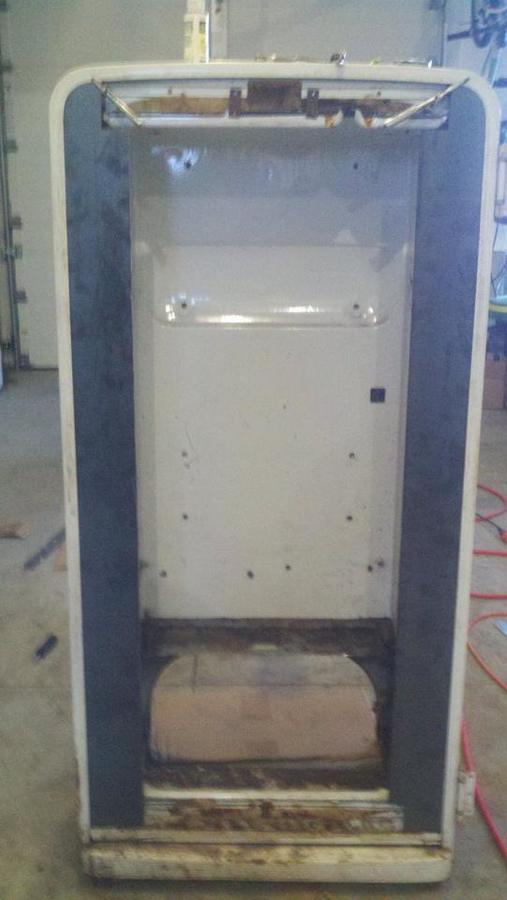
Here is a picture of the two side pieces in place
Back to the cardboard template, here is the one I built for the floor.
And here is what it looks like with the metal in place and partial bent to fit.
I am sure some of you are wonder how I bent the metal as I was kind of drawing a blank on how to do that nicely. It isn’t like 16 gauge metal bends super easily without specialize equipment. What I did was run the cut off wheel over the back side of the place where the metal needed to get bent. I didn’t cut all the way through the metal. I did this until I could bend the metal. Don’t cut to much as you want to maintain as much of the strength in the metal as possible. I had it clamped down to some wood that was on saw horses. It was a total pain, but really didn’t take that long. The base box took about 60 minutes to cut out, score and bend. Mind you I do have a good air compressor.
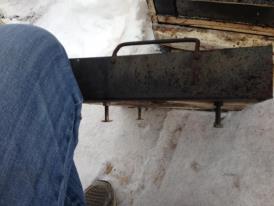
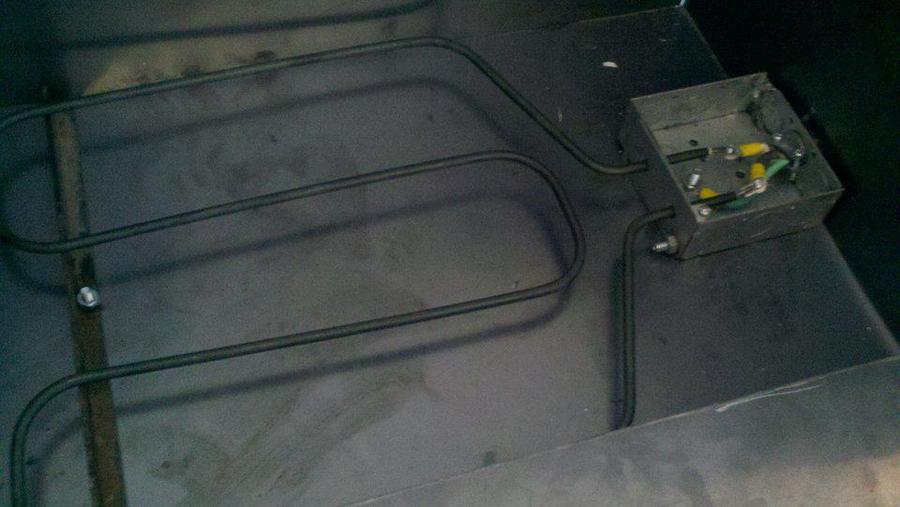
Time to fit the heating element. I ordered this element of eBay after I was sure it would fit in the base. I ended up getting part number WB44X173 as it was the right size and puts off 3410 watts running 240 volts. I picked up a metal box at Lowes, a cover to go over it and 5’ of 10-3 cord. After that I cut a hold for the element to go into the box and drill some holes to secure it to the base. On the left you can see a piece of angle iron bolted to the pan to keep the element off the pan.
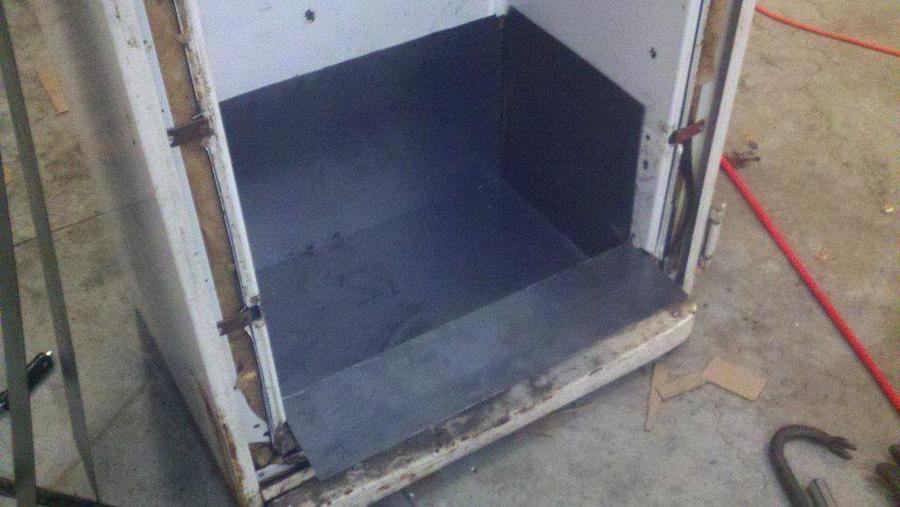
Here is what she looks like with the pan and sides bent and in place
Before I ordered a latch, I wanted to see what the gap was like between the door and the fridge. To do this, I re-installed the door and put two rivet in to correctly measure the gap. I ended up buying what is called a “Toggle Clamp” (see eBay). Now I am waiting for my door latch to arrive. It wasn’t posted when I ordered the latch or I would have purchased "rubber snowmobile hood latches" like MossyMo did. See here: http://www.smokingmeatforums.com/t/131352/some-random-questions#post_896168
More to come as soon as I have my door latch.
Locating a fridge to use was not nearly as easy as I thought it would be. After keeping an eye on CraigsList and posting a want add on Craigslist for three months, I gave up. I knew my dad had an old fridge in the barn back home that had not been used for years. He was busy harvesting so it took him a while to confirm that the inside was in face metal. After that, the race was on to get it back to my place. I got one of my buddies to pick it up when he was back in the area.
Here is what she looked like when she got to my place. We had already removed the compress and the freezer.
And here is a picture of the inside. The greenish/blue stuff around the outside seemed to be some kind of plastic so that would need to go.
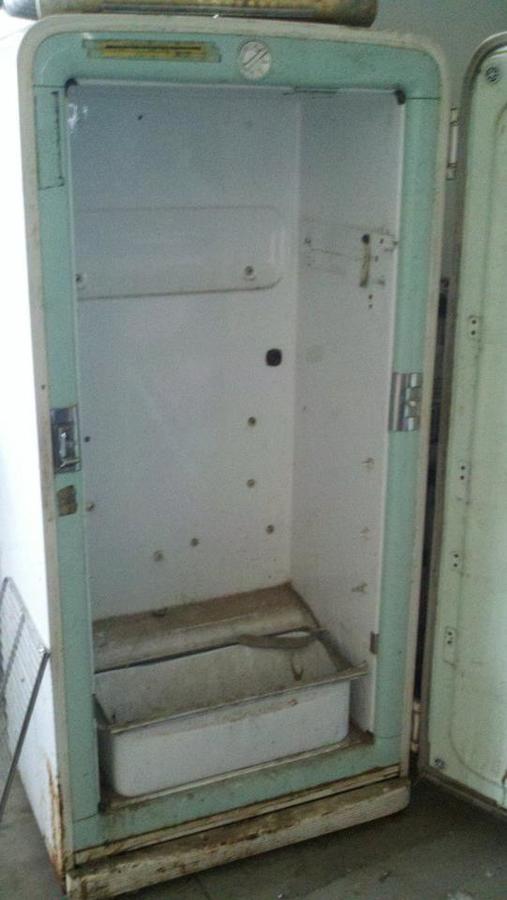
Here is a pic of the inside of the door after removing the plastic stuff.
Next step, find some meal. I located a 4X8 sheet of 16 gauge black steal at a locale fab shop for $62.50. I picked it up, traced around the door with a pencil (use caulk if you have it), fired up the air compressor, oiled up the cut off wheel and an hour later I had the sheet cut for the door. For all of you that are wondering, I used my $10 harbor freight cut off wheel to cut all the metal for this build. I know it is slow and painful, but it is what I have at this point.
On to the floor. I cut it out using the same process. I hadn’t thought about it a lot, but there was another sheet of metal under it with.
Next I put her on her back and cut out the other piece of the floor.
Up until now, everything was super easy. Just mark and cut. You don’t need to do a great job as what you cut out is going to get covered up. The next thing up is building the angles for the side and top and building a new box to go in the base. I didn’t really have money in the budget for one sheet of metal so I spent at least a few minutes making sure I knew how I wanted to cut the remaining metal so I wouldn’t run out.
Now something they don’t talk about on the forums, sometimes the most important tool you can have is some scrape card board. Building templates out of cardboard will save you a ton of time and wasted material. Here is how I built the form for the one corner.
And here is a template for the top
Here is a picture of the two side pieces in place
Back to the cardboard template, here is the one I built for the floor.
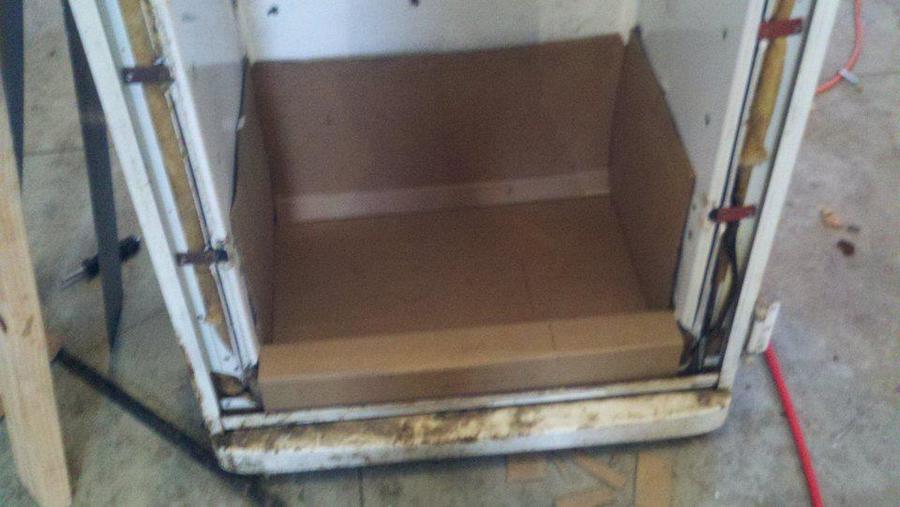
And here is what it looks like with the metal in place and partial bent to fit.
I am sure some of you are wonder how I bent the metal as I was kind of drawing a blank on how to do that nicely. It isn’t like 16 gauge metal bends super easily without specialize equipment. What I did was run the cut off wheel over the back side of the place where the metal needed to get bent. I didn’t cut all the way through the metal. I did this until I could bend the metal. Don’t cut to much as you want to maintain as much of the strength in the metal as possible. I had it clamped down to some wood that was on saw horses. It was a total pain, but really didn’t take that long. The base box took about 60 minutes to cut out, score and bend. Mind you I do have a good air compressor.
Time to fit the heating element. I ordered this element of eBay after I was sure it would fit in the base. I ended up getting part number WB44X173 as it was the right size and puts off 3410 watts running 240 volts. I picked up a metal box at Lowes, a cover to go over it and 5’ of 10-3 cord. After that I cut a hold for the element to go into the box and drill some holes to secure it to the base. On the left you can see a piece of angle iron bolted to the pan to keep the element off the pan.
Here is what she looks like with the pan and sides bent and in place
Before I ordered a latch, I wanted to see what the gap was like between the door and the fridge. To do this, I re-installed the door and put two rivet in to correctly measure the gap. I ended up buying what is called a “Toggle Clamp” (see eBay). Now I am waiting for my door latch to arrive. It wasn’t posted when I ordered the latch or I would have purchased "rubber snowmobile hood latches" like MossyMo did. See here: http://www.smokingmeatforums.com/t/131352/some-random-questions#post_896168
More to come as soon as I have my door latch.