
- Nov 20, 2010
- 26
- 10
CYA stuff here: this post is what I have learned and for educational value only. Electricity is dangerous. If you harm yourself, don't contact me. Blah Blah Blah
I know there are other post on this topic, but I thought my build could help.
Notes: I added a 90mm fan that blows on the SSR as the box was getting hot during an 8 hour smoke. Don't have pics right now, but can add them if anyone wants to see them.
Requirements:
1. Be able to control the temp on my 120v smoker
2. Be able to control the temp on my 240v smoker which is still being built
3. Be able to control the temp on my keg/conical cleaner (yes I brew beer as well)
4. Be able to control a 120v output with a 240v input
5. Be able to control 30 amps (Around 7000 watts)
6. Aux plug for fan, cold smoker, conical pump, etc. Ended up using it for a DC adapter since I ordered the wrong PID. Will fix later.
Wire:
1. All of the wire going to the relay, SSR and plugs is 10 awg
2. All of the wire but the SSR control wire is 14 awg
3. Don't be cheep. Buy the right wire.
This post is a combination of stuff I have learned from the forums and from talking to certified electricians.
-First thing I did was ordered the parts that were cheaper online. List is included below. Most of this stuff is going to be shipped from China which will take awhile so plan ahead.
-Second thing I did was checked to see if it would fit in an 8x8x4 enclosure using a taped together cardboard box. The PVC version you can get at lowes, menards, home depot etc. Don't try to find them online as all of the big box stores searches suck, but they have them.
-Third - I glued the input plugs to PVC which is threaded so that I can close off these plugs when not in use. My controller will be around water and the way I wired it will have one of the lead on the opposite input hot at all times. You could fix this by adding more relays, but less than $5 of PVC and plugs fixes it easier. ** Safety first people **
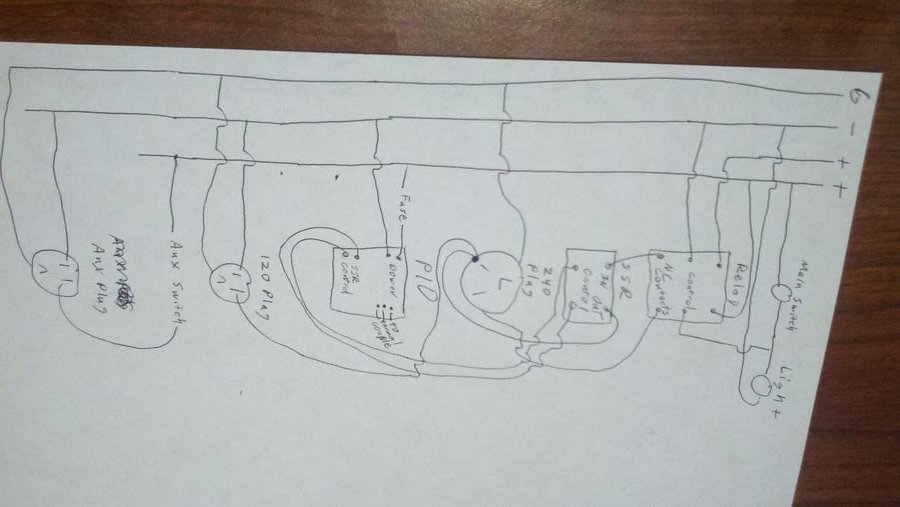
-Forth - Once I got the box and the plugs, I drilled out the holes in the PVC enclosure and started the wiring. The image of the wiring diagram can be enlarged.
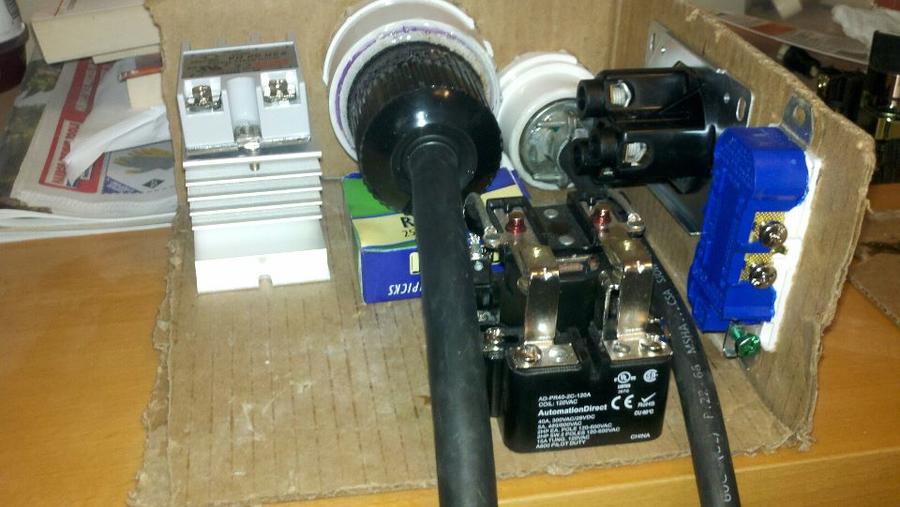
Picture of the cardboard mockup:
Picture of me gluing the plugs into place:
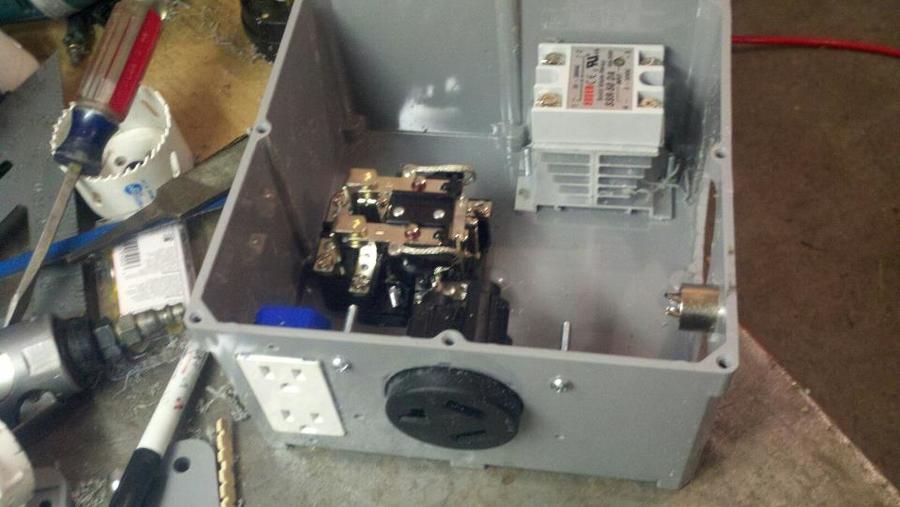
Layout of the parts inside the box pre-wiring:
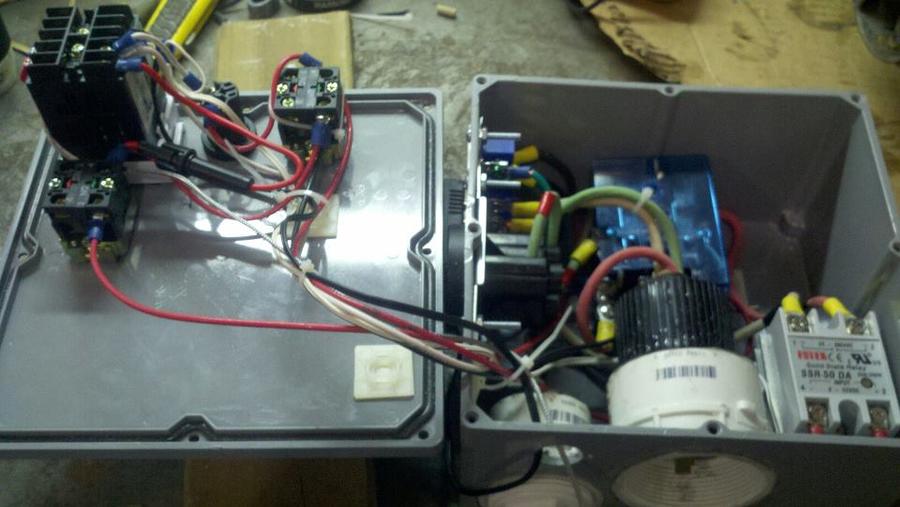
Post wiring:
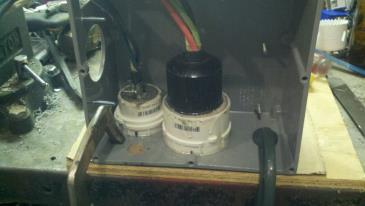
The plugs covering the power inputs:
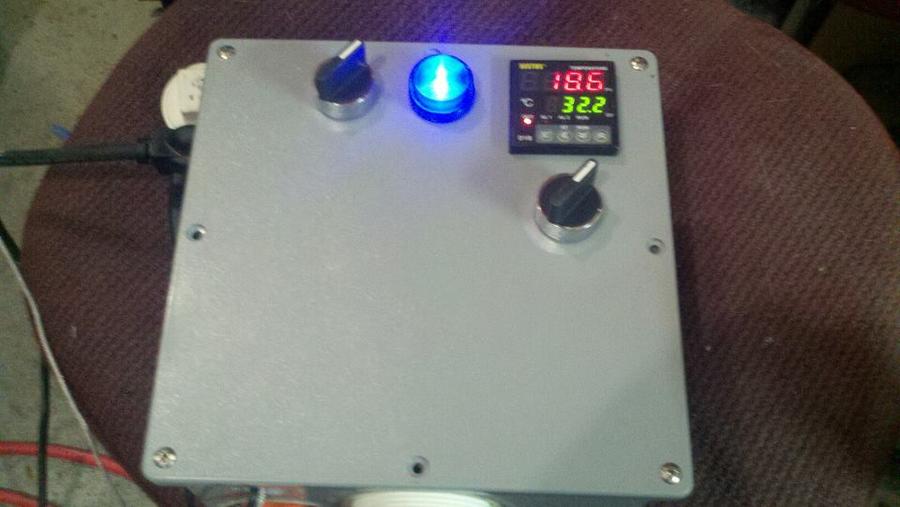
Cover closed and all is well:
Wiring Diagram:
Online Parts List:
-PID. Make sure it is 120 vac that has DC output and will support F as well as C. I would also suggest getting one with a "k" type sensor. I got the wrong one so do your research. If the picture show a NO/NC SSR control, you are looking at the wrong one. Get it off eBay.
-SSR: Search eBay for a "50a ssr". Make sure to get one with a heat sink
-240V plugs: Do a search on eBay for L14-30
-Open Face Relay. I use 40amp one. You can get them here: http://www.automationdirect.com/adc...n-Style,_40A_(AD-PR40_Series)/AD-PR40-2C-120A
-Thermal Couple connector (female): Search eBay for: "3 Pin XLR Female Plug Socket"
-Thermal Couple connector (male): Search eBay for: "XLR 3Pin Male Panel"
Offline stuff
-120V male plug: Lowes, etc
-Box: Lowes, etc
-120 and 240 female plugs: Lowes, etc
-Wire: Lowes, etc
-PVC to close inputs: Lowes, etc
-Other wiring stuff: Lowes, ect
Let me know if I skipped anything in the notes above and I will provide more info.
-Graham
I know there are other post on this topic, but I thought my build could help.
Notes: I added a 90mm fan that blows on the SSR as the box was getting hot during an 8 hour smoke. Don't have pics right now, but can add them if anyone wants to see them.
Requirements:
1. Be able to control the temp on my 120v smoker
2. Be able to control the temp on my 240v smoker which is still being built
3. Be able to control the temp on my keg/conical cleaner (yes I brew beer as well)
4. Be able to control a 120v output with a 240v input
5. Be able to control 30 amps (Around 7000 watts)
6. Aux plug for fan, cold smoker, conical pump, etc. Ended up using it for a DC adapter since I ordered the wrong PID. Will fix later.
Wire:
1. All of the wire going to the relay, SSR and plugs is 10 awg
2. All of the wire but the SSR control wire is 14 awg
3. Don't be cheep. Buy the right wire.
This post is a combination of stuff I have learned from the forums and from talking to certified electricians.
-First thing I did was ordered the parts that were cheaper online. List is included below. Most of this stuff is going to be shipped from China which will take awhile so plan ahead.
-Second thing I did was checked to see if it would fit in an 8x8x4 enclosure using a taped together cardboard box. The PVC version you can get at lowes, menards, home depot etc. Don't try to find them online as all of the big box stores searches suck, but they have them.
-Third - I glued the input plugs to PVC which is threaded so that I can close off these plugs when not in use. My controller will be around water and the way I wired it will have one of the lead on the opposite input hot at all times. You could fix this by adding more relays, but less than $5 of PVC and plugs fixes it easier. ** Safety first people **
-Forth - Once I got the box and the plugs, I drilled out the holes in the PVC enclosure and started the wiring. The image of the wiring diagram can be enlarged.
Picture of the cardboard mockup:
Picture of me gluing the plugs into place:
Layout of the parts inside the box pre-wiring:
Post wiring:
The plugs covering the power inputs:
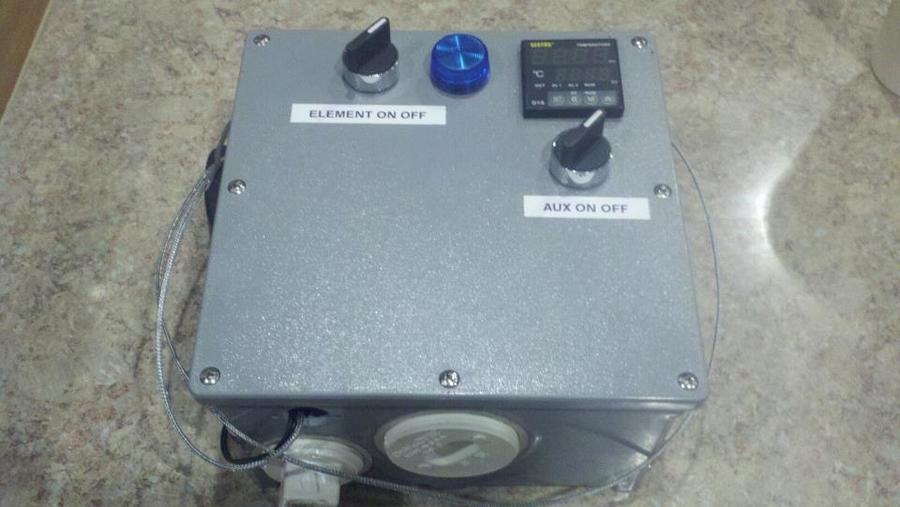
Cover closed and all is well:
Wiring Diagram:
Online Parts List:
-PID. Make sure it is 120 vac that has DC output and will support F as well as C. I would also suggest getting one with a "k" type sensor. I got the wrong one so do your research. If the picture show a NO/NC SSR control, you are looking at the wrong one. Get it off eBay.
-SSR: Search eBay for a "50a ssr". Make sure to get one with a heat sink
-240V plugs: Do a search on eBay for L14-30
-Open Face Relay. I use 40amp one. You can get them here: http://www.automationdirect.com/adc...n-Style,_40A_(AD-PR40_Series)/AD-PR40-2C-120A
-Thermal Couple connector (female): Search eBay for: "3 Pin XLR Female Plug Socket"
-Thermal Couple connector (male): Search eBay for: "XLR 3Pin Male Panel"
Offline stuff
-120V male plug: Lowes, etc
-Box: Lowes, etc
-120 and 240 female plugs: Lowes, etc
-Wire: Lowes, etc
-PVC to close inputs: Lowes, etc
-Other wiring stuff: Lowes, ect
Let me know if I skipped anything in the notes above and I will provide more info.
-Graham

